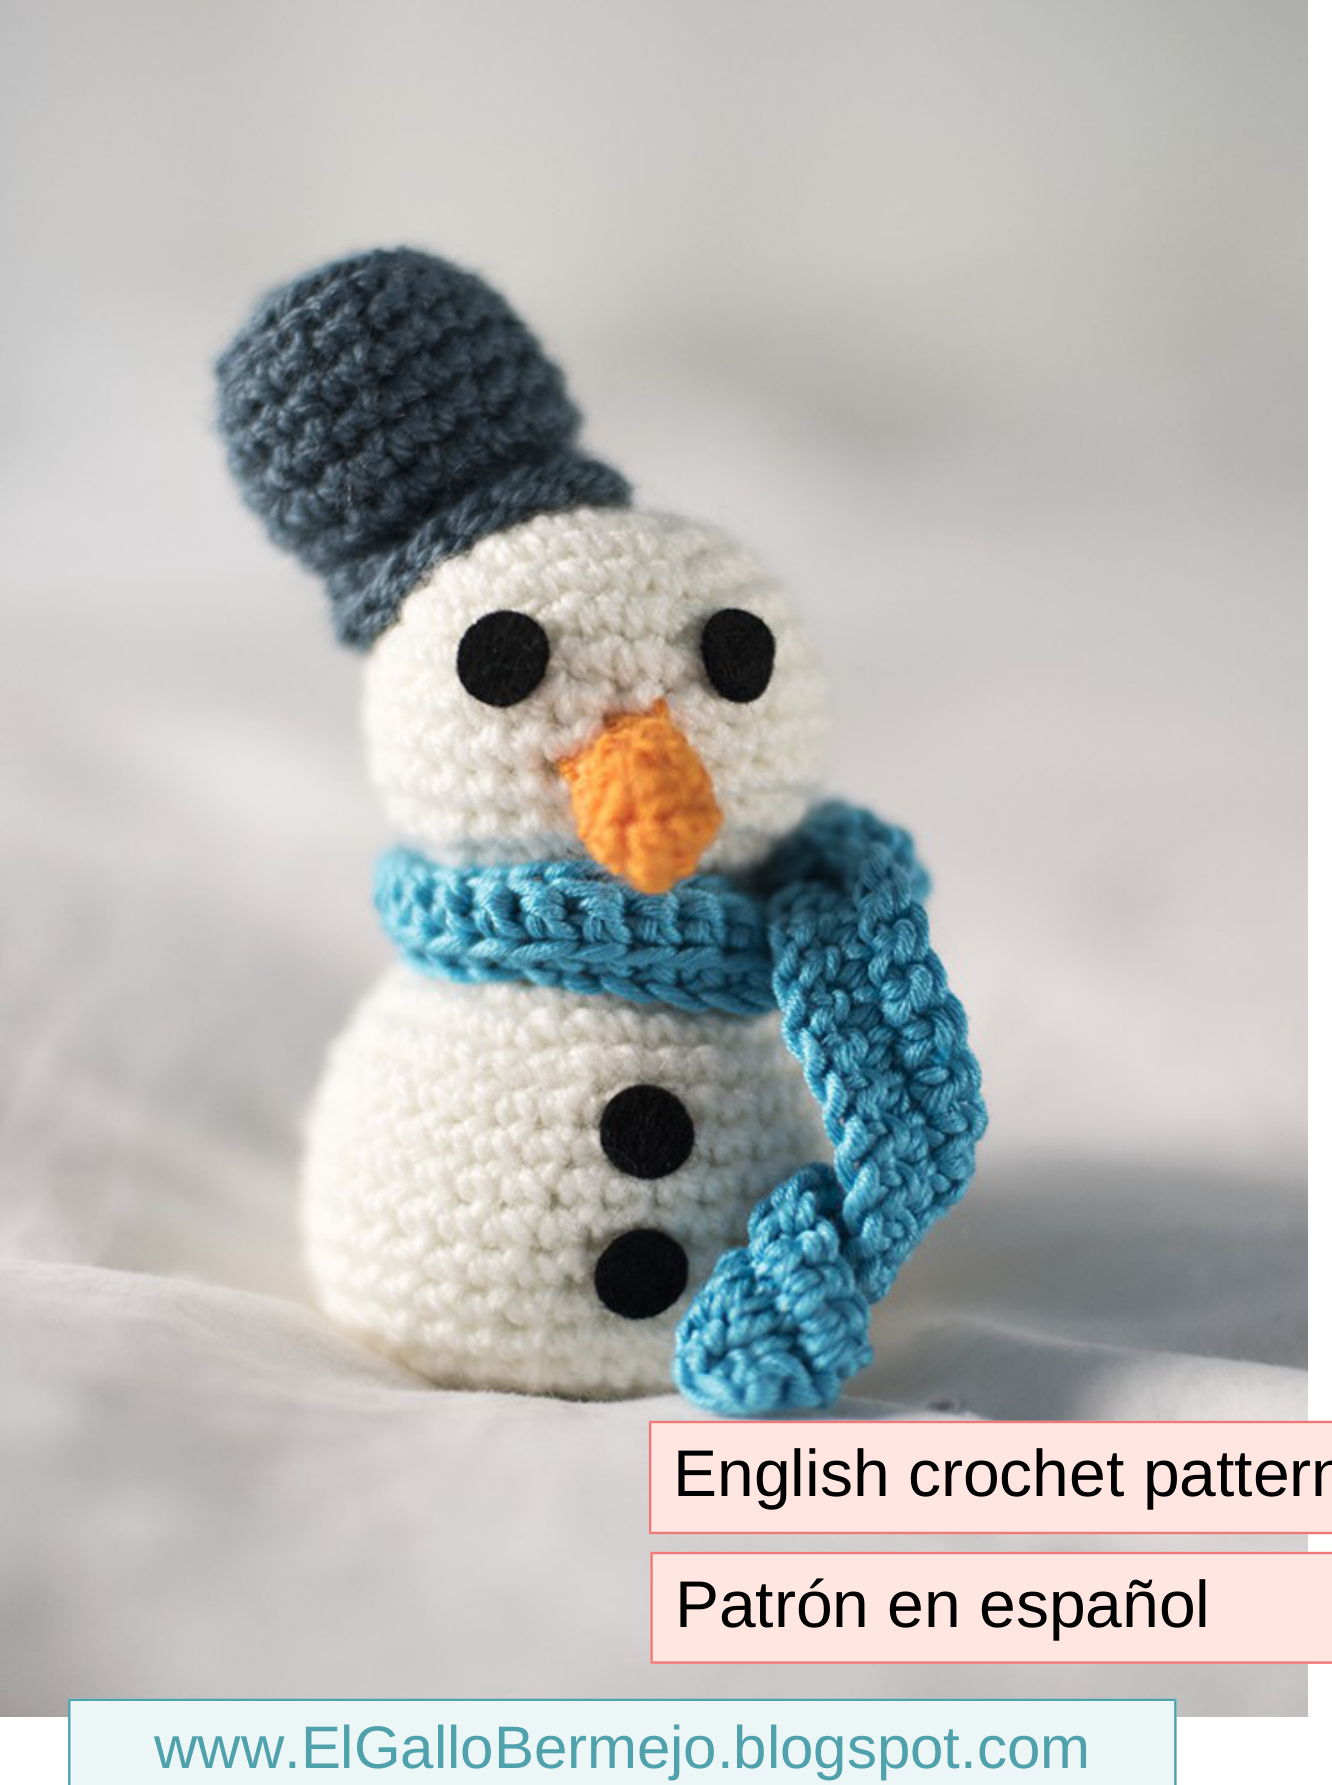
Snowman - Muneco de nieve
Allrights reserved. This is a pattern designed by El Gallo Bermejo, please do not sell the pattern. You can sell products made fro thispattern,aslongasyou creditElGalloBermejoasdesigner. Todos los derechos reservados. Este es un patron diseniado por El Gallo Bermejo, por favor no lo vendas. Puedes vender product hechos a partir de este patron, siempre que menciones El Gallo Bermejo como diseniador. STITCHES AND ABBREVIATIONS. 4 MATERIALS.. 4 HEAD AND BODY.... 4 SCARF.. 5 HAT..... 5 NoSE. 5 PUNTOS UTILIZADOS Y ABREVIATURAS. .8 MATERIALES... 8 CABEZA Y CUERPO... 8 BUFANDA.. 9 SOMBRERO.... 9 NARIZ. 9
Snowman pattern (English version)
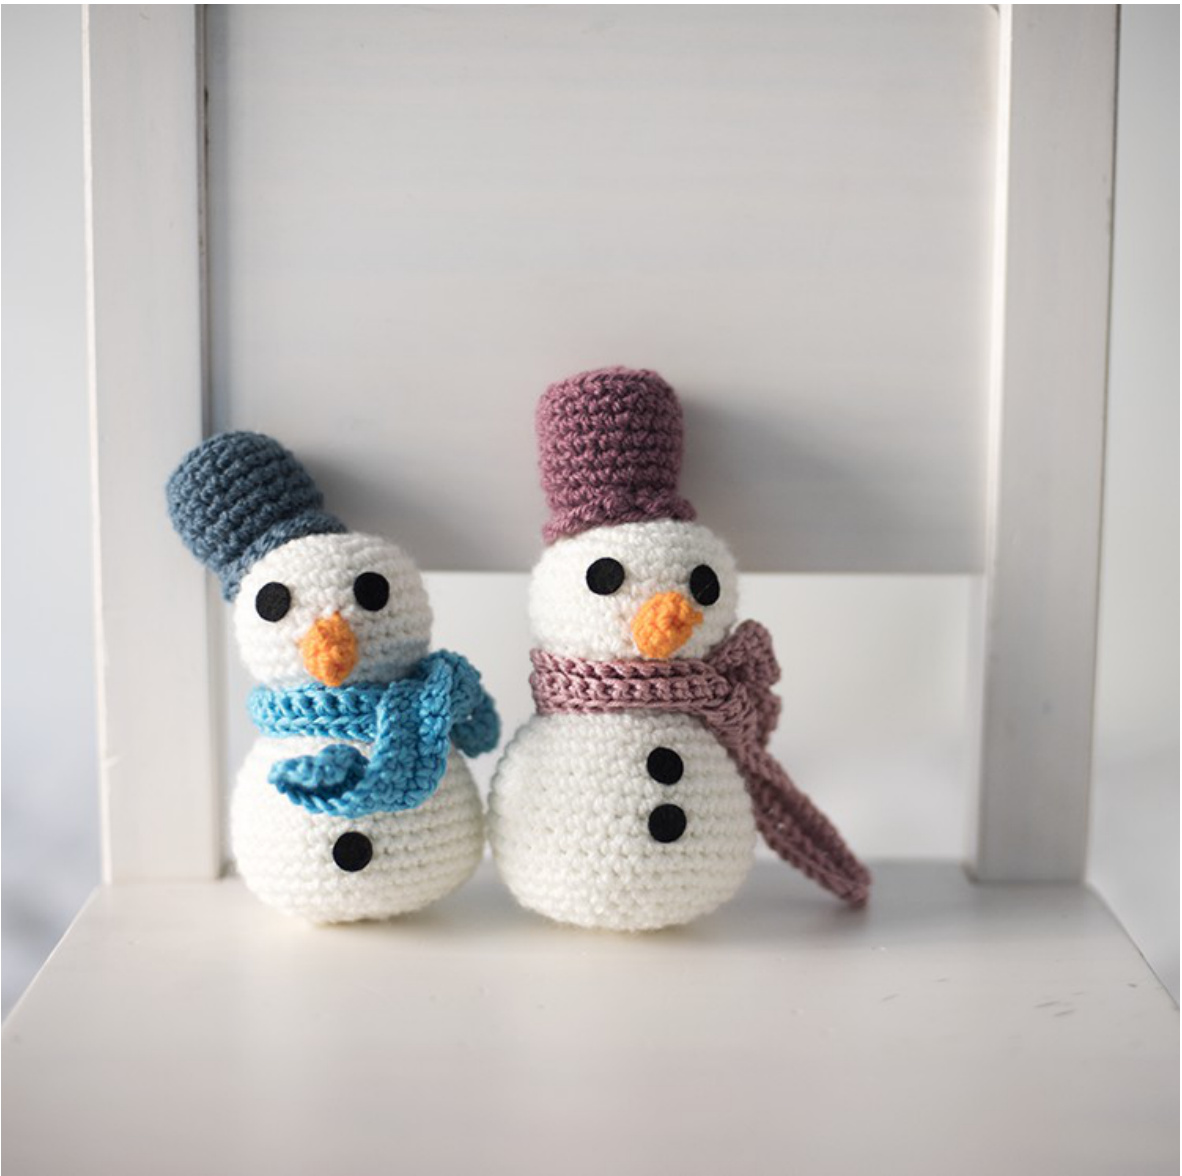
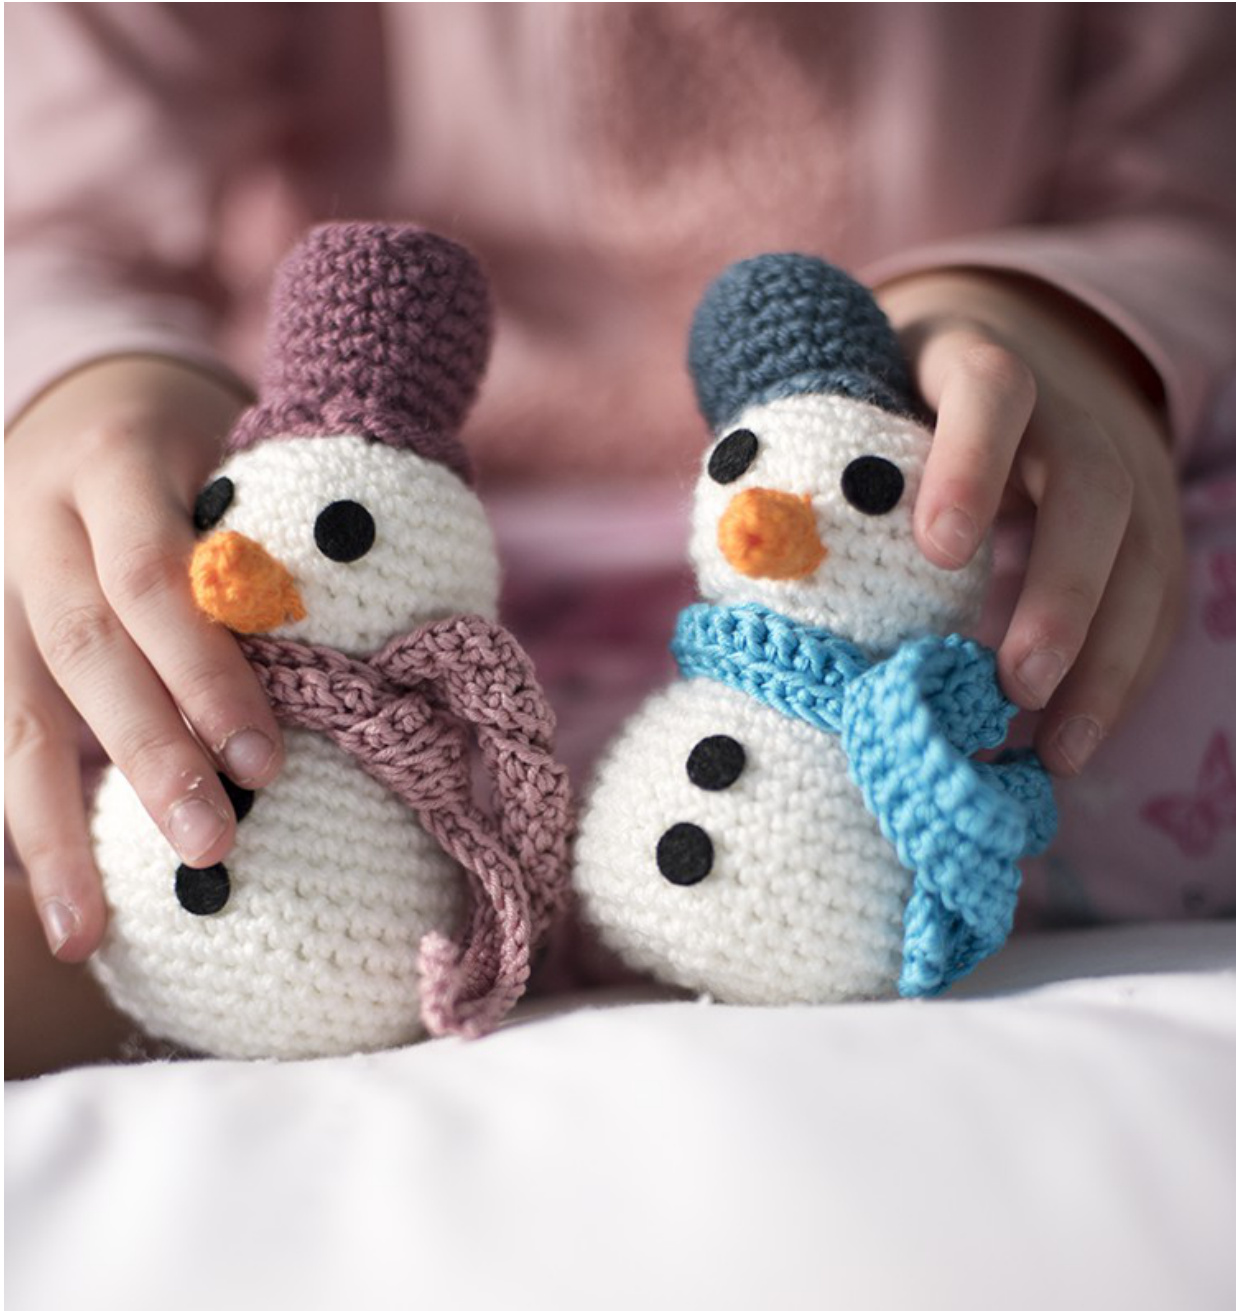
This pattern includes: Step by step english instructions O Step by step spanish instructions O Finished product photos Technique: crochet The size of the finished toy (if you use a yarn suitable for a 3.5mm hook), is 12 cm. (4.72 inches) high. If you have any problem, suggestion or doubt with the pattern, please do not hesitate to contact me at ElGalloBermejo@gmail.com.
Allrights reserved. This is a pattern designed by El Gallo Bermejo, please do not sell the pattern. You can sell products made fro this pattern,as long as you credit El GalloBermejo as designer. Todos los derechos reservados. Este es un patron diseniado por El Gallo Bermejo, por favor no lo vendas. Puedes vender product hechos a partir de este patron, siempre que menciones El Gallo Bermejo como diseniador.
Stitches and abbreviations
Ch: chain Sc: simple crochet St: stitch Sl st: Slip stitch Inc.: increase Dec.: decrease Rep.: Repeat
Materials
Medium size yarn, three different colour: white for the head and body, one colour for the scarf and another colour for the hat (two different kinds of blue, for instance). Also, we need orange yarn for the nose. Black felt for the eyes and buttons (you can also use safety eyes) Crochet hook with a size suitable for the yarn size (3.5mm, for instance) Toy filling
Head and body
Tip
With white yarn, 3.5mm size hook, Round 1: 2 ch, sc 6 times in 2nd ch from hook (6) Round 2: Sc twice in each st (12) Round 3: \*1 sc, 2 sc in next st\*, repeat 6 times (18) Round 4: \*2 sc, 2 sc in next st\*, repeat 6 times (24) Round 5: \*3 sc, 2 sc in next st\*, repeat 6 times (30) Round 6-10: Sc in each st (30) Round 11: \*3 sc, 1 dec.\*, repeat 6 times (24) Round 12: \*2 sc, 1 dec.\*, repeat 6 times (18) Round 13: \*1 sc, 1 dec.\*, repeat 6 times (12) Start filling the toy. Continue crocheting the body: Round 14: \*1 sc, 2 sc in next st\*, repeat 6 times (18) Round 15: \*2 sc, 2 sc in next st\*, repeat 6 times (24) Round 16: \*3 sc, 2 sc in next st\*, repeat 6 times (30) Round 17: \*4 sc, 2 sc in next st\*, repeat 6 times (36) Round 18-25: Sc in each st (36) Round 26: \*4 sc, 1 dec.\*, repeat 6 times (30) Round 27: \*3 sc, 1 dec.\*, repeat 6 times (24) Round 28: \*2 sc, 1 dec.\*, repeat 6 times (18) Firmly fill the body and the rest of the head Round 29: \*1 sc, 1 dec.\*, repeat 6 times (12) Finish filling the body Round 30: \*1 dec.\*, repeat 6 times Fasten off Every single part of the toy can be started doing the magic ring. However, in this pattern I have consider making two chains and in second chain from hook make as many single points as needed. In my opinion this is a much easier way to work for beginners and with good results.
Scarf
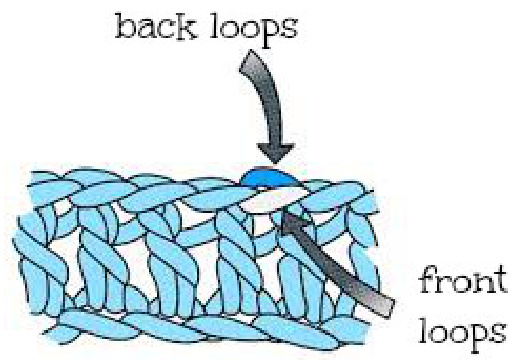
With the scarf colour yarn, 3.5mm size hook, 81 chains First round: Skip the first chain, sc in each chain, ONLY IN BACK LOOPS (80) Second round: 1 chain, turn the work, sc in each st, ONLY IN FRONT LOOPS (80) Third round: 1 chain, turn the work, sc in each st, ONLY IN BACK LOOPS (80) Four round: 1 chain, turn the work, sc in each st, ONLY IN FRONT LOOPS (80) Fasten off.
Hat
With the hat colour yarn, 3.5mm size hook, Round 1: 2 ch, Sc 6 times in 2nd ch from hook (6) Round 2: Sc twice in each st (12) Round 3: \*1 sc, 2 sc in next st\*, repeat 6 times (18) Round 4: Sc in each st, ONLY IN BACK LOOPS (18) Round 5-9 Sc in each st (18) Round 10: Sc in each st, ONLY IN FRONT LOOPS (18) Round 11: Sc in each st, ONLY IN FRONT LOOPS (18) Fasten off leaving a long tail.
Nose
With orange yarn, 3.5mm size hook, Round 1: 2 ch, Sc 4 times in 2nd ch from hook (4) Round 2: 1 sc, 1 inc., 1 sc, 1 inc. (6) Round 3: Sc in each st (6) Round 4: Sc in each st (6) No need to filling in. Fasten off leaving a long tail to sew.
Sewing instructions
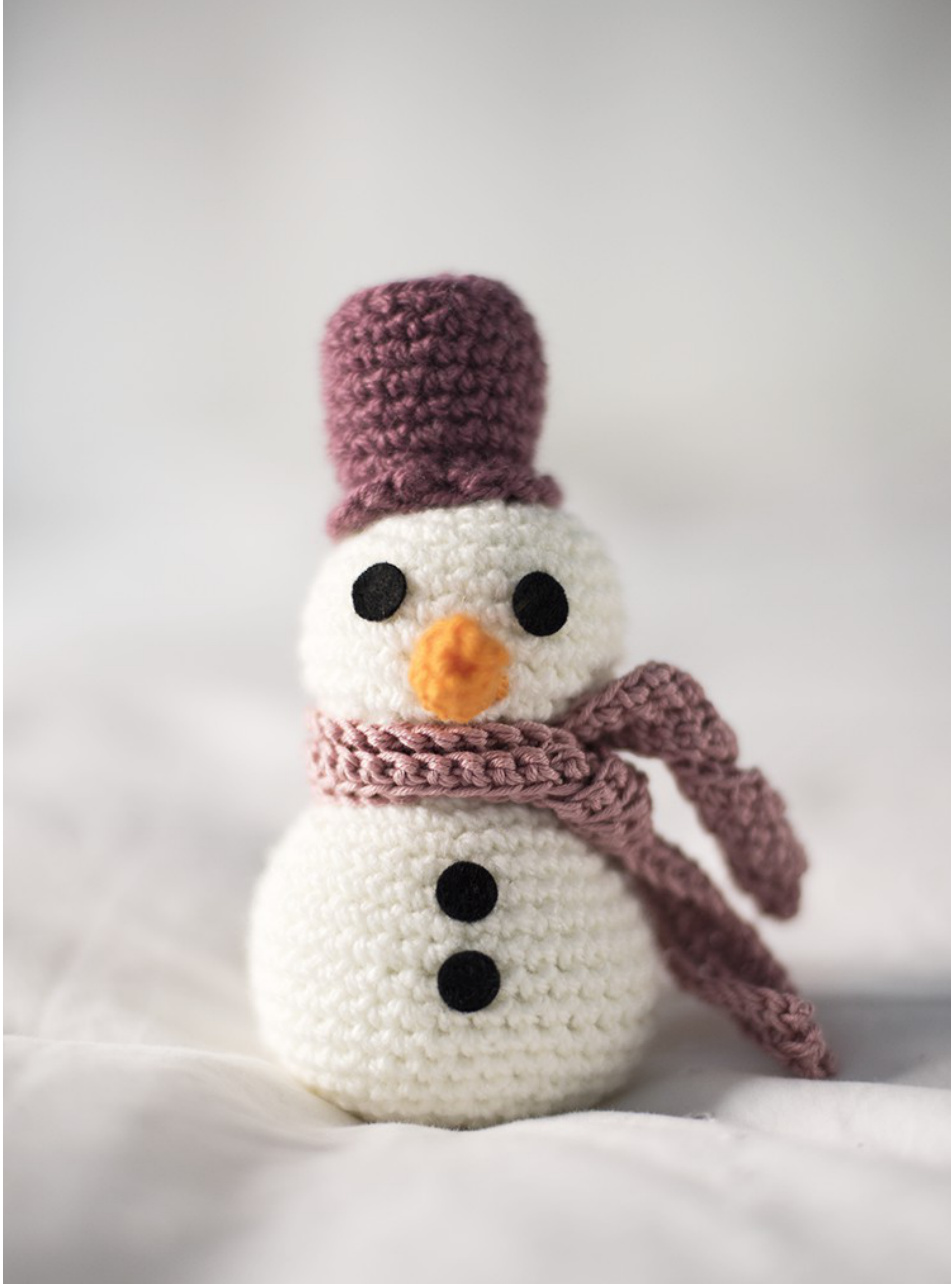
Fill in the hat and sew it to the head of the toy. Turn the two last rounds made in the front loops. Sew the nose to the head. Allrights reserved. This is a pattern designed by El Gallo Bermejo, please do not sell the pattern. You can sell products made fro this pattern,as long as you credit El GalloBermejo as designer. Cut small circles in the black felt, for the eyes and buttons. Glue them to the face and body. You can also use safety eyes.
Tip
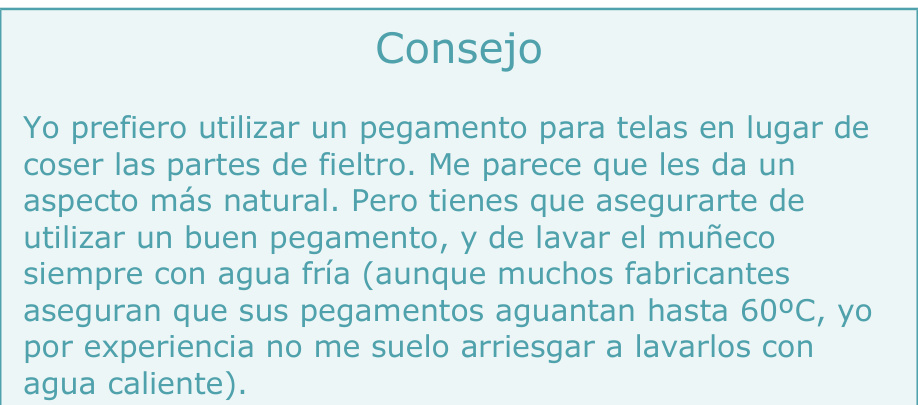
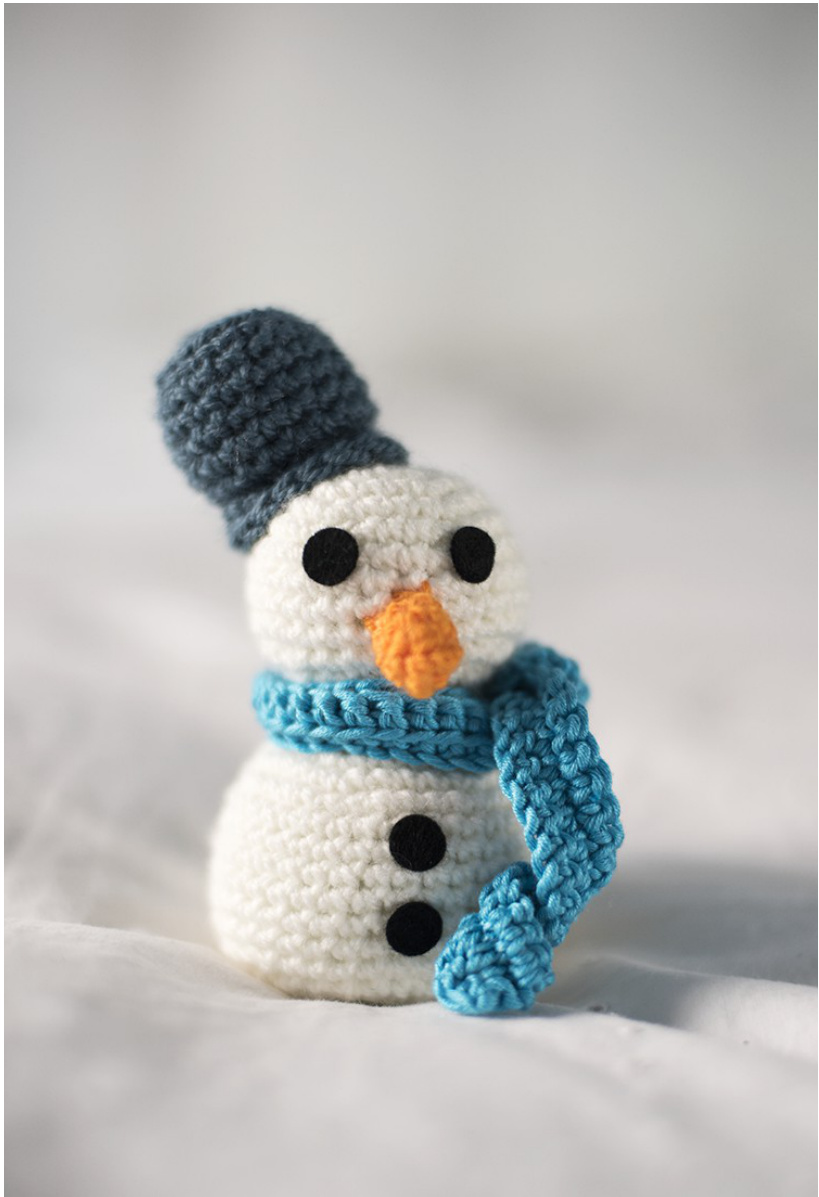
I prefer using fabric glue instead of sewing the eyes (the look is more natural). You have to be sure of using glue with a good quality, and always clean the toy with cold water (many manufacturers assure their glue withstand up to 60oC, but I'd rather prefer not to take the risk with hot water). And finally, CONGRATS!!! You have obtained a wonderful snow man which the kids will love @ and will be a wonderful Christmas decoration.
Allrights reserved. This is a pattern designed by El Gallo Bermejo, please do not sell the pattern. You can sell products made fro this pattern,as long as you credit El GalloBermejo as designer. El Gallo Bermejo 2014. Todos los derechos reservados. Este es un patron disenado por El Gallo Bermejo, por favor no lo vendas. Puedes vender productos hechos a partir de este patron, siempre que menciones El Gallo Bermejo como diseniador.
Patron de un muneco de nieve (Version en espanol)
Este patron incluye: O Instrucciones paso a paso en espanol O Instrucciones paso a paso en inglés O Fotos del producto terminado con indicaciones La técnica utilizada para tejer el muneco es ganchillo. El tamano terminado del muneco utilizando una lana acorde a una aguja de 3,5mm es de 12 centimetros (4.72 pulgadas) de alto. Si tienes algun problema o sugerencia, 0 necesitas alguna explicacion adicional, contacta conmigo en ElGalloBermejo@gmail.com.
Allrights reserved. This is a pattern designed by El Gallo Bermejo, please do not sell the pattern. You can sell products made fro this pattern,as long as you credit El GalloBermejo as designer. El Gallo Bermejo 2014. Todos los derechos reservados. Este es un patron disenado por El Gallo Bermejo, por favor no lo vendas. Puedes vender productos hechos a partir de este patron, siempre que menciones El Gallo Bermejo como diseniador.
Puntos utilizados y abreviaturas
Todo el muneco se hace en punto bajo. Cad.: Cadeneta P.b.: Punto bajo P.: Punto Aum.: Aumento (dos puntos bajos juntos en el mismo punto) Dism.: Disminucion (un punto bajo juntando dos puntos bajos) Rep.: Repetir Punto raso
Materiales
Lana o hilo de algodon de grosor medio. Tres colores: uno blanco para la cabeza y el cuerpo, otro para la bufanda y un tercero para el gorro (por ejemplo, dos tonos diferentes de azul). Además, lana de color naranja para la nariz. Fieltro negro para los ojos y los botones (también puede utilizarse ojos de seguridad). Ojos de seguridad de plastico Ganchillo de 3.5mm Relleno
Cabeza y Cuerpo
Consejo
Con el ganchillo de 3,5mm y la lana blanca, 1av.: 2 cad., 6p.b. en la 2a cad. a partir del ganchillo 2av.: 2 p.b. en cada p.b. hasta el final (12p) 3av.: \*1 p.b., 1 aum.\*, rep. 6 veces en total (18p) 4av.: \*2 p.b., 1 aum.\*, rep. 6 veces en total (24p) 5av.: \*3 p.b., 1 aum.\*, rep. 6 veces en total (30p) 6a a 10av.: 1 p.b. en cada p. (30p) 11av.: \*3 p.b., 1 dism.\*, rep. 6 veces en total (24p) 12av.: \*2 p.b., 1 dism.\*, rep. 6 veces en total (18p) 13av.: \*1 p.b., 1 dism.\*, rep. 6 veces en total (12p) Empezar a rellenar la cabeza. Continuamos tejiendo el cuerpo (todo seguido). 14av.: \*1 p.b., 1 aum.\*, rep. 6 veces en total (18p) 15av.: \*2 p.b., 1 aum.\*, rep. 6 veces en total (24p) 16av.: \*3 p.b., 1 aum.\*, rep. 6 veces en total (30p) 17av.: \*4 p.b., 1 aum.\*, rep. 6 veces en total (36p) 18a a 25av.: 1 p.b. en cada p. (36p) 26av.: \*4 p.b., 1 dism.\*, rep. 6 veces en total (30p) 27av.: \*3 p.b., 1 dism.\*, rep. 6 veces en total (24p) 28av.: \*2 p.b., 1 dism.\*, rep. 6 veces en total (18p) Rellenar todo el cuerpo y lo que falte de la cabeza 29av.: \*1 p.b., 1 dism.\*, rep. 6 veces en total (12p) Terminar de rellenar firmemente 30av.: \*1 dism.\*, rep. 6 veces en total Rematar la labor escondiendo la hebra Todas las partes que componen el muneco pueden empezarse haciendo un anillo magico. No obstante, yo en el patron he optado por indicar que se comience por dos cadenetas al aire y a continuacion hacer tantos puntos bajos en la primera cadeneta como sean necesarios. Creo que es una forma mas sencilla para principiantes y con excelentes resultados (iasi nadie se queda enganchado durante horas haciendo el anillo magico!)
Bufanda
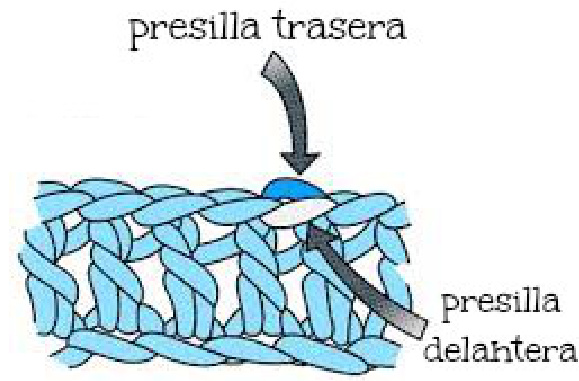
Con el ganchillo de 3,5mm y lana del color deseado, 81 cadenetas Primera fila: Saltar una cadeneta, y hacer un p.b. en cada cadeneta, SOLO EN LAS PRESILLAS TRASERAS (80p) Segunda fila: 1 cadeneta, girar la labor. Hacer 1 p.b. en cada punto, SOLO EN LAS PRESILLAS DELANTERAS (80p) Tercera fila: 1 cadeneta, girar la labor. Hacer 1 p.b. en cada punto, SOLO EN LAS PRESILLAS TRASERAS (80p) Cuarta fila: 1 cadeneta, girar la labor. Hacer 1 p.b. en cada punto, SOLO EN LAS PRESILLAS DELANTERAS (80p) Rematar la labor.
Sombrero
Con el ganchillo de 3,5mm y lana del color deseado, 1av.: 2 cad., 6p.b. en la 2a cad. a partir del ganchillo (6p) 2av.: 2 p.b. en cada p.b. hasta el final (12p) 3av.: \*1 p.b., 1 aum.\*, rep. 6 veces en total (18p) 4av.: 1 p.b. en cada p. SOLO EN LAS PRESILLAS TRASERAS (18p) 5a a 9av.: 1 p.b. en cada p. (18p) 10av.: 1 p.b. en cada p. SOLO EN LAS PRESILLAS DELANTERAS (18p) 11av.: 1 p.b. en cada p. SOLO EN LAS PRESILLAS DELANTERAS (18p) Rematar dejando una larga hebra para coser a la cabeza del muneco
Nariz
Con el ganchillo de 3,5mm y lana naranja, 1av.: 2 cad., 4p.b. en la 2a cad. a partir del ganchillo. 2av.: 1 p.b., 1 aum., 1p.b., 1 aum. (6p) 3av.: 1 p.b. en cada p. (6p) 4av.: 1 p.b. en cada p. (6p) No es necesario rellenar. Rematar dejando una hebra larga para coser a la cara.
Instrucciones para coser
Rellenar el sombrero y coserlo a la cabeza del muneco. Las dos últimas vueltas en las presillas delanteras deben formar una vuelta hacia afuera en la base del sombrero. Coser la nariz en mitad de la cara. Colocar la bufanda alrededor del cuello, haciendo un nudo estiloso. Cortar circulos en el fieltro negro para formar los ojos y los botones. Pegarlos al muneco. También se pueden colocar ojos de seguridad en lugar de los ojos de fieltro.
Y llegados a este punto, solo me queda decir: iFELICIDADES! Has conseguido un estupendo muneco de nieve que hara la delicia de los mas pequenos (y no tan pequenios), y quedara genial junto con el resto de la decoracion navidena @
Allrights reserved. This is a pattern designed by El Gallo Bermejo, please do not sell the pattern. You can sell products made fro thispattern,aslongasyou creditElGalloBermejoasdesigner. Todos los derechos reservados. Este es un patron diseniado por El Gallo Bermejo, por favor no lo vendas. Puedes vender product hechos a partir de este patron, siempre que menciones El Gallo Bermejo como diseniador.


