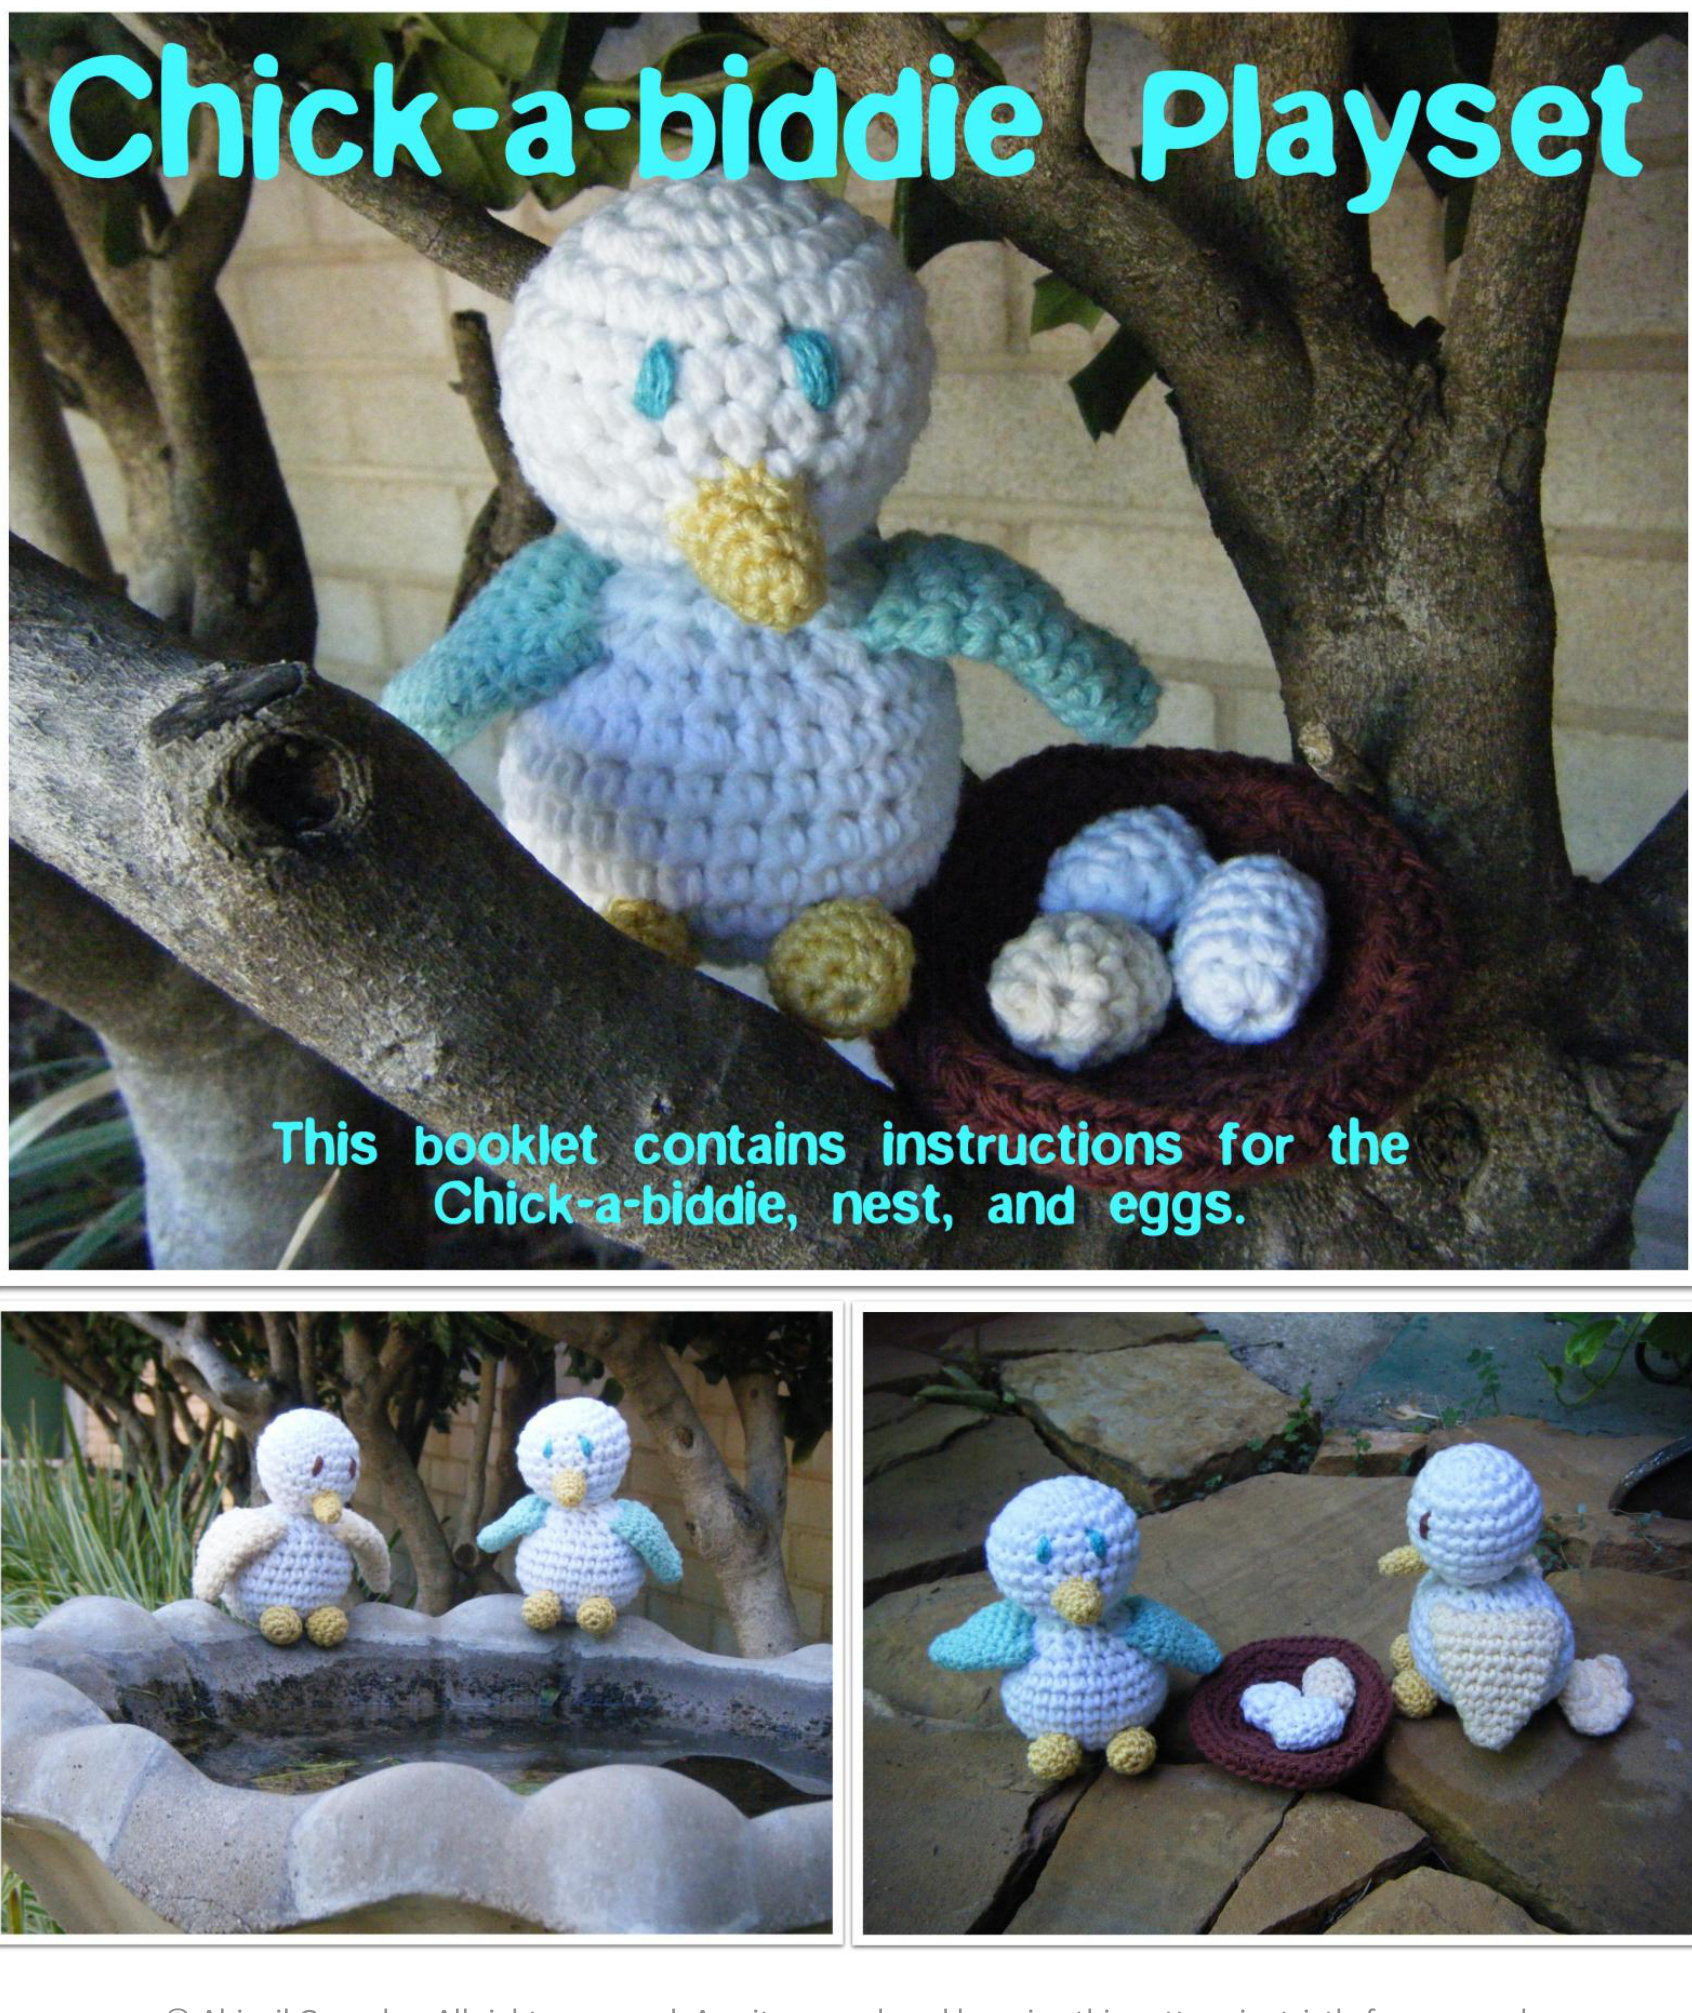
@ Abigail Gonzalez. All rights reserved. Any item produced by using this pattern is strictly for personal use and may not be sold for profit without express written agreement.
NOTES:
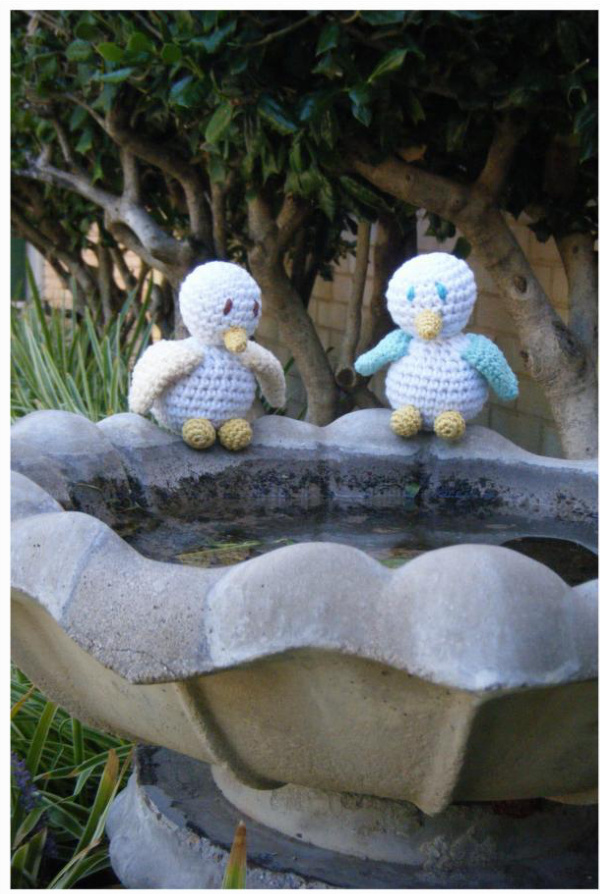
re worked in continuous spirals; do not join or turn work at end unless stated. Each part should be stuffed firmly (if stuffing is indicated), but not so much as to cause the stitches to gap and the stuffing to show. While exact gauge is not essential, this project was created using differing yarn weights for various parts, and using weights other than specified might result in a finished project that with skewed proportions. This pattern was created using 100% Cotton worsted weight yarn with a U.S. size F-5 (3.75 mm) hook, and DK/Sport weight yarn with a U.S. size D-3 (3.25 mm) hook. Finished size is approximately 6" (15 cm) when made as specified.
Notions:
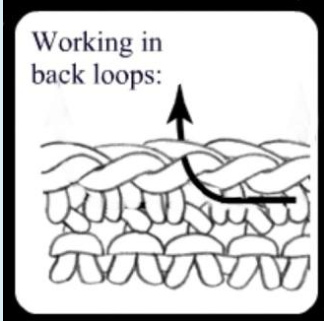
U.S. size F-5 (3.75 mm) hook U.S. size D-3 (3.25 mm) hook. Large eyed blunt tipped yarn needle Stitch marker Fiberfill stuffing Approximately 1 ounce of worsted weight yarn for head and body Approx. 1 ounce of worsted weight yarn for wings and tail Approx. 1 ounce of worsted weight yarn for nest. Scraps of worsted weight yarn for eggs. Scraps of DK or Sport weight yarn for beak and feet. Scraps of yarn for eyes. This project uses the following techniques: Chain stitch: (ch) Single crochet: (sc) Half double crochet: (hdc) Double crochet: (dc) Slip stitch: (sl st) Single crochet two together decrease: (sc2tog) - (Insert hook into next st and draw up a loop) twice, yarn over and draw through all 3 loops on hook - 1 sc decreased Working in Back Loops Only: Insert hook through only the back loop of the next st, draw up loops and work sts as usual.
Body:
With worsted weight yarn and F hook: ch 2. Rnd 1: Work 6 sc in first chain. Mark first st for beg of rnd; move marker up every rnd Rnd 2: Work 2 sc in each sc around - 12 sts. Rnd 3: \*2 sc in next sc, sc in next sc; repeat from \* around - 18 sts. Rnd 4: \*2 sc in next sc, sc in each of next 2 sc; repeat from \* around - 24 sts. Rnd 5: \*2 sc in next sc, sc in each of next 3 sc; repeat from \* around - 30 sts. Rnds 6-10: Sc in each sc around. Rnd 11: \*Sc2tog, sc in each of next 3 sc; repeat from \* around - 24 sts. Rnd 12: \*Sc2tog, sc in each of next 2 sc; repeat from \* around - 18 sts. Rnd 13: \*Sc2tog, sc in next sc; repeat from \* around - 12 sts. Stuff firmly. Rnd 14: Sc2tog around - 6 sts. Close any gaps and fasten off, leaving a long tail for sewing to head.
Head: With worsted weight yarn and F hook: ch 2. Rnd 1: Work 6 sc in first chain. Mark first st for beg of rnd; move marker up every rnd Rnd 2: Work 2 sc in each sc around - 12 sts. Rnd 3: \*2 sc in next sc, sc in next sc; repeat from \* around - 18 sts. Rnd 4: \*2 sc in next sc, sc in each of next 2 sc; repeat from \* around - 24 sts. Rnds 5-8: Sc in each sc around. Rnd 9: \*Sc2tog, sc in each of next 2 sc; repeat from \* around - 18 sts. Rnd 10: \*Sc2tog, sc in next sc; repeat from \* around - 12 sts. Stuff firmly. Rnd 11: Sc2tog around - 6 sts. Close any gaps and fasten off. Weave in end.
Wings (make 2)
With worsted weight yarn and F hook: Ch 2 Rnd 1: Work 4 sc in first ch. Mark first st for beg of rnd; move marker up every rnd. Rnd 2: (Sc in next st, work 2 sc in next st) twice. - 6 sts. Rnd 3: (Sc in next 2 sts, 2 sc in next st) twice. - 8 sts Rnd 4: (Sc in next 3 sts, 2 sc in next st) twice. - 10 sts. Rnd 5: (Sc in next 4 sts, 2 sc in next st) twice. - 12 sts. Rnd 6: (Sc in next 5 sts, 2 sc in next st) twice. - 14 sts. Rnd 7: (Sc in next 6 sts, 2 sc in next st) twice. - 16 sts. Rnd 8: (Sc in next 7 sts, 2 sc in next st) twice. - 18 sts. Rnds 9 & 10: Sc in each st around. Fasten off, leaving a long tail for sewing to body. Do not stuff.
Tail:
With worsted weight yarn make slip knot but leave a long tail for sewing to body. (Fig. 1) With F hook: Ch 10. Sl st in 1"t ch to form ring. Sc in same ch and each ch around. - 10 sts.
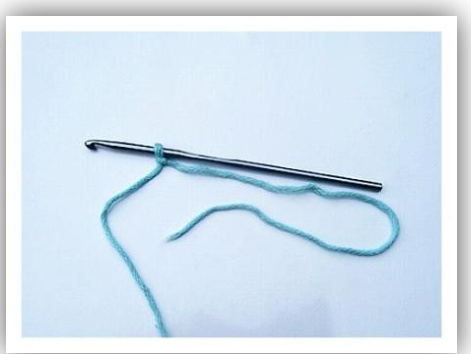
Figure 1 Rnd 2: (2 sc in next sc, sc in next 4 sts) twice. - 12 sts. Rnd 3: (2 sc in next sc, sc in next 5 sts) twice. - 14 sts.
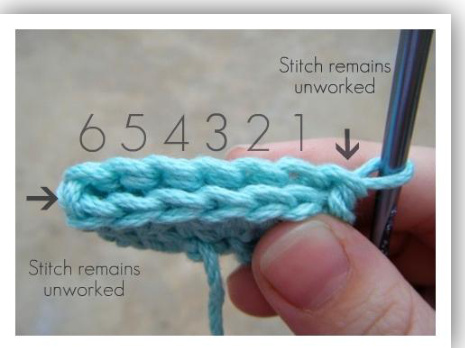
Figure 2 Row 4: Fold piece in half, making sure that the 6 middle sts on the front and back of rnd 3 are matched (the 7th st will be on the ends of the piece and will be un-worked) (Fig. 2).
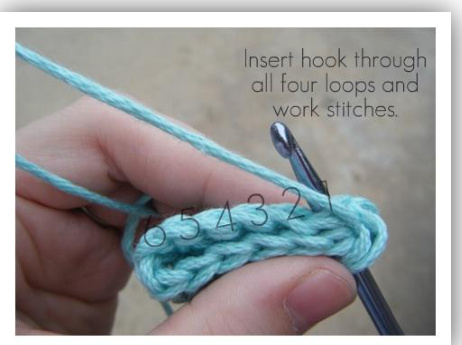
Figure 3 Working all four loops (Fig. 3) of the matched sts from both sides: (hdc, 2 dc) in the next st, sl st in the next st, 3 dc in next st, sl st in next st, 3 dc in next st, sl st in the last st. Fasten off. Feet: (Make 2) With DK or sport weight yarn and D hook: Ch 2. Rnd 1: Work 6 sc in first chain. Mark first st for beg of rnd; move marker up every rnd Rnd 2: Work 2 sc in each sc around - 12 sts. Rnds 3 & 4: Sc in each st around. Stuff. Rnd 5: Sc2tog around. - 6 sts. Close any gaps and fasten off, leaving a long tail for sewing to body.
Beak:
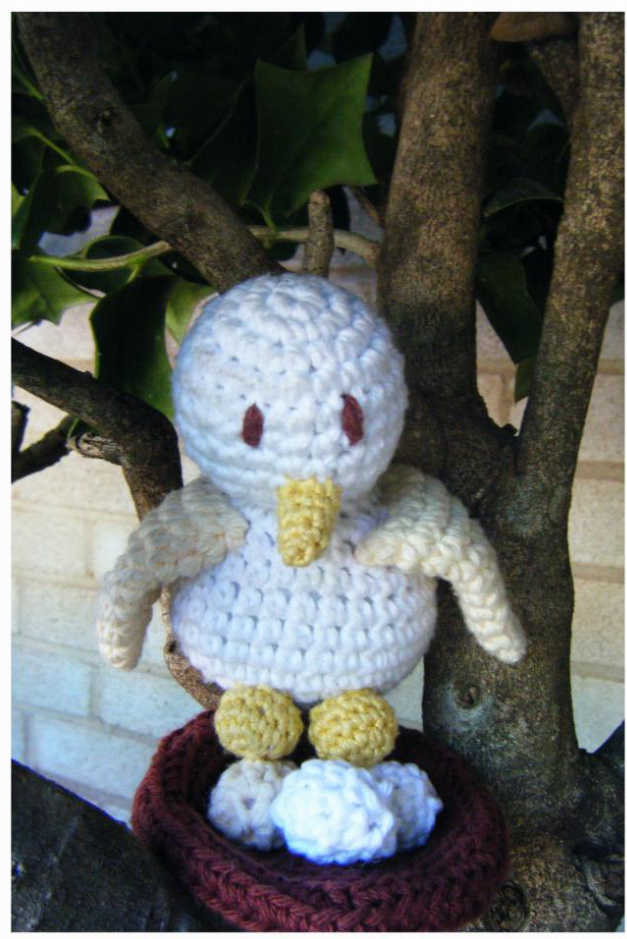
With DK or sport weight yarn and D hook: Ch 2. Rnd 1: Work 4 sc in first chain. Mark st for beg of rnd; move mark up every rnd. Rnd 2: (2 sc in next st, sc in next st) twice. - 6 sts. Rnd 3: Work 2 sc in first st, sc to end. - 7 sts. Rnd 4: Work 2 sc in first st, sc to end -. 8 sts. Rnd 5: Work 2 sc in first st, sc to end. - 9 sts. Fasten off, leaving a long tail for sewing to head. Stuff. Finishing: Following the sewing order listed will help to place each piece evenly and avoid having a skewed, off center Chick-a-biddie...Disregard if you want that added personality.
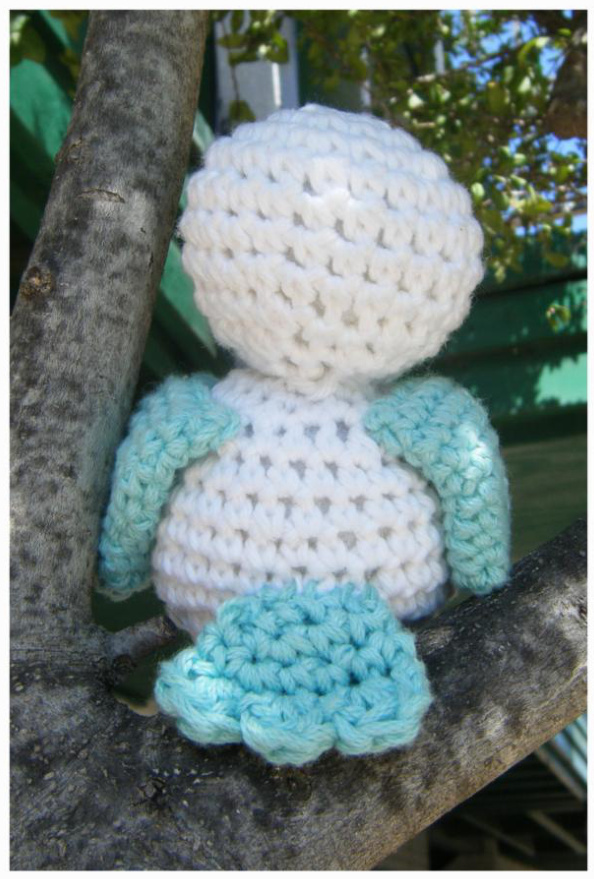
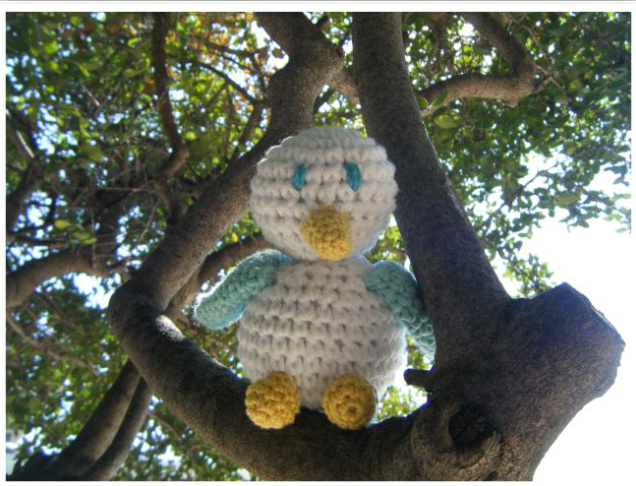
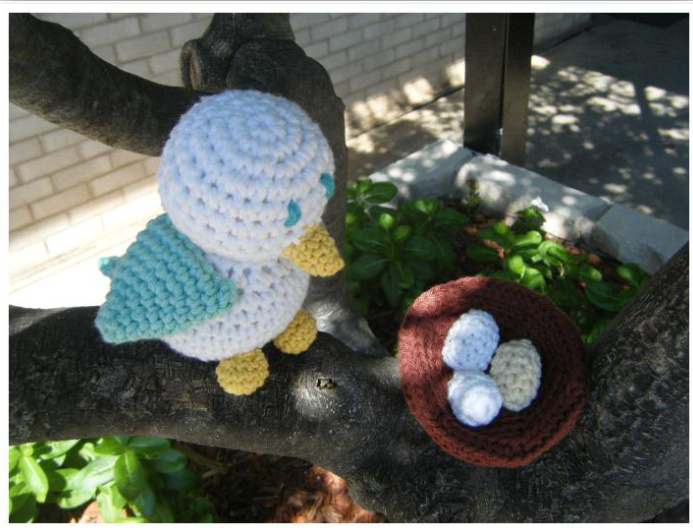
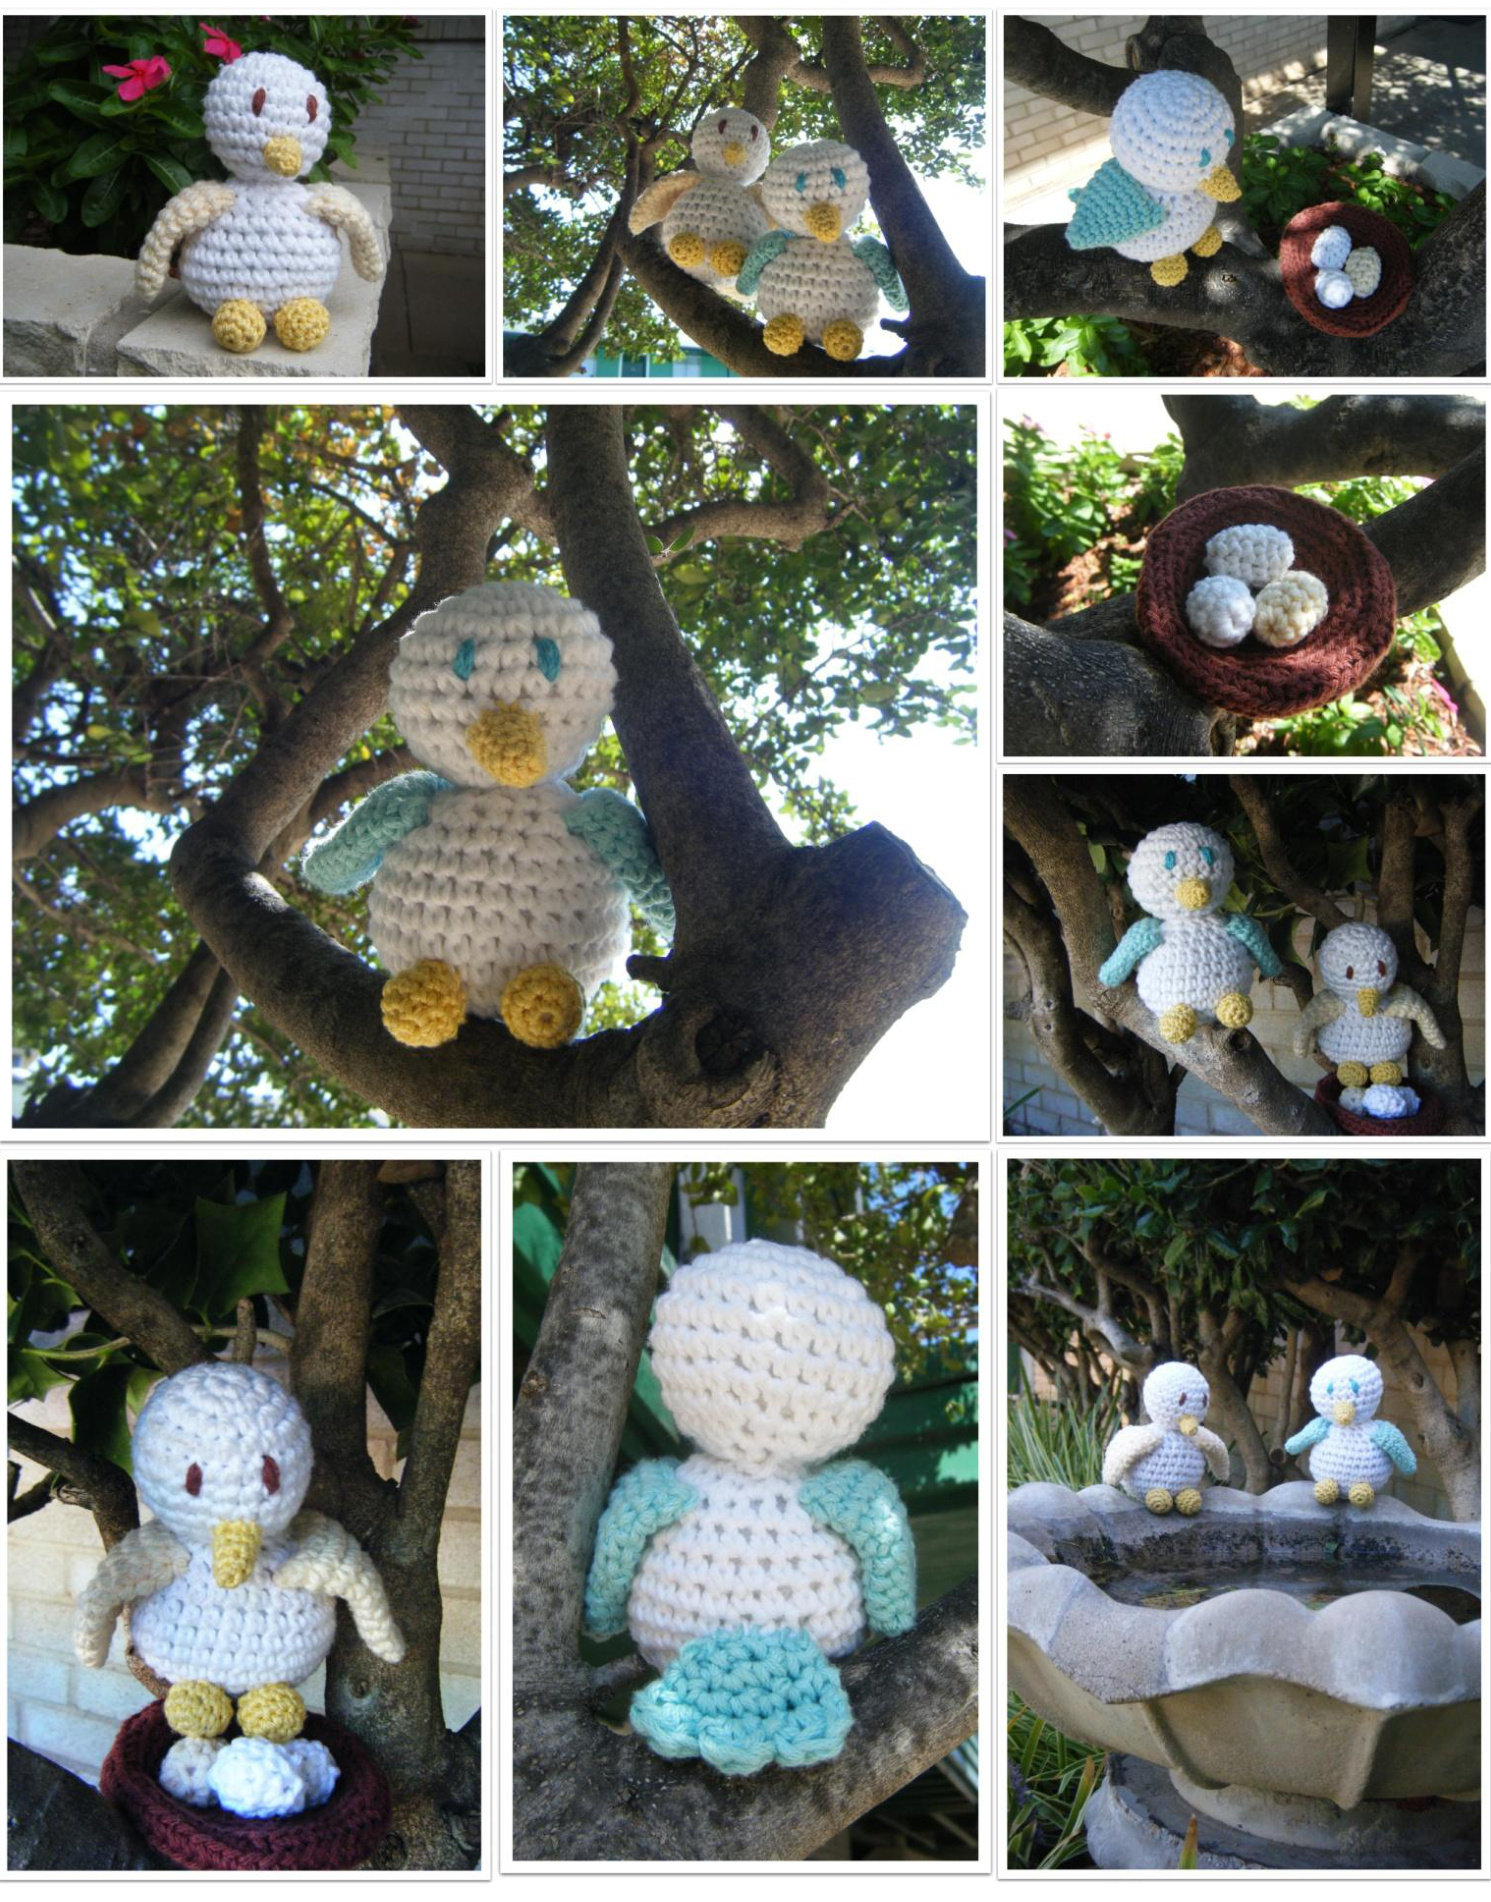
Sew body to head. Flatten each wing cone into a triangle and sew to either side of the body, reinforcing the ends where the kiddos might pull more. Sew the tail onto the back end of the body, evenly spaced between the wings. Sew on feet to the bottom front of the Chick-a-biddie, each ball placed about even with the front end of either wing. Sew the beak onto the head. Embroider on eyes.
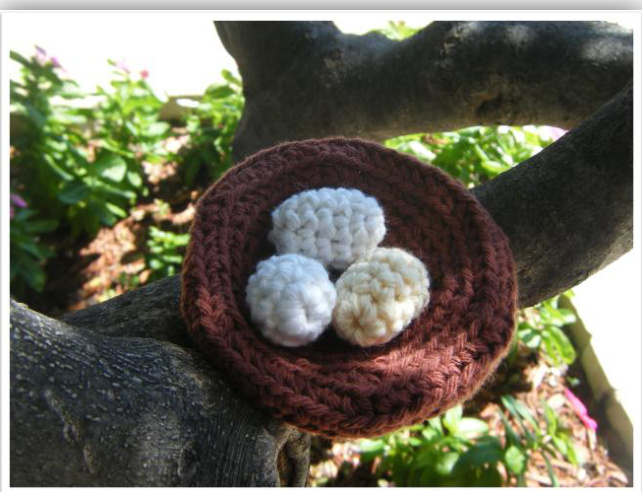
Egg: (make as many as desired) Note: For very small children omit eggs to prevent a choking hazard With worsted weight yarn and F hook: Ch 2 Rnd 1: Work 6 sc in first chain. Mark first st for beg of rnd; move marker up every rnd. Rnd 2: Sc in each st around. - 6 sts. Rnd 3: (Work 2 sc in next st, sc in next 2 sts) twice. - 8 sts. Rnds 4 & 5: Sc in each st around. Stuff. Rnd 6: sc2tog around. - 4 sts. Close any gaps and fasten off. Weave in ends.
Nest:
With worsted weight yarn and F hook: ch 2 Working in back loops only throughout: Rnd 1: Work 6 sc in first chain. Mark first st for beg of rnd; move marker up every rnd Rnd 2: Work 2 sc in each sc around - 12 sts. Rnd 3: \*2 sc in next sc, sc in next sc; repeat from \* around - 18 sts. Rnd 4: \*2 sc in next sc, sc in each of next 2 sc; repeat from \* around - 24 sts. Rnd 5: \*2 sc in next sc, sc in each of next 3 sc; repeat from \* around - 30 sts. Rnd 6: \*2 sc in next sc, sc in each of next 4 sc; repeat from \* around - 36 sts. Rnd 7: \*2 sc in next sc, sc in each of next 5 sc; repeat from \* around - 42 sts. Rnd 8: \*2 sc in next sc, sc in each of next 6 sc; repeat from \* around - 48 sts. Rnd 9: \*2 sc in next sc, sc in each of next 7 sc; repeat from \* around -54 sts. Rnds 10-14: Sc in each sc around. Rnd 15: \*Sc2tog, sc in each of next 7 sc; repeat from \* around - 48 sts. Rnd 16: \*Sc2tog, sc in each of next 6 sc; repeat from \* around - 42sts. Rnd 17: \*Sc2tog, sc in each of next 5 sc; repeat from \* around - 36 sts. Rnd 18: \*Sc2tog, sc in each of next 4 sc; repeat from \* around - 30 sts. Rnd 19: \*Sc2tog, sc in each of next 3 sc; repeat from \* around - 24 sts. Rnd 20: \*Sc2tog, sc in each of next 2 sc; repeat from \* around - 18 sts. Rnd 21: \*Sc2tog, sc in next sc; repeat from \* around - 12 sts. Rnd 22: (Sc2tog) around. - 6 sts. Do not stuff. Fasten off, leaving an extra long tail for sewing. Indent the nest to form a bowl, and sew through the layers to retain shape. Weave in ends.
@ Abigail Gonzalez. All rights reserved. Any item produced by using this pattern is strictly for personal use and may not be sold for profit without express written agreement.
@ Abigail Gonzalez. Allrights reserved. Any item produced by using this pattern is strictly for personal use and may not be sold for profit without express written agreement.


