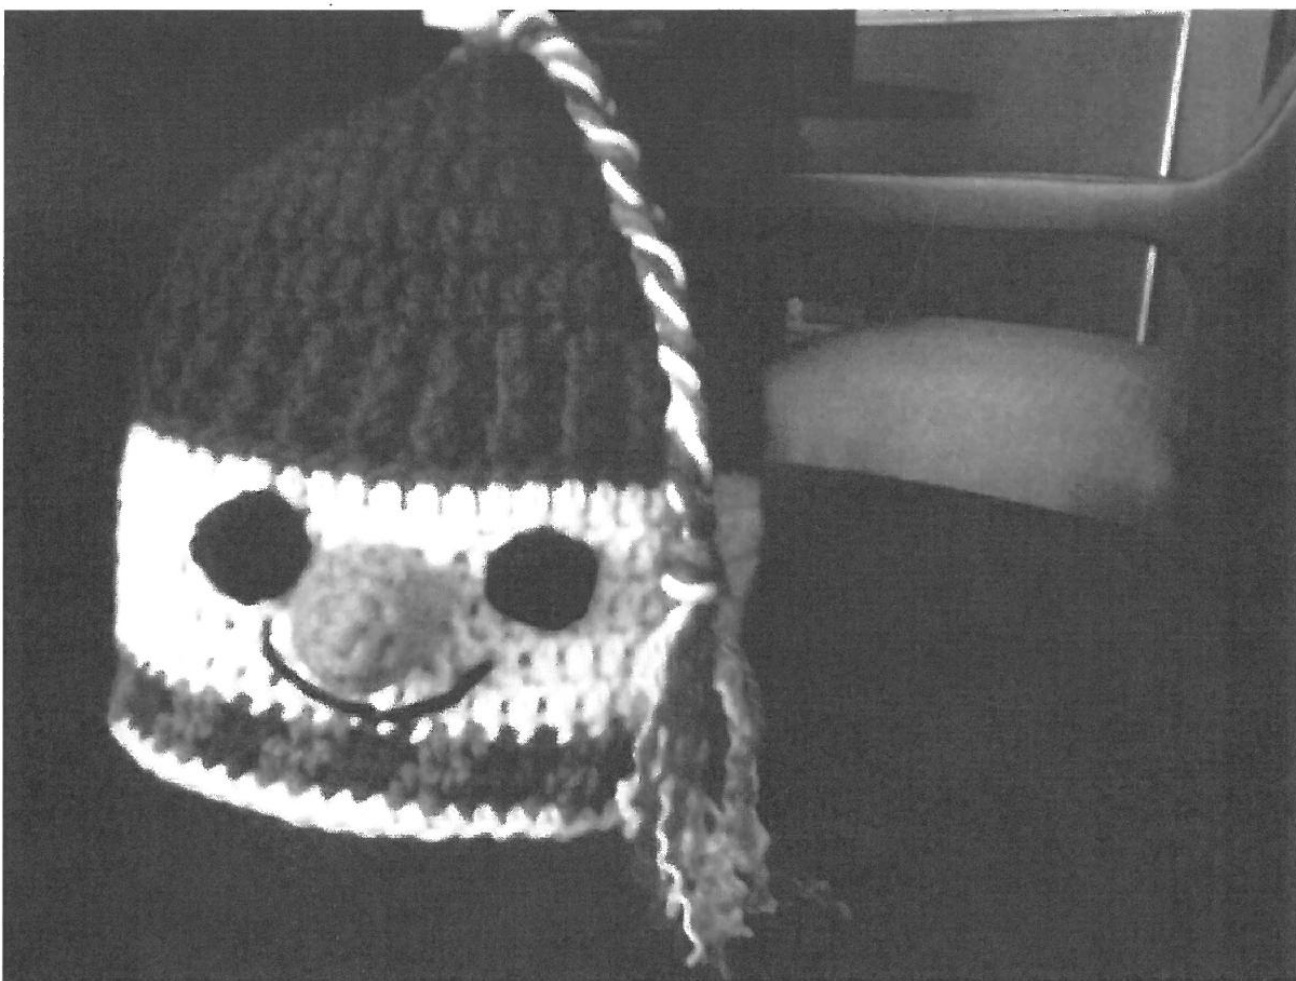
Snowman Hat
3 -6 months 16” H hook Ghook Vanna's worsted weight yarn in cranberry and grass green Impeccable solids in off white, scarps of orange and black yarn Stitches used: single crochet (sc), half double crochet (hdc), double crochet (dc), front and back post stitches (FPS, BPS), slip stitch (sl st). Row 1: Begin with magic ring and chain 3 ( counts as 1st dc), work 9 dc in ring. ( 10 dc). Sl St to top of first chain 3. ee http://www.crochetme.com/forums/t/28917.aspx) for magic ring direction: Row 2: Chain 3, dc in same stitch, 2 dc in each dc around and join with sl st to beginning chain 3. 20 dc). Row 3: Chain 3, dc in same stitch, \*1 dc in next dc, 2 dc in next de\* around and join with sl st to beginning Chain 3. ( 30 dc). Row 4: Chain 3, dc in same stitch, \*1 dc in each of the next 2 dc, 2 dc in next dc\* around and join with sl st to beginning Chain 3. (40 dc). \* At this point you can increase for a larger size by working 2dc, dc in next 3 and you can continue increasing this way until it is the size you want. \* Row 5: Chain 3, work 1 dc in each dc around and join with sl st to first chain 3. (40 dc). Row 6: Chain 1, work FPS around chain just below, \*work BPS around next dc, work FPS\* around next dc around.. Sl st to first Chain1. ( 40 post stitches ). Rows 7 and 8: Chain 1, FPS around 1 st FPS from previous row, \*BPS around BPS from previous row around, \*FPS around next FPS, BPS in BPS\* around, join with sl st to beginning chain 1. ( 40 post stitches). Finish off. (Here is a video clip to show you how to do front and back post double crochet stitches. http://www.nexstitch.com/v_frontback_post_stitch.html) Change to G hook and off white yarn. Row 9: Chain 3, work 1 dc in the back loop of each post stitch and join to first Chain 3. (40 dc). Rows 10-13: Chain 3, ( working in both loops now) work 1 dc in each dc around and join with sl st to first chain 3. Break off white. Row 14: Join green with a sl st, work a 1 hdc in same stitch as slip stitch, work 1 hdc in next dc finish hdc with red yarn. (you will start you hdc with green but pull through the three loops on the hook with the red yarn). \* Work with red now, (carrying green yarn and working over it as you continue), 1 hdc in next dc, 1 hdc in next dc changing to green yarn to finish hdc. Working with green yarn, 1 hdc in next dc, 1 hdc in next dc, changing to red yarn to finish hdc.\* Continue from \* to \* around until last two stitches. Work green in next dc, changing to red to finish and work 1 red hdc in last dc. ( If you are making a larger hat, you will have adjust your stitches to have groups of two green two red and may have to end as I did with 1 green 1 red). Finish last red hdc with green and join tobeginning chain. (Here is a video that shows how to change yarn colors http://www.nexstitch.com/v_changing_yarn.html) Row 15: Working with the green from previous row joining, chain 1 and work one hdc in same stitch (first hdc from previous row), work hdc in next hdc, changing to red to finish hdc, following pattern \* to \* of Row 14. Finish as in Row 14. Join off white yarn with a chain 1 and break off red and green yarn. Row 16: Work 1 sc in each hdc around and join with sl st to first chain. Break off. Measure a strand of all three yarn colors about 24" and fold in half. Take folded end and pull through top of hat (through 2 opposite dc on first row- use a hook to make it easier to get through and pull ends through loop to knot. Braid the strand, tie a knot and trim ends andunravelends. Carrot nose ( with orange yarn) Row 1: Chain 2 work 3 sc in 2"d chain from hook sl st to first sc. Row 2: Chain 1 and 2 sc in each stitch around ( 6sc), sl st to first sc. Row 3: Chain 1,\*2 sc in sc, 1 sc in next around\* ( 9 sc). S1 St to 1st sc. Rows 4-8: Continue working on 9 sc for 4 more rows or if you want a longer nose add a few more rows. Break off yarn, stuff lightly and sew to center front of hat. Eyes ( with black yarn) Repeat row 1 and 2 of nose. Break off yarn and sew on either side of nose. Mouth: Just use Black to embroider a mouth with long running stitches. OPTIONAL BRIM EDGING: I did another snowman hat in blue, white, and silver, and I did an edging on the front loops of the hat brim as follows: Holding hat so the bottom is at the top, join yarn, chain 1, sc and dc in same stitch, sl st in next stitch, sc dc in next stitch, sl st in next st around. Join with sl st to first chain 1.


