BOHOKNITS PATTERNS
by Kelly McClure Antelope Hat Craft: knitting Skill Level: Rookie-Apprentice-Virtuoso-Genius Skills: knit, purl, YO, K2tog, blocking Sizes: adult medium (with instructions to adjust) Finished Measurements: slouch - 9" long, $20"$ circumference beanie - 6.5" long, $20"$ circumference (lying flat) Gauge: 18 sts $\times\,36$ rows $=$ 4" on 5mm in patt ( $18\;\mathrm{{sts}=4"}$ in st st on 5mm as given on ball band) Yarn: $1009$ worsted weight yarn (less for beanie); 210 yds ( $(192\,\mathsf{m})$ Suggested Brand: Malabrigo Merino Worsted (fair warning: I found a lot of variation in the gauge with this yarn - always knit a gauge swatch before you cast on!) Needles/Hooks: $4\mathsf{m m}\ 16"$ circular; 5mm 16" circular; 5mm dpns Other Materials: tapestry needle or teeny crochet hook
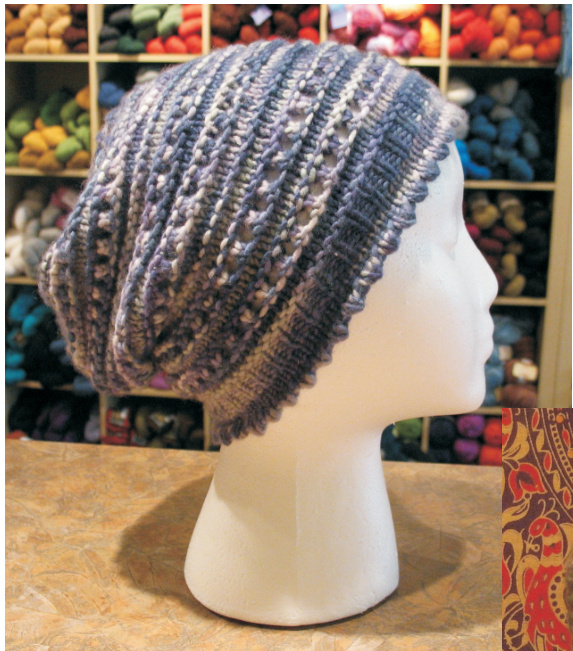
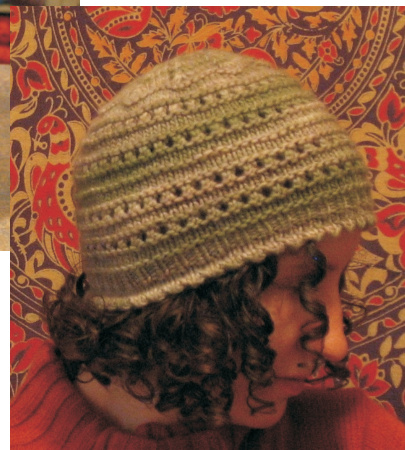
There are
some sweet, but simple details on this hat. There are instructions for a no-sew picot brim and cute little eyelets. This pattern is available in a slouch or beanie version.
Instructions:
With 4mm needles, CO 88 sts Note: to make a bigger size, add multiples of 8 - always check your gauge! Join, pm for beg of rnd. No-Sew Picot Brim: (or see box for easy alternatives)
Rnd 1-2: knit
Rnd 3 (eyelet rnd): \*YO, K2tog\*, rep from \* to \* to end of rnd Note: for well-defined eyelets make your YOs loose Rnd 4: knit Next ("sewing" up the edge): \*insert needle into next st as if to K1tbl, fold CO edge up with the WS folding in towards you and pick up the corresponding purl st from the back and place it on the needle, knit these two sts together; $\mathsf{K}\mathsf{1}^{\star}$ , rep from \* to \* to end of rnd Note: Don't forget to skip one st on the CO edge when you are "sewing "it up - you should be picking up every other st. You may choose to knit every st together instead of working a K1 - this makes a neater edge, but is harder on your hands. Also, be sure you are picking up the correct st from the WS, otherwise your picots will be skewed. Next: Knit 3 rnds Next: work a K1, P1 rib for 5 rnds Change to 5mm circs on the next rnd.
Variations on the brim:
1. 1x1 rib: K1, P1 for 8 rnds 2. $_{2\times2}$ rib: K2, P2 for 8 rnds 3. roll brim: knit until you have 1" of st st above the top of the roll (measure from the roll, not the CO edge) 4. OR work a roll brim combined with an inch (approx. 8 rnds) of rib Work the following 16 rnds twice for a beanie and 3 times for a slouch (or 4 or 5...)
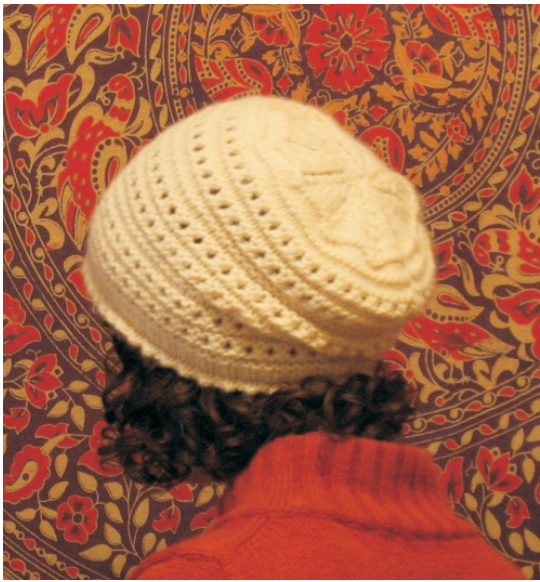
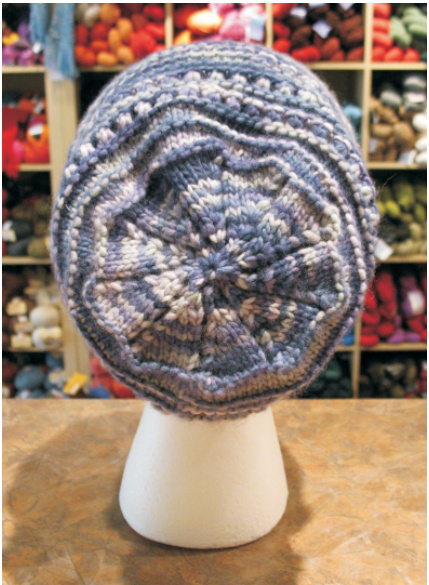
Rnd 1: purl Rnd 2-4: knit Rnd 5: purl Rnd 6 (eyelet): YO, K2 tog, rep to end of rnd Rnd 7: purl Rnd 8-13: rep rnds 2-7 Rnd 14-16: knit Decrease Rnds: (change to dpns when sts get too tight on the circs) Rnd 1: $^{\star}\mathsf{K}5$ K3tog, $\Upsilon\ O^{\star}$ , rep from \* to \* to end of rnd Rnd 2 (and all even rnds): knit Rnd 3: $\star|\sf K4|$ ,K3tog, $\Upsilon\ O^{\star}$ , rep from \* to \* to end of rnd Rnd 5: $^{\star}\mathsf{K}3$ ,K3tog, $\Upsilon\ O^{\star}$ , rep from \* to \* to end of rnd Rnd 7: $^{\star}\mathsf{K}2$ , K3tog, $\Upsilon\ O^{\star}$ , rep from \* to \* to end of rnd Rnd 9: $^{\star}\mathsf{K}(\mathsf{I}$ , K3tog, $\Upsilon\ O^{\star}$ , rep from \* to \* to end of rnd Rnd 11: $^{\star}\mathsf{K}3$ tog, $\Upsilon\Upsilon^{\star}$ , rep from \* to \* to end of rnd Rnd 12: knit Rnd 13: K2tog around Cut yarn and pull through rem sts; weave in ends. Block with an iron and mist with a spray bottle; be firm with the brim so it doesn't flip up.
Notes and Tips:
. Use a natural fibre that will respond to blocking. · The first YO of your rnd will likely wrap behind your marker - don't make another one at the end of yourrnd.


