The Jim Hat
(c) 2008 Mira Whiting
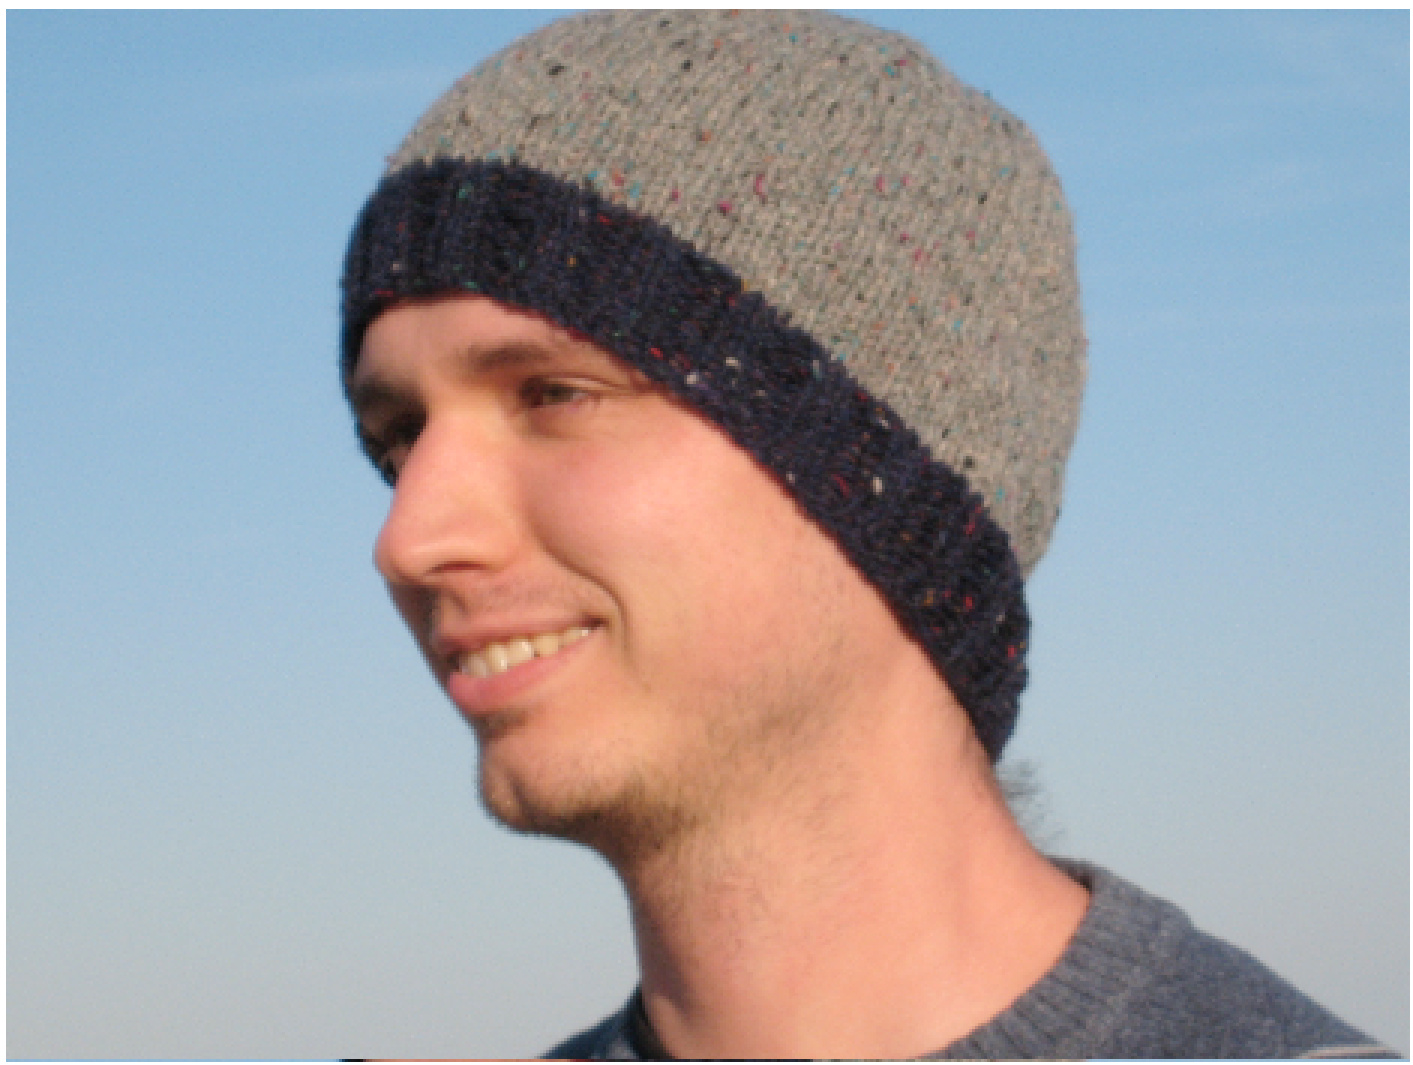
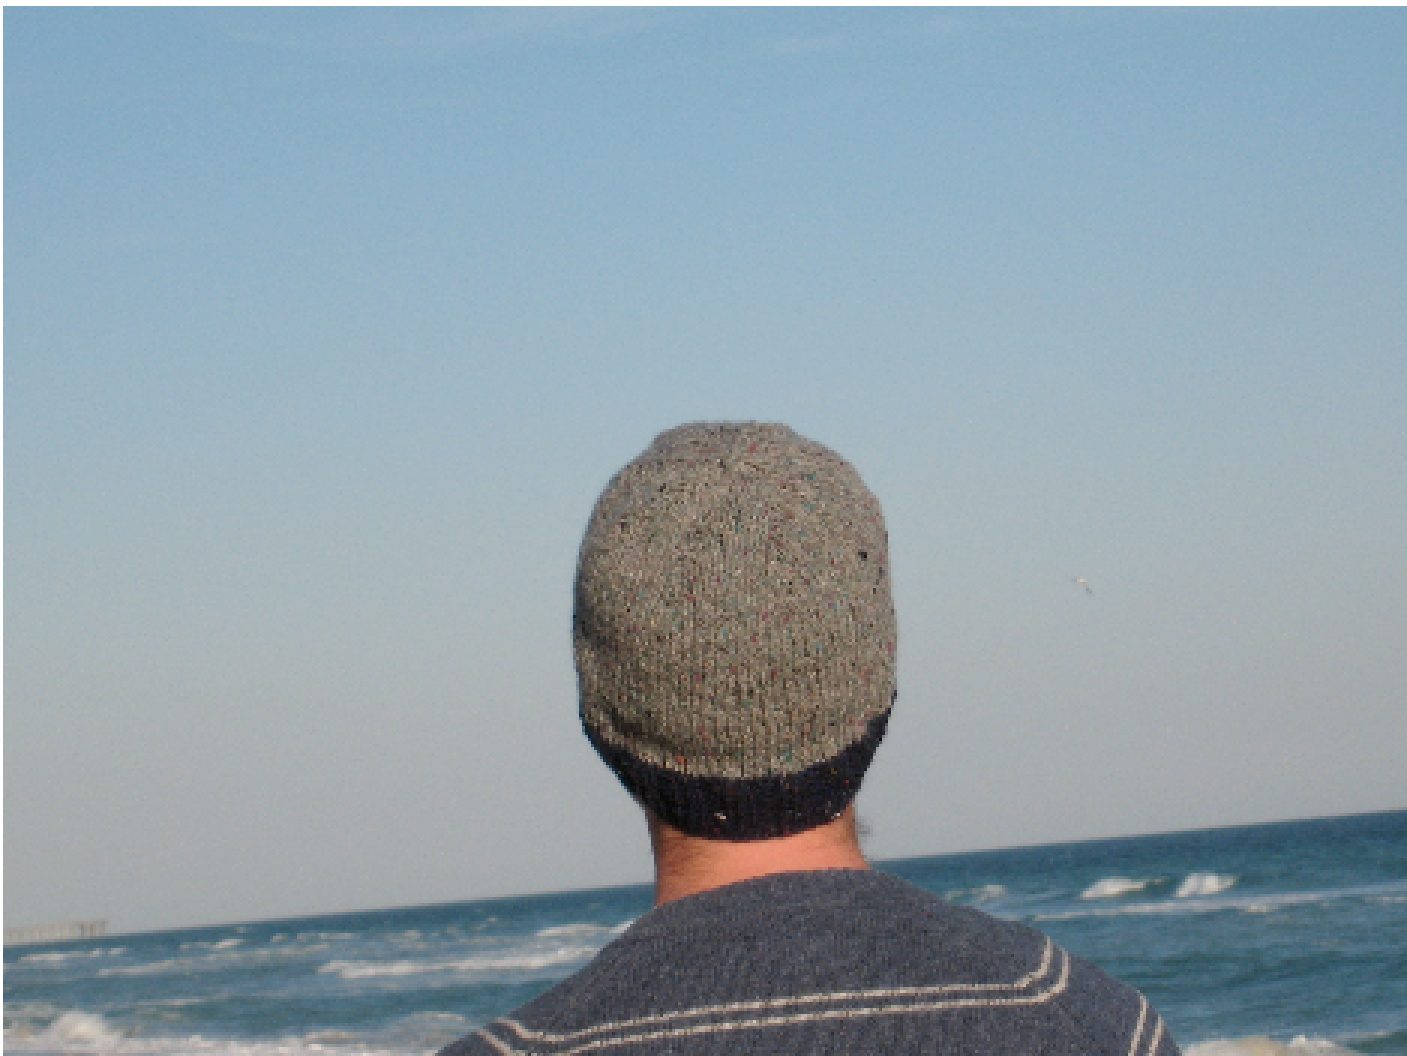
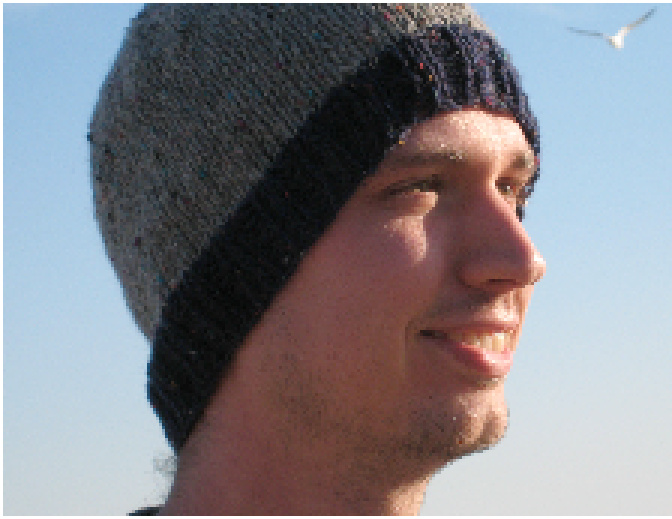
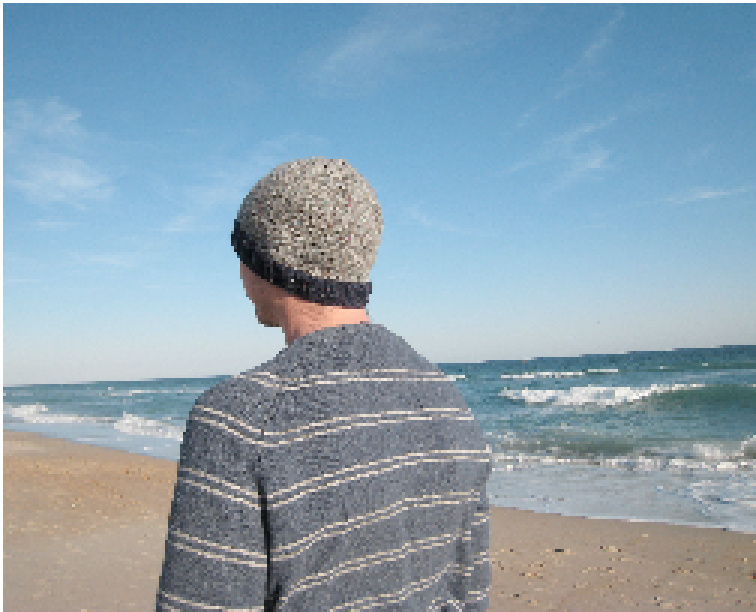
This hat was designed for my father-in-lae, Jim (hence the name). It is pretty simple-fyoucan it teroud pul and decrease, thishatsapieefca. The teo colors add a bit of interest for the kniter and the vearer both. Iam hapy to aner any quetiosyoumahaveabout thispatt, r to gt any feedback you might have. My enail address is miracb $@$ gmail. com (remove the spaces) or miraclaire on Ravelry. Size: The hat is written to be $22^{\circ}$ around, a size that will fit most adult heads. Yarn: Color A -- Brunswick Ballybrae Navy Tweed (1 Skein, 190 yds/100g) MC -- Brunswick Ballybrae Kilberry Tweed (1 Skein, 190 yds/100g). Brunswick Ballybrae has been discontinued. It is available from various places online, or feel free to substitute. Guage: 16 stitches 0ver $4^{\circ}$ in st st. Needles: One US7 16" circular needle and four or five (depending on your personal preference) US7 dpns. You will also need a tapestry. needle for weaving in ends. You may need to adjust your needle size to get the guage listed above.
Abbreviations:
k -- knit k2 -- knit two stitches p -- purl p2 -- purl two stitches st st -- stockinette stitch $2\mathrm{x2}$ ribbing -- $^{*}\mathrm{k}2$ p2, repeat from \* to the end of the row. k2tog -- knit to stitches together CO -- cast on dpns -- double-pointed needles MC -- main color
Directions:
CO 88 stitches with Color A using a cast-on method of your choice. Join the stitches into a round, being careful not to twist them. Place a marker to note the beginning of the row. Establish $2\mathrm{x2}$ ribbing and continue until the ribbing measures 1 1/2 inches. Switch to MC and continue in st st until hat measures 6 1/2-7 inches from the bottom.
Decrease:
Note: Switch to dpns when it becomes difficult to work on the circular needle. Row 1: \*k9, k2tog, repeat from \* to the end of the row. Rows 2, 4, 6, 8, 10, 12, 14, 16, and 18,: k entire row. Row 3: \*k8, k2tog, repeat from \* to the end of the row. Row 5: \*k7, k2tog, repeat from \* to the end of the row. Row 7: \*k6, k2tog, repeat from \* to the end of the row. Row 9: \*k5, k2tog, repeat from \* to the end of the row. Row 1l: \*k4, k2tog, repeat from \* to the end of the row. Row 13: \*k3, k2tog, repeat from \* to the end of the row. Row 15: \*k2, k2tog, repeat from \* to the end of the row. Row 17: \*k1, k2tog, repeat from \* to the end of the row. Row 19: \*k2tog, repeat from \* to the end of the row. Repeat Row 19 until only one stitch remains. Cut a long tail, drawing it through the remaining stitch. Weave in the ends, and block gently.