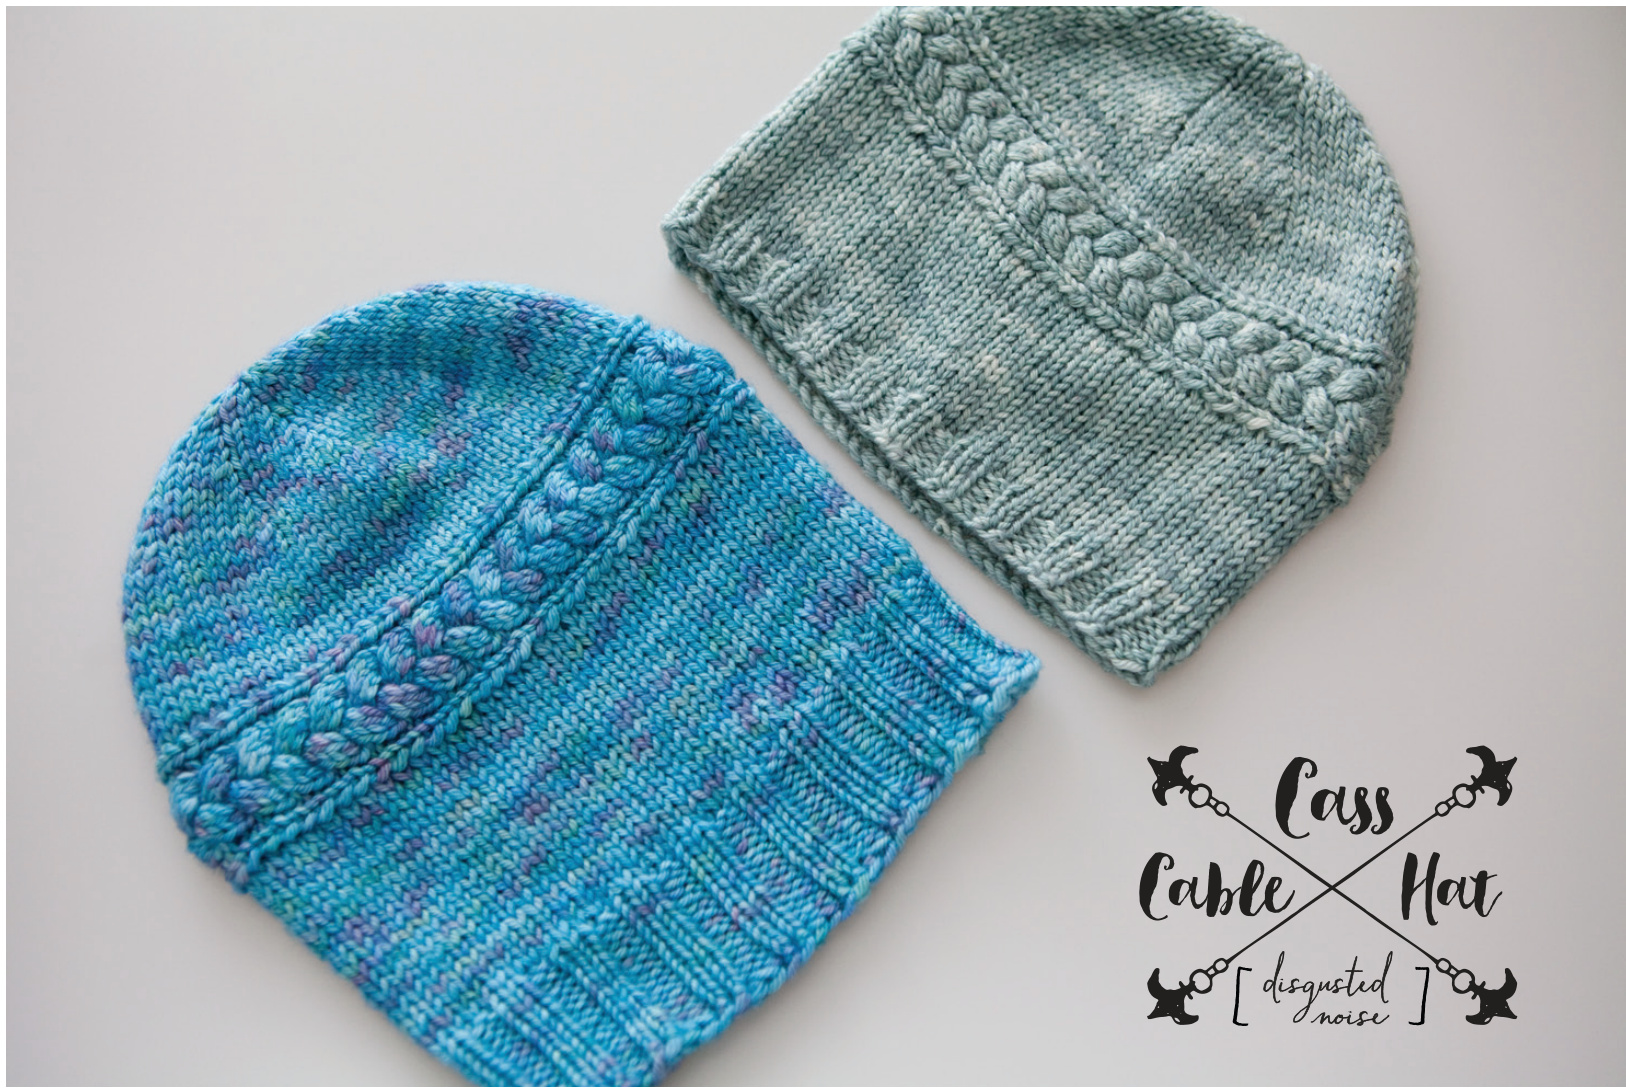
CASS CABLE HAT
An Emmyelle design by Maria Larraga
PATTERN NOTES
Inspired by the lovely and formidable Seeker Pentaghast from the Dragon Age series, this hat is fairly straightforward, with a tiny romantic twist. A cable braid sits high at the crown to break up what is otherwise simple stockinette. It's worked in three parts: first, the braid is knit flat and the ends sewn together, then you'll pick up stitches along the sides of the braid to work the crown and the body. Because of the position of the braid, this hat is meant to be very fitted, which helps if you're out hunting dragons or slaying demons. However, if you're just trying to read romance novels on the sly, well then, it's just comfortableto wear.
YARN
180 yds of light worsted weight yarn Green sample shown in Miss Babs' Yowza (1o0% superwash merino wool, 560 yds per 8 oz skein), in the“Coventry" colorway. Blue sample shown in Dream in Color's Classy (100% superwash merino wool, 250 yds per 4 oz skein), in the “Lunar Zazzle" colorway. Natural fibers are recommended to best show off the cabling.
NEEDLES&NOTIONS
US Size 6/4 mm straight or circular needles for the cable braid The crown & body use needles two sizes larger than thecablebraid: US Size 8/5 mm 16"circular needles USSize8/5 mm DPNs OR Two US Size 8/5 mm circular needles OR One long US Size 8/5 mm circular needles (Use whichever method you prefer for knitting small circumferences in the round) These are only recommendations, please be sure to get the gauge! Cable Needle Tapestry Needle
GAUGE
22 sts and 32 rows = 4" in stockinette stitch using smaller needles, blocked 9 vertical repeats of cable braid pattern (36 rows total) = 4", using smaller needles, blocked The cable braid is the foundation, so it's important toget thegauge of thesmaller needles. 19 sts and 28 rows = 4" in stockinette stitch using larger needles, in the round, blocked
SIZES
S/M [M/L] To fit head circumference: 17-19" [20-22"] Finished circumference at body: 15" [17"] Finished length: 7.5" [8.5"]
SKILLS AND ABBREVIATIONS
Long Tail Cast-On CO: cast on st(s): stitch(es) k: knit p: purl yo: yarn-over k2tog: knit 2 stitches together rem: remaining RS: right side WS: wrong side wyif: with yarn in front wyib: with yarn in back sl: slip as if to purl (unless otherwise noted) RLC: right leaning cable; sl 3 sts to cable needle, hold to back, k3, k3 from cable needle LLC: left leaning cable; sl 3 sts to cable needle, hold to front, k3, k3 from cable needle BO: bind off
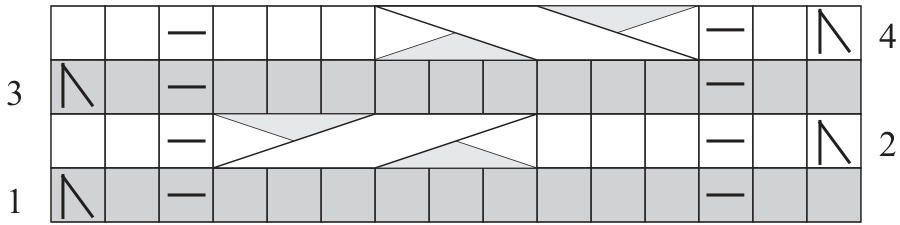
CABLE BRAID CHART
Tip! Since there aren't too many stitches, the "CablingWithouta Cable Needle"method (http://grumperina.com/knitblog/cables.htm) helps move things along quickly.
KEY
wyib sl1 as if to knit on RS, wyif sl1 as if to purl on WS RLC: sl 3 sts to cable needle, hold to back, k3, k3 from cable needle LLC: sl 3 sts to cable needle, hold to front, k3, k3 from cable needle
DIRECTIONS
With the smaller needle, CO 15 sts using the long-tail cast-on method. CableBraid Row 1 (Ws): wyif sl1 as if to purl, p1, k1, p9, k1, p2 Row 2: wyib sl1 as if to knit, k1, p1, k3, RLC (sl 3 sts to cable needle, hold to back, k3, k3 from cable needle), p1, k2 Row3:repeatrow1 Row 4: wyib sl1 as if to knit, k1, p1, LLC (sl 3 sts to cable needle, hold to front, k3, k3 from cable needle). k3, p1, k2 Holding the wrong sides together, seam cast-on edge to bind-off edge. Do the best you can to line up the cables; they won't be perfectly aligned, but that's okay!
Crown
Switch to larger needle. With the RS facing you, rotate the braid so that it's horizontal and the top row of cables resemble forward slashes ( I// ). Using the sl sts as a guide, pick up and knit 72 [80] sts along the top. Place marker to indicate beginning of the round and join. Work in stockinette st (k every round) until stockinette measures 1". Begin decreases. Change to DPNs when necessary. D1: \*k2tog, k 6 [8]; repeat from \*. 56 [72] sts rem D2 and subsequent even rounds: k around. D3: \*k2tog, k 5 [7]; repeat from \*. 48 [64] sts rem. D5: \*k2tog, k 4 [6]; repeat from \*. 40 [56] sts rem. D7: \*k2tog; k 3 [5]; repeat from \*. 32 [48] sts rem. D9: \*k2tog; k 2 [4]; repeat from \* 24 [40] sts rem. D11: \*k2tog; k 1 [3]; repeat from \*. 16 [32] sts rem D13: \*k2tog; k0 [2]; repeat from \*. 8 [24] sts rem S/MSIZEONLY Break yarn, leaving a tail at least 12". Thread tail through rem sts and pulltight to close. M/LSIZEONLY D14 and subsequent even rounds: k around. D15: \*k2tog, k1; repeat from \*. 16 sts rem. D17: k2tog around. 8 sts rem. Break yarn, leaving a tail at least 12" Thread tail through rem sts and pull tight to close. BODY Continue with larger needle. Again with the RS facing you, turn the work around the other way so that cable row at the top now resembles back slashes ( ll ). Just as before, use the sl sts as a guide to pick up and knit 72 [80] sts along this edge. Place marker to indicate the beginning of the round and join. Work in stockinette st (k every round) until stockinette measures 2.5 [3]".
BRIM
Switch to smaller needle. k2, p2 around. Continue working 2x2 rib until ribbing measures 1" or continue until desired length. BO loosely (l used Jeny's Surprisingly Stretchy Bind Off- http:/knitty.com/ISSUEfall09/FEATjssbo.php) and break yarn, leaving a tail at least 12". Weave in ends and block gently to show off the cabling.


