Sabrina Jhe Jenage Shleh
Crochet braid uk
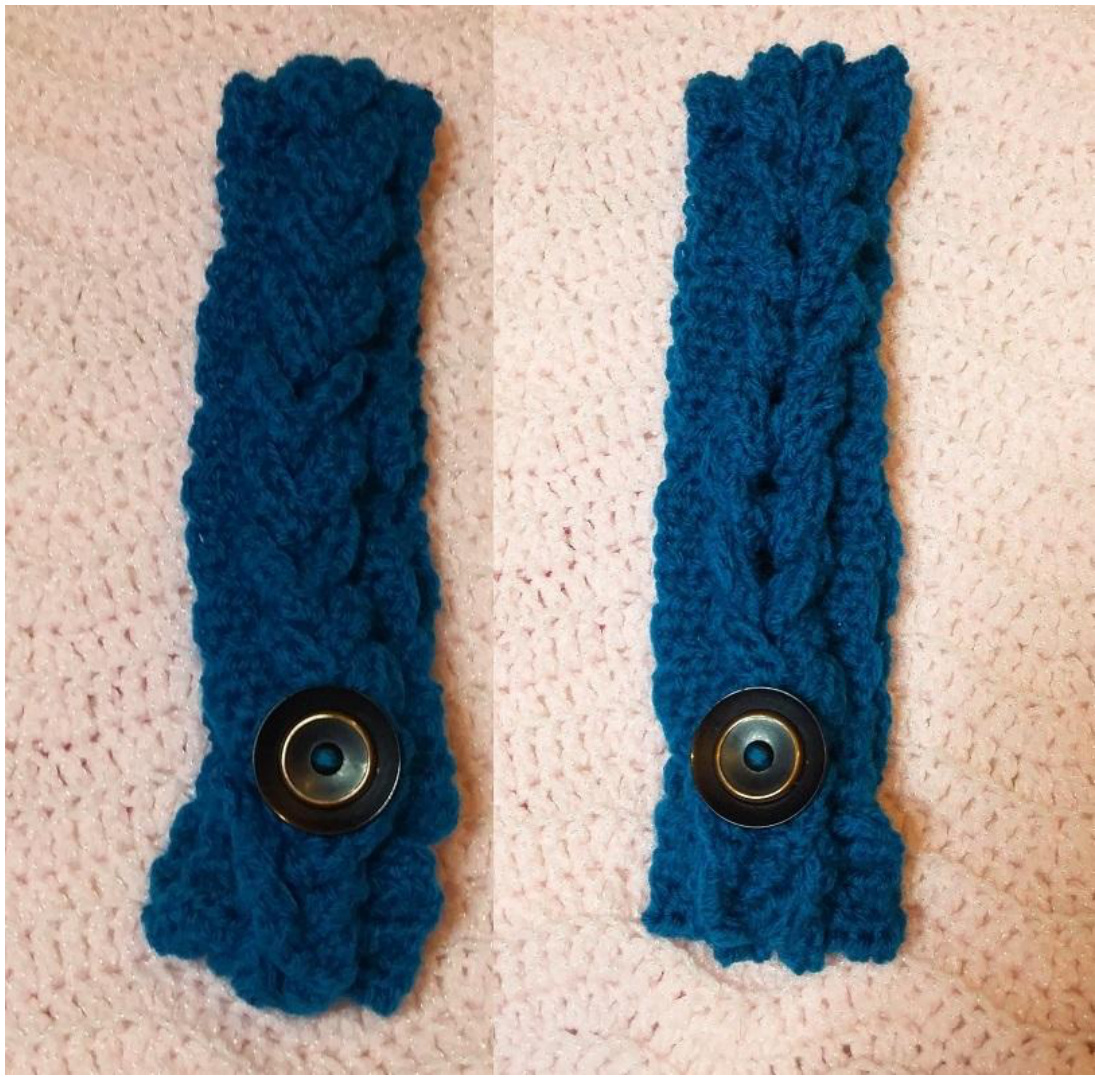
This uses a very simple method but yet very effective. Little strips are made by making chains and skipping stitches. Once all the strips are made to the desired length, twisting the strips and interlocking them into one another will make the "platts" (or "cables"). There are 2 different platts that can be achieved, pictures are included further down with some instructions. Once the whole piece is done, sew on a button and use the last loop to fasten on to the button ! Note : you should always make your band quite a bit longer because as the band is braided, it will shrink.
Materials :
Any size of yarn and needles to go with the yarn. I used dk yarn and a 4 mm crochet hook. Abbreviations : St : stitch Sts : stitches Ch : chain Htc : half treble crochet
Instructions_:
This is according to the piece I did. I did a chain of 21 stitches but this could be easily adapted, the number of chains could be easily changed, on the sides middle the strips themselves. The number of rows can also be changed. here are 4 stitches on each side and in the middle, and 12 for ea Multiple of 16 stitches + 5 Ch 21 (or however many stitches you want) Row 1 : Htc in 2nd ch from the hook, htc in each ch remaining, turn (20 htc) Row 2 : ch 1 (does not count as a stitch, now and throughout). Htc in each stitch across, turn (20 htc) Row 3 : ch 1, htc in the first 4 sts, ch 12 - skip 12 sts, htc in the last 4 sts, turn (8 htc, 12 chains) Row 4 : ch 1, htc in each stitch and chain across, turn (20 htc) Row 5 : ch 1, htc in each stitch across, turn (20 htc) Repeat rows 3 to 5 until desired length and fasten off the yarn.
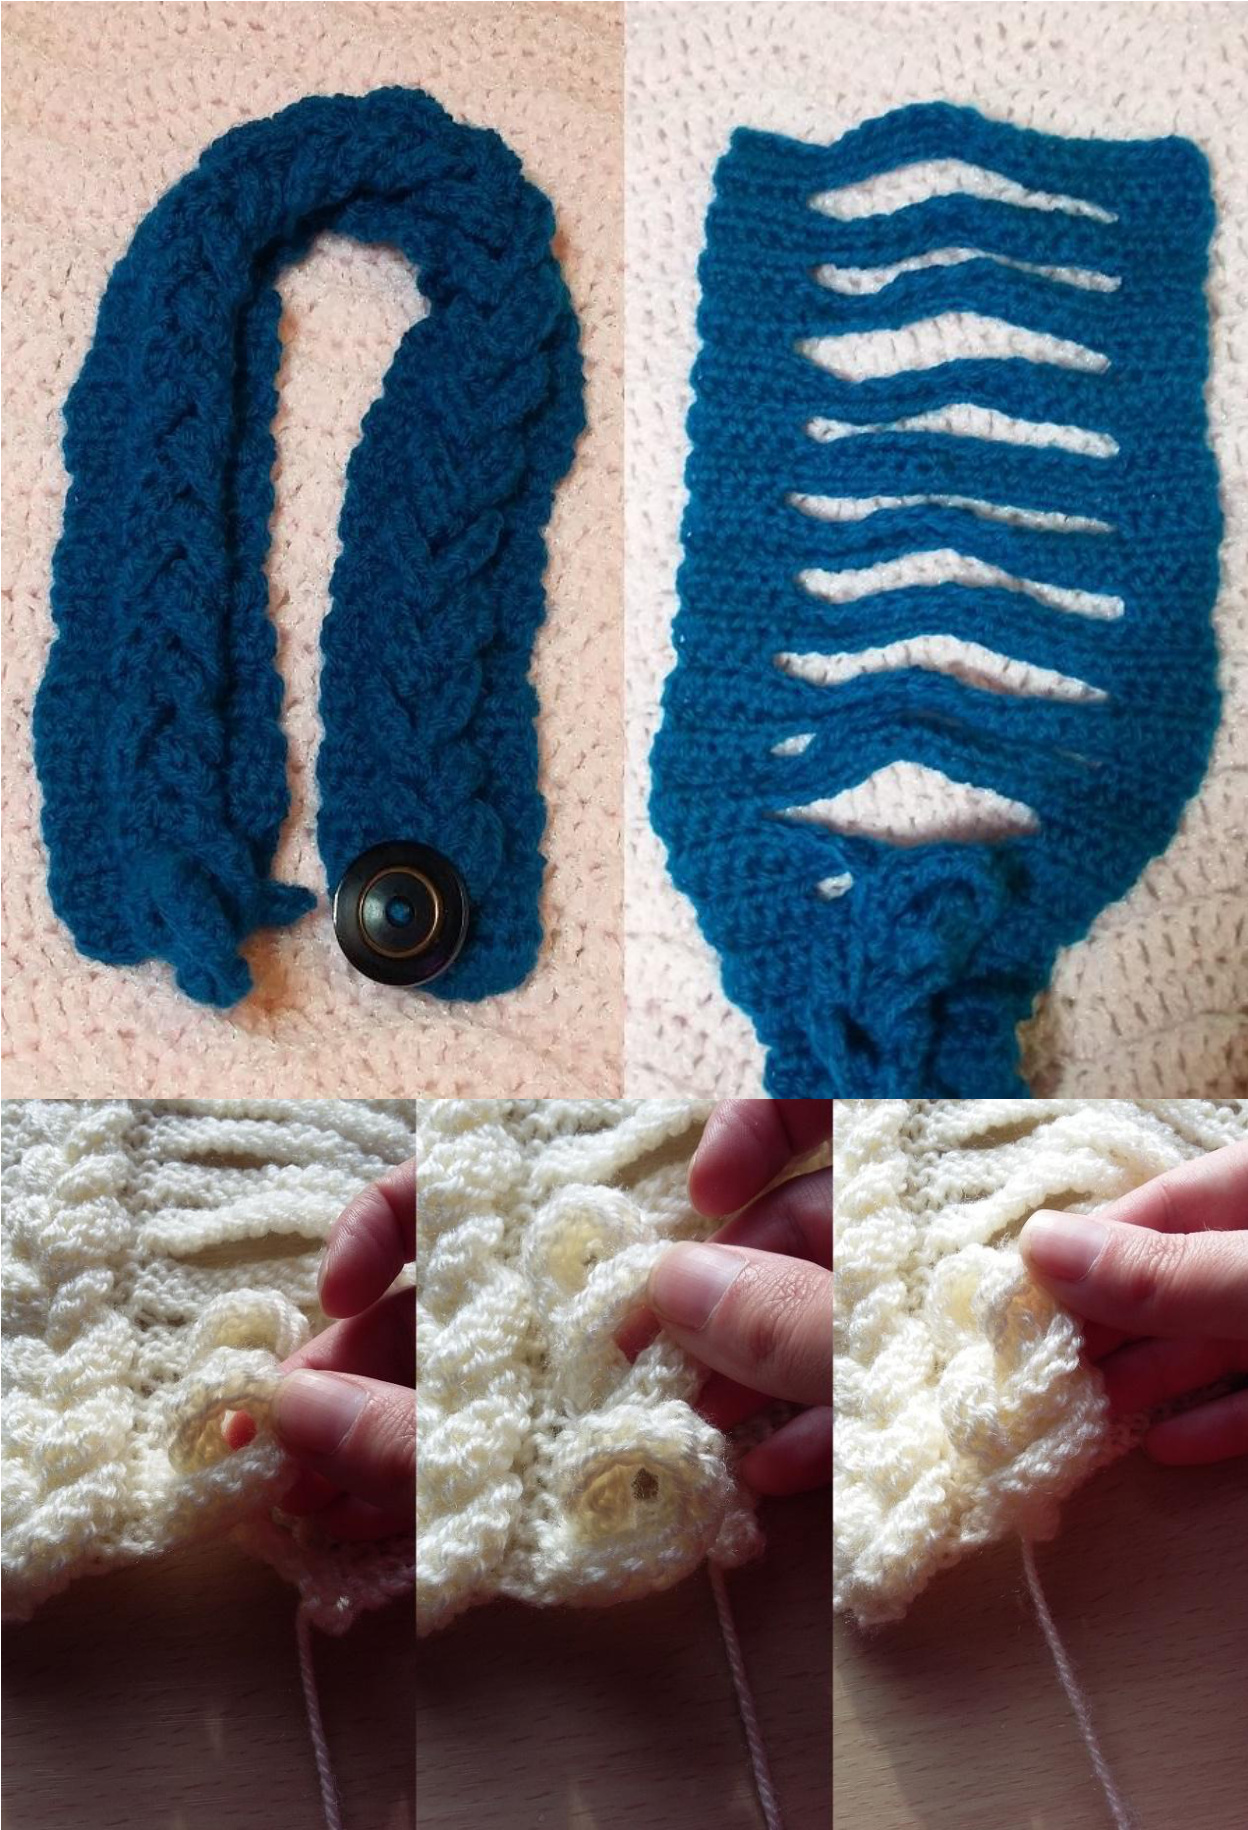
This is worked from bottom to top. Hold the bottom loop, twist it anti-clockwise, do the same with the loop on top, put the top loop formed through the bottom loop. Now follow this method until all loops are done. One final loop remains.
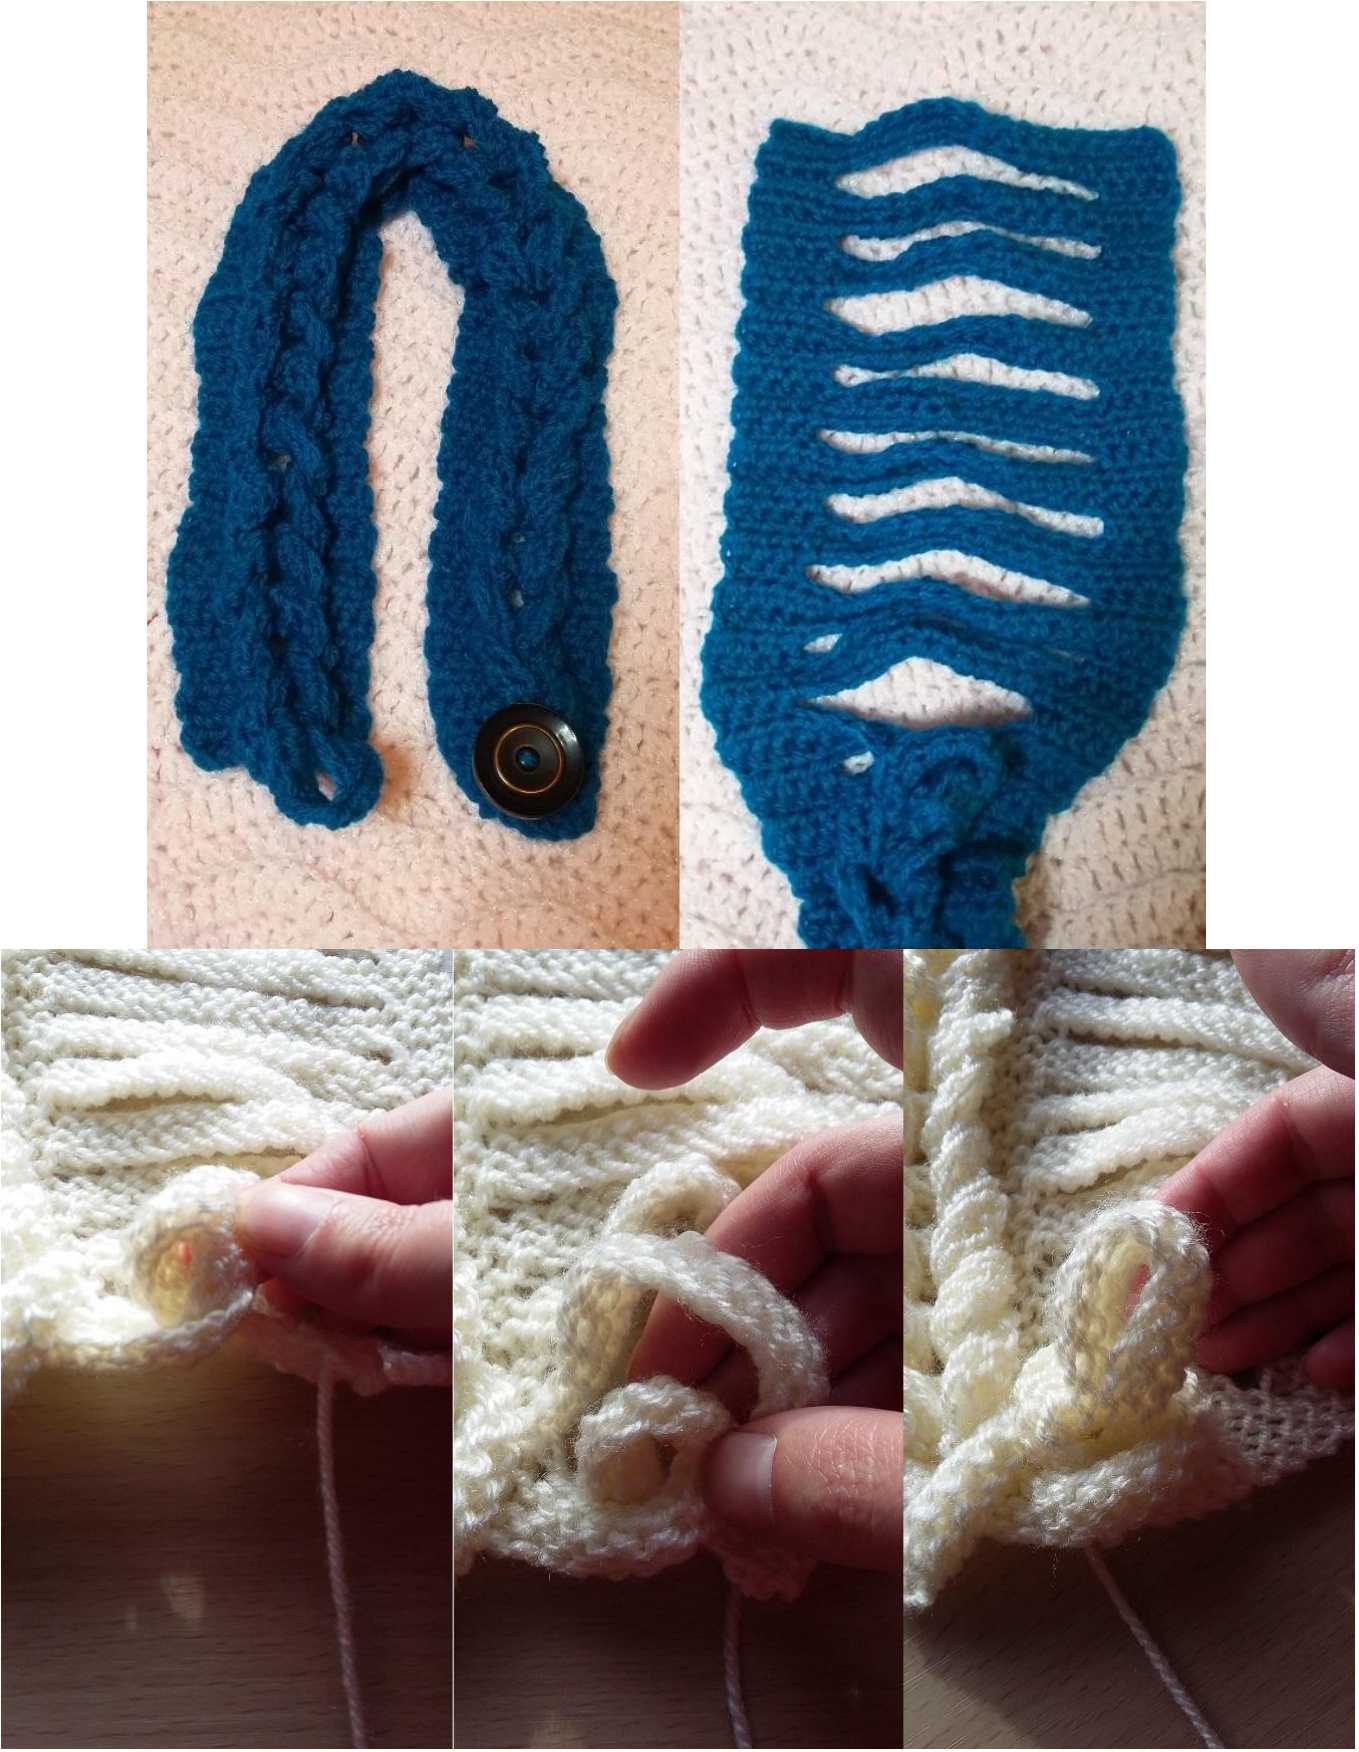
This is worked from bottom to top. Hold the bottom loop, twist it anti-clockwise, get the next strip up and without twisting it, pull it through the first loop. Now follow this method until all loops are done. One final loop remains. Sabrina the Teenage Stitch Sabrina Bourgoin Mobile 07904 155 821 Facebook https://www.facebook.com/sabrinatheteenagestitch Ravelry http://www.ravelry.com/designers/sabrina-bourgoin Etsy https://www.etsy.com/uk/shop/Melodieuse Twitter https://twitter.com/Sabrinastitch Linkedin https://www.linkedin.com/profile/view?id=278480327&trk=hp-identity-name Instagram and other social medias Youtube https://www.youtube.com/channel/UCOv1jZxm4JQqiTBmf33iJuQ/videos


