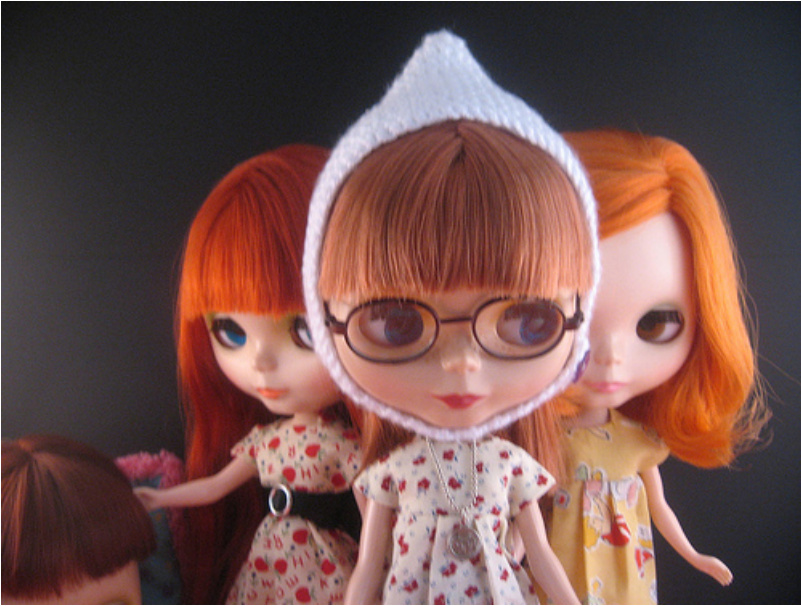
Easy Peasy Pixie Helmet
Yarn $=$ sport Hook $=$ F\*
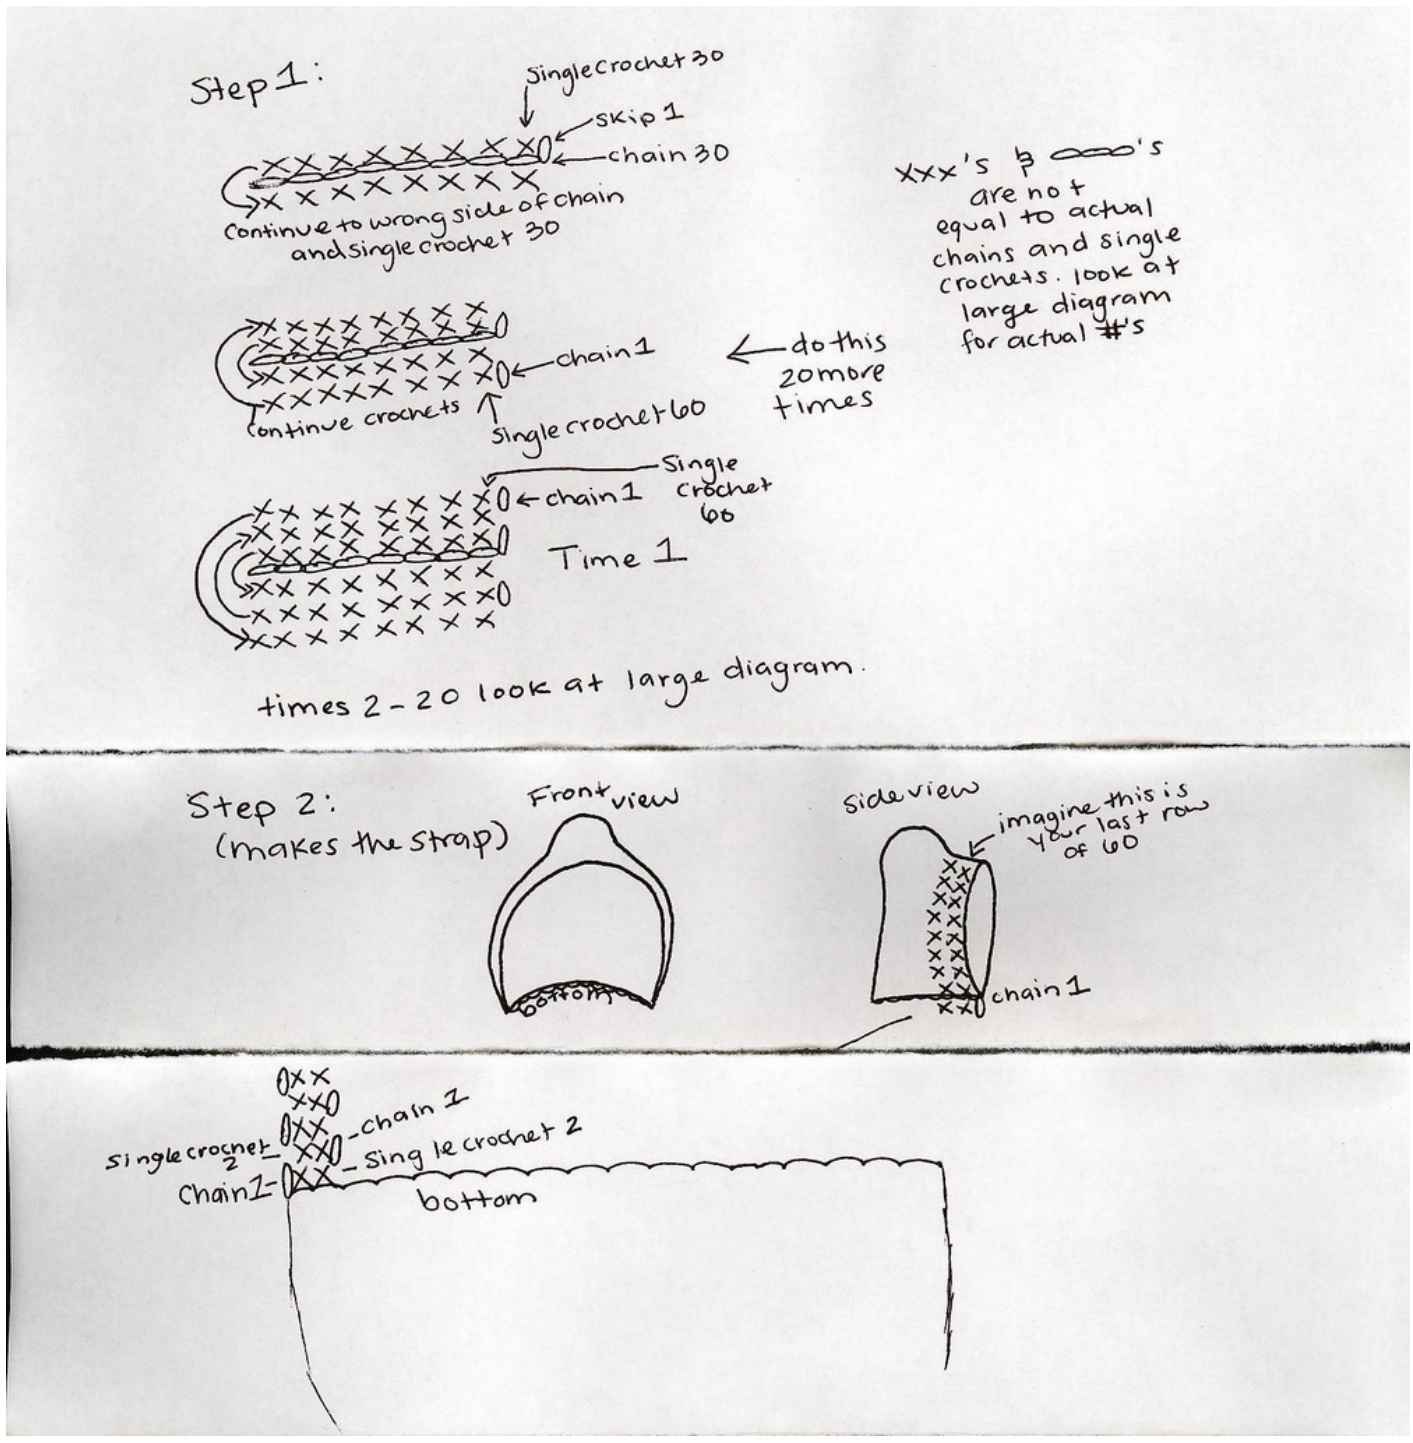
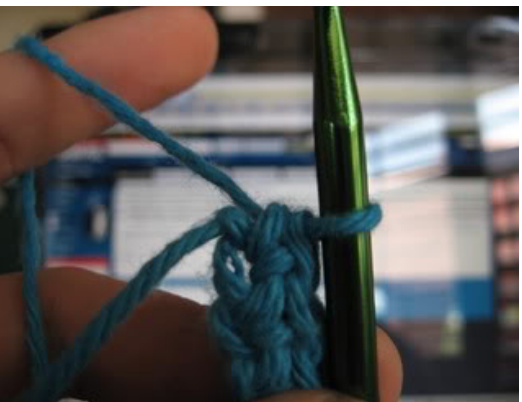
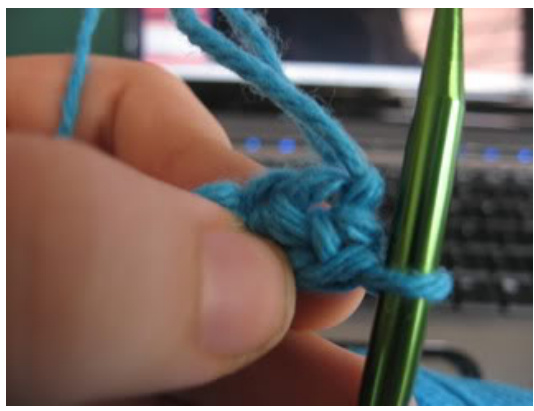
\*This is actually up to you. If you want to use a larger yarn and hook go ahead, you just have to adjust the number of chains you do at the start. Your original chains should go from the bottom of your girls head to about 1/4 of the way across the top of her head. Step 1: Ch 31, SC 30 along chain, continue around to other side of chain, SC 30, [Ch 1, Flip, SC 60] 20 times. Step2:Ch 1, flip to bottom, SC 2. [Ch 1, Flip, SC 2] 17 times. Ch 1, Flip, DC 2. Fasten Off. Sew button on the other side. TIP: I use a toothpick to keep enough space between the button and the hat so the strap will fit over the button.
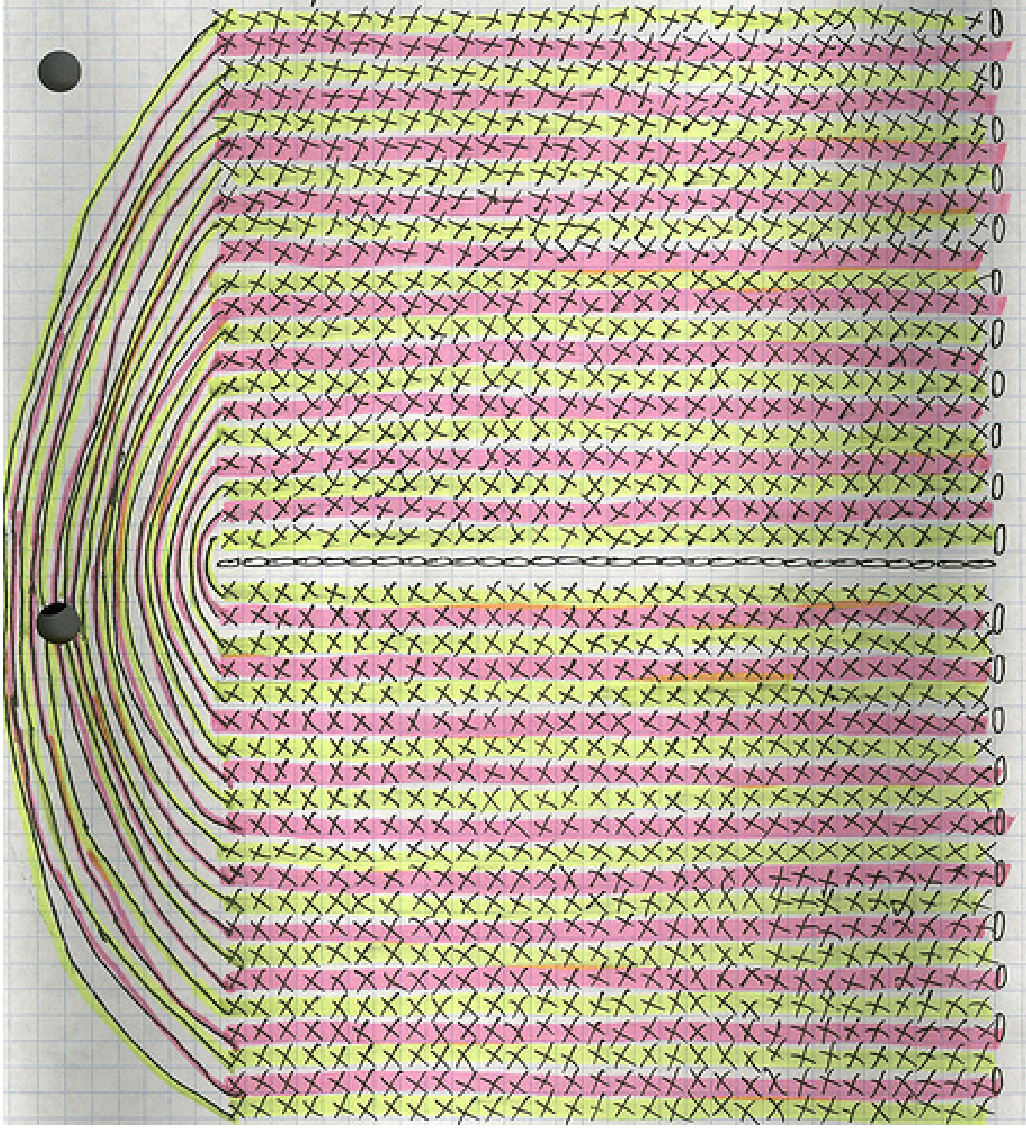
Here's another diagram and some more detailed instructions: Step 1: Chain 31, skip 1 then single crochet 30 along the chain continue to the wrong side of the chain and single crochet 30. (the chain is the 00o0 on the diagram and the single crochets are the XXXX) Then chain 1, flip, and single crochet 60. Do this 20 times. Step 2: (this makes the strap) Chain 1, Flip to the bottom of the hat, single crochet 2. Then chain 1, flip, and single crochet 2. Do this 17 times. Now chain 1, flip, double crochet 2. fasten off. Sew button to the other side.
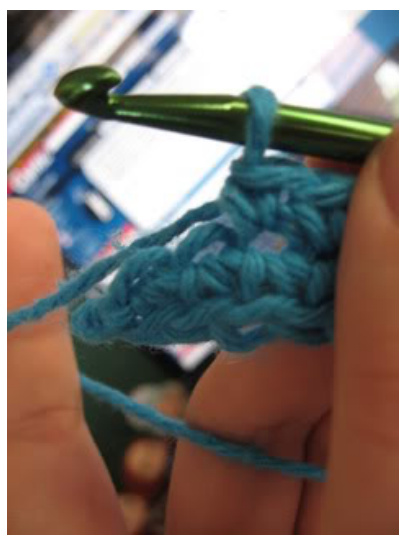
1-Single crochet across the chain, like normal.
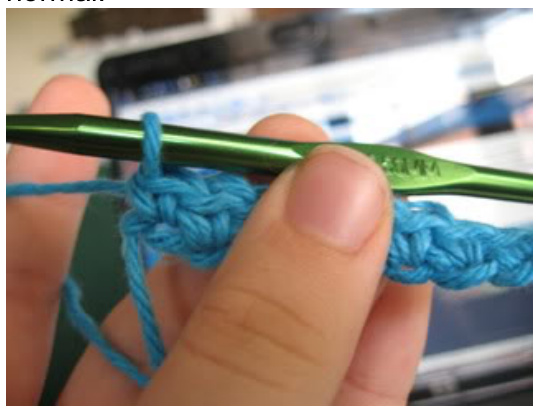
2-Once you reach the end turn to the right.
4-Now it will be upside down and you will see loops across the top. Single crochet into the first loop.
3-Then turn to the right again.
5-Then single crochet across the loops until you reach the end.