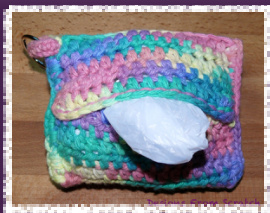
Crochet Dog Wallet
Created by Jessica of DesignsFromScratch.com
Pattern Information:
Materials needed:
· Peaches & Creme Cotton 70.9g / 2.5oz/ 120yd/ 109m #4worsted weight Kaleidoscope x <1 skein OR yarn of your choice\* US Size 19/5.50mm hook OR hook of your choice\* Yarn needle Crochet embellishments (optiona) \* see notes on Pattern Adjustment Abbreviations: ch: chain sc: single crochet stitch hdc: half double crochet stitch sts: stitches Gauge, hook size, and yarn type are not important for this pattern. I recommend using a hook that's a few sizes larger than the recommended hook size for your yarn type. This will result in looser stitches with a little bit of stretch, so you can really cram a ton of bags in your wallet. The pattern is written based on the type of yarn and hook size I used to make my Dog Wallet. The instructions can easily be modified to work with any yarn or hook combination - see my Pattern Adjustment notes below.\*\*
Pattern Adjustment:
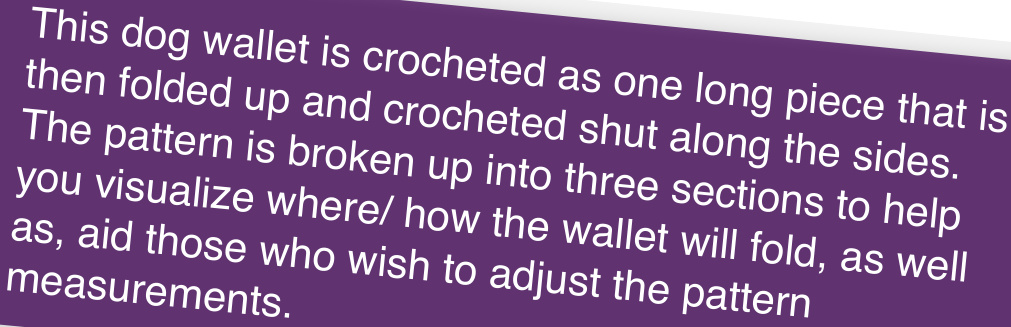
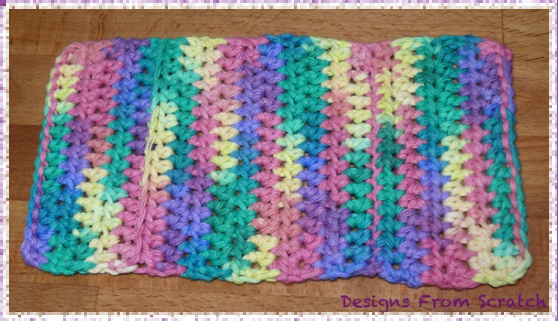
\*\* This dog wallet is crocheted as one long piece that is then folded and crocheted shut along the edges. The two flaps should overlap a little to keep the doggie bags securely in the wallet. This means the length of your back piece will be slightly less than both of the flap lengths put together. For example, if you begin by making your first flap 2.5" long, your back piece should then be around 4" long so the flaps can overlap about a half an inch. To begin, simply make your starting chain about as long as you want the width of the wallet to be. Then build up rows of hdc until you reach the desired length of your first flap (see pattern). for personal use only and may not be sold, copied, or reprinted without permission
Pattern Instructions:
Ch. 17 Row 1: starting in 2nd chain from hook, sc across, ch 2; turn (16 sts) Rows 2-7: hdc in each stitch across, ch 2; turn - do not fasten off. (16 sts)
Flap I:
Back Panel:
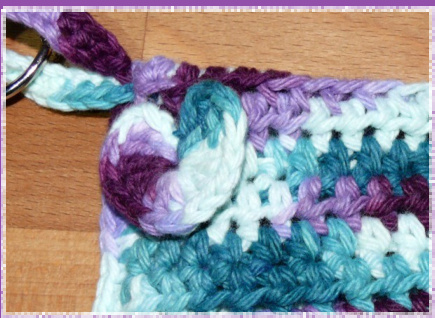
Row 8: hdc through back or front loops only,\* ch 2; turn \*For this row it doesn't really matter whether you crochet through the front loops or the back ones. Keep in mind that the skipped half of the loops form a raised "ridge," which will remain on the outside of the wallet. Rows 9-16: hdc through both loops of each stitch across, ch 2; turn (16 Sts)
Flap Il:
Row 17: hdc through the front or back loops only,\*\* ch 2; turn (16 sts) \*\*This time it does matter which loops you go through! You want to make sure both ridges (formed from rows 8 and 17) end up on the same side of yourwallet. Rows 18-22: 16hdc through both loops, ch 2 (row 22 ch 1only); turn (16 Sts) Row 23: 16sc, fasten off. (16 sts)
Finishing:
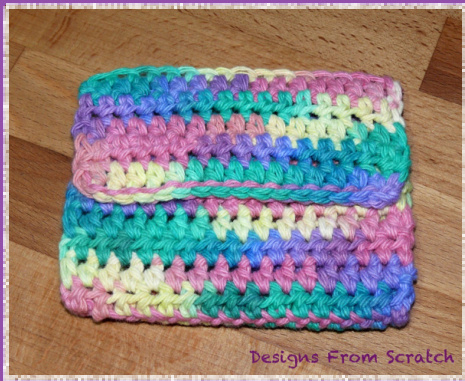
Step 1: Fold both wallet flaps in towards the middle, keeping the ridges from rows 8 and 17 on the outside. The flaps overlap to keep the bags from falling out. It's up to you which way they overlap, just as long as the wallet lays flat.

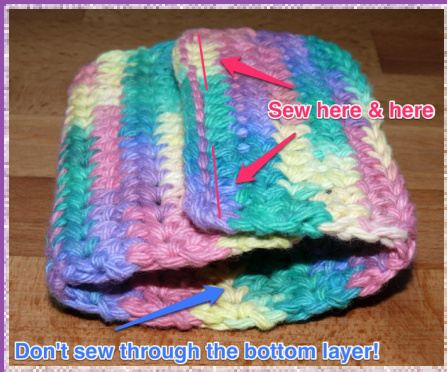
Step 3 (optional): To make sure the bags stay securely inside the wallet, sew about 1" to 1.5" along each side of the front opening. Leave a hole big enough to get a couple fingers in so you can still easily dig out the doggie bags. Be careful not to sew through all three layers!
Step 4: Lay the wallet flat again. Line up the side edges so that the wallet lays flat and the flaps fold at rows 8 and 17 - the ridges should be on the outside. Pin if necessary. Evenly sc along one side of your wallet. Note: There is no "right" way to do this. Just make sure your stitches are as even as possible and that you are going through all layers of the wallet the wholeway across. Step 5: Repeat Step 4 on the other side of your wallet. Fasten off or add a loop if desired.
Visit my blog for other patterns and tutorials! www.designsfromscratch.wordpress.com
for personal use only and may not be sold, copied, or reprinted without permission


