
Fairy Toadstool House
by Janet McMahon A most desirable residence for the fairy folk.
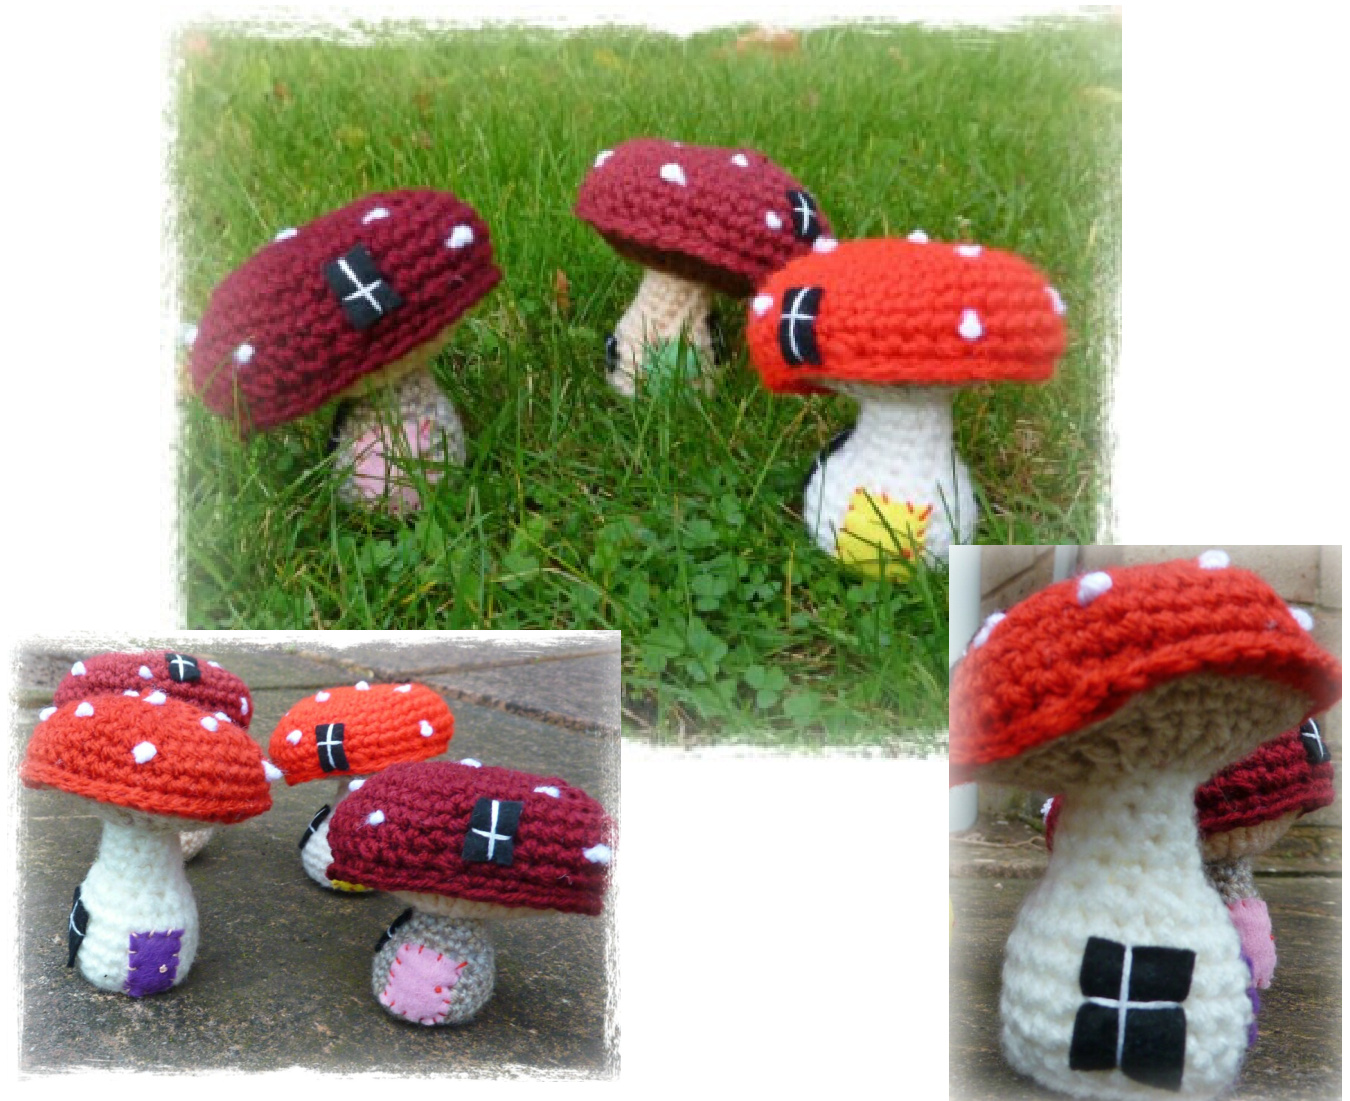
For each little house, I used: 3 different coloured DK weight yarns for the stem, the gills and the cup. A small amount of white DK for embroidery of the spots. Snippets of felt in black for the windows and a bright colour for the door. Embroidery thread. Soft toy stuffing. 3 mm crochet hook
Abbreviations
English terms used
dc (English) = sc (American) dtr (English = tr (American) ch = chain sl st = slip stitch dc2tog = dc 2 stitches together to work a decrease. Finished size - approximately 9 cm tall (3 1/2 inches)
PATTERN
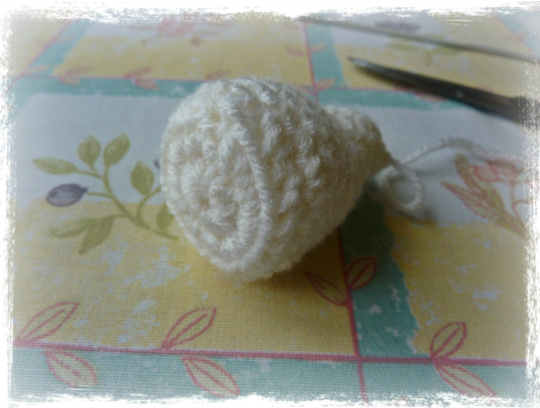
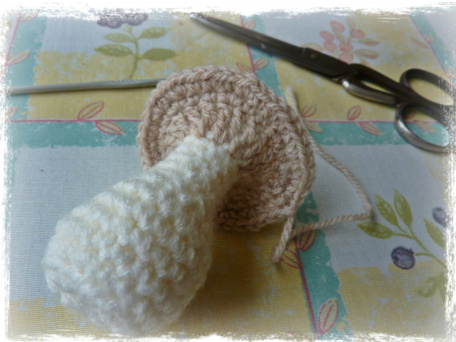
Stem With chosen colour for stem and 3 mm hook, chain 2. Round 1: Work 10 dc into 2nd chain from hook, sl st into 1st dc. Round 2: 1 ch, 2 dc into same st as ch, 2 dc into next 9 dc, sl st into back loop of 1st dc. (20 sts) Round 3: place a marker on the first st as you work round, from now on we are working in a spiral until told otherwise. Work 1 dc in the back loop only of all 20 sts. Rounds 4 - 7: Work 1 dc in each dc. Round 8: dc2tog 10 times. (10 sts) Rounds 9 - 13: Work 1 dc in each dc. After the final round, sl st into the next st and fasten off.
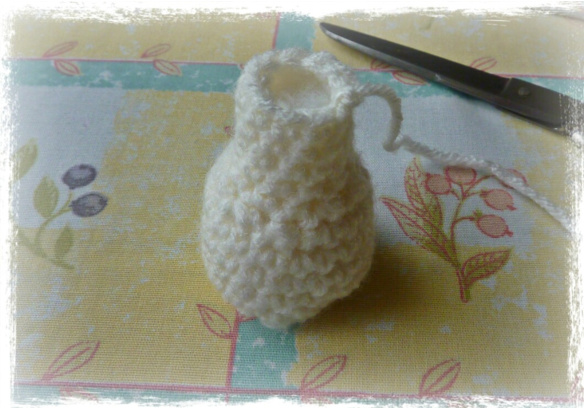
Stuff the stem so that it can stand up straight without falling over. Gills Change to chosen colour for gills. Join yarn to any stitch of final round of stem. Round 1: Chain 4 (this counts as 1st dtr), 2 dtr in same st, work 2 dtr in each of the remaining 9 dc, sl st into top of 1st dtr. (21 sts) Round 2: 1 ch, 2 dc in same st, 1 dc in each of next 2 dtr, (2 dc in next dtr, 1 dc in each of next 2 dtr) x 6, sl st into 1st dc. (28 sts) Round 3: 1 ch, 2 dc in same st, 1 dc in next dc, (2 dc in next dc, 1 dc in next dc) x 13, sl st into 1st dc. (42 sts) Fas ten off.

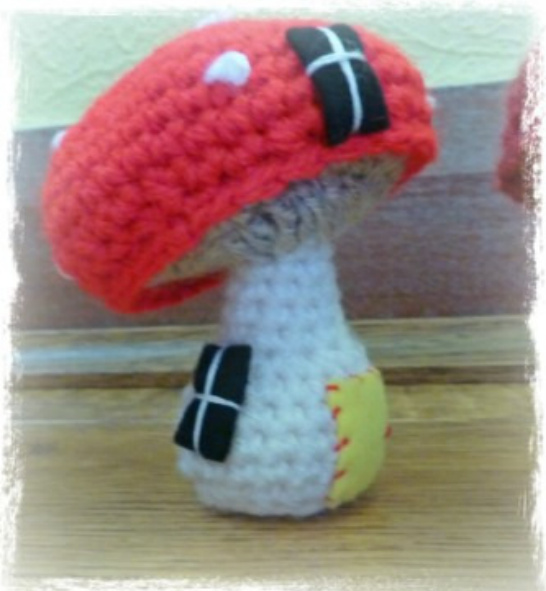
At this point you may want to sew on the window and door onto the stem. I used white embroidery thread to attach the windows, working two straight stitches across the square to form window panes.
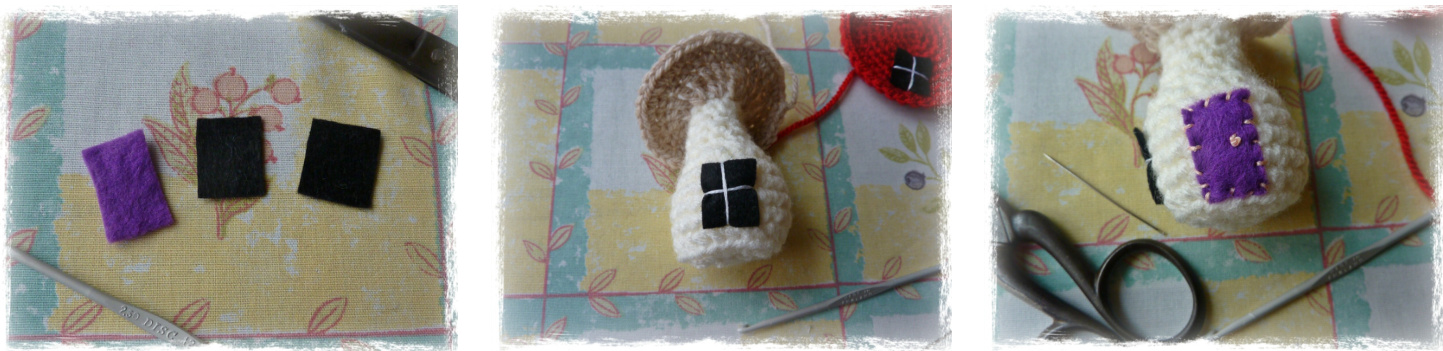
I attached the door with simple whip stitches and used a French knot for the door knob. Alternatively you could glue the windows and doors onto the toadstool and attach a small bead or button for the door knob. Cap Using chosen colour for cap, chain 2. Round 1: work 6 dc into the 2nd chain from hook, do not join as we are working in a spiral again. Round 2: work 2 dc in each st. (12 sts) Round 3: (2 dc in next dc, 1 dc in next dc) x 6. (18 sts) Round 4: (2 dc in next dc, 1 dc in next 2 dc) x 6. (24 sts) Round 5: (2 dc in next dc, 1 dc in next 3 dc) x 6. (30 sts) Round 6: (2 dc in next dc, 1 dc in next 4 dc) x 6. (36 sts) Round 7: (2 dc in next dc, 1 dc in next 5 dc) x 6. (42 sts) Rounds 8 & 9 : 1 dc in each stitch.
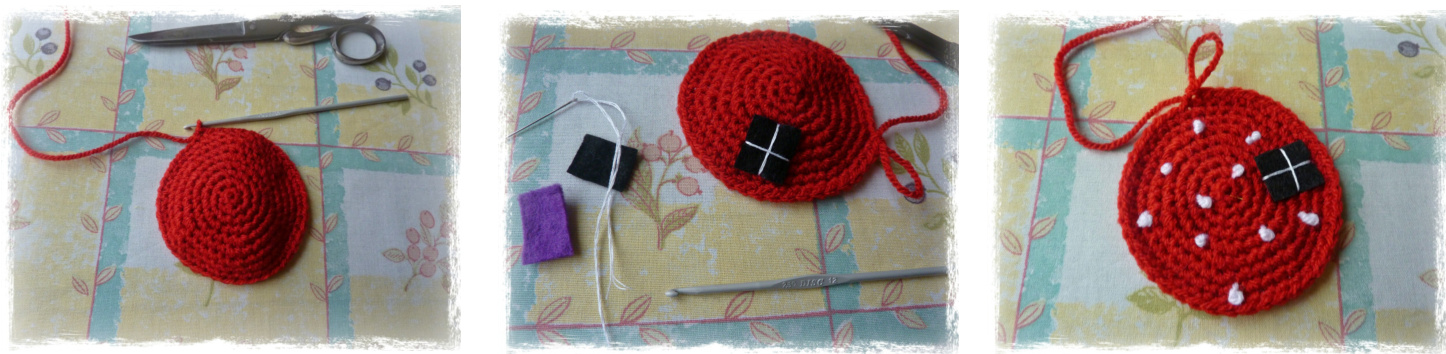
At this point, it is easier to decorate the cap than wait until it is finished. So, leaving yarn attached, sew a window to the cap as before. Using white dk yarn, embroider French knots randomly around the cap. If you prefer, you could sew or glue on small white felt circles instead, or use beads or small buttons. Now we are ready to attach the cap to the gills. Resume your position on the cap and place the wrong side of the gills to the inside of the cap. We are going to crochet through the two layers together. Work 1 dc around all the sts of the edge of the cap and gills, when about 10 sts remain to be crocheted together, stuff the cap lightly (you don't want the gills to bulge, so less is more!). Sl st into 1st st and fasten off.
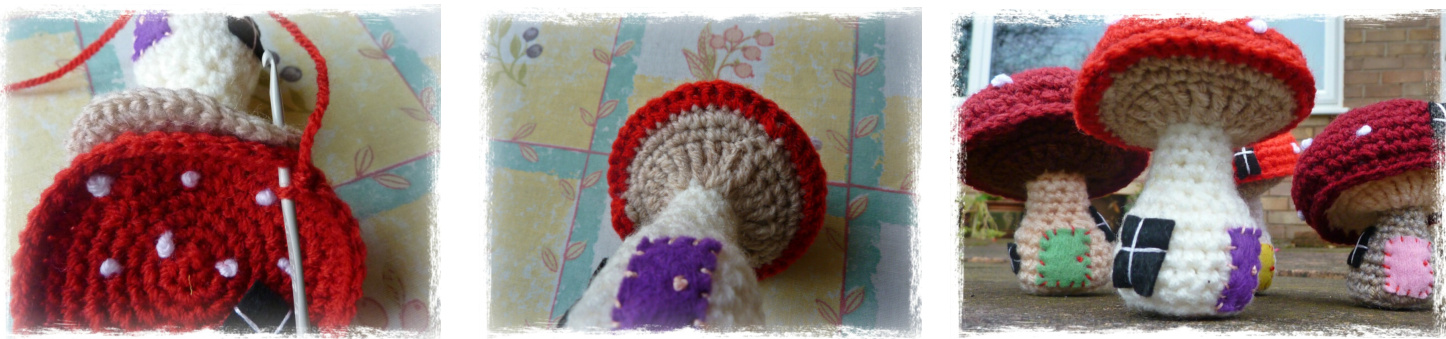
Neaten off the loose ends. And there you have it - a delightful home - ready for someone to move into immediately. Why not add a loop to the top and you could hang it from your Christmas tree.

Fairy Toadstool House @ Janet McMahon, 2014 www.yellowpinkandsparkly.blogspot.com


