Chickory topfornewbabes bysarah Pope Whistling Girl Knits
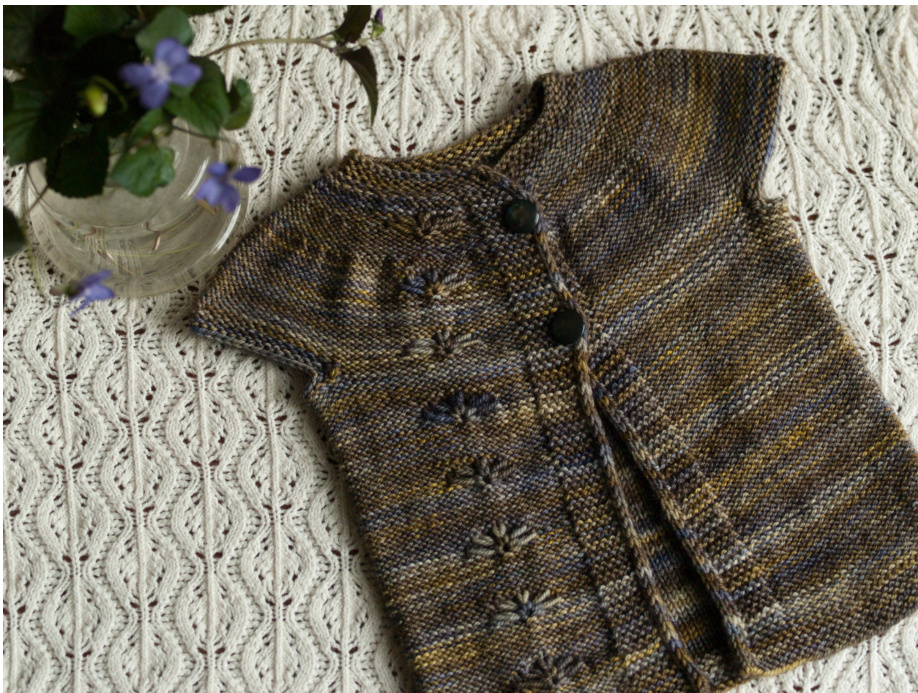
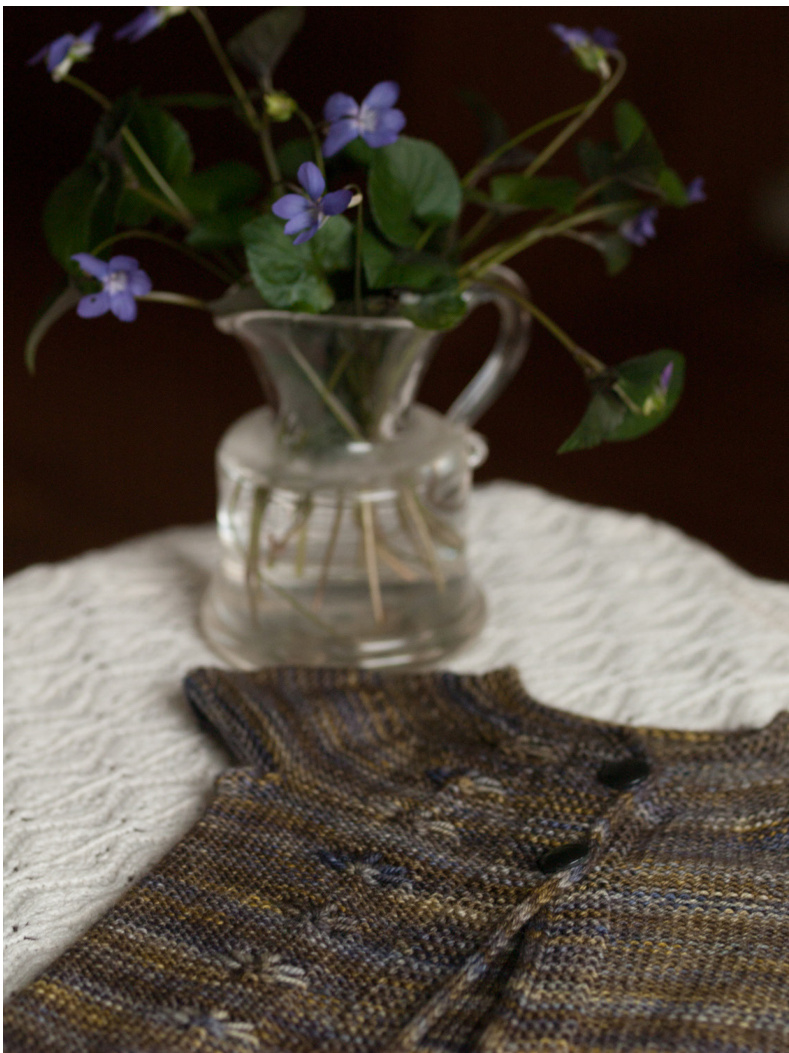
A new littlegirl arrived in our family this spring and I couldn't resist the urge to whip up something sweet for her in some leftover sock yarn. Chickory grows wild at the roadsides where I grew up, brightening the country lanes with its soft blue flowers. It's both pretty and tough, and every part of the plant is edible. Chickory is sometimes called cornflower (a name commonly given to an unrelated species); the decorative motif on the front of this little top is adapated from thecornflowerpatternBarbara Walker recorded in her Second Treasury of Knitting Patterns. This free pattern is given in only one size, but could be easily scaled up with larger yarn and needles or by adjusting the number of stitches. It requires such a small amount of yarn that it's perfect for using up scraps or single skeins! SiZe 0-3 months — 17" (37.4 cm) chest circumference, buttoned
Materials
Yarn 250 yards fingering-weight wool Sample knit in Malabrigo Sock in the colorway "Turner" Needles US #2 (2.75 mm) 24"” circular and double pointed needles (dpns) or size needed to achieve gauge darning needle Sundries Stitch markers Waste yarn or stitch holders 2 small buttons, about 1/2" (or size to fit button holes) Gauge Gauge over stockinet stitch: 28 sts x 40 rows = 4"” (10 cm)
Constructuon notes
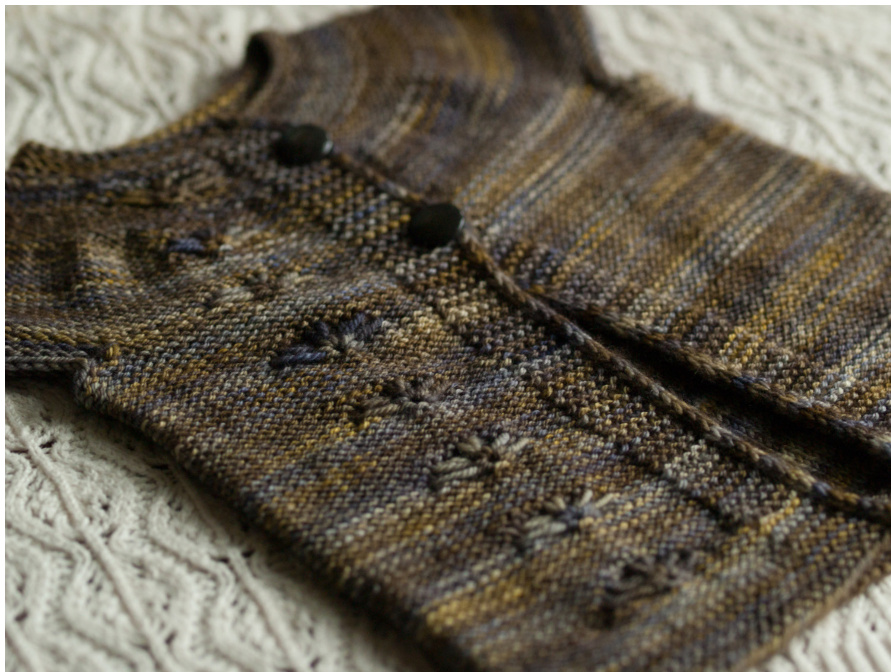
Chickory is knit from the bottom up in one piece in reverse stockinet, with garter stitch button bands and tidy slipped edges worked together with the body. Stitches for the circular yoke can be cast on provisionally or by the backward loop method; small sleeve caps are picked up from that cast-on edge and worked down. Chickory stitch motif is worked on the right front, but could easily be mirrored on the left if you favor symmetry. Abbreviations CO = cast on st(s) = stitch(es) WS = wrong (interior) side of the work RS = right (exterior) side of the work sl = slip st(s) to the right needle purlwise without knitting them wyib = with yarn in back wyif = with yarn in front k = knit p = purl yo = yarn over ssk = slip 1 stitch knitwise, slip the next stitch purlwise\*, then knit them together k2tog = knit 2 stitches together p2tog = purl 2 stitches together pm = place marker in patt = in pattern \*Slipping the second stitch purlwise is an innovation I learned at Meg Swansen's Knitting Camp. It twists the stitch and helps it hide behind the first stitch, making it a better mirror fork2tog.
Directions
Work thegarter hem WS: Purl 3, knit to last 3 sts, sl 3 wyif. RS: Knit to last 3 sts, sl 3 wyib. You will slip the last 3 edge sts on every row and purl the first 3 on every WS row until the body is complete to create a neat rolled edge of i-cord. Repeat these two rows until there are 5 garter ridges on the RS (9 rows). From now until the body is complete, you will work the front bands in garter stitch by knitting the 5 sts adjacent to the slipped edges on RS rows and the body in reverse stockinet by purling the remainder. WS rows will be all knit, but continue to purl the first 3 sts and slip the last 3. Workplainrows RS: K8, p to last 8 sts, k5, sl 3 wyib. WS: P3, k to last 3 sts, sl 3 wyif. Repeat these two rows once more. Beginchickorystitchmotif RI (RS): K8, p8, (k1, yo, k1, yo, k1) into the next st, pm, work as established to end of row. R2 (WS): P3, k to marker and remove it, p the 5 new sts wrapping the yarn twice around the needle for each st to form elongated sts, k to last 3 sts, sl 3 wyif. R3: K8, p4, sl 4 wyib, drop first elongated st and hold to front, return slipped sts to left needle and replace elongated st on left needle. Ssk, k3, sl 3 wyib dropping extra loops. Drop last elongated st and hold to front, sl 4 wyib, return elongated st to left needle and then return 4 slipped sts to left needle, k3, k2tog, replace marker, work as established to end of row. R4: P3, k to marker and remove it, p4, sl 3 wyif, p4, k to last 3 sts, sl 3 wyif. R5: K8, p5, sl 3 wyib, drop first elongated st and hold to front, return 3 slipped sts and then elongated st to left needle, ssk, k2, sl 1 wyib, pm. Drop next elongated st and hold to front, sl 3 wyib, return elongated st and then 3 slipped sts to left needle, k2, k2tog, p1, work as established to end of row. R6: P3, k to marker and remove it, p1, k to last 3 sts, sl 3 wyif. R7-12: Work plain rows as established.
Repeat these 12 rows until the work measures 6” or desired height to arm hole, ending with a Row 12. Work buttonhole and divide for armholes K3, yo wrapping yarn twice around the needle, k2tog, work 23 sts in patt while beginning another chickory cluster, put next 10 sts on waste yarn or a holder to form the right underarm. Cast on 32 sts, either provisionally or by the backward loop method, to form the sleeve cap. P 50 sts across back and put next 10 sts on waste yarn or a holder to form the left underarm. Cast on 32 sts for the sleeve cap and then work 28 remaining sts in patt to end of row. When you meet with the double yo on the return row, be sure to knit into just one of the loops and let the other drop off. Complete the remaining 11 rows of the chickory stitch motif on these 170 sts and then work Rows 1-8 again. Decreasetoshape yoke R9: K8, \*p2tog, p1; rep from \* to last 9 sts, p1, k5, sl 3 wyib. Work Rows 10-12 in patt. Work another button hole and adjust chickory motif The smaller stitch count requires that you change the placement of the chickory stitch cluster. Work as follows, adding a second buttonhole: R1: K3, yo wrapping yarn twice around the needle, k2tog, k3, p5, (k1, yo, k1, yo, k1) into next st, pm, work to end of row as established. R2: P3, k to marker, p the 5 new sts wrapping the yarn twice around the needle for each st to form elongated sts, k to last 3 sts, sl 3 wyif.
Decrease again
R3: K8, p1, sl 4 wyib, drop first elongated st and hold to front, return slipped sts to left needle and replace elongated st on left needle. Ssk, k3, sl 3 wyib dropping extra loops. Drop last elongated st and hold to front (removing marker), sl 4 wyib, return elongated st to left needle and then return 4 slipped sts to left needle, k3, k2tog, replace marker, \*p2tog, p1; rep from \* to last 10 sts, p2tog, k5, sl 3 wyib. Continue as established through Row 8. R9: K8, p2tog 4 times, p1, \*p2tog, p1; rep from \* to last 8 sts, k5, sl 3 wyib. Shapeneckline WS: P3, knit to last 3 sts, sl 3 wyif. RS: K3, k2tog, k to last 5 sts, ssk, sl 3 wyib. Repeat these two rows twice more, then bind off stitches loosely on the WS. Finish sleeve caps Using two dpns, pick up the stitches you cast on at the sleeve cap, either by retrieving the loops you cast on provisionally or by picking up the CO edge itself. Pick up the held sts at the underarm on a third dpn. 43 sts in all. Join yarn at the beginning of the first needle. RS: Sl 1, k to last st on Needle 2, ssk the last st on Needle 2 with the first st on Needle 3. Turn work. WS: Sl 1, k to last st on Needle 1 (the last st before the underarm at the other side, p2tog the last st from Needle 1 with the first st on Needle 3. Turn work. Repeat these two rows once more, then BO all stitches, including the 6 remaining at the underarm.
Finishing
Sew buttons on left front garter band. Weave in ends, soak, and block your Chickory top. Any wibbly bits around the yoke decreases should flatten out nicely if you take a firm hand with them. Questions or comments? Please don't hesitate to contact me! I'd love to see pictures of your Chickory top, too. Email: sarah@whistlinggirlknits.com Ravelry: whistlinggirl


