Watermelon wedge
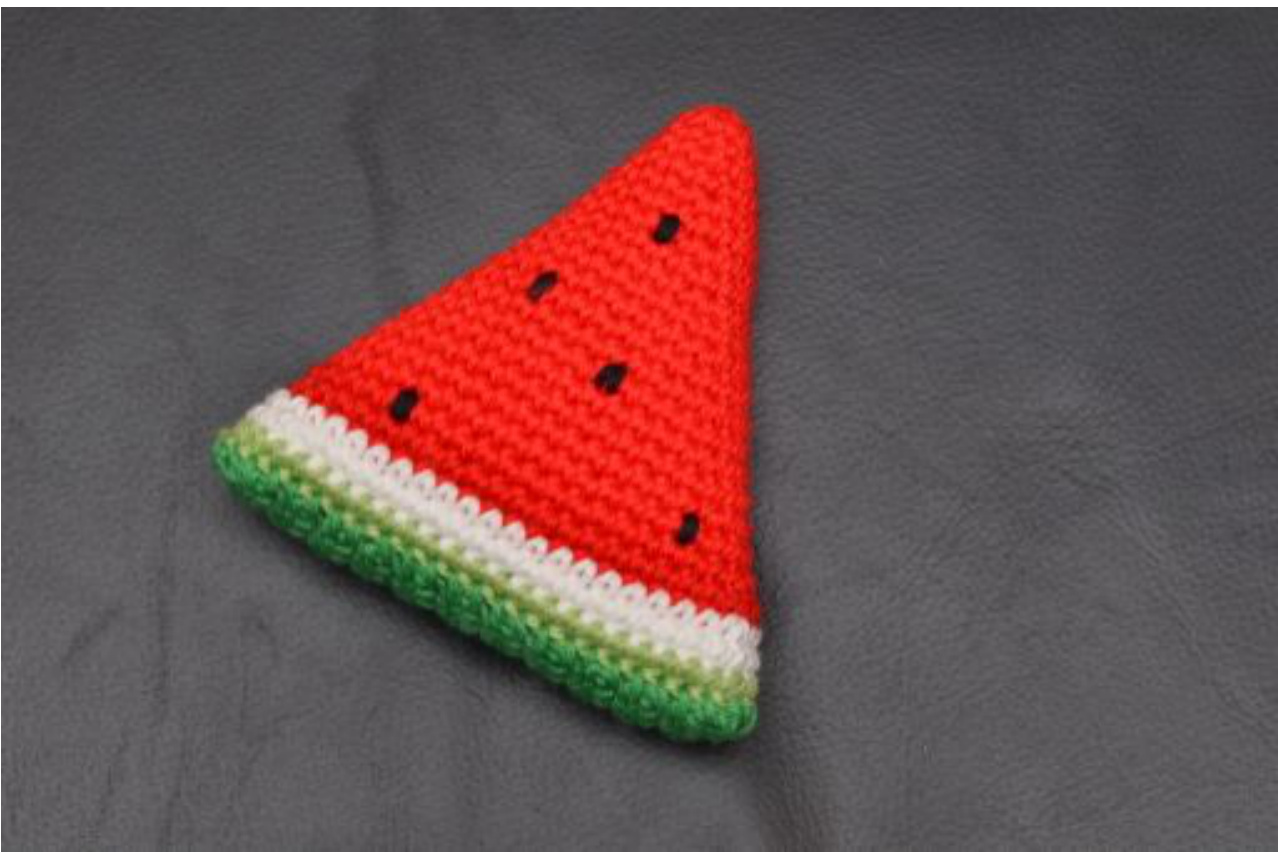
I hope that you'll enjoy making this watermelon wedge. It's the perfect summer fruit, leaving no juices to clean up afterwards! This pattern assumes that you know how to: Make a single crochet Sew whipstitch Sew ends securely, and hide ends in the middle of the wedge
Tools
DK weight yarn in red, white, light green, dark green and black (I used Patons Australia Cotton Blend 8 Ply in Bright Red, White, Apple Green, Fresh Green and Black) 3.00mm crochet hook Tapestry needle Stuffing Split ring stitch marker (or similar) If you wish to, you could use any weight yarn, but make sure to use a slightly smaller needle (eg, if you're using worsted weight yarn, use a 4.00mm hook).
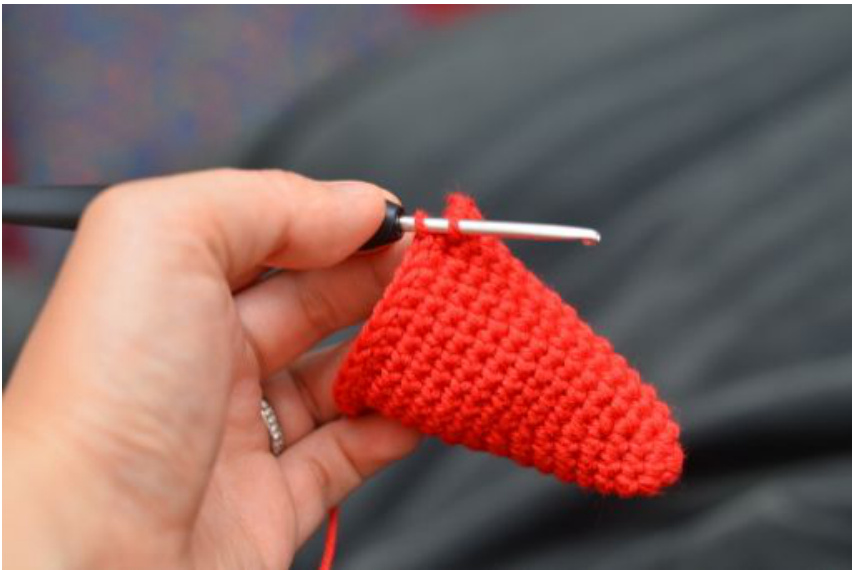
Wedge
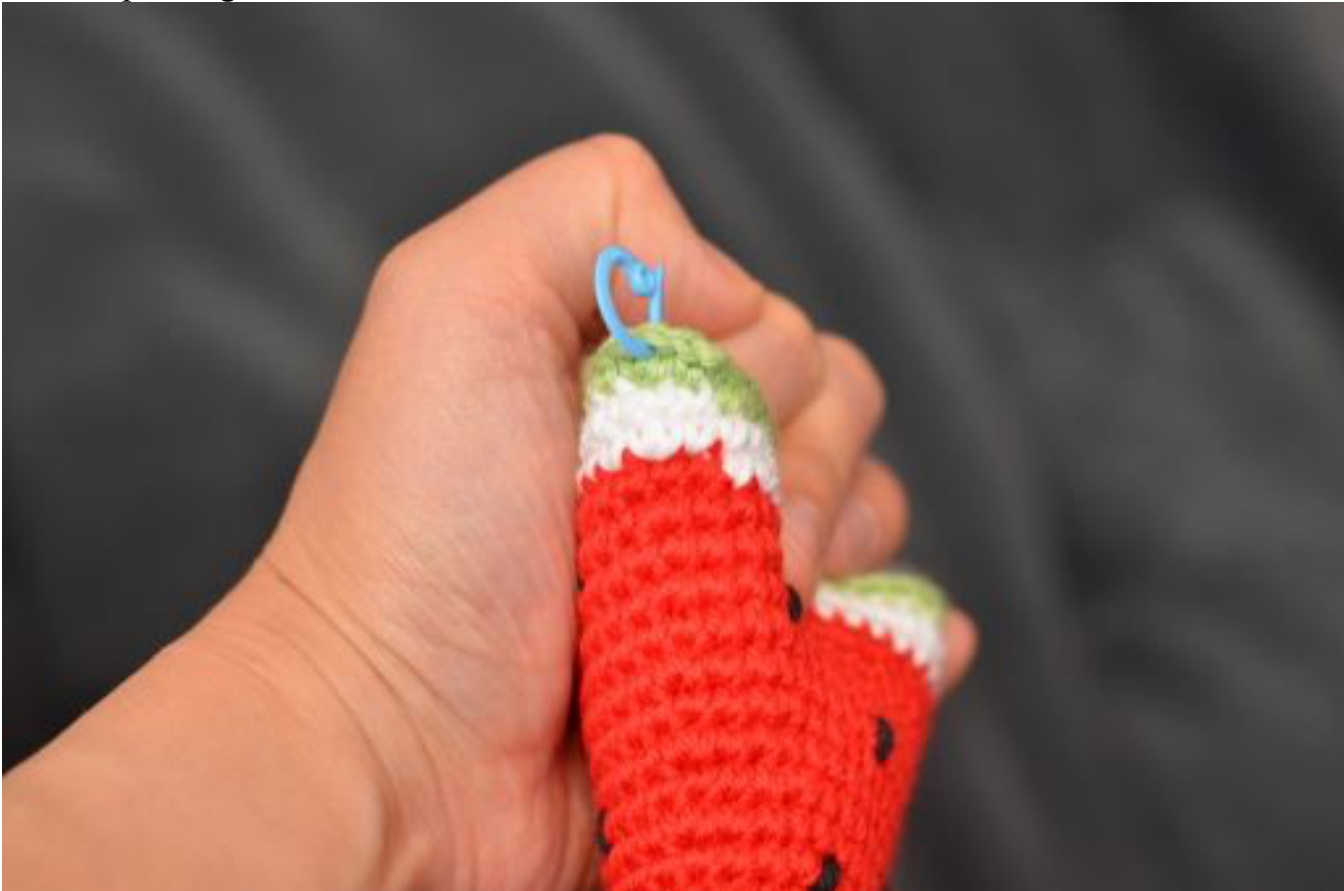
Using red yarn: Round 1: sc 6 in magic circle Round 2: \*2 sc, sc, 2 sc, rep from \* (10) Round 3: sc all around (10) Round 4: \*sc, 2 sc, sc, 2 sc, sc, rep from \* (14) Round 5: sc all around (14) Round 5: \*sc, 2 sc, sc in next 3 sts, 2 sc, sc, rep from \* (18) Round 6: sc all around (18) Round 7: \*sc, 2 sc, sc in next 5 sts, 2 sc, sc, rep from \* (22) Round 8: sc all around (22) Round 9: \*sc, 2 sc, sc in next 7 sts, 2 sc, sc, rep from \* (26) Round 10: sc all around (26) Round 11: \*sc, 2 sc, sc in next 9 sts, 2 sc, sc, rep from \* (30) Round 12: sc all around (30) Round 13: \*sc, 2 sc, sc in next 11 sts, 2 sc, sc, rep from \* (34) Round 14: sc all around (34) Round 15: \*sc, 2 sc, sc in next 13 sts, 2 sc, sc, rep from \* (38) Round 16: sc all around (38) Round 17: \*sc, 2 sc, sc in next 15 sts, 2 sc, sc, rep from \* (42) Round 18: sc all around (42) Round 19: \*sc, 2 sc, sc in next 17 sts, 2 sc, sc, rep from \* (46) Round 20: sc all around (46) Cut red yarn, and secure ends (I tied the red and white yarns together). See the addendum at the end of the document for how to change from one coloured yarn to another. Using white yarn: Round 21: \*sc, 2 sc, sc in next 19 sts, 2 sc, sc, rep from \* (50) Round 22: sc all around (50) Cut white yarn and secure ends. Using light green yarn: Round 23: \*sc, 2 sc, sc in next 21 sts, 2 sc, sc, rep from \* (54) Sl st into the first stitch of the next round, and secure end on the inside. Place a split ring stitch marker into the second last stitch.
Using a long length of black yarn, backstitch some seeds on the watermelon. Lightly stuff the wedge.
Skin
Using dark green yarn: Row 1: ch 5, sc in 2"d chain from hook and each chain to the end (4), ch 1 Rows 2-22: turn work, sc to the end (4), ch 1 Row 23: turn work, sc to the end (4). Cut yarn, leaving a long tail for sewing. Whipstitch the skin to the wedge, starting by sewing from the corner of the skin to the stitch marker, then while holding the wedge at the bottom, and the skin on top, continue sewing the two pieces anti-clockwise. Continue stuffing the wedge while sewing, making sure it's not too firmly stuffed or else the wedge won't properly retain its shape. Firmly bind off. And voila, you're done!
Changing colours
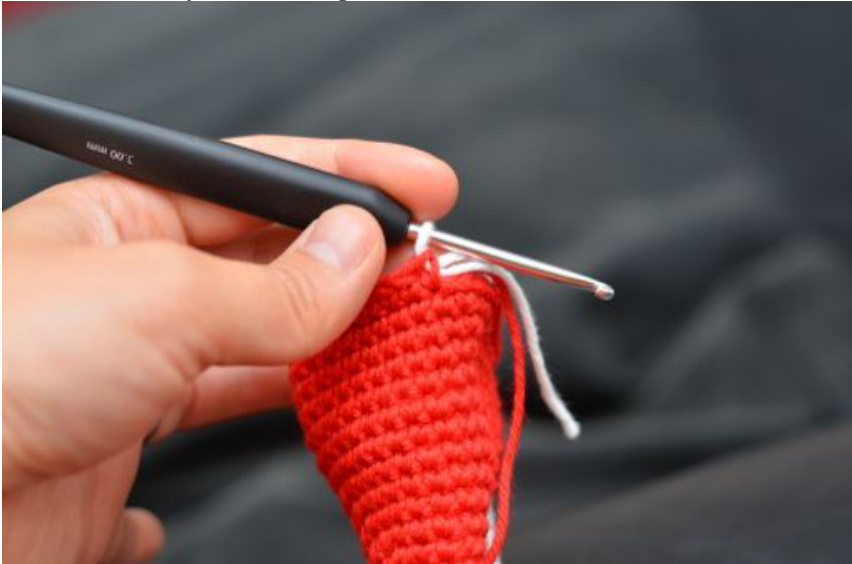
For the last stitch of the round before changing colours, draw up a yarn through the stitch.
Yarn over the second coloured yarn.
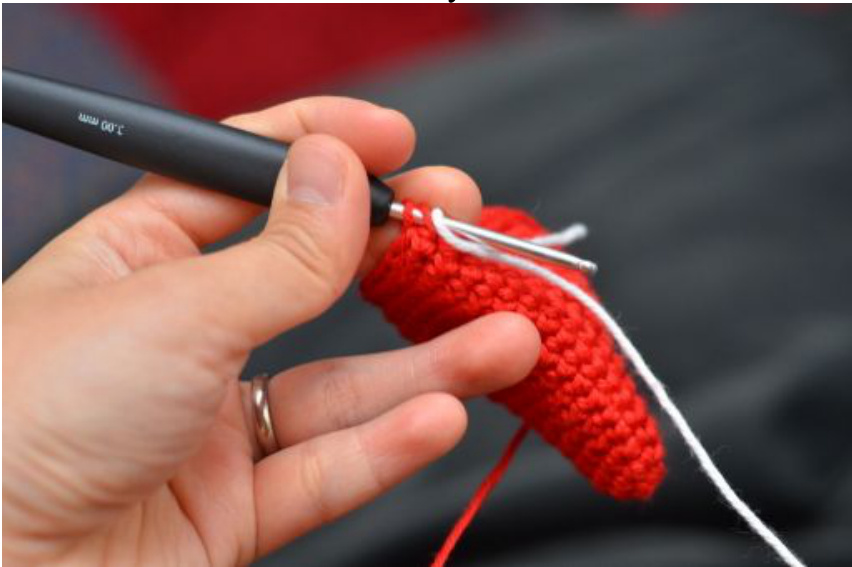
Pull the new yarn through both looks on the hook.