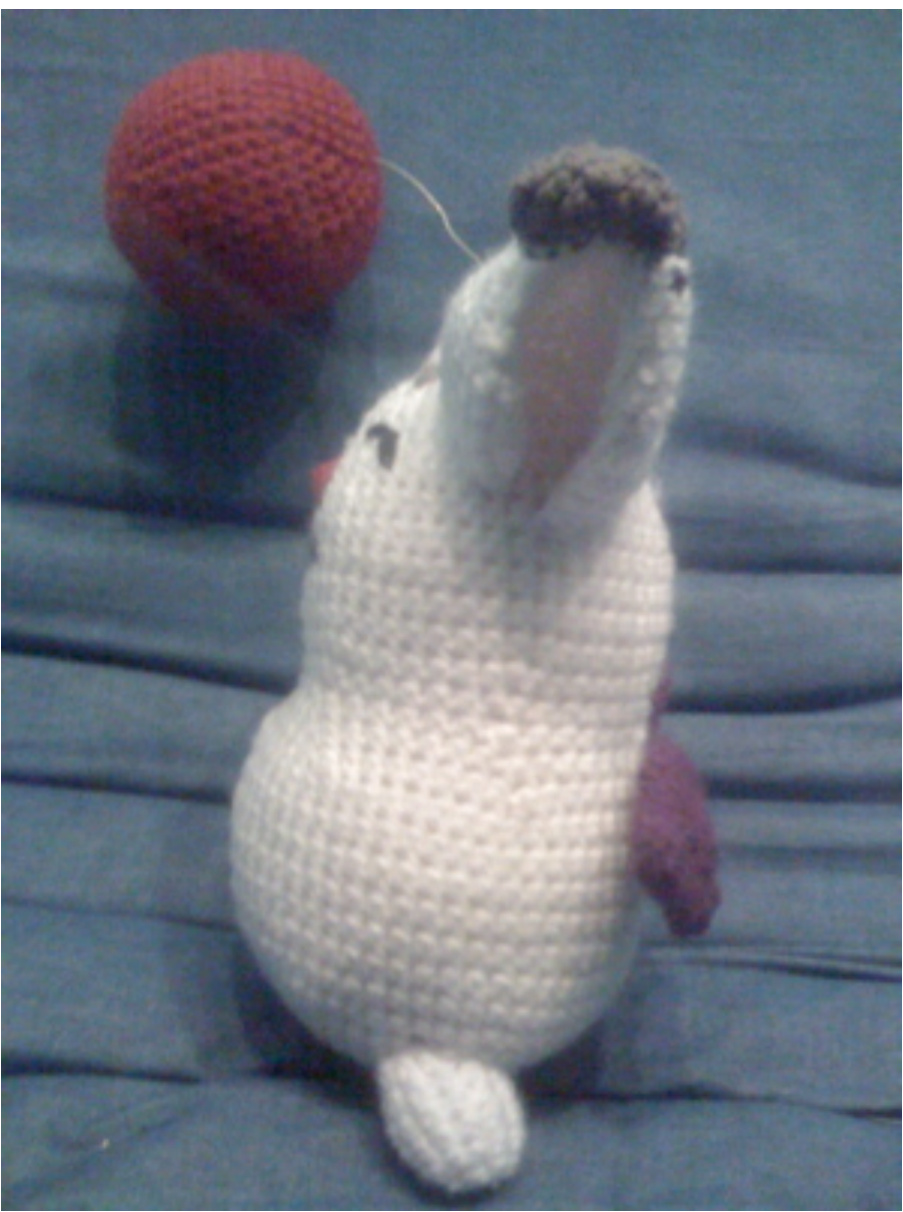
Final Fantasy Moogle, Crystal Chronicles Version
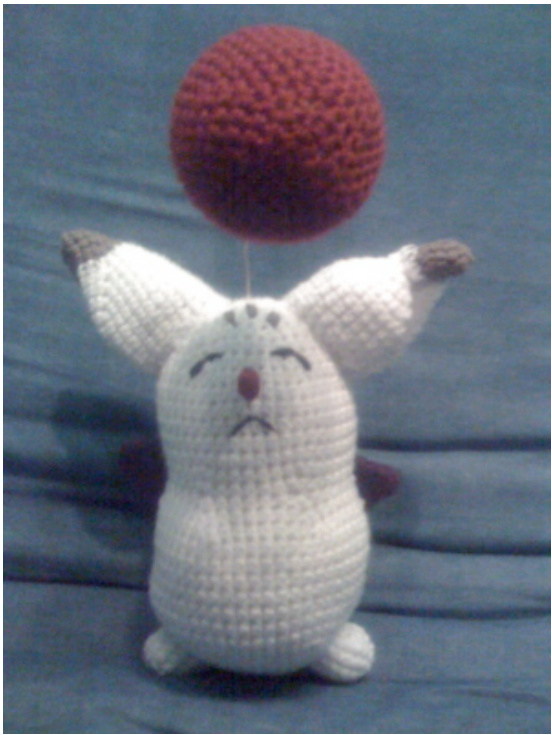
All work is done in the round, which means don't join the rows at the end, it is all done in one continuous spiral. Materials: White, red, purple, and grey worsted weight yarns. In my project, I used: white Red Heart Super Saver for the body and feet red Caron Simply Soft for the bobble and nose taupe Lion Brand Cotton Ease for ear tips and face markings dark plum TLC Essentials for wings wire for attaching the bobble black yarn or embroidery thread for the eyes and mouth stuffing Alternatively, you could use a pom-pom for the bobble, and attach it with a pipe cleaner. My version looks cool but really isn't for play - it looks best if set out on display, as the bobble is a bit top-heavy and swings around, especially since the Crystal Chronicles moogles have bobbles that are almost as big as their bodies. Each section starts with the “magic ring” technique. There is a good tutorial on this here: http://www.crochetme.com/amigurumi-double-ring On to the pattern! sc: single crochet 2sc inc: 2 single crochet increase dec2tog: 2 single crochet decrease
Body and Head: with white yarn
1: On magic ring, sc 6. Tighten ring. 2: [2sc inc] x 6 3: [sc x 1, 2sc inc] x 6 4: [sc x 2, 2sc inc] x 6 5: [sc x 3, 2sc inc] x 6 6: [sc x 4, 2sc inc] x 6 7: [sc x 5, 2sc inc] x 6 8: [sc x 6, 2sc inc] x 6 9: [sc x 7, 2sc inc] x 6 10-16: sc in each st around 17: [sc x 7, dec2tog] x 6 18: [sc x 6, dec2tog] x 6 19: [sc x 5, dec2tog] x 6 20: [sc x 5, 2sc inc] x 6 21: [sc x 6, 2sc inc] x 6 22-27: sc in each st around 28: [sc x 6, dec2tog] x 6 29: [sc x 5, dec2tog] x 6 30: [sc x 4, dec2tog] x 6 31: [sc x 3, dec2tog] x 6 32: [sc x 2, dec2tog] x 6 33: [sc x 1, dec2tog] x 6 34: dec2tog x 6 Finish off (6 st) (12 st) (18 st) (24 st) (30 st) (36 st) (42 st) (48 st) (54 st) (54 st) (48 st) (42 st) (36 st) (42 st) (48 st) (48 st) START STUFFING, continue as (42 st) you go (36 st) (30 st) (24 st) (18 st) (12 st) (6 st)
Feet (make 2): with white yarn
1: On magic ring, sc 6. Tighten ring. (6 st) 2: [2sc inc] x 6 (12 st) 3-6: sc in each st around (12 st) Finish off, leaving enough yarn to attach feet to body
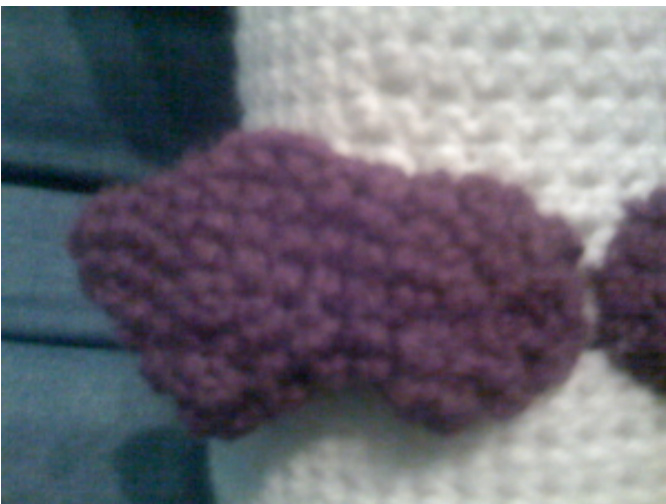
Wings (make 2): with purple yarn 1: On magic ring, sc 4. Tighten ring. (4 st) 2: [2sc inc] x 4 (8 st) 3: sc in each st around (8 st) 4: [sc x 1, 2sc inc] x 4 (12 st) 5: [sc x 2, 2sc inc] x 4 (16 st) 6: [sc x 4, 2sc inc, sc x 1, (2sc inc) x4, sc x 1, 2sc inc, sc x 4] (22 st) 7: [sc x 4, dec2tog, sc x 1, (dec2tog) x4, sc x 1, dec2tog, sc x 4] (16 st) 8: [sc x 4, dec2tog, sc x 1, dec2tog, sc x 1, dec2tog, sc x 4] (13 st) 9: [dec2tog, sc x 2, dec2tog, sc x 1, dec2tog, sc x 2, dec2tog] (9 st) 10: [sc x 4, 2sc inc, sc x 4] (10 st) 11: [2sc inc, sc x 2, (2sc inc) x 4, sc x 2, 2sc inc] (16 st) 12: [sc x 2, dec2tog] x 4 (12 st) 13: [sc x 1, dec2tog] x 4 (8 st) 14: dec2tog x 4 (4 st) Finish off, leaving enough yarn to attach wings to body
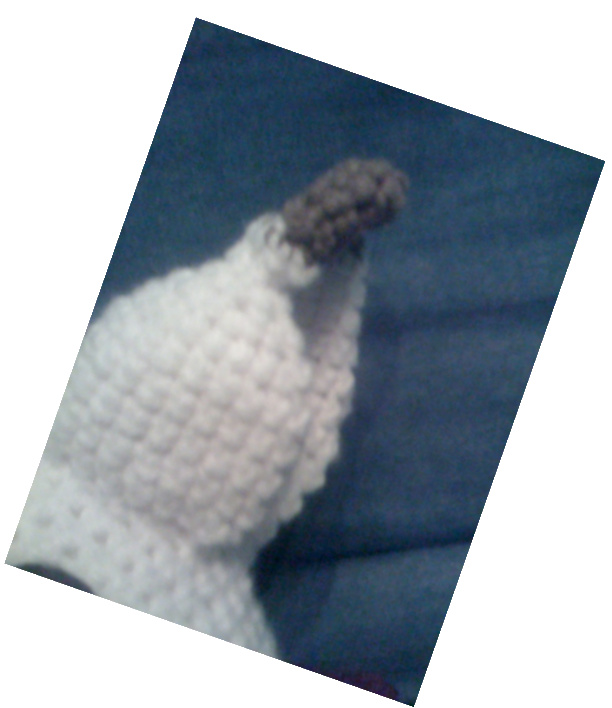
Left Ear:
with grey yarn 1: On magic ring, sc 6. Tighten ring. (6 st) 2: [2sc inc] x 6 (12 st) 3: sc in each st around (12 st) 4: [sc x 1, 2sc inc] x 6 (18 st) 5: [sc x 2, 2sc inc] x 6 (24 st) switch to white yarn 6: [sc x 3, 2sc inc] x 6 (30 st) 7: [sc x 4, 2sc inc] x 6 (36 st) 8: [sc x 5, 2sc inc] x 6 (42 st) 9: [sc x 6, 2sc inc] x 6 (48 st) 10-14: sc in each st around (48 st) Finish off, leaving enough yarn to attach ear to body
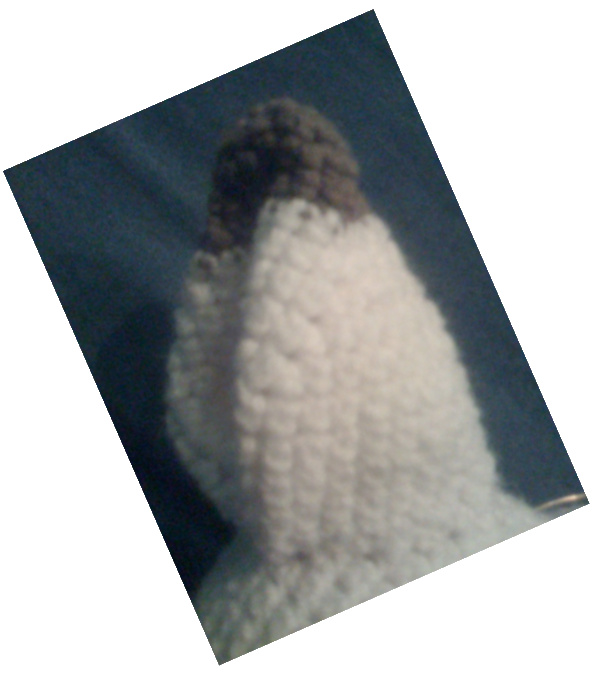
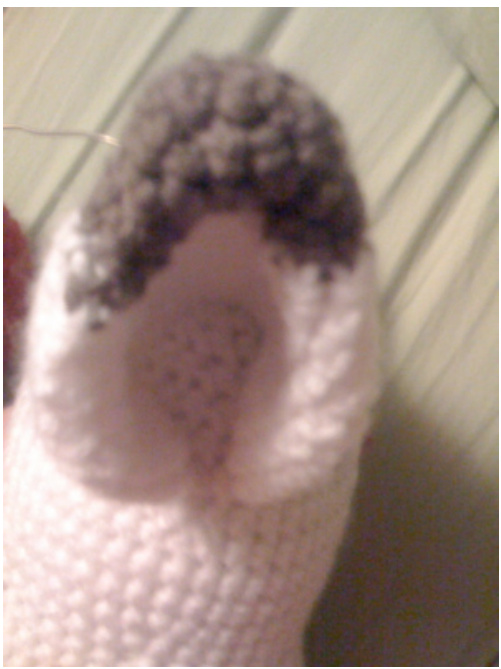
Right Ear (with missing chunk):
1: On magic ring, sc 6. Tighten ring. (6 st)
2: [2sc inc] x 6 (12 st) 3: sc in each st around (12 st) 4: [sc x 1, 2sc inc] x 6 (18 st) 5: [sc x 2, 2sc inc] x 2, dec2tog x 3, [sc x 2, 2sc inc] x 2 (19 st) switch to white yarn 6: [sc x 3, 2sc inc, sc x 1, dec2tog x 2, sc x 1, dec2tog x 2, 2sc inc, sc x 3, 2sc inc](18 st) 7: [sc x 5, 2sc inc, dec2tog, sc x 3, dec2tog, sc x 4, 2sc inc] (18 st) 8: [sc x 5, (2sc inc) x 7, sc x 5, 2sc inc] (26 st) 9: [sc x 6, 2sc inc, sc x 1, (2sc inc) x 10, sc x 7, 2sc inc] (38 st) 10: [sc x 10, 2sc inc, sc x 7, (2sc inc) x 2, sc x 7, 2sc inc, sc x 10] (42 st) 11: [sc x 6, 2sc inc] x 6 (48 st) 12-14: sc in each st around (48 st) Finish off leaving enough yarn to attach ear to body
LEFT EAR
RIGHT EAR
Bobble: with red yarn
1: On magic ring, sc 6. Tighten ring. (6 st) 2: [2sc inc] x 6 (12 st) 3: [sc x 1, 2sc inc] x 6 (18 st) 4: [sc x 2, 2sc inc] x 6 (24 st) 5: [sc x 3, 2sc inc] x 6 (30 st) 6: [sc x 4, 2sc inc] x 6 (36 st) 7: [sc x 5, 2sc inc] x 6 (42 st) 8-14: sc in each st around (42 st) 15: [sc x 5, dec2tog] x 6 (36 st) 16: [sc x 4, dec2tog] x 6 (30 st) START STUFFING, continue as 17: [sc x 3, dec2tog] x 6 (24 st) you go 18: [sc x 2, dec2tog] x 6 (18 st) 19: [sc x 1, dec2tog] x 6 (12 st) 20: dec2tog x 6 (6 st) Finish off
ASSEMBLY:
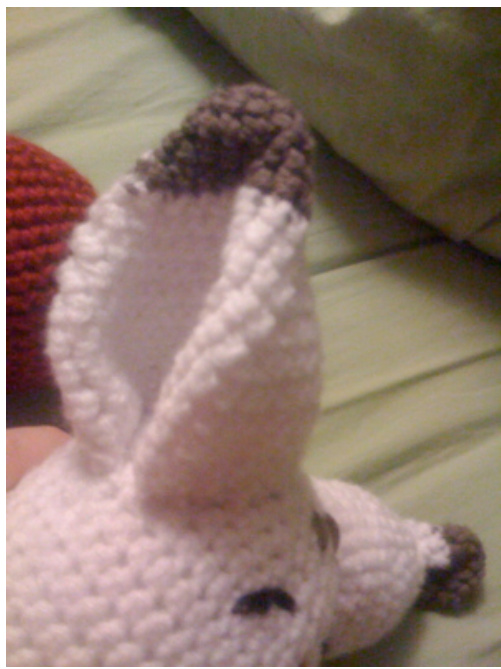
Stuffeet and attach tobottom ofbiggerhalf of body. ee pic for spacing,but it dosnt really matter since they are just for looks. Next, attach the ears. Fold each ear in half, with the “seam line” at one edge (to make sure the missing chunk shows up correctly). Curve the ear as shown in the picture below, and sew onto the head. Make sure you have the whole ear on the left and on the right ear, the missing chunk should be in the front. The ears should be aligned over the feet.
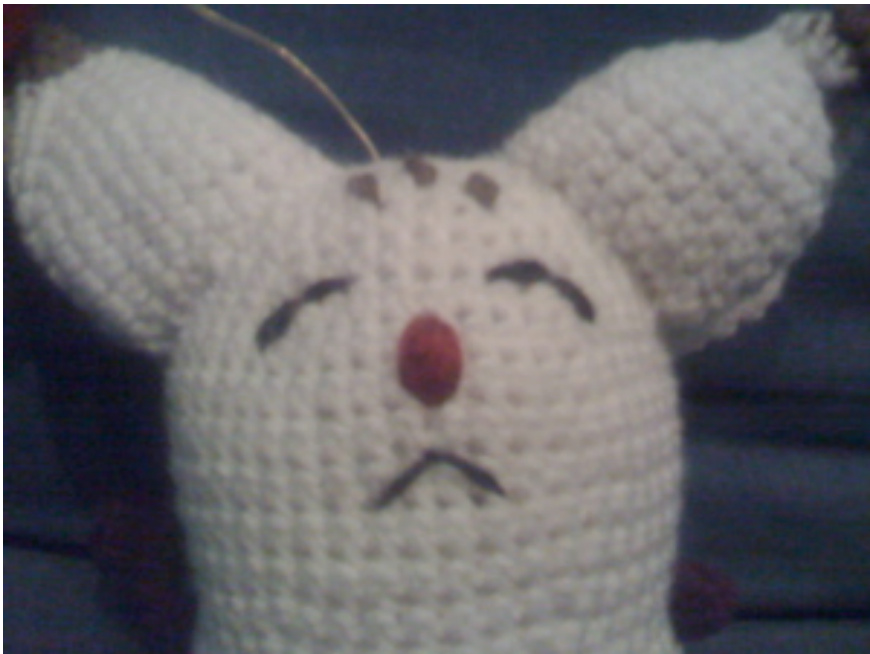
Next, give your moogle a face. See pic below as a guide. Don't forget the grey markings above the eyes!
Now you need to give your moogle wings. Sew them onto the back just under the neckline, and make sure they are centered with the ears/feet or it'll look funny. The smaller part of the wing goes in the center, see the picture for alignment:
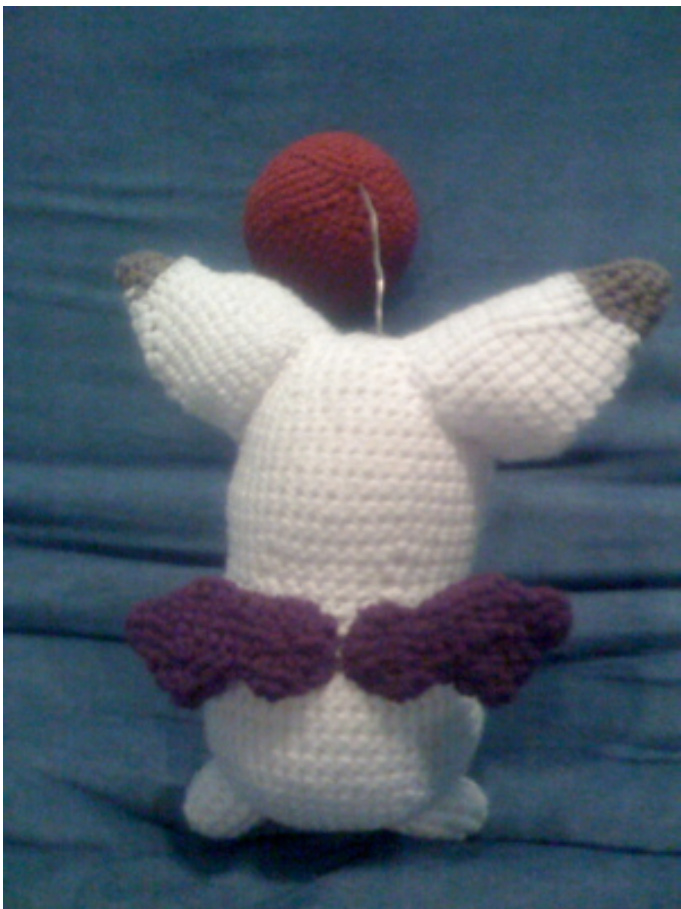
Last but not least, attach the bobble. I just twisted the top of the wire into a spiral and threaded it into the bobble, and then did the same thing with the other end of the wire and the body. It looks fine and holds well but will swing around. If anybody knows how to get it to stay or has another suggestion, I'd love to hear it!
Copyright 2008 Jessica Correa contact by messaging user “sassnak” at ravelry.com This pattern may not be sold, copied, or reproduced without permission from the author. Individual copies may be printed or saved for personal use only. This pattern may be linked to freely, but may not be reposted or put on another website without permission. Ask permission before using for a class or in a book/official compilation. I'll probably say yes, but ask first. But most of all, enjoy my pattern!


