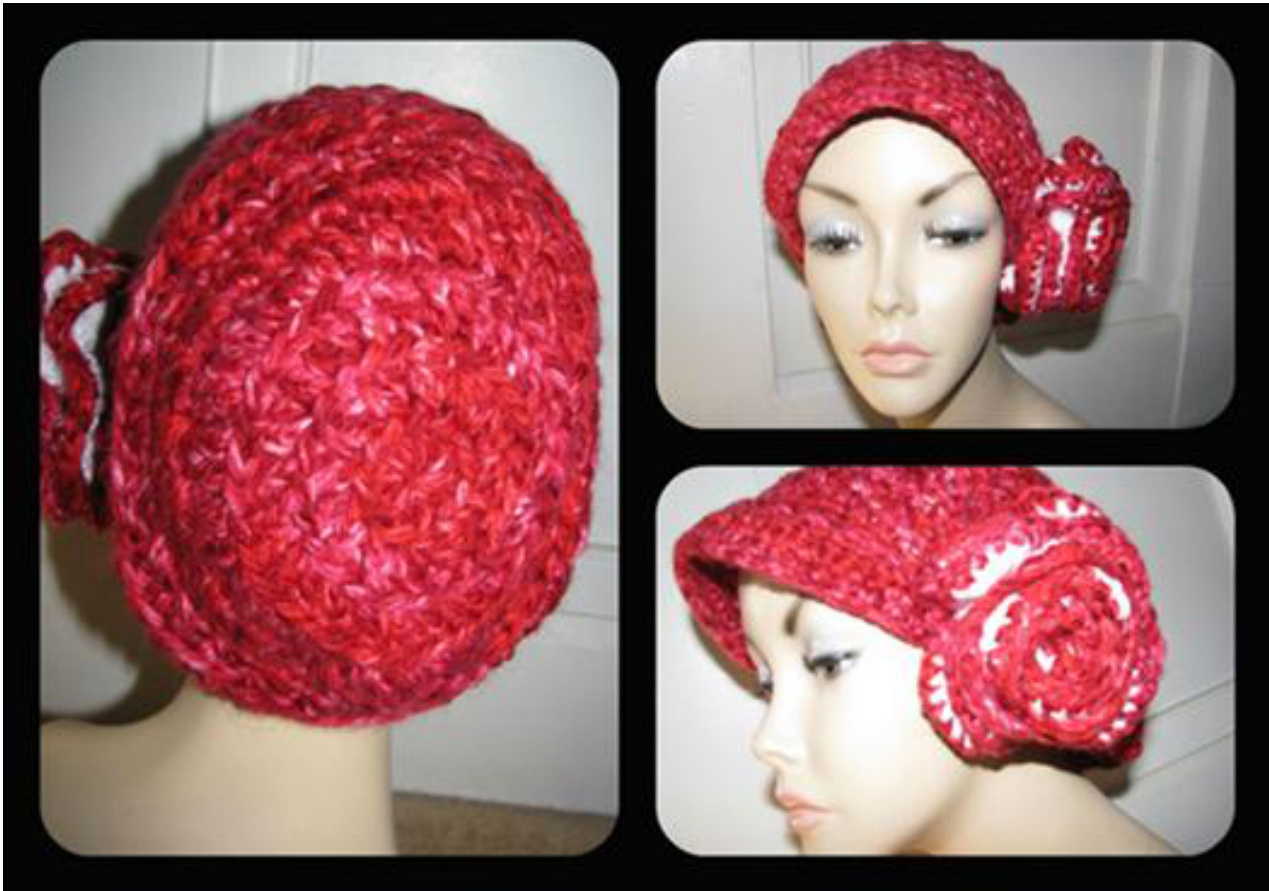
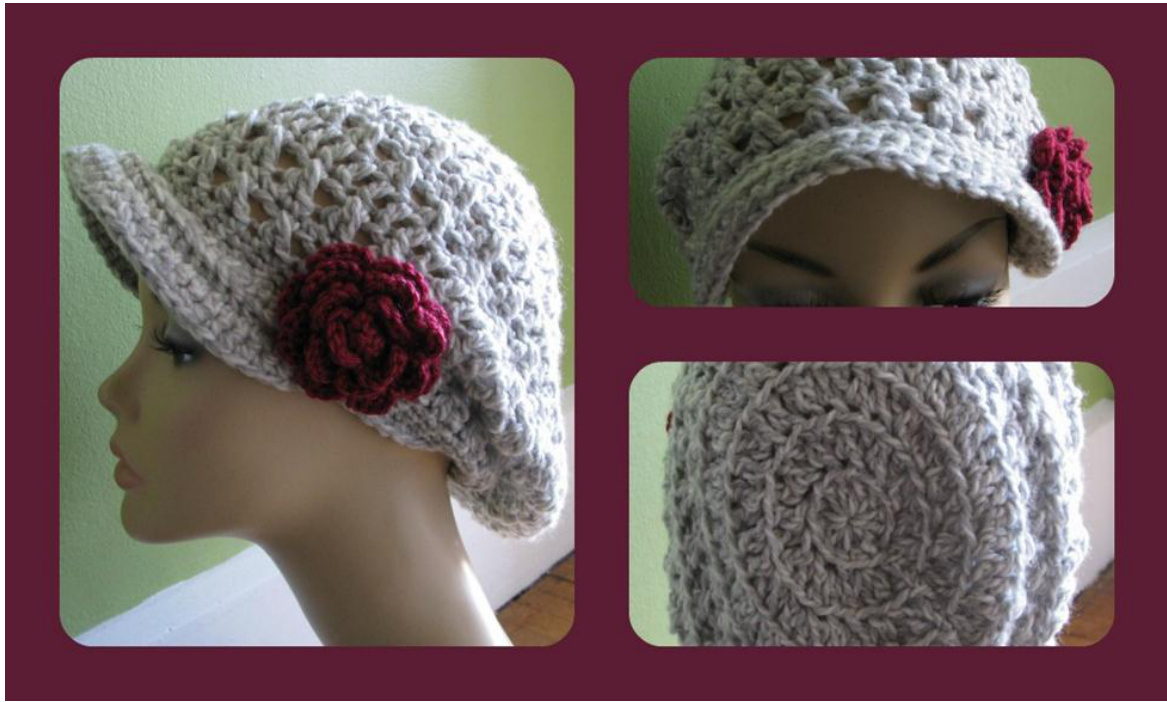
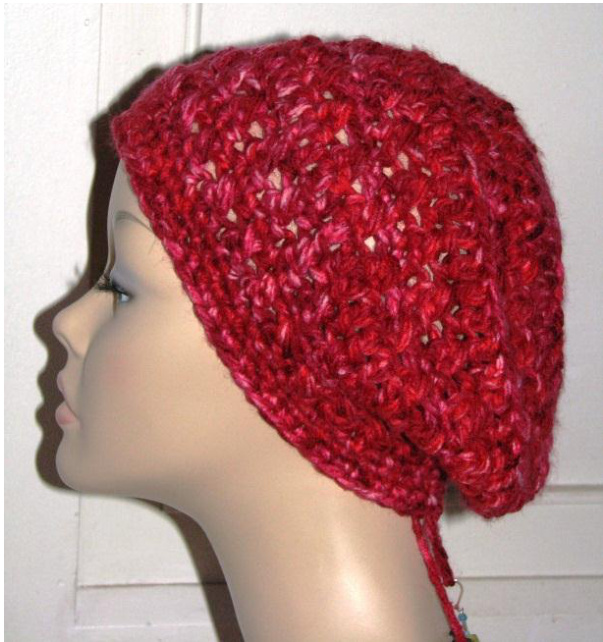
Kiss it Goodbye Newsboy Slouchy
Supplies:
Hook: U.S. K / 6.50mm, For Brim use J /6.00mm 2 skeins of Deborah Neville Serenity Chunky Yarn Berry Burst (you will only use a little of second skein) Needle Scissors Stitch markers
Stitches:
Beg= beginning. Ch=chain(s) Hdc= half double crochet Dc= double crochet Rs= right side Rem= remaining Rep= repeat Rnd(s) = rounds Sc= single crochet Sl st= slip stitch St(s) =stitch (es) Sp= space Sc2tog= single chain 2 together (decrease) tutorial: http:/ /www.youtube.com/watch?v=mpkr5OeQbRE Cross stitch = cr st, tutorial: http: / /www.youtube.com/watch?v=3gqqeMVMgAI&feature=related Magic circle tutorial: http: / /www.youtube.com/watch?v=WLuSVyKvoUg (None of these links are my own)
Pattern:
(Crochet in Rounds, chain 3 counts as a stitch, unless mentioned otherwise) Round 1: make a magic circle, chain 3, 11 dc. Pull circle closed, sl st to top of ch 3. Make sure you leave a couple inches for a tail so you can sew the circle closed. Alternate method, ch 4, 11 dc in 4 ch from hook, join with a sl st to top of the ch st. (12 dc) Round 2: ch 3, working in back loops only, 1 dc in same sp as last sl st. 2 dc in each dc around. Join with a sl st to top of ch 3 (24 dc) Your circle should now measure 3 inches across. Round 3: ch 3 working in back loops only, 1 dc in same sp as last sl st. \*1 dc in next dc. 2 dc in next dc. Rep from \* around to last dc. 1 dc in last dc. Join wifh a sl st to top of ch 3. (36 dc) Round 4: ch 3, working in back loop only, 1 dc in same sp as last sl st. \*1 dc in next dc. 2 dc in next dc. Rep from \* around to last dc. 1 dc in last dc. Join with a sl st to top of ch 3. (54 dc) Round 5: ch 3 in same sp as last sl st, working in both loops, 1 dc in st behind ch 3(first cross stitch made) \*skip next open st, dc in next dc, dc in skipped st.( cr st made) . Repeat from \* to last dc. Sl st into top of ch 3. (27 cr st, 54 dc total) Your circle should measure 7 1/2 inches across. Round 6: ch 1, sc in same sp as last sl st.(ch 1 does not count as a st). Sc in the remainder 53 st's. Sl st into top of ch 3.(54 sc) Round 7: Ch 3 in same sp as last sl st, working in both loops, 1 dc in st behind ch 3(cr st made). \* skip next open st, dc in next dc, dc in skipped st. Repeat from \* to last dc. S1 st into top of ch 3. (27 cr st, 54 dc) Round 8: Ch 3 in same sp as last st, working in back loop only, dc in each dc 53 times, last dc sl st into top of ch3. (54 dc) (Work both loops from now on) Round 9: Ch 3 in same sp as last st, 1 dc in st behind ch 3. ( cr st made). \*skip next open st, dc in next dc, dc in skipped st. Repeat from \* to last st. Sl st into top of ch 3. (27 cr st, 54 dc). d 10: Ch 1, sc in same sp as last st. sc around 53 more times. (54 sc Round 11: Ch 3 in same sp as last sc, 1 dc in st behind the ch 3(cr st made). \* skip next open st, dc in next st. dc in skipped st. Repeat from\* to last st. Sl st into top of ch 3. (27 cr st. 54 dc) Round 12: Ch 3 in same sp as last dc, dc around 53 more times, sl st into top of ch 3. (54 dc) Round 13: repeat row 9(27 cr st, 54 dc) Round 14: repeat row 10(54 sc) Round 15: repeat row 9 (27cr st, 54 dc) (With body of the hat when lying flat, it should measure 10-11 inches. This makes the circumference 20-22 inches.)
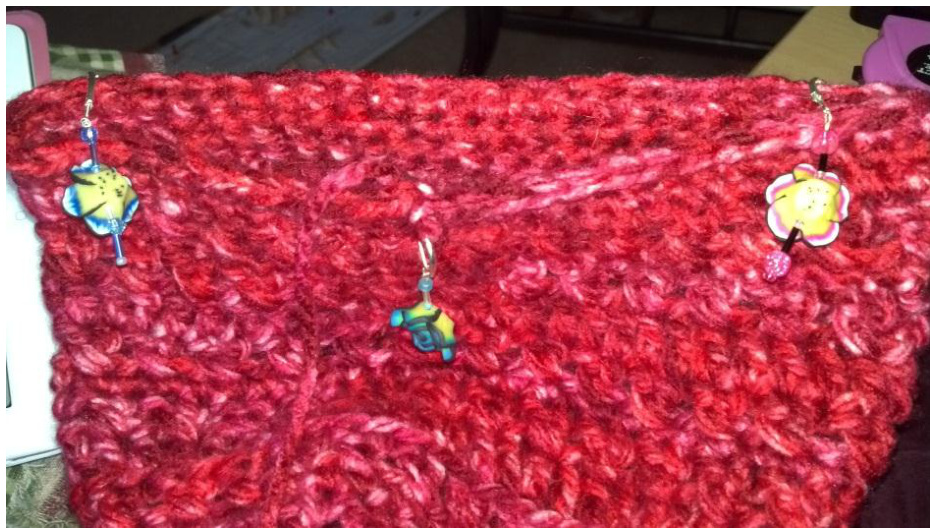
Round 16-18: Ch 1, sc in same sp as last dc, 53 sc around. If hat feels too big on you after round 16, do a decrease (sc2tog), making sure not to make it too tight. Continue till you finish round 18. Fasten off. Brim: Switch to the J hook. end of each row (after row 1) you will hdc in following sp , ss in next s Find center where you just fastened off, counting 18 outward on each side, put a stitch marker in each. This is where we will start the Brim.
Row 1: with inside of hat facing you, join yarn at stitch marker, ch 1, starting in next st 2 hdc in each st across and into opposite stitch marker. ch1, turn Row 2: In back loop only, 1 sc in each sc until end of row. hdc in next sp , ss in next sp, ch1 turn Row 3 & 4: Through both loops, 1 sc in each sp, hdc in next sp , ss in next sp, ch1 turn. Row 5: Through both loops, 1 sc in each sp until end of row, hdc in the next sp, ss in next sp. Fasten off, weave in all ends Final row: Insert hook and sl st around entire hat, brim included. Fasten off, weave in ends. Optional: Google "flower, rose etc: for a free pattern. Crochet following pattern, attach to hat. Zipper flower, ribbon, possibilities are endless!