Skellington
By: AtKnitsEnd
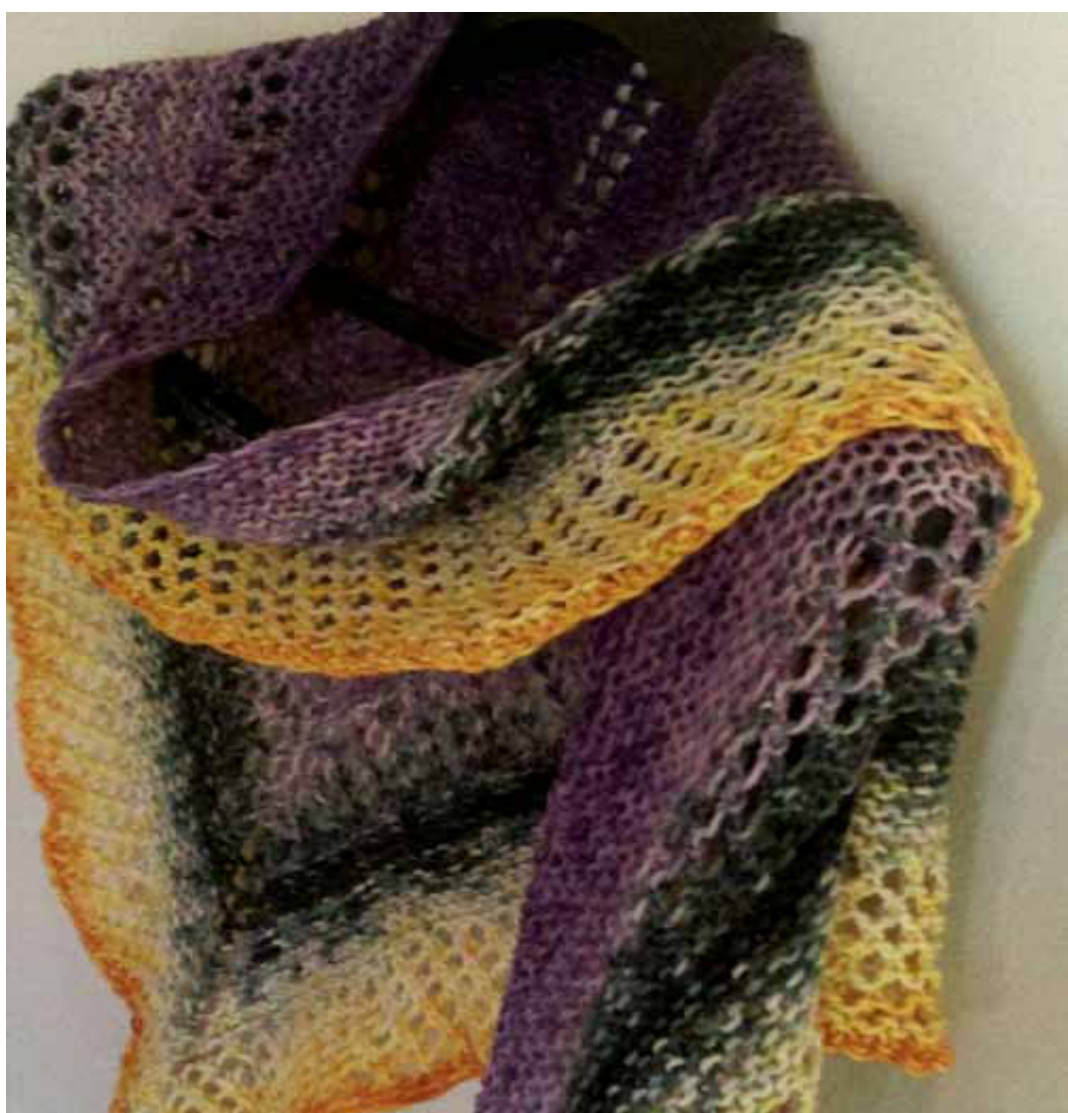
The idea for this simple shawl was born out of necessity. I had ordered 2 skeins of this gorgeous gradient yarn, but when I went pattern hunting, I couldn't find a design I considered wrappy enough. This fits the bill. With a small amount of yarn, and rapid increases on both sides, you end up with a shawl that's plenty wide without the center point dragging on the ground behind you. Gauge: 4 inches = doesn't matter, just use a needle that gives you a drape you're happy with. I used a size 10.5 for the worsted weight version and an 8 for the sport weight version DesignerNote: I carried both yarns up the side of the shawl as I knit asl wanted to maintain the color way, there are various methods of doing this and instructions available on Youtube. Or if you don't mind a more super stripy shawl, don't bother switching yarns out. Stitch key: K=knit P=purl YO=yarn over K2tog=knit stitches together SSK=slip 2 stitches as if to knit, insert the left hand needle and knit them together KFB=knit into the front and back of the stitch Pattern: using long tail cast on, cast on 3 stitches Set up row 1: KFB, K1, KFB Set up row 2: KFB, knit to last stitch, KFB (7 stitches) Garter Stitch section row 1: KFB, K2, YO (place marker) K1 (place marker) Y0, K2, KFB (11 stitches) Garter section row 2: KFB, knit to last stitch, KFB Repeat these 2 rows until happy. I did 18 garter row ridges (or 36 rows) until I started the mesh section, but I encourage you to use your imagination and make the shawl up as you go. If you are switching out yarns however, make sure to do an even amount of mesh rows as they use more yarn than the garter rows. Mesh section row 1: (right side) KFB, \*YO, K2tog\* until 1 stitch before marker, YO, K1, YO, K1(center stitch) YO, K1,\*YO, SSK\* until the last stitch, KFB Mesh section row 2: KFB, purl to marker, K1, purl to last stitch, KFB Again, the ratio of garter to mesh rows is completely up to you. I did 3 garter ridge sections and 3 mesh sections for the samples shown, increasing the amount mesh rows each time. The 1st mesh section was 4 rows, the second 8 rows, and so on. Please feel free to sell products made from this pattern, or distribute copies even, but please dont attempt to sella free pattern, that's douchy. Yarn pictured is from indy dyer Collier and Black They can be found on Etsy.


