MILLIE
Materials:
Yarn: Universal Yarn Deluxe Chunky Long Print LP, color Apple Orchard. Approximately 1.5 balls. Needles: 2 24" size 10 circular needle, one 24" circular needle, any size. Miscellaneous: Stitch markers, darning needles Gauge: 4 stitches and 6 rows = 1" in 1x1 ribbing, after felting, with size 10 needles (gauge is approximate)
Special Stitch Instructions:
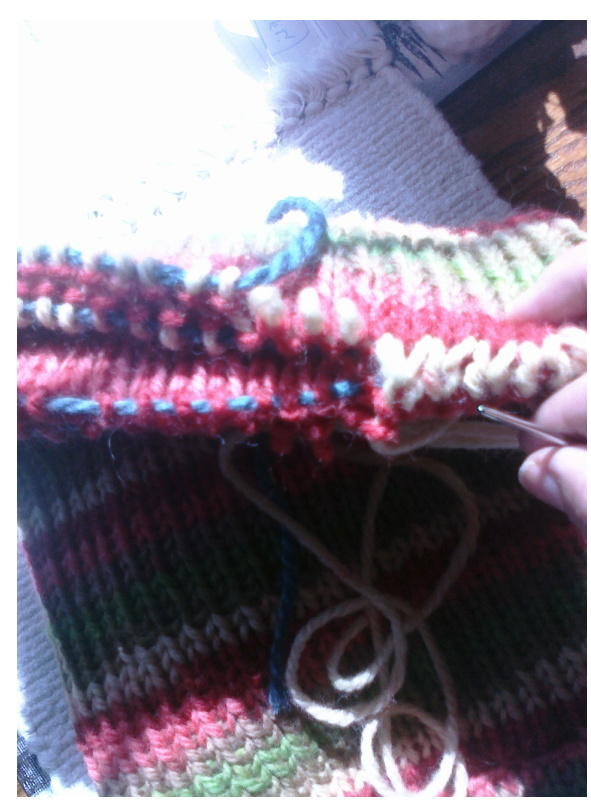
Instructions for Tubular Cast-on: http://knitty.com/ISSUEfall05/FEATfall05TT.html Instructions for grafting ribbing: there are many web sites that talk about how to do this. I found it easiest to use two sets of circular needles and place the live purl stitches on one circular needle, and the knit stitches on another. Some of the Web sitesI found useful include:
http://www.tricksyknitter.com/pages/posts/kitchener -stitch-89.php http://kneats.livejournal.com/1851.html http://cmeknit.blogspot.com/2009/01/tubular-bindoff-with-kitchener-stitch.html
About the Pattern
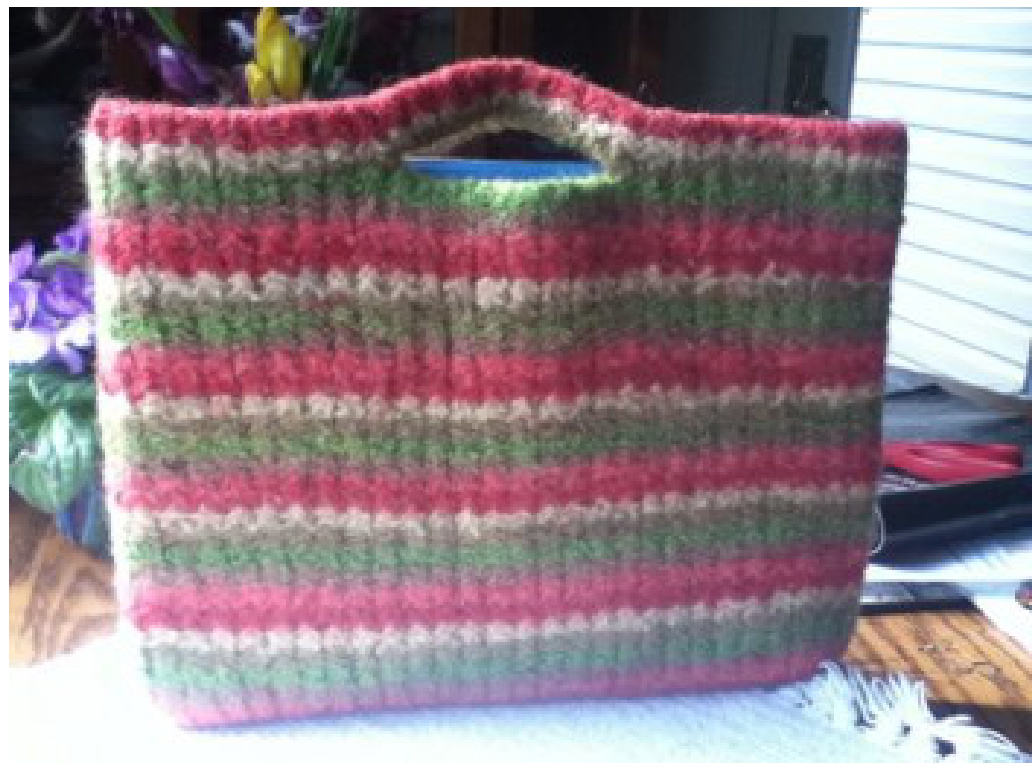
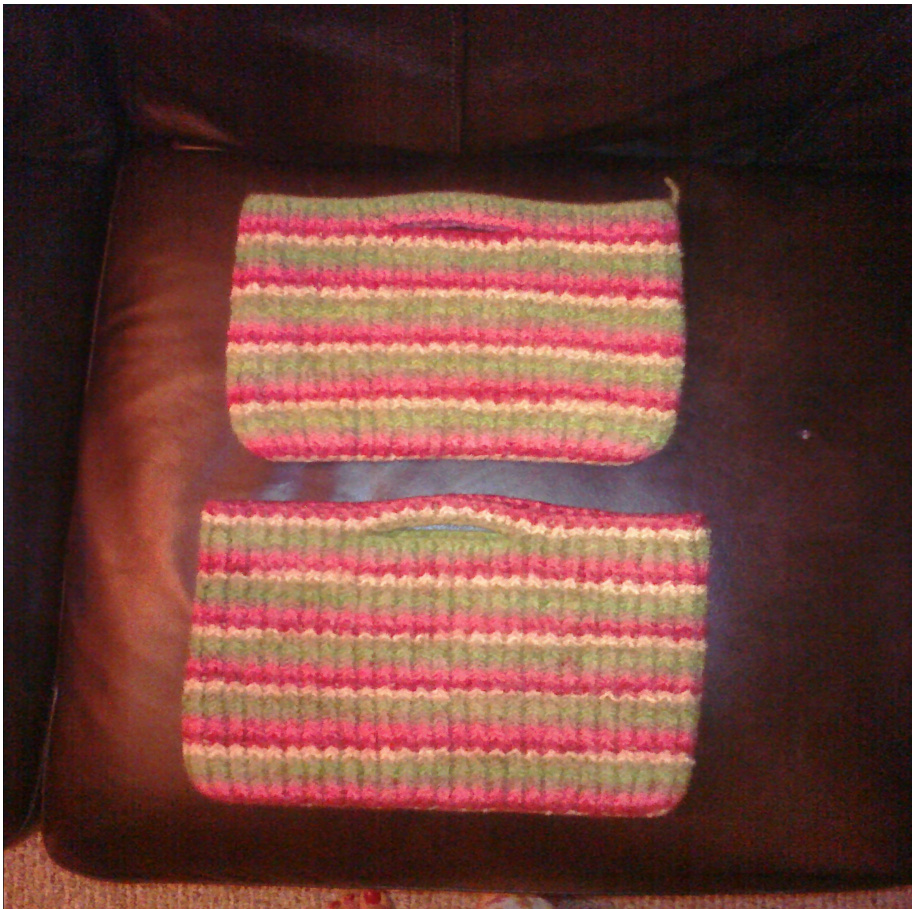
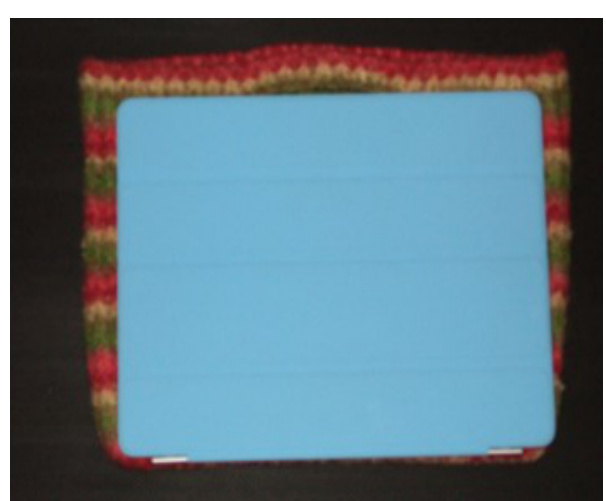
I wanted a fitted sleeve for my iPad 2 that would protect it, but not be too bulky - something I could still put in my purse. I chose 1x1 ribbing to give the end result a bit more thickness and possibly a bit more protection. Instead of a 3-needle bind-off, I tried grafting so that there wouldn't be a bulky seam at the bottom. There are two versions:the first is just loose enough that (If I sewed) I could create a pouch with some extra padding and sew it into the sleeve. The second version is a bit more snug (and is the one I use)
The pattern is named after my grandmother, from whom I inherited the urge to knit.
Directions:
I knitted this 3 times so that I could tweak the pattern, but apologize in advance if I still missed something. Cast on 56 (50) stitches using a tubular cast-on. There are great directions at Knitty: http://www.knitty.com/ISSUEfall05/FEATfall05TT.html but basicallythis involves a backwards-loop cast-on with waste yarn, 4 rows of stockinette stitch with the working yarn, and then on the 5th (purl) row, you purl the first stitch, then pick up a purl bump from the cast-on row and kbl. Once you've finished, picking up all the stitches, you have 112 (100) stitches and one row of 1x1 knitting.
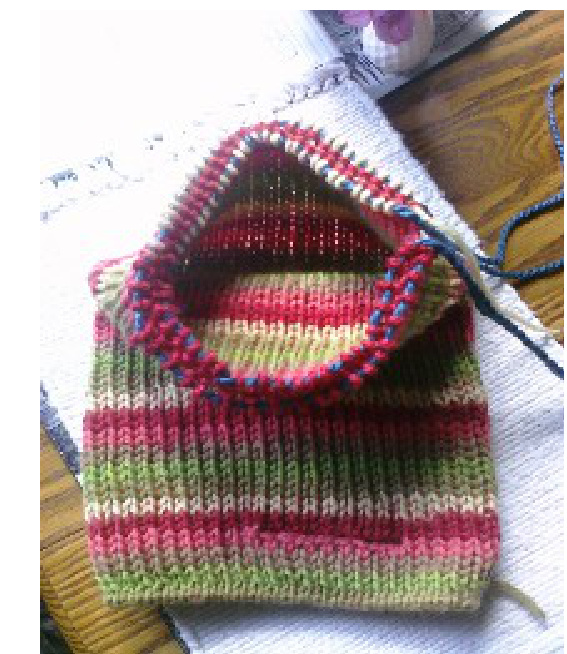
Cast on one more stitch via backwards-loop (113 or 101 total) then work one row in 1x1 ribbing. Join by taking the last P stitch from the right needle, moving it to the left, and ptg (112/100 stitches). Place marker and work 1x1 ribbing for 2 more rounds until piece measures about 1.25 inches. At beginning of next round, work 20 stitches in 1x1 ribbing, pm, work 16 stitches, pm, work 40 stitches, pm, work 16 stitches, pm, and work last 20 stitches to end of round. Work should measure about 1.25 inches at this point (for smaller version, work 17 stitches, pm, work 16 stitches, pm work 34 stitches, pm, work 16 stitches, pm, continue to end of round). Next round - work 20 stitches to first marker, slm, bind-off 16 stitches, slm, work 40 stitches to next marker, slm, bind off 16 stitches, slm and work to end of round. (for smaller version: work 17 stitches to first marker, slm, bo 16 stitches, slm, work 34 stitches, slm, bo 16 stitches, slm, work to end of round) Next round - work to first marker, remove marker and turn around so that the needle with the working yarn is now in your left hand - cast-on 16 stitches using a knitted cast-on. Turn work back around , remove 2nd marker and work to 3rd marker. Remove marker and again turn work around, so that working yarn is again in left hand and cast on 16 stitches using the knitted cast-on, remove the 4th marker, turn work back around and finish round. Work 1x1 ribbing until piece measures approximately 12.75 inches. Bind off with a kitchener stitch To do this, I took a second circular needle and moved my live stitches so that all the knit stitches were on one needle and the purl stitches on another. Then, I took a length of yarn and a darning needle,grafted across the knitted stitches, turned the item inside out and then grafted across the knitted stitches again. Work in ends, remove waste yarn from cast-on and toss in the washing machine. I have a front-loader so I ran one 28 minute "small load" cycle with hot water, checked it, and ran another one. If you have a top-loader, then just keep checking until it's the proper size.
Notes:
Finished size for larger version: 11 by 8.5 Finished size for smaller version: 10.2' by 8.2'


