Resolution 2013
My New Years' resolution for 2013 is to actually publish the back log of patterns I've been dreaming up for years now. At the beginning of each month in 2013 I'll release a new pattern available for free as a KAL for one month; and for purchase the month after. I'll also release it as an update to this eBook. If you'd like to join the KAL for the year, download the eBook at any point and you'll get updates for all the patterns.
Contents
Freya . Mountain . 3 Nimue.. 5 Resolution - 2013 January - Freya
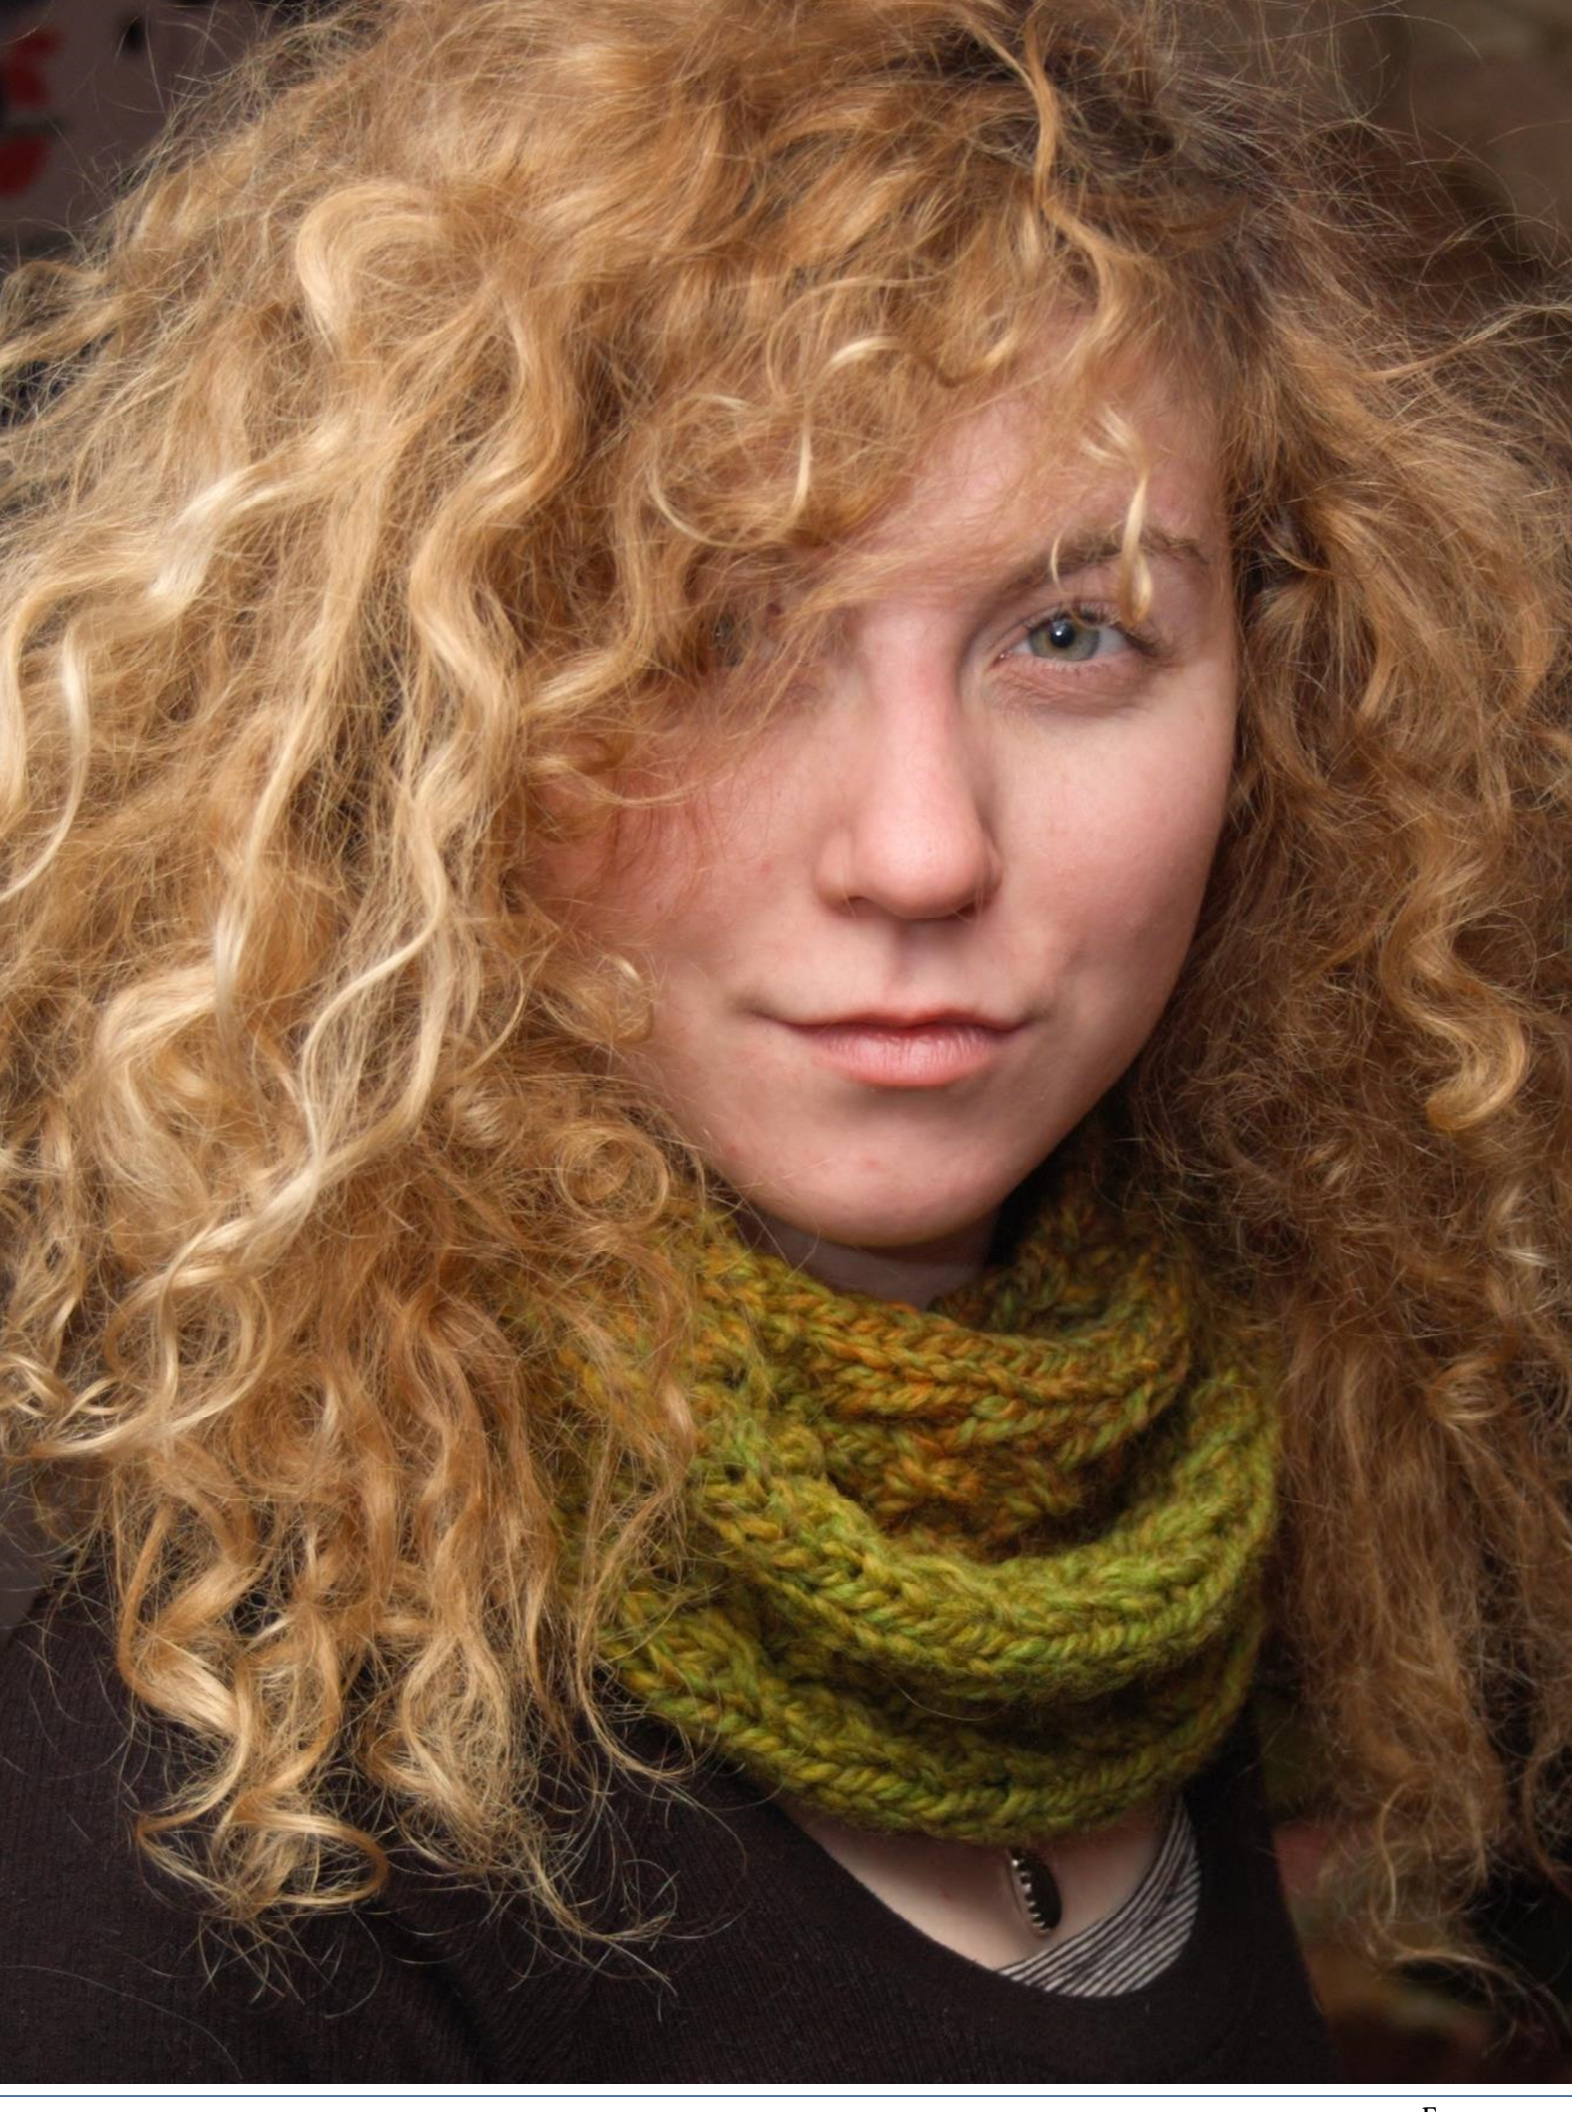
Freya _- page 1 @2013 Carisa Chang - Stranded Freya is a beautifully versatile scarf designed to showcase bulky yarn in a simple lace pattern with a variety of finishing options. She is easy to knit, quick to work up, and warm on winter days and mornings and nights year-round. Freya is the first pattern in my Resolution - 2013 eBook, a series of 12 patterns released monthly in 2013. The pattern will be made available for free as a KAL on January 1st, 2013. An updated pattern with images will be uploaded after the KAL and available for purchase on February 1st, 2013. Materials: 140 yards bulky weight yarn (1 skein Cascade Covington) Size 10 knitting needles, straight or circular 3 buttons- %"-1" diameter (optional) Cast on 23 stitches. Cast on provisionally if you plan to graft ends together to form an infinity scarf. P2tog-b=p2togtbl Row 1: \*K1, k2tog, yo, k1, yo, ssk, k1\*, (k1, rep \* to \*) twice Row 2: \*p2tog-b, yo, p3, yo, p2tog\*, (p1, rep \* to \*) twice Row 3: \*K1, yo, ssk, k1, k2tog, yo, k1\*, (k1, rep \* to \*) twice Row 4: \*p2, yo p3tog, yo, p2\*, (p1, rep \* to \*) twice Repeat rows 1-4 until you reach your desired length. I knit until I used an entire skein of Cascade Covington yarn, about 140 yards. Finish: Simple scarf: cast off. Buttoned scarf: cast off. Attach buttons at even spacing on one end of scarf - 1 button at each % of the width of the scarf, as pictured. Infinity scarf: place live stitches from provisional cast on on separate needle. Graft ends together using Kitchener stitch - Knitty.com has a particularly useful tutorial here: http://knitty.com/IsSUEsummer04/FEATtheresasum04.html Block loosely and enjoy! Resolution - 2013 February - Mountain
Resolution - 2013 February - Mountain
Mountain
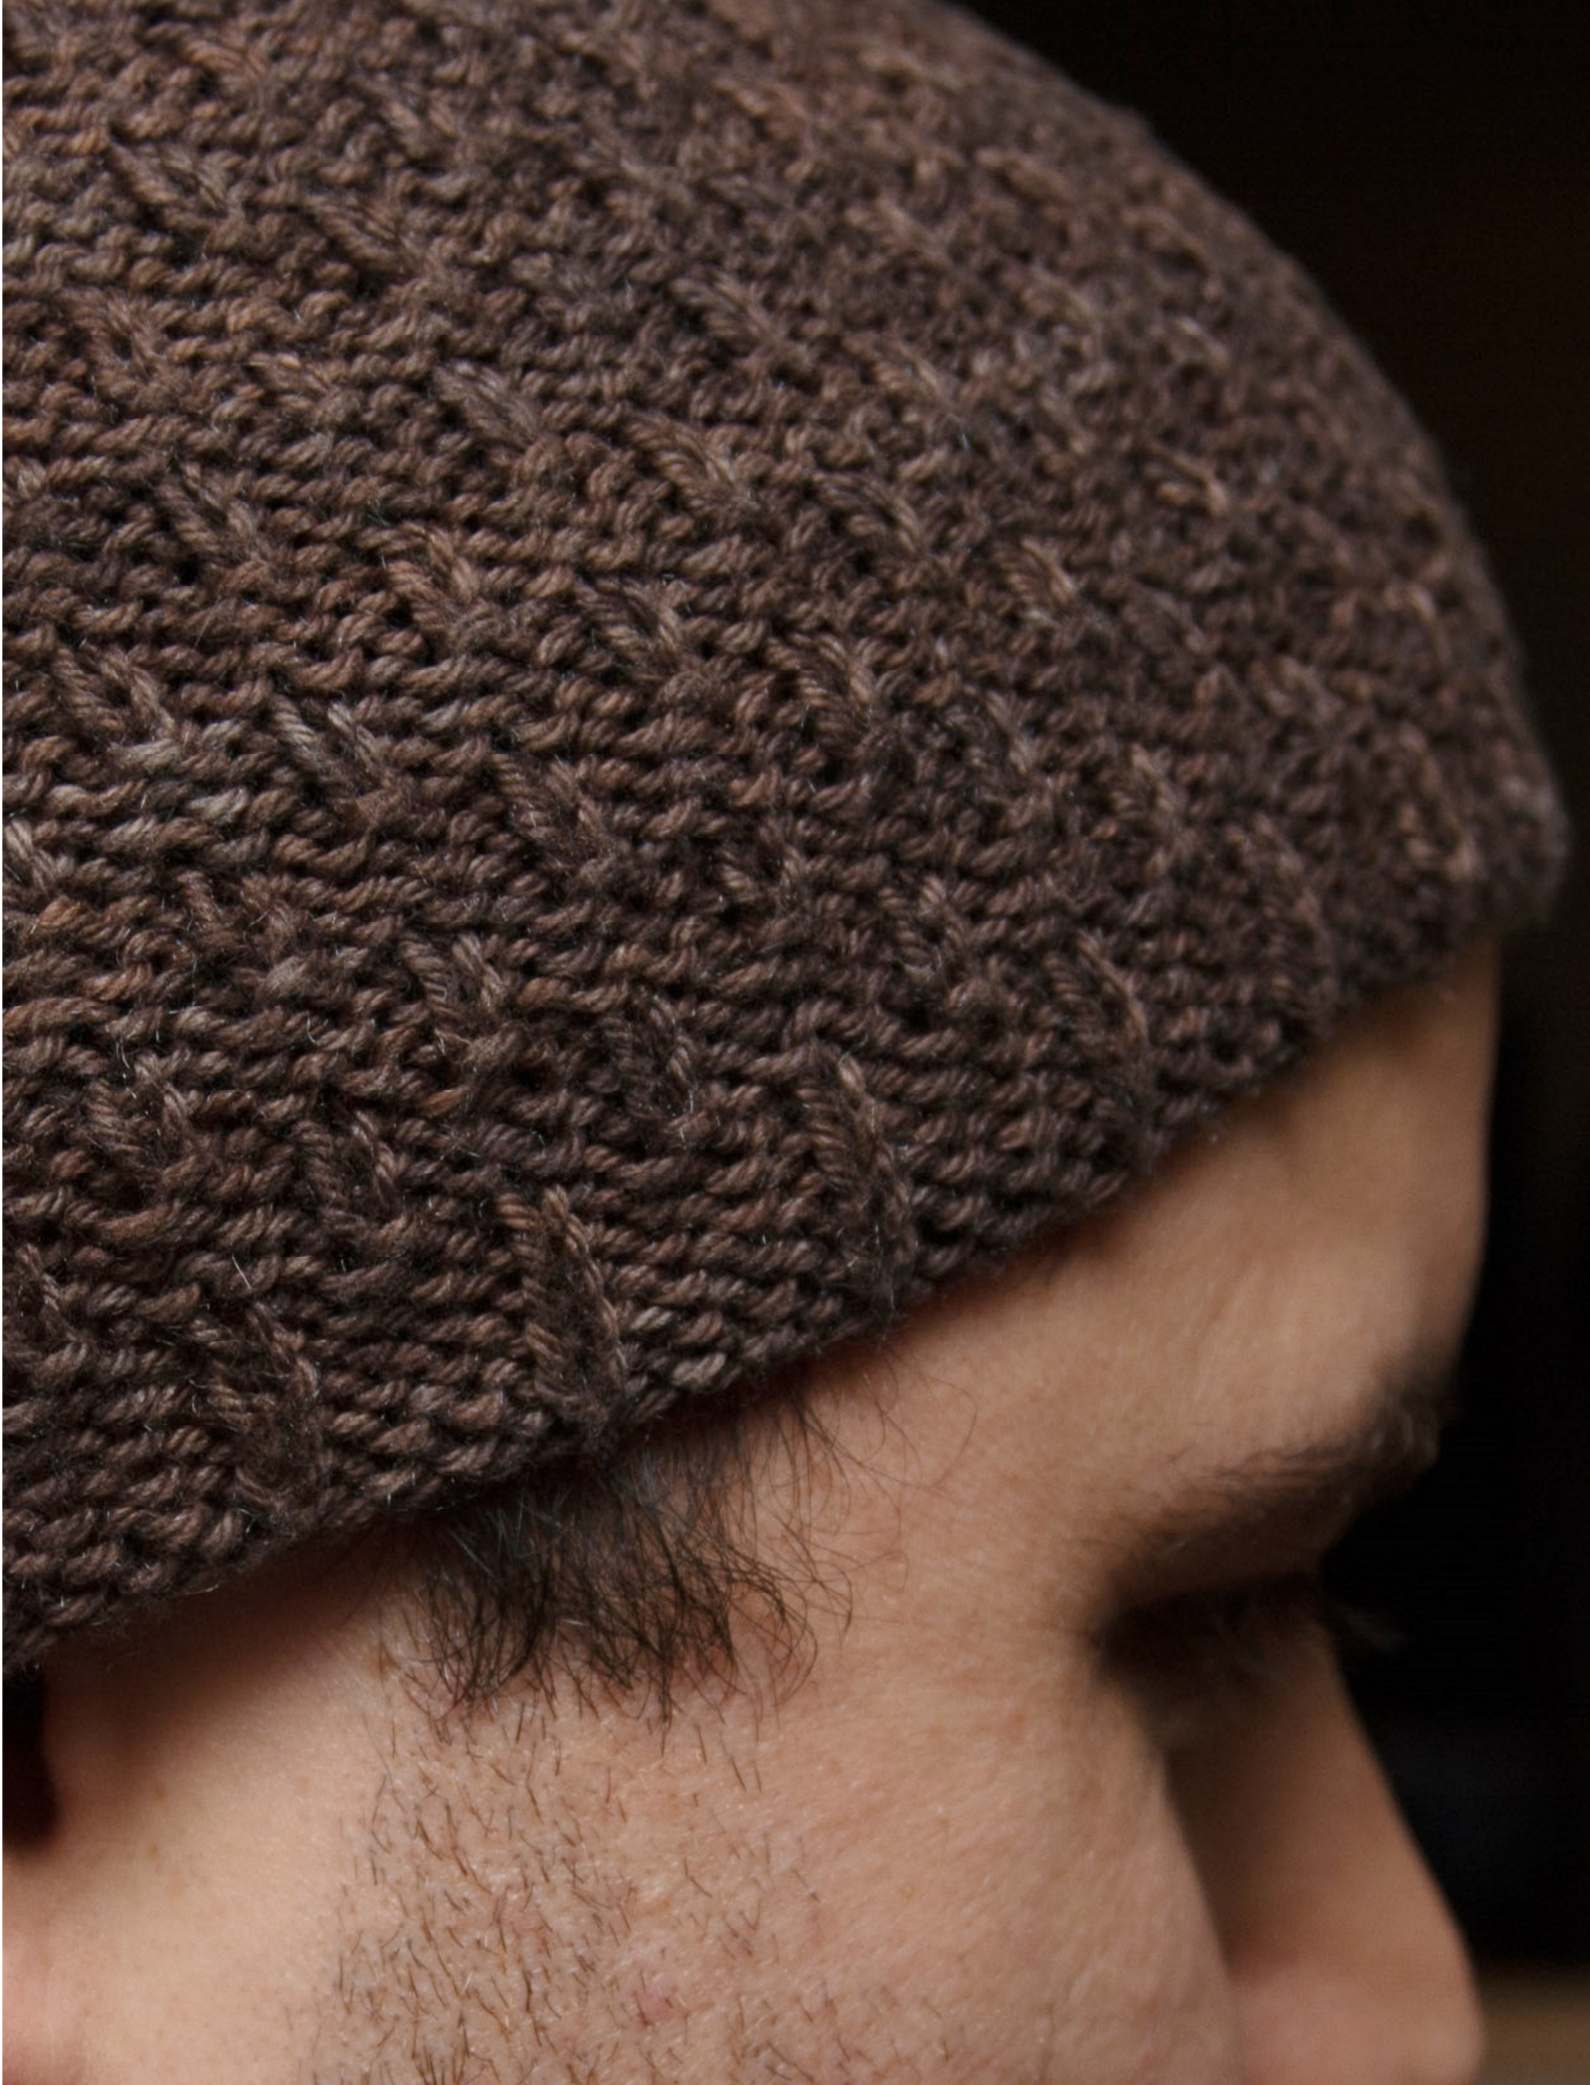
Mountain is a simple take on the classic beanie. An overall stitch pattern is a variation on basket weave stitches, with a purl background lending some softness to the structure and intermittent knit stitches providing direction and tiny pockets of air underneath to hold in warmth. The crown decreases are worked in a no slant double decrease, pulling the pattern inward in a gentler spiral than the typical k2tog decrease method. Worked in DK weight yarn, Mountain is a warm but not-too-warm hat for brisk Fall and Spring days. Or, if you're in the Pacific Northwest, the entire year! Stitch pattern looks best in solid or slightly variegated yarn, but is lost in highly variegated yarn (such as self-striping yarn). Mountain is the second pattern in my Resolution - 2013 eBook, a series of 12 patterns released monthly in 2013. The pattern will be made available for free as a KAL on February 1st, 2013. An updated pattern with images will be uploaded after the KAL and available for purchase on March 1st, 2013.
Materials:
120-130yds DK weight yarn - Misti Alpaca Tonos Pima Silk in Truffle used for hat in photos Size 2 US needles: DPN or long circulars for magic loop yarn needle for finishing
Gauge:
\* 20 stitches = 3"/7.5cm in pattern Size: Adult Cast on 120 stitches. Join to work in the round. Work %-1" p3, k1 ribbing, depending on desired band width. Hat in photos has a %" band, the next one I make will have a 1"band, I think I'd prefer a clearer separationfrom the overall pattern.
Stitch pattern:
Rows 1-3: \*p1, k1, p2\* repeat till end Rows 4-6: \*p3, k1\* repeat till end Work stitch pattern until hat measures 4.5-5" from cast on, ending with Row 3.
Decrease:
dec = slip 1, p2tog, psso Row 1: \*dec, K1, (p3, K1) x4\*, repeat \* to \* till end Row 2: \*p1, k1, (p3, k1) x4\*, repeat \* to \* till end Row 3: \*dec, k1, (p3, k1) x3, p2\* repeat \* to \* till end Row 4,8, 12, 16: \*p1, k1, p2\* repeat \* to \* till end Row 5: \*dec, k1, (p3, k1) x3\* repeat \* to \* till end Row 6: \*p1, k1, (p3, k1) x3\* repeat \* to \* till end Row 7: \*dec, k1, (p3, k1) x2, p2\* repeat \* to \* till end Row 9: \*dec, k1, (p3, k1) x2\* repeat \* to \* till end Row 10: \*p1, k1, (p3, k1) x2\* repeat \* to \* till end Row 11: \*dec, k1, p3, k1, p2\* repeat \* to \* till end Row 13: \*dec, k1, p3, k1\* repeat \* to \* till end Row 14: \*p1, k1, p3, k1\* repeat \* to \* till end Row 15: \*dec, k1, p2\* repeat \* to \* till end Row 17: \*dec, k1\* repeat \* to \* till end
Finishing:
Cut yarn at least 6" from hat, use yarn needle to thread yarn through the remaining stitches and pull tightly to close.Weaveinends. Block lightly. To prevent creasing while blocking you can either rotate the hat as it dries flat, or block it on a roundedobjectsuch asaball orballoon.
Nimue
Nimue is a set of fingerless gloves featuring intricately worked twisted stitch cables, reminiscent of delicate Celtic knotworks. Rows of twisted stitches run up the inner arm and onto the palm of the gloves, providing visual interest and flexible shaping through the wrist and hand. The cable is a deceptively simple 6 row repeat, accessible to cable beginners and experts alike. Nimue is the third pattern in my Resolution - 2013 eBook, a series of 12 patterns released monthly in 2013. The pattern will be made available for free as a KAL on March 1st, 2013. An updated pattern with images will be uploaded after the KAL and available for purchase on April 1st, 2013.
Materials:
155-165yds worsted weight yarn - Manos del Uruguay Maxima in Royal (M2445) used for gloves inphotos Size 6 US needles: DPN or long circulars for magic loop yarn needle for finishing
Gauge:
7 stitches x 8 rows = 2" in K1tbl, p3 pattern Size: XOne size fits most 7-8" palm circumference Construction Note: \* All K stitches are Ktbl, knit through back loop.
Thumb gusset:
Beginning on first row of repeat 6 of cable chart: R1: Work in pattern until 1 st before 7th Ktbl, PFB, K1tbl, PFB, work rest of row in pattern R2: Work in pattern until 1 st before 7th Ktbl, PM, p1, K1tbl, p1, PM, work rest of row in pattern R3, 5, 7, 9, 11: Work in pattern until marker, PFB, work in pattern until 1 st before next marker, PFB, SM, work in pattern for rest of the row R4, 6, 8, 10, 12: Work in pattern R13-18: work in pattern R19 (final round of thumb): work in pattern to first marker, remove marker, cast off in pattern until second marker, pick up and knit one stitch from before first marker, finish round in pattern
Cable chart:

Key:
入K = KFKB: place next stitch on cable needle, hold to front. Ktbl next stitch, then ktbl stitch on cable needle Y人 = KBKF: place next stitch on cable needle, hold to back. Ktbl next stitch, then kbtl stitch on cable needle. · = PBKF: place next stitch on cable needle, hold to front. Purl next stitch, then ktbl stitch from cable needle / = KFPB: place next stitch on cable needle, hold to back. Ktbl next stitch, then purl stitch from cable needle
Written instructions:
R1: p1, KFKB, p4, KFKB, p4, KFKB, p1 R2:KFPB,PBKF,p2,KFPB,PBKF,p2,KFPB, PBKF R3:k1tbl, p2, PBKF, KFPB,p2, PBKF,KFPB,p2,k1tbl R4: k1tbl, p3, KBKF, p4, KBKF, p3, k1tbl R5: k1tbl p2, KFPB, PBKF, p2, KFPB,PBKF, p2, K1tbl R6:PBKF,KFPB,p2,PBKF,KFPB,p2, PBKF,KFPB Resolution - 2013 March - Nimue Cast on 39 stitches. Divide stitches between DPNs or long circulars if using the magic circle method. Put 19 stitches on the front needle and 20 stitches on the back needle. Right Glove (cable worked on Ktbl stitches 1-6):
| Finishingrows | |
| Cablerepeat | K1tbl,p3section |
| Cablerepeat | K1tbl,p3 section,end of gusset |
| Cablerepeat | K1tbl,p3section,gusset |
| Cablerepeat | K1tbl,p3section,startofgusset |
| Cablerepeat | K1tbl,p3 section |
| Cablerepeat | K1tbl, p3 section |
| Cablerepeat | K1tbl,p3 section |
| Cablerepeat | K1tbl,p3section |
| Cablerepeat | K1tbl, p3section |
| 10rwsK1tbl,p3+setuprow | |
Left Glove (cable worked on Ktbl stitches 8-13):
| Finishingrows | |
| K1tbl,p3 section | Cablerepeat |
| K1tbl,p3section,endofgusset | Cablerepeat |
| K1tbl,p3section,gusset | Cablerepeat |
| K1tbl,p3section,startofgusset | Cablerepeat |
| K1tbl, p3 section | Cablerepeat |
| K1tbl,p3section | Cablerepeat |
| K1tbl,p3section | Cable repeat |
| K1tbl,p3section | Cablerepeat |
| K1tbl,p3section | Cablerepeat |
| 10rwsK1tbl,p3+setuprow | |
Written Instructions: Work 10 rows \*K1tbl, p3\*. Set up row: work in pattern, working row 6 of the cable section on the given Ktbl columns in charts above (for right glove, it is columns 1-6, for left glove 8-13). For both gloves, work 5 cable pattern repeats, continuing in K1tbl, p3 pattern for the remainder of the gloves. On the first row of the 6th cable pattern repeat, begin Thumb gusset per instructions on page 1. The thumb gusset will be worked during the next 3 cable pattern repeats (6-8). Work one more cable repeat after ending thumb for 9 repeats total. Work rows 1 and 2 of the cable chart. Work 2 additional rows in \*K1tbl, p3\* pattern for entire round. Bind off, trim and weave in ends.


