kenitty attitude
Pink Breast
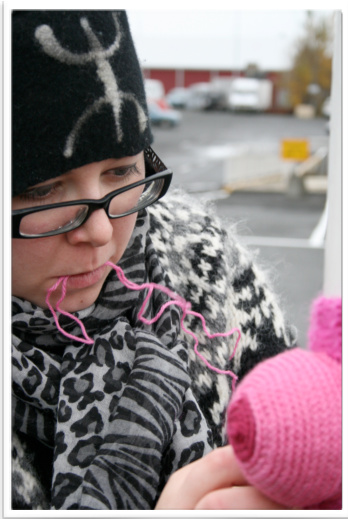
by Berglind Inga Guomundsdottir To knit or crochet something and leave it out in the public space is a relatively new phenomenon. The act has been called yarn graffiti, yarnstorming og yarnbombing.
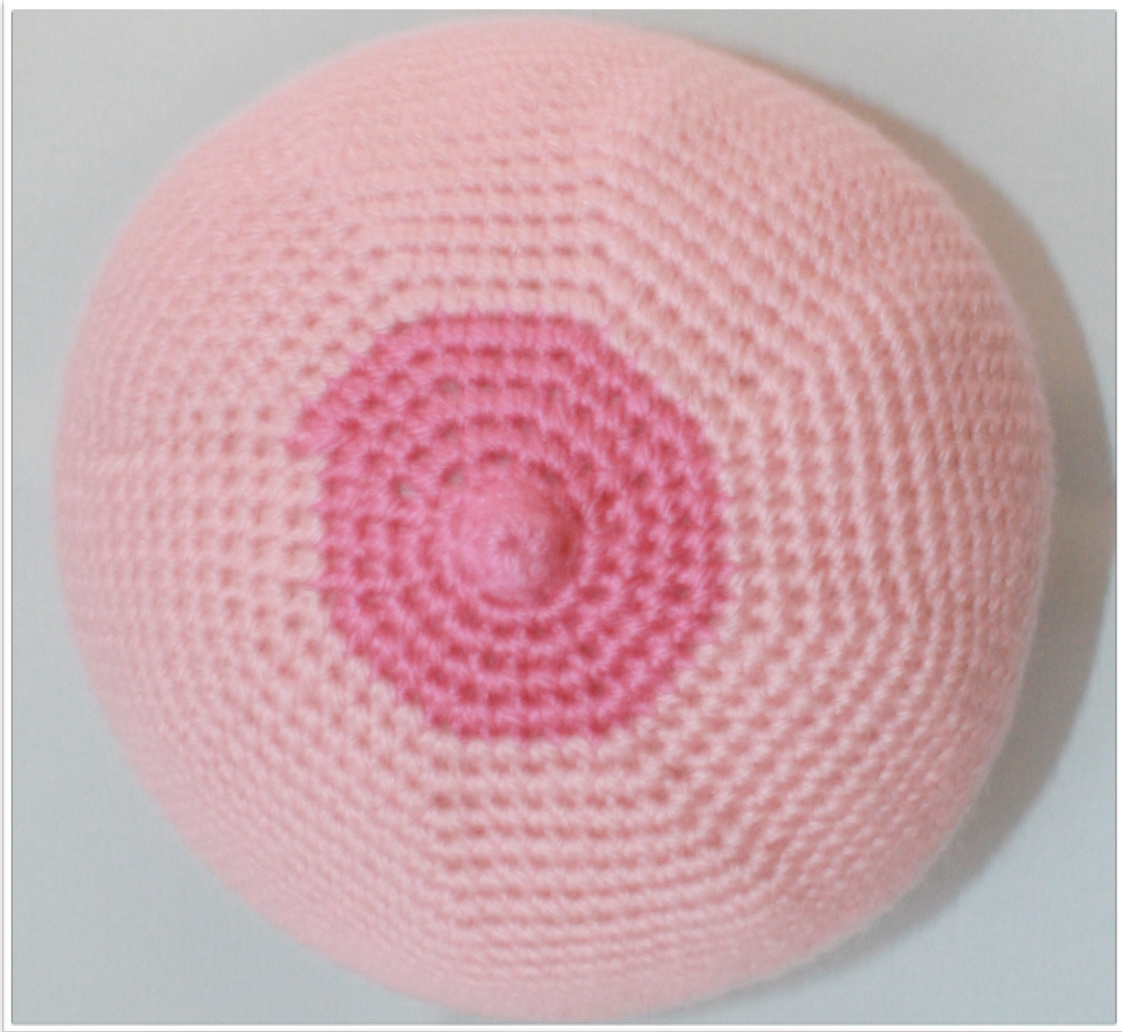
In October 2011 I decided to yarnstorm to celebrate Breast Cancer Awareness month and help raise awareness about breast cancer. This is a pattern for a Pink Breast, very suitable for yarnstorming. Note: The pattern is written with US crochet terms so if you crochet the UK way, be aware that a single crochet in US terms is a double crochet in UK terms.
Yarn Istex Kambgarn in color 1222 (lighter) and 1221 (darker). Any yarn in two colors will do. Single crochet (sc) Put the hook through next stitch, yarn over, pull through, yarn over, pull through both stitches on the needle. Increase (inc.) Crochet 2 single crochet in one from the previous row. Decrease (dec.) Put the hook through the next stitch, yarn over, pull through (2 stitches on the hook), put the hook in the next stitch, yarn over, pull through (3 stitches on the hook), yarn over, pull the yarn through all stitches on the hook. Two stitches from the previous row become one. With the contrast color, chain 2 or make a magic circle. Single crochet 6 into the second stitch from the hook or into the magic circle. Row 1: sc all stitches = 6 stitches. Row 2: \*sc 2, inc\* repeat from \* to \* = 8 sts Row 3: sc all stitches. Row 4: inc in all stitches = 16 sts Row 5: \*sc, inc\* repeat from \* to \* = 24 sts Row 6: \*sc 2, inc\* repeat from \* to \* = 32 sts Row 7: \*sc 3, inc\* repeat from \* to \* = 40 sts Change to main color. Row 8: \*sc 4, inc \* repeat from \* to \* = 48 sts
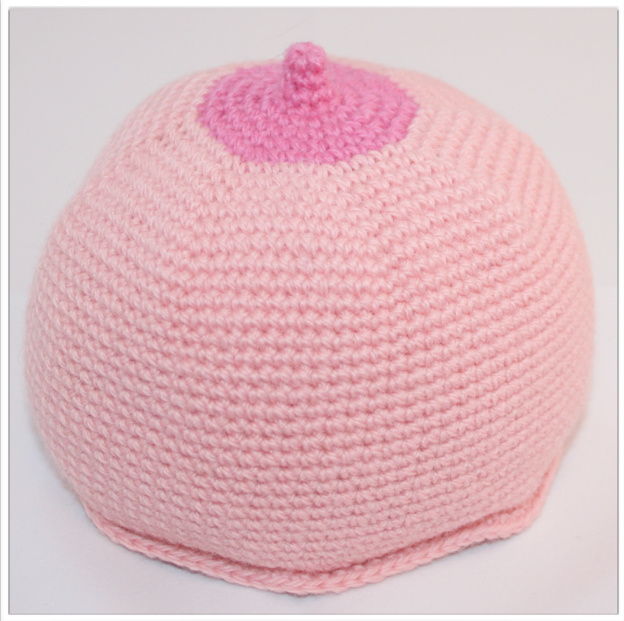
Keep crocheting in this manner so that the stitches between increases are always 1 more than in the previous row. That way, 8 stitches are added evenly across every row. Increase in every row until you have 104 stitches, the last row should have 11 stitches between increases. Place marker and single crochet without increasing until work measures about 8 cm / 3" from marker.
Crochet backside:
Insert the hook inside work, in the top border of the previous row and up in the top border of the row below that (fig. 1). Yarn over and pull through. Yarn over again and pull through both stitches on the hook (fig. 3). This is the first single crochet on the backside, do this throughout row. Next row is worked into the top of this first row. Row 1 of backside: \* single crochet 11, dec \* repeat from \*to \* Row 2: \*sc 10, dec\* repeat from \* to \* Row 3: \*sc 9, dec\* repeat from \* to \* Row 4: \*sc 8, dec\* repeat from \* to \* Row 5: \*sc 7, dec\* repeat from \* to \* Keep decreasing in every row so that the single crochet stitches between decreases are always 1 less than in the previous row. When the back starts to close up it's good to start filling the breast. The last row of decreases is the one with no single crochet between decreases; be sure to have filled the breast up by then. Insert the hook into third stitch from the hook, yarn over, pull through, yarn over, cut yarn, pull all the way through. Weave in the end and squeeze the breast to even out the filling. Sew or crochet the border between the front and backside to a knitted or chrocheted material. Now your piece is ready for a yarnstorm!
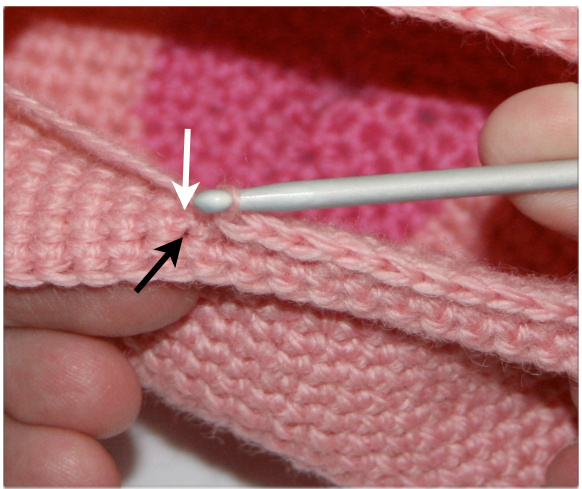
Fig. 1: Insert hook down in top border of previous row (where the black arrow points) and up in the top border of the row below that (where the white arrow points).
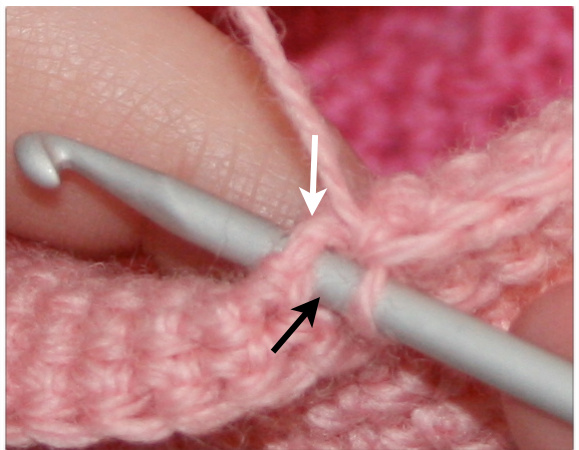
Fig. 2: Down where the black arrow shows and up where the white one is pointing.
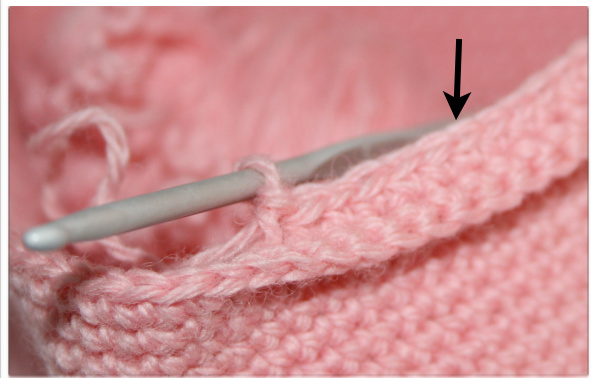
Fig. 3: Now you have a single crochet in the inner border. Next row is crocheted in the top of the first row in the inner border (where the black arrow is pointing).


