Swatchless Scarf
by Karl G. "yoyology" Siewert
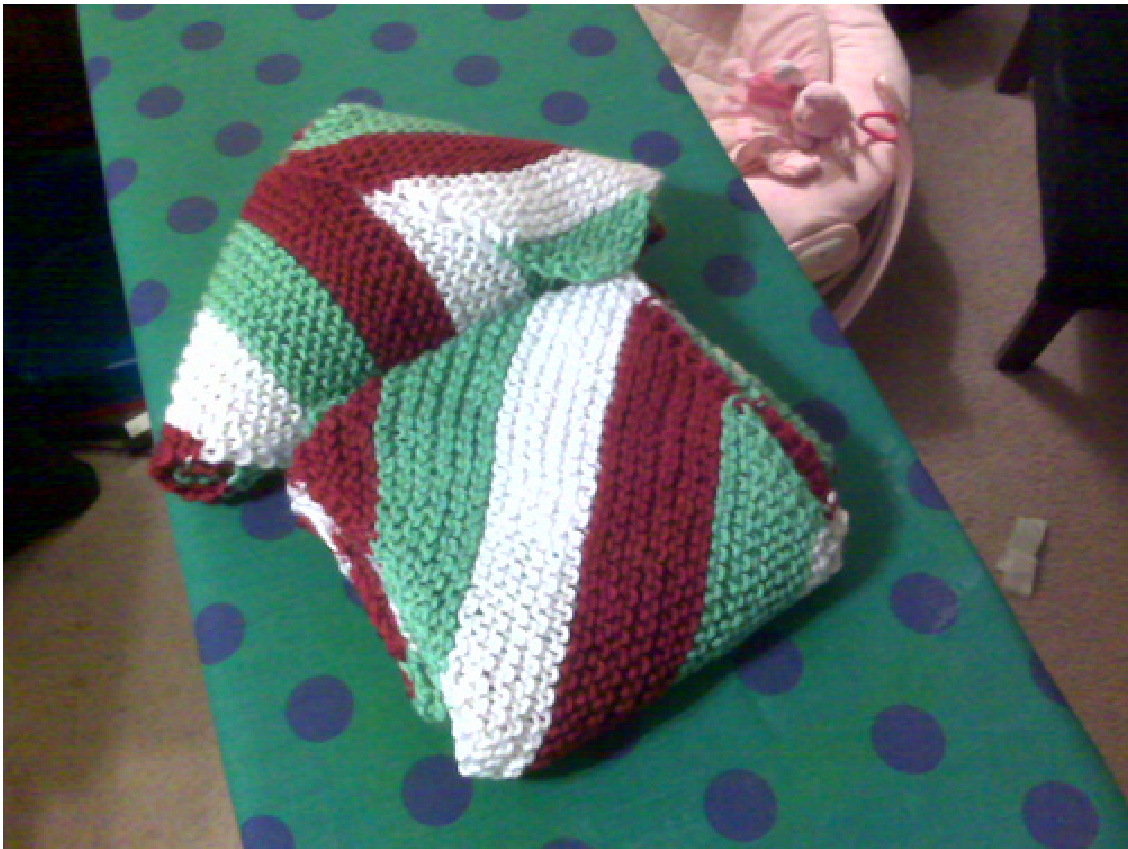
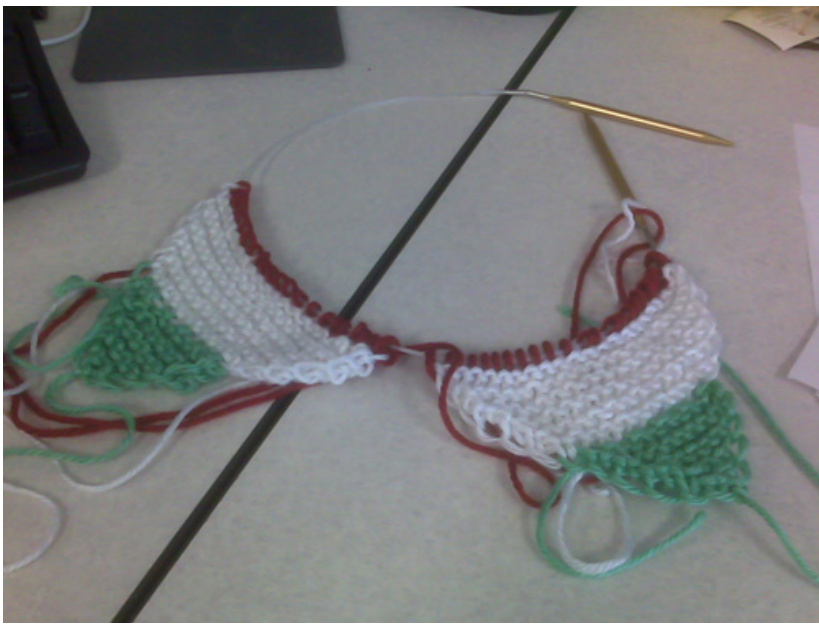
Samples made using Caron Simply Soft acrylic in White (9701) Sage (9705) and Autumn Red (9730) The swatchlesscarf is a simple way to create a scarf without checking for gauge at the beginning. It's also a good way to introduce color changes to your knitting without having to stick with (ho-hum) horizontal stripes. Because the scarf starts at the corner and works diagonally, your finished object has diagonal stripes, even though you're using horizontal striping techniques. This is a highly customizable pattern, so don't feel tied to exactly what I did. Use my instructions as a jumping-off point. I chose to use three colors and make each scarf $6"$ wide and $60"$ long. I also chose to make two at once, because I was making the scarves for my mother and aunt, and I thought it would be neat if they were both made at the same time. Row 1) Begin with Color A and make a slipknot. Don't make a swatch and get out your ruler. Don't pull a long tail to cast on. Just make a single slipknot with enough yarn to weave in later. Row 2) Knit into the front and back of the slipknot. Row 3) Knit into the front and back of the first stitch, knit 1. Row 4) Knit 1, knit into front and back of next stitch, knit 1. Row 5) Knit to 2 stitches from the end, knit into front and back of next stitch, knit 1. [We'll call this the Increase Row] As you can see, this is garter stitch, which looks nice from both sides of the scarf. For the next several rows, you will continue the Increase Row. You will be making a small isosceles triangle. Continue until each of the short edges measures 2". Count the number of rows and write it down here: $\mathbf{X}^{=}$ Row $\mathbf{x}{+}1$ )Leavea $6"$ tail of Color B. Draw up a loop of this new color knitwise through the first stitch of the last row. Because you have long tails and haven't woven them in, these first couple of stitches will be loose. If this bugs you, weave both ends in loosely. You'll do a neater job at the end. Knit across to 2 stitches from the end, knit into front and back of next stitch, knit 1 (just as before) Rows $_{\mathrm{X+2}}$ to $2\mathbf{x}$ ) Repeat Increase Row above. For the next x rows, repeat as above using Color C. When you've finished, you will have a little tricolor pennant hanging from your needle. Since I was making two at once, everyone thought I was making a little knit bikini! :-)
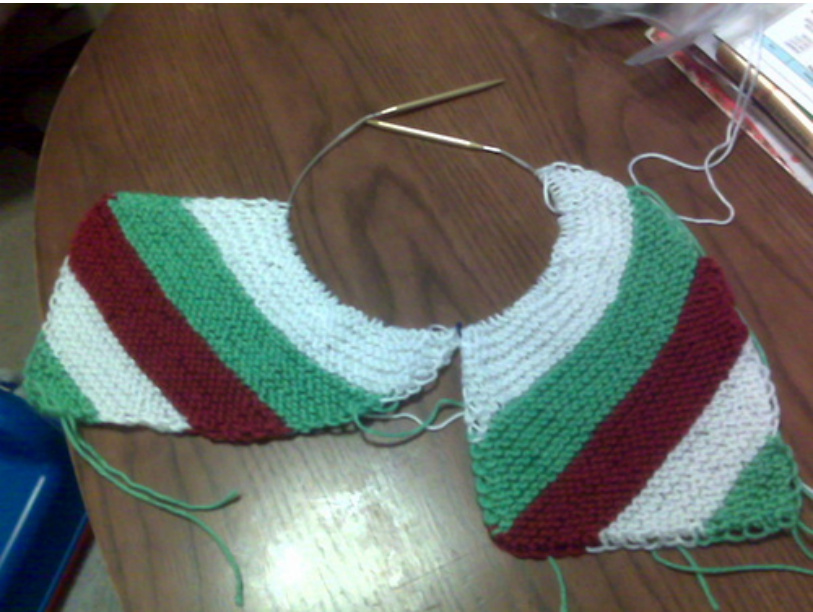
Now it's time to turn the corner and start making your scarf look rectangular. Begin with Color A and do Increase Row as before, but on the next row, you will be decreasing at the end instead of knitting into front and back. So: Row $3\mathbf{x}{+}2$ )Knit to 3 stitches from the end, knit 2 together, knit 1. [call this Decrease Row] From now on, you will be alternating Increase and Decrease Rows until the long edge of the scarf reaches your desired length. The long edge is the one where the increases are. If you are going for $60"$ , this means making 30 colored stripes.
For the final three stripes, you willswitch to a Decrease Row every row. When you have three loops on your needle.. Penultimate Row) k2tog, knit 1Final Row) k2tog. Tie off with a simple overhand knot, and your scarf is complete!
Finishing:
Go back all along the scarf and weave in all the loose ends. This will take some time, but it's worth doing right. There's no wrong side on this scarf, so make sure to hide your ends well. Since I was working with a pretty slippery yarn, I used a sharp needle and wove in through the yarn, splitting strands so it would stay in place. If you'd like, you can put fringe on the scarf, but I think it looks great without. If I were to do fringe, I'd either match the color pattern on the ends (white fringe on the white stripe, etc.) or do strands of all three colors held together all the way across.
Acknowledgements:
The inspiration for this scarf came from the Dishcloth Vest in Debbie New's marvelous book Unexpected Knitting. Credit also goes to the Woolly Thoughts team of Pat Ashworth and Steve Plummer, who I found on Ravelry when I was half-done with the scarves. Their modular knitting techniques gave me the tools to perfect this pattern.


