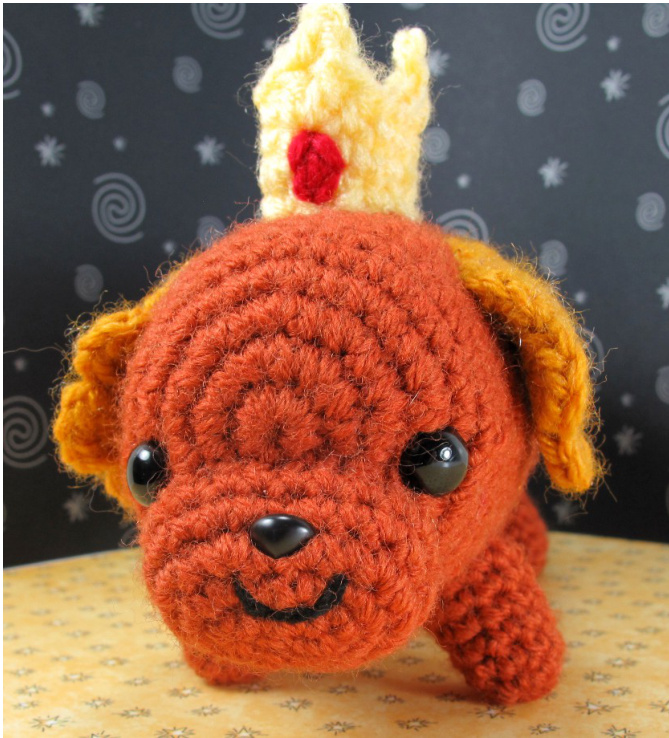
Hotdog Princess
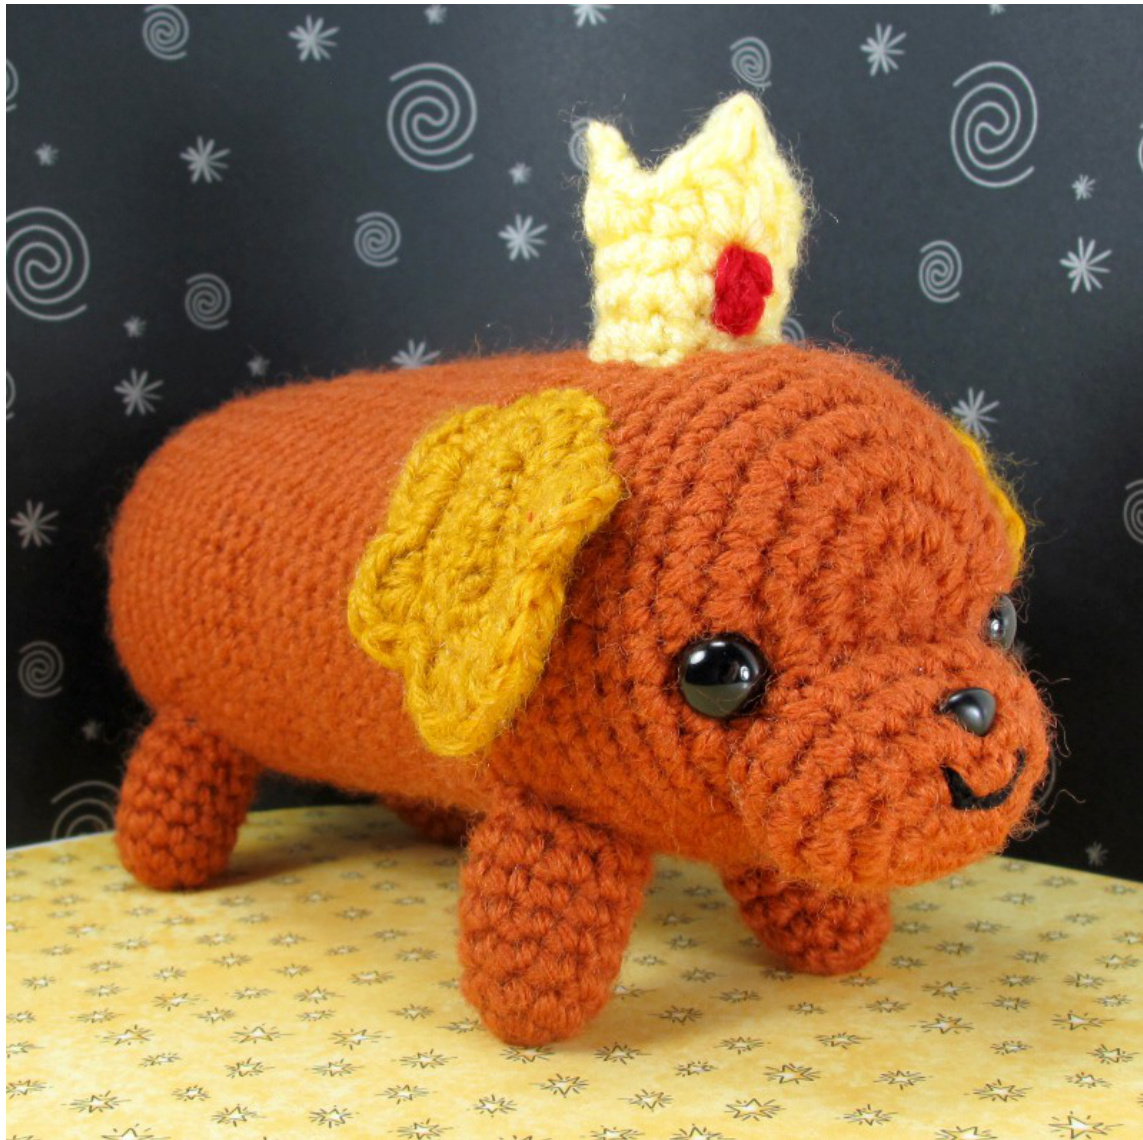
Amigurumi pattern by Crafty Tibbles
craftytibbles.deviantart.com etsy.com/shop/craftytibbles ravelry.com/designers/craftytibbles instagram.com/craftytibbles Pattern copyright Christen Stone 2013. Please do not share copies or distribute this pattern. If you sell products made from this pattern, please credit CraftyTibbles as the designer. Thanks and enjoy! Email craftytibbles@gmail.com with any questions or mistakes found.
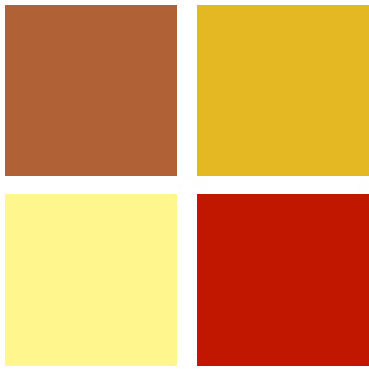
Color Pallette
Orange-brown (Lion Brand Wool-ease “Pumpkin") Dark gold (Lion Brand Wool-ease “Gold") Light yellow Red
Materials
3.75mm (F) hook Worsted Weight (4) yarn Safety eyes (10.5mm) Safety nose (9mm) Fiberfill stuffing
Stitches Used (US Terms)
magic ring slst: slip stitch sc: single crochet inc: single crochet increase dec: single crochet decrease Picot: Picot stitch BLO: Back loops only FLO: Front loops only hdc: half double crochet
Helpful Notes!
·You will make a couple oval shapes. Here's a good roundup of different shapes for more help http://www.mooglyblog.com/how-to-make-5-basic-crochet-shapes-free-patterns-and-links/ ·While the wool-ease colors were perfect, it's really hard to work with. I found it too soft and frizzy for amigurumi. ·Feel free to contact me with any questions or mistakes found!
Make in orange-brown
r1 12sc in magic ring (12) r2 \*1sc, inc\* (18) r3 \*1sc, inc\* (26) r4 \*2sc, inc\* (36) r5-40 sc around (36) Stuff full, be careful not to over stuff and warp the hotdog shape. r41 \*2sc, dec\* (26) r42 \*1sc, dec\* (18) r43 \*1sc, dec\* (12) FO, sew hole closed
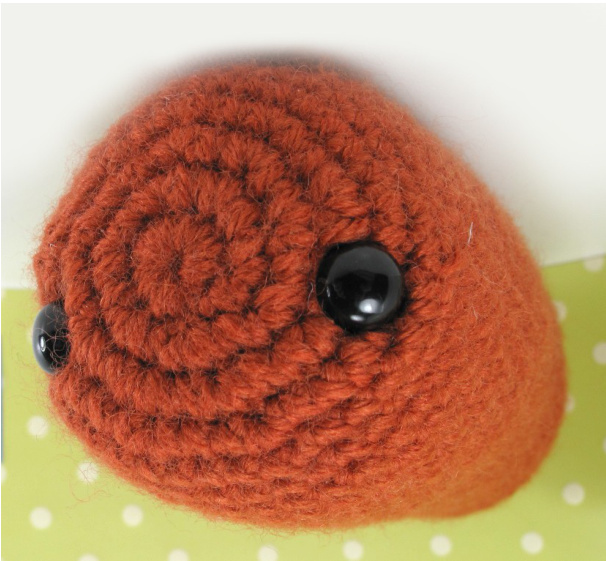
Attach eyes between r4 and r5. Place them a little low to give her a larger forehead.
Snaut
This shape is an oval. It is started by crocheting around a foundation chain. Think of it as crocheting a circle, but with 2 extra stitches in the middle that make it longer. The increases are the same. Makeinorange-brown Ch 4 r1 Working BLO of the chain, sc in 2nd ch from hook. Sc in next ch. 3sc in last ch. Now working on the other side of the foundation chain, Sc in next 2 ch. 3 sc in the original turning ch. (10 sc) r2 2sc, \*inc\* in next 3sc, 2sc, \*inc\* in next 3sc (16) r3 2sc, \*inc, 1sc\* x3, 2sc, \*inc, 1sc\*x3 (22) r4-5 sc around (22) FO, leave a tail for sewing
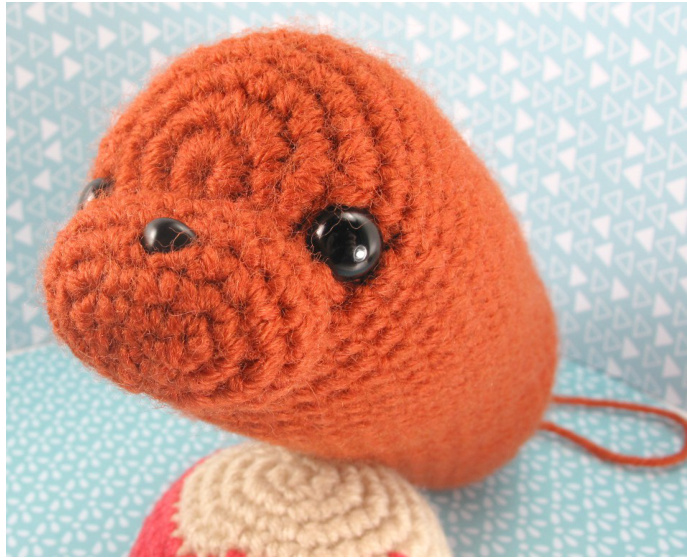
Place nose between r3 and r4, or embroider one.
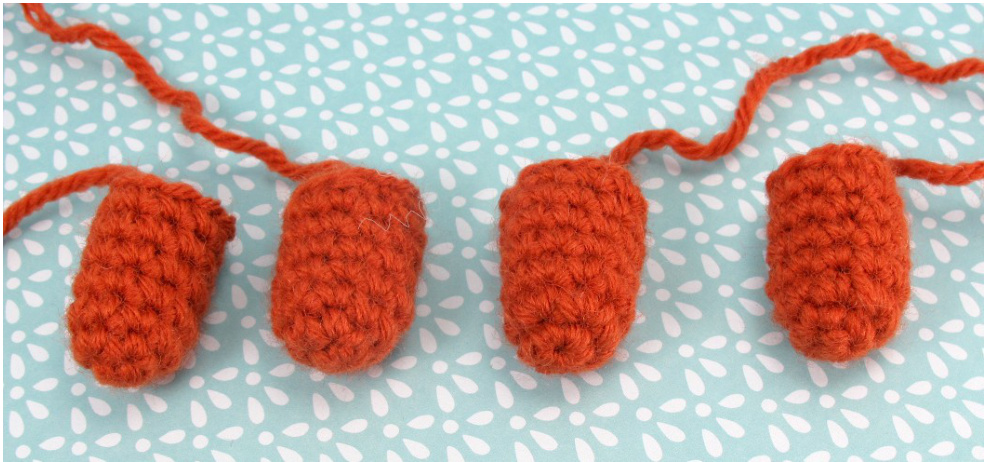
Legs x4
Make in orange-brown r1 5sc in magic ring (5) r2 \*inc\* (10) r3-7 sc around (10) FO, leave a tail for sewing
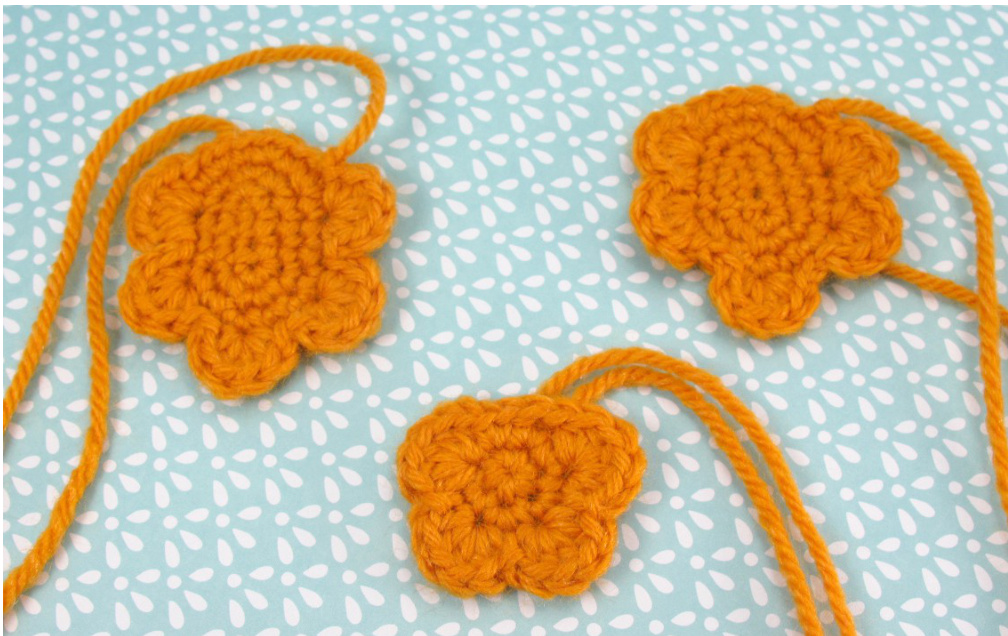
Ears x2
Rounds 1-3 are identical to the snout piece
Makeindarkgold Ch 4 r1 Working BLO of the chain, sc in 2nd ch from hk. Sc in next ch. 3sc in last ch. Now working on the other side of the foundation chain, Sc in next 2 ch. 3 sc in turning ch. (10 sc) r2 2sc, \*inc\* in next 3sc, 2sc, \*inc\* in next 3sc (16) r3 2sc, \*inc, 1sc\* x3, 2sc, \*inc, 1sc\* x3 (22)
The shape of the ear is made with hdc scallops
r4 \*5 hdc into next sc, sl st into next sc, sl st into next sc\* x5 FO, leave a tail for sewing
Tail
Make in dark gold 6sc in magic ring (6) \*inc\* (12)
The shape of the tail is made with hdc scallops
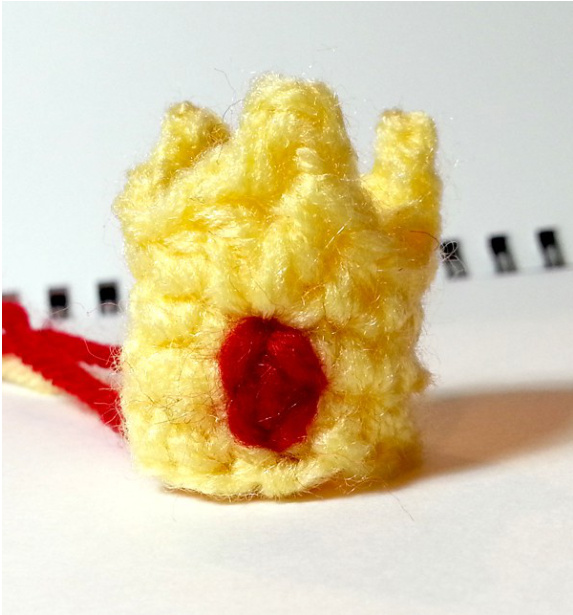
3 \*5 hdc into next sc, sl st into next sc\* x4 FO, leave a tail for sewing Makeinlightyellow Ch 12 sc in first ch, making an open ring. Sc around. (12) sc around (12) sc around (12)
r1 r2 r2
The points of the crown are made with picots
hdc in next sc {dc, picot, dc} in next sc hdc in next sc Sl st Hdc in next sc {hdc, picot, hdc} in next sc SI st SI st SI st Hdc in next sc {hdc, picot, hdc} in next sc Sl st FO, leave a tail for sewing Using red, embroider an oval for the gem.
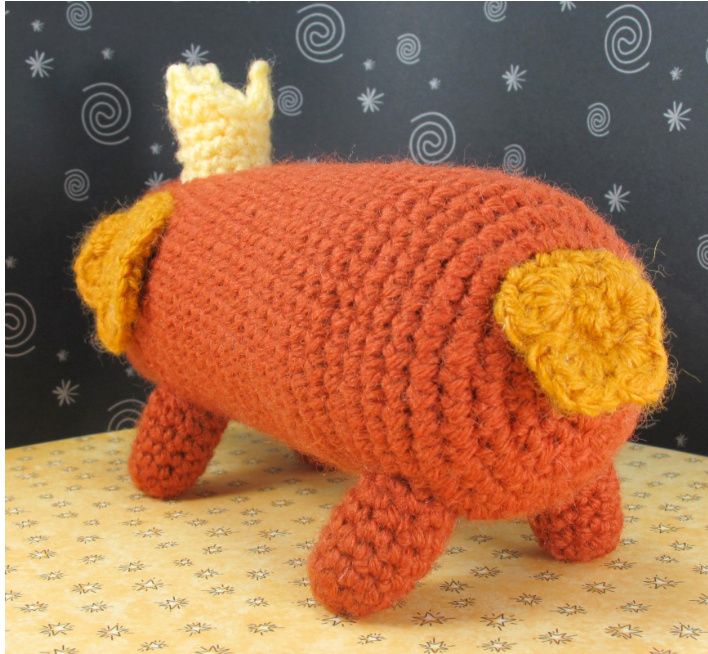
Assembly
·Sew the snout on the face, below and between the eyes. Attach nose and stuff just before closing it off. ·Embroider a litle smile. I like to use yarn split in half for embroidering. ·Sew the ears on both sides. Use a couple hidden stitches to tack them down so they don't flap around. ·Sew the tail on her rump, just like the ears. ·Stuff and sew the legs under the body. The front legs are roughly at r12-r16. The back legs are roughly r33- r37. About 4 visible stitches between each pair of legs ·Sew the crown on top of her head, right between the ears.

...she smells like hotdog water


