Toula's Cover (Crocheted)
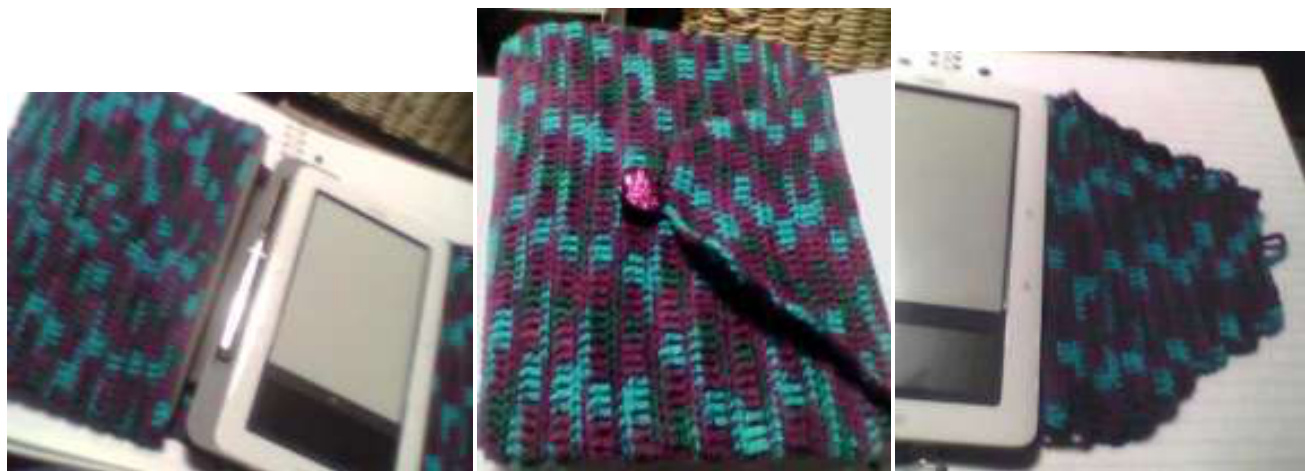
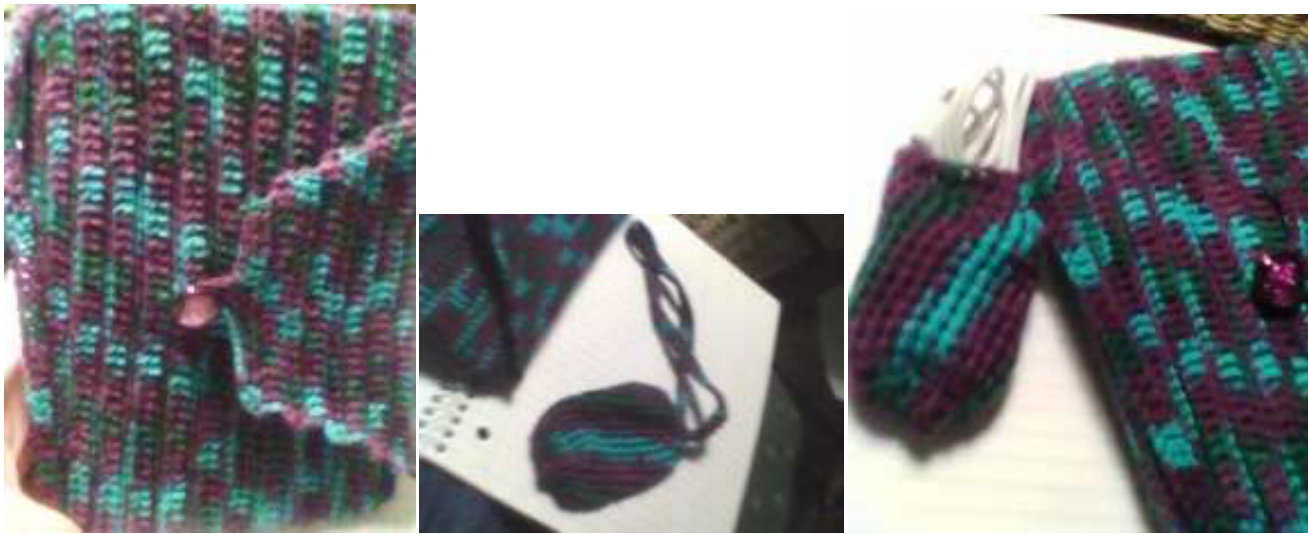
I was quite sure after less than a day with my Nook that she was going to need a cover that couldn't be opened in my purse. I already had the Lyra lighted front cover from B&N (http://gifts.barnesandnoble.c0m/Lyra-Light-Front-Cover/e/9781615513383/?cds2Pid=30253),but 1 wanted something that would go around and protect her and keep her closed. Materials: 400 yds sock weight yarn, preferably with some stretch. I used KnitPick's Essential sock yarn (75% Superwash Wool, 25% nylon) which is no longer offered. The colorway is Peacock Multi. To find a yarn that will work, use a sock weight with a little stretch. This label says 7-8 stitches to the inch on #1 - 3 needles, and has 231 yards for 50 grams. I used a little over a ball and a half. Size D (3.25mm) hook or size that will give you correct sizing for your Nook cover. : your button is larger than %", make button loop large enough to stretch around it. Instructions: Using size D (3.25mm) hook, chain 92, and starting with 2nd chain from end, 90 sc. Join to make a circle. Chain 2, turn, sc across. (90 sc) Begin the following pattern: Round 1. Ch 3, turn, 1 dc in each sc (90 dc). Round 2. Ch 2, turn. 1 sc BETWEEN THE BARS of each dc. (90 sc) Round 3. Ch 2, turn, 1 sc in top of each sc. (90 sc). Remain in pattern for 12-13 times, enough to completely cover the front of the lighted cover. You should have a "sleeve" that slips snugly around the front of the Lyra lighted cover. Slip st in each sc for 23 stitches, then ch 3 and continue in pattern for 45 stitches. Ch 2, turn, and repeat above pattern, back and forth instead of in the round, until piece goes completely around Nook. To make "envelope" flap, sl st in 2 sc, ch 3 and dc in next sc and across until 2 stitches from end. Turn, and continue in dc, until 2 stitches remain in that row. Continue this way for "steps" up both sides of the envelope flap until flap lands in approximately the middle of the front cover. Sl st to center, chain 10 for loop, skip 2 dc below and sl st to end of row. End off. Close the open end of the front sleeve (the right side when the Nook is facing you) with a row of single crochet, or if you like, sc in top stitch of sleeve, chain 3, skip 2 sc, sc in 3rd sc, and continue across until sleeve end is closed. Sew a button about %" ahead of button loop. Weave in all ends. For accessories pouch: Ch 90, turn, dc in 3rd st from hook, and continue in dc to end. Bind off, and sew ends of "ribbon" together. This will give you a flat "strap" that fits around the book cover at the hinged side. I tried this with 100 stitches to give more room, but it was too large. Ch 30 and join. Dc in each ch and continue around. Spiral instead of joining at each round, and continue until you have a holder of a size you like for your Nook cord and maybe a set of earbuds. Note: the original shown in the picture was made with a spiral of 20 stitches, not 30. I did discover that the pouch 1 made is a little snug and it's not easy to get the plug adapter, the adapter cord, and a pair of earbuds all in the pouch without some deal of effort. I'd suggest making this with 30 stitches around. Or use a contrasting yarn and make a pocket on the back of the Nook cover.
Questions? Email petaloutha@gmail.com for clarification. @2010 LynGoodnight Patterns This pattern is free to use, but please do not use it to make items for sale. Make all you like for yourself and for gifts. No re-publishing without permission by email.


