Randomly Productive
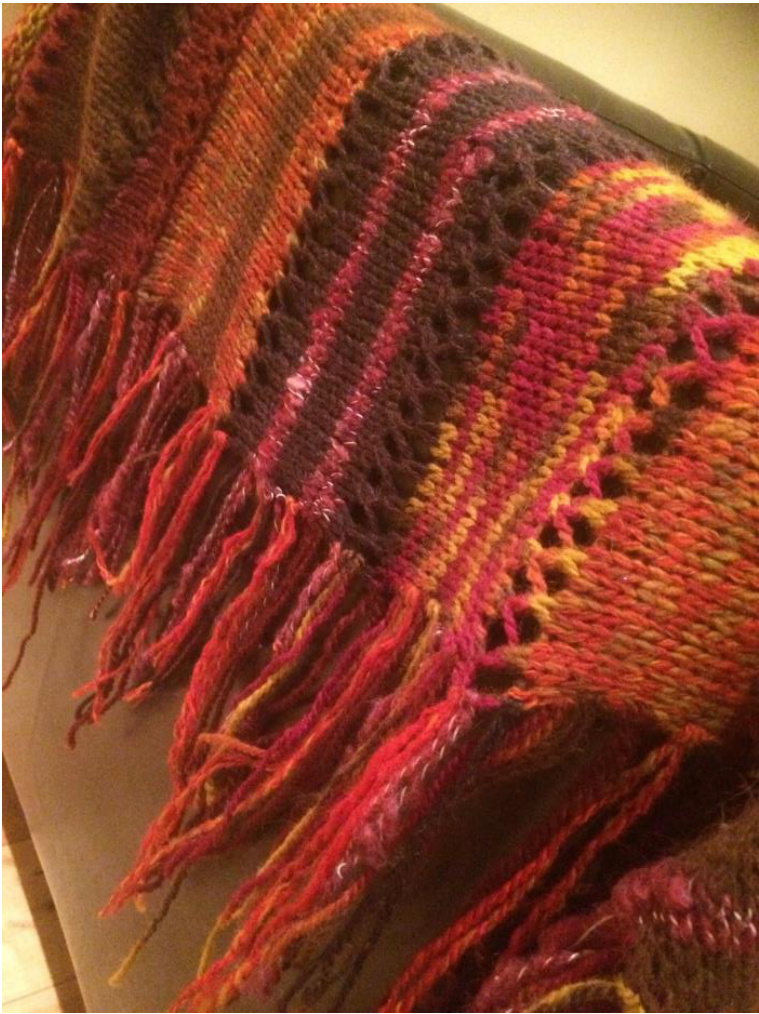
Just because you didn't do the things you had planned for today doesn't mean you didn't do anything useful. Random productivity is worth celebrating. by Lonna Cunningham (Frazzlehead) I grew up with a bit of an overdose of Protestant work ethic: you must be productive. The Devil makes work for idle hands. Being lazy is a terrible thing. Do something useful. As I have been learning to live with PTSD, I've had plenty of trouble with these beliefs. I want to do things, I want to be productive ... but I also need to rest. I really need to pace myself, or there are unpleasant consequences for everyone. But when I rest, when I listen to my body and do only the things I feel up to on any given day, I feel like I haven't done anything useful, like I haven't been productive. And I feel awful about that. But the truth is, I've actually done plenty. I never just sit. I putter about doing a bit of this and a bit of that: knitting, or weaving, or spinning, or baking, or gardening, or sweeping the floors, or doing a load of wash. I do stuff. Just not the stuff that was on my to-do list for the day. I'm randomly productive. This shawl was designed for my beautiful therapist, who helped me to realize this fact. The design celebrates randomness in colour, texture, and shape ... yet despite relinquishing control over the details, despite purposely not planning everything out in detail, it makes a completely wearable and absolutely one-of-a-kind shawl. Good things can happen when you just follow your heart.
Materials
You need about 200 grams of yarn (around 7 ounces): the original is made from a mix of stash yarns in something close to DK weight - lighter yarns were held double so that I could use some
adspun that really needed to be included but wasn't quite the right weigh Diothroiioh.tho.cto DigciilougiiciieStaSiiai molzo.o.niloHondqnin.ondontuonng.ooniointbo.nont1ogmol1tbounldogtofontonng.oon iiiakeapiie.iiaiiuspuiiaiiualcyaliiscaiijoiiiciiepalcyasweii-ciiewiiuestoialcyaliis be used for a partial row somewhere to add a bit of zing. If you have finer yarns, you can hold two (or more) strands together, which will create interesting colour effects as well as giving you consistent yarn weights. Use a needle size that gives you a light, open fabric - bigger than what you would use for knitting a sweater or fitted garment, but not so big that you get holes ... you want a needle that gives you a comfortably-solid-but-not-overly-firm stockinette stitch. You'll want a medium length circular needle so you have room for all your stitches, though with finer yarn you might make do with straights.
Shawl Construction
Cast on an even number of stitches between 60 and 100 (I use the cable cast on, but use whatever makes you happy, just make sure it is not too tight.) If you are using lighter yarn use more stitches, for heavier yarn or a shorter shawl, cast on less. The original used 60 stitches, and made a respectable elbow length shawl ... 80 would have been more generous in length, 100 stitches in DK weight would be beautifully extravagant. Just pick a number and go with it. You can always add a bottom border if you like (more on that later).
| sl slip |
| k knit |
| yo yarn over |
| k2tog knit two |
| together |
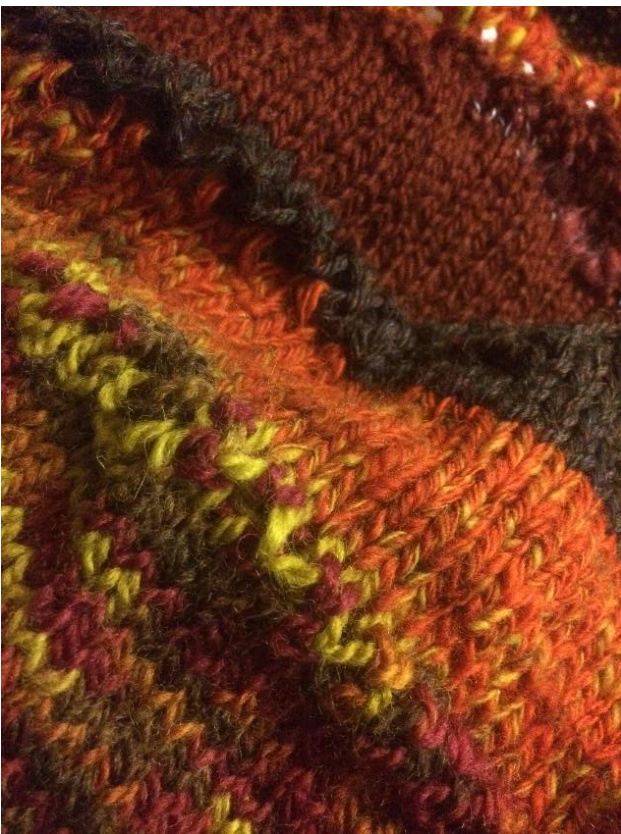
Start by working the three lace rows: k1, (yo, k2tog) to last stitch, k1 The next row is a right side row: you are starting to knit from the bottom edge of the shawl. Now we are going to create a wedge of whatever size seems right: RS: k to the last 10-15 stitches1 (about two inches worth of stitches from the top edge, give or take), then turn the work (don't do anything special, just stop knitting and turn the work over) WS: sl1 purlwise, purl to end2 RS: k almost up to the place where you turned the work last time (probably 3-5 stitches from the gap, it doesn't have to be precise, nor does it have to be the same in every wedge), then turn the work (again, you don't have to do anything special) WS: sll, purl to end Continue until you decide it's time to add another set of lace rows. You can make a narrow wedge or work until you run out of stitches and have a wider one. End on a wrong side row, so that your next row is starting at the bottom of the shawl. Work the three lace rows again: as you work from the bottom to the top of the shawl, you'll knit across the gaps you made at the turns but the gaps will just disappear into the yarn over lace openings and will seem like they belong. After working the three lace rows, purl one full wrong side row back to the bottom of the shawl, then make another wedge. Switching yarn at the start of each wedge looks lovely - but you can pick up a new yarn anywhere at all to add a stripe of something funky or a dash of colour in a less exciting segment of the shawl. Spread the shawl out on the floor periodically to see the shape - you want to get at least a half circle, probably something more like a PacMan shape. A full circle would be wonderfully fun to wear!3 End with the three lace rows, then bind off loosely. It will look very scrunched ... don't panic. Blocking opens it up.
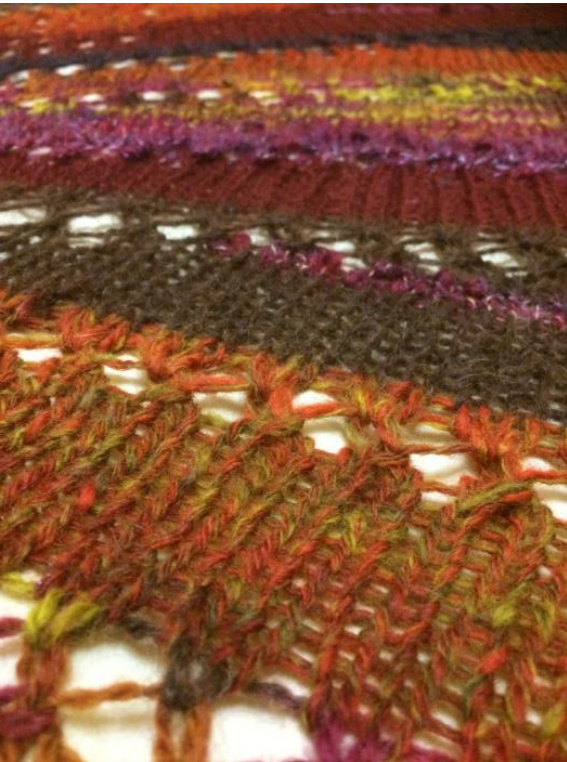
Block this shawl aggressively to open the lace segments. Soak the finished shawl well in warm water (and wool wash if you like), rinse and wring out by rolling in a towel, then spread out on blocking mats or the spare bed or wherever you have space where the cats won't lie on it ... Start by pinning one long edge out straight then
Blocking
stretching the shawl out and down. Pin the bottom edge at the centre of each yarn over 'divider' (between the wedges of stockinette), adjusting as you go so that you get a nice circular shape. You can add more pins to block the stockinette sections out evenly or leave them to curve upwards a little, forming arcs between each lace segment. If you have blocking wires for each of the long edges, definitely use them!
Fringe
Cut lengths of the various yarns you used in the shawl: make the yarn pieces double the length you want the finished fringe to be. Don't get out your ruler ... just eyeball it (you'll probably want a fringe between 2 and 4 inches long, so pieces of yarn between 4 and 8 inches will be what you're after). You can always trim them afterwards if they are too long, so best to cut them a little longer than you think you need. In keeping with our randomness theme, they aren't all precisely the same length ... just in the same ballpark. Take a crochet hook and poke it through the lower edge of the shawl from right side to wrong side, catch the centre of
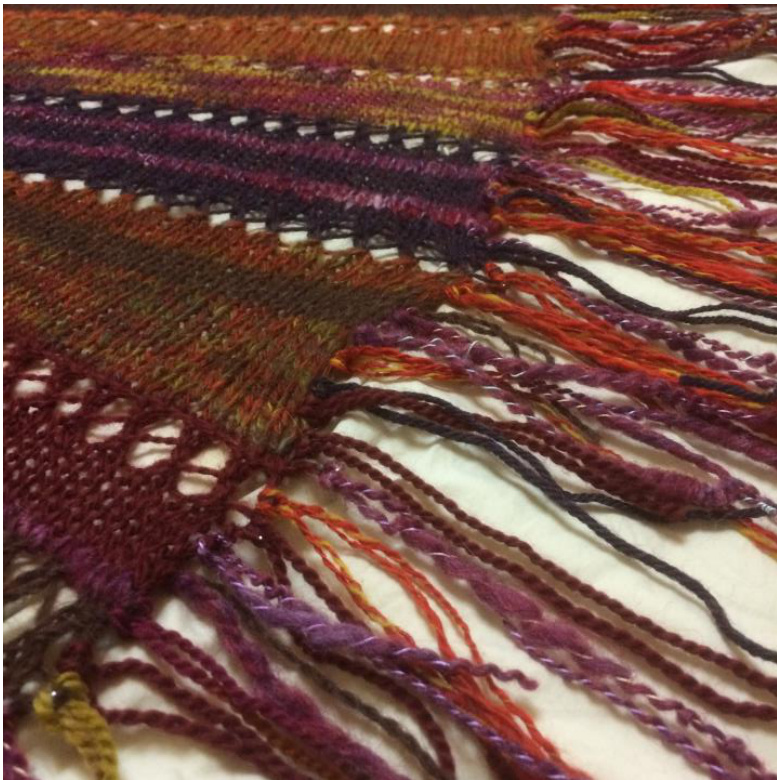
one of the strands of yarn and pull it up through the fabric. Pull the tail ends through the loop you made, hooking the yarn onto the bottom edge of the shawl. Randomly add fringe tails all along the bottom edge of the shawl. You can braid the fringe tails together, twist them and tie them, or leave them as single strands. You could add beads to the ends. You could untwist the plies and make it frizzy. You have options! If you don't want to add fringe, hopefully you remembered to knit the bottom three to ten stitches of the shawl in garter stitch. If you forgot to do that and now you realize that you don't want a fringe and you also don't want your edges to curl up, try a knitted on border from your favourite stitch dictionary, or pick up all the bottom edge stitches and work the lace row pattern several times. That'll keep the bottom edge of the stockinette wedges from curling, it'll make the shawl a bit longer, and it'll look cool.
Wearing
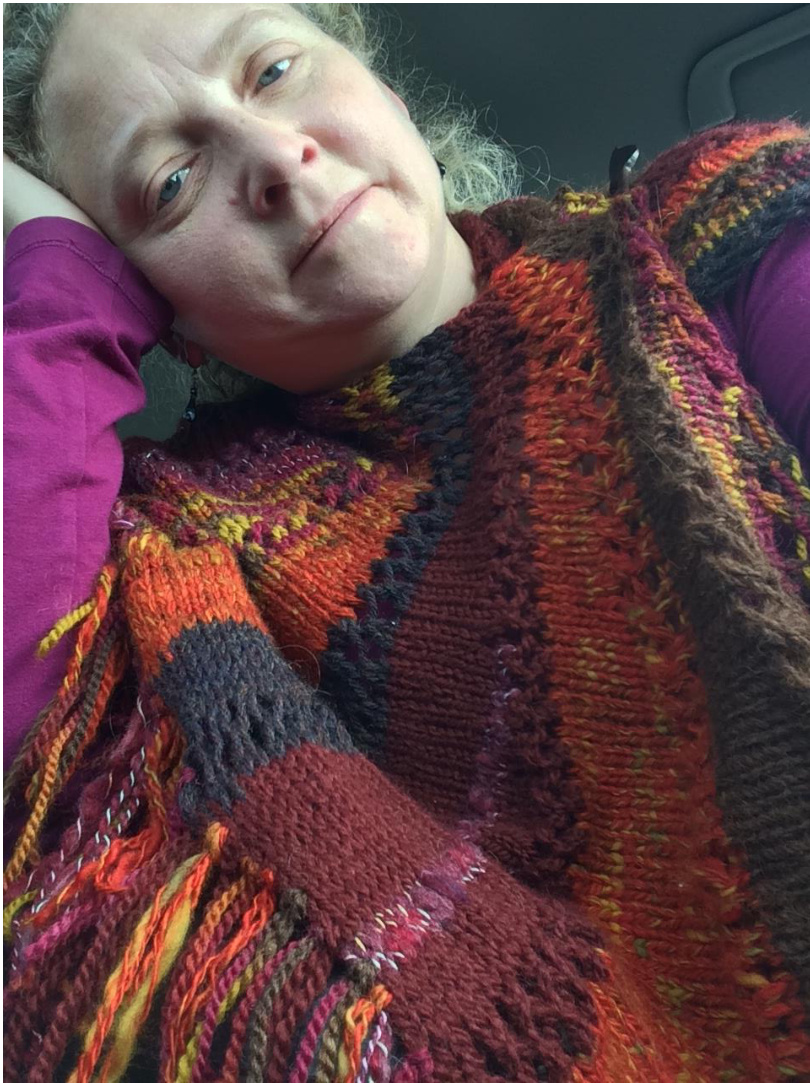
I like to wear this particular shape slightly off centre, with one end wrapped up over the shoulder and held in place with a shawl pin. But hey, it's your shawl, rock it your way!
This pattern is for sharing! What you do with the items you create based on this pattern is, of course, entirely up to you ... I hope that you enjoy what you make and wishyouhappyknitting!


