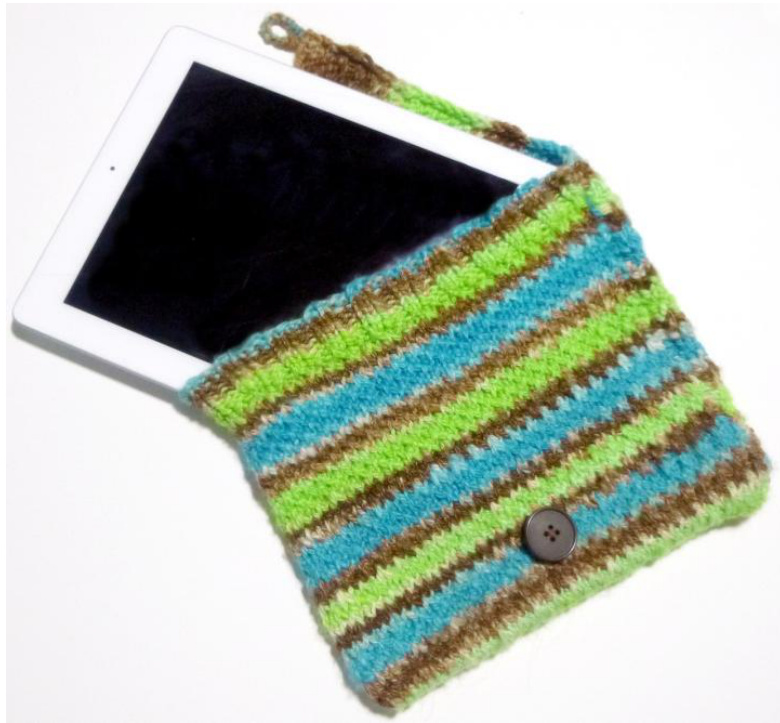
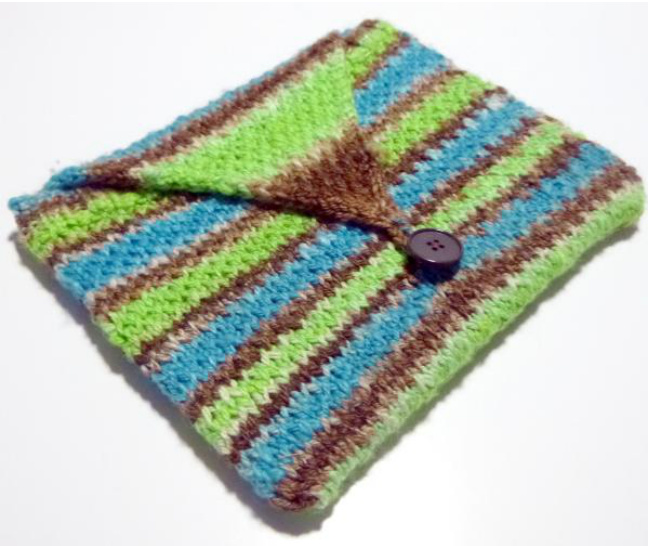
iPad Cozy
By Candice Mangum @ Candice Mangum Designs 2012 This iPad Cozy pattern is a recipe for nearly any type of yarn. It was originally designed for handspun, which is generally less consistent than commercially spun yarn, but I have included directions for commercially spun yarn as well. You MUST determine the gauge in the yarn/needle you are using to successfully complete this pattern.
Materials:
4 ounces handspun yarn: 10-14 wpi OR 100g commercially spun yarn in fingering to worsted weight. One large button - at least 1.5"/3.5cm in diameter
Tools:
Straight or Circular Needles in a size to match the weight of wool. You will want a denser fabric, so I suggest the following as a starting point: Fingering - 2.25 mm/US 1 Sport - 3.5mm /US 4 Worsted - 4.5mm/Us 7
Before you begin:
Determine your gauge in slip stitch pattern as indicated under "instructions." Fabric should be dense and slightly firm. The stitches per inch is A. Row gauge is not important for this pattern.
KEY:
k-knit p-purl sl - slip ssk - slip two stitches knitwise, then knit into both k2tog -knit two stitches together
Instructions:
Determine how many stitches to cast on by multiplying A (stitches per inch) by 9" (the measurement of the iPad) Cast on (A x 9) Work k2, p2 ribbing for 1 % inches.
Slipstitch Pattern:
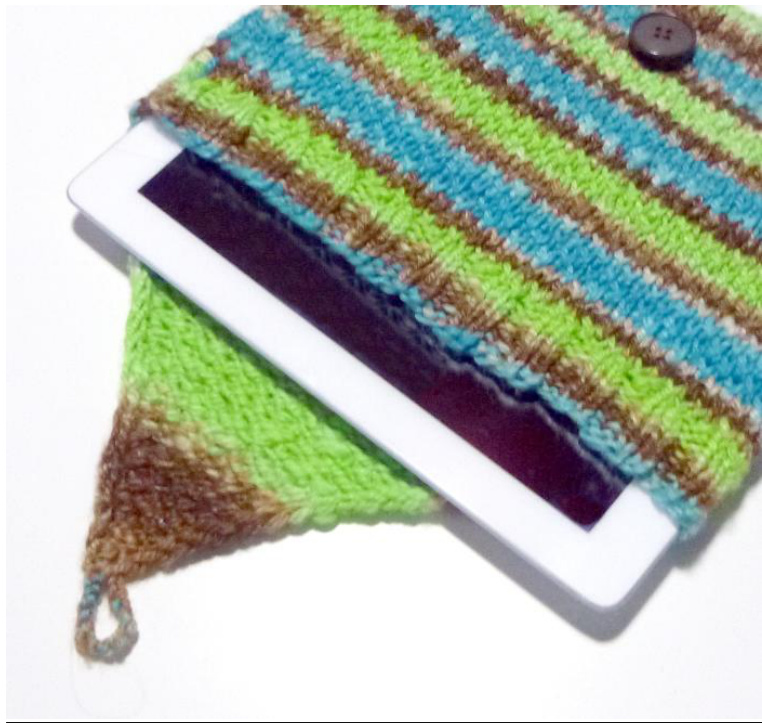
Row 1: (right side) (Sl 1, K1) across Row 2: Purl even Row 4: Purl even Work rows 1-4 until piece measures 16" from cast on edge.
Decreases for closure flap:
Begin decreases as shown: Continuing in slipstitch pattern, work decreases at same time: Row 1: (right side) k1, ssk, knit to 3 stitches before the end, k2tog, k1 Row 2: (wrong side): Purl even Row 3: Knit even Row 4: Purl even Work in this pattern with until 3 stitches remain. Cut working yarn to 24" Using a crochet hook, draw working yarn through all three stitches but do not pull end through, forming a loop to begin crocheted closure chain loop. Work a tight crocheted chain until chain measures 3" Attach final chain to first chain. (This makes the button loop) You should now have a long rectangle with a triangle flap on one end. Turn right sides together, with the cast on edge about 1" below the start of the triangle flap. Seam sides and turn right side out. Sew on button where it will allow the crochet chain lay tightly when closed.