MiniLopapeysa Keyring: Lyklakippa.
By Rodprjonar\* Iceland, September 2011 Lopapeysa or Icelandic sweater is an icelandic style ofsweater originated in the 50's.It is traditionally knitted with Lopi which is the fleece of Icelandic sheep. The idea of making this keyring was born when I needed to make a present for a friend and I was still pretty new into knitting and, of course,I wanted to use what I had learnt at that time!
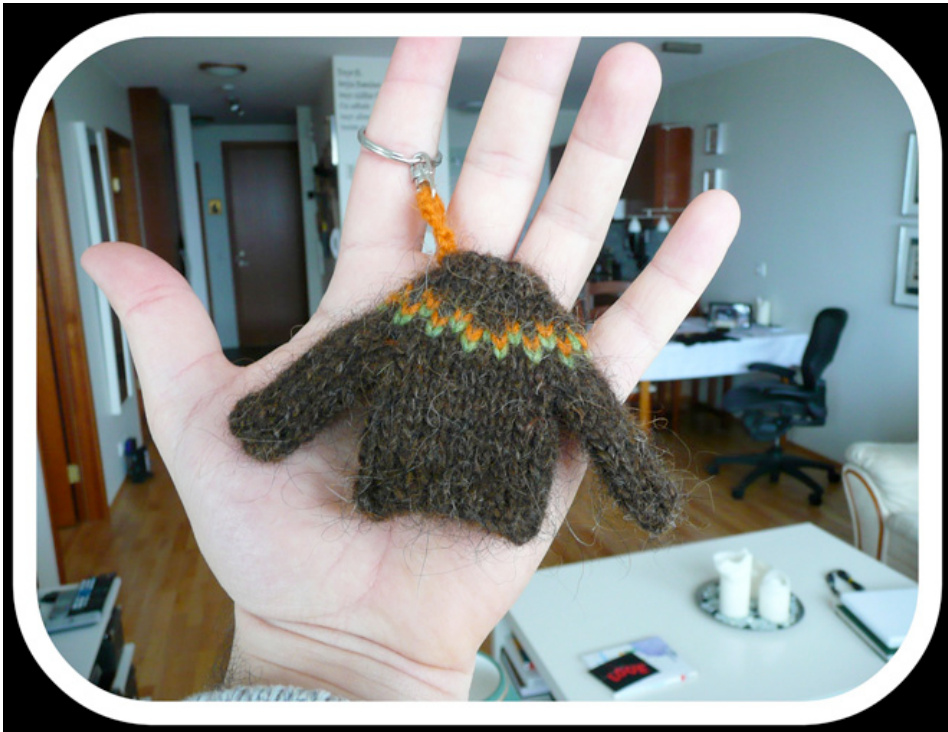
This minilopapeysa is very simple to knit, it takes almost no time and very little wool.
Basic notions:
\* Long tail cast on. \* Using DPNs. \* Knit stitch. \* Purl stitch. \* Basic fair isle. \* The minilopapeysa is knitted just like any other pullover that is made in the round bottom up with a fair isle yoke and grafted underarms. \* The body and the sleeves are knitted separately and then joined together to knit the yoke. MiniLopapeysa Keyring: Lyklakippa ? 2011 by RodPrjonar \* Létt lopi (3 colors) \* Double pointed needles 3.0mm (the short ones to make socks) . \* Scrap of yarn to use as stitch holders (or little safety pins that work better). \* Darning needle. Gauge: It is not important. Instructions:
Body:
\* Cast on 22 stitches and distribute them in your needles. (Ipersonally like to use 3 needles plus the working needle). \*Join and knit round being careful not to twist the stitches. \* Knit 2 rows of 1xl ribbing. \* Then knit 8 rows. \* Set aside and begin with the sleeves. \* Don't break the yarn.
Sleeves:
ast on lo stitches and distribute them in your needles. \* Knit l0 rows. \*Put on a stitch holder the first 3 stitches of each sleeve. \* Cut the yarn leaving a tail that is long enough to graft the underarms. MiniLopapeysa Keyring: Lyklakippa @ 2011 by RodPrjonar
Joining sleeves and body:
\* Put the first 3 st of the body on a stitch holder. \* With the yarn coming from the body knit the 7 stitches of the first sleeve. \* Knit 8 stitches of the body. \* Slip the next 3 stitches of the body to a stitch holder. \* Knit the 7 stitches of the the second sleeve. \* Finally, knit the 8 remaining stitches of the body. Now, you have joined the the sleeves and the body and you have a total of 30 stitches in your needles.
Yoke:
\* Knit one stitch with the main color and one with a second color all around. \* Next row, drop the main color and add a thirdcolor.Knit on stitch with each color all aroud.
\* Next row: Take the main color again and drop the second one. Knit one stitch with main color and one stitch with the third color all around. \* Using the main color begin the decreases: [k3, k2tog] all around. \* Next row, more decreases [kl, k2tog] \* Knit one row of lxl ribbing. \* Cast off tightly. MiniLopapeysa Keyring: Lyklakippa @ 2011 by RodPrjonar
Underarms:
\* Graft the underarms using Kitchener stitch been careful to close the holes that form at the beginning and the end of the grafted section by making an extra loop there. \* To finish, weave in the ends. It doesn't have to be made so carefully since you can hide a lot of them just inside of the lopapeysa. \*Attach the ring. And it is DONE!
Note: If you want your stitches to look even soak the minilopapeysa in warm water for 20 minutes, then shape and dry flat.
Copyright
Minilopapeysa Keyring: Lyklakippa Copiright @ 2011 by RodPrj6nar All rights reserved. \*RodPrjonar: Ravelry: rodprjonar Blog: www.rodprjonar.blogspot.com Flickr: www.flickr.com/rod is

MiniLopapeysa Keyring: Lyklakippa @ 2011 by RodPrjonar


