Yellow Duckling
by Justyna Kacprzak
Yellow Duckling
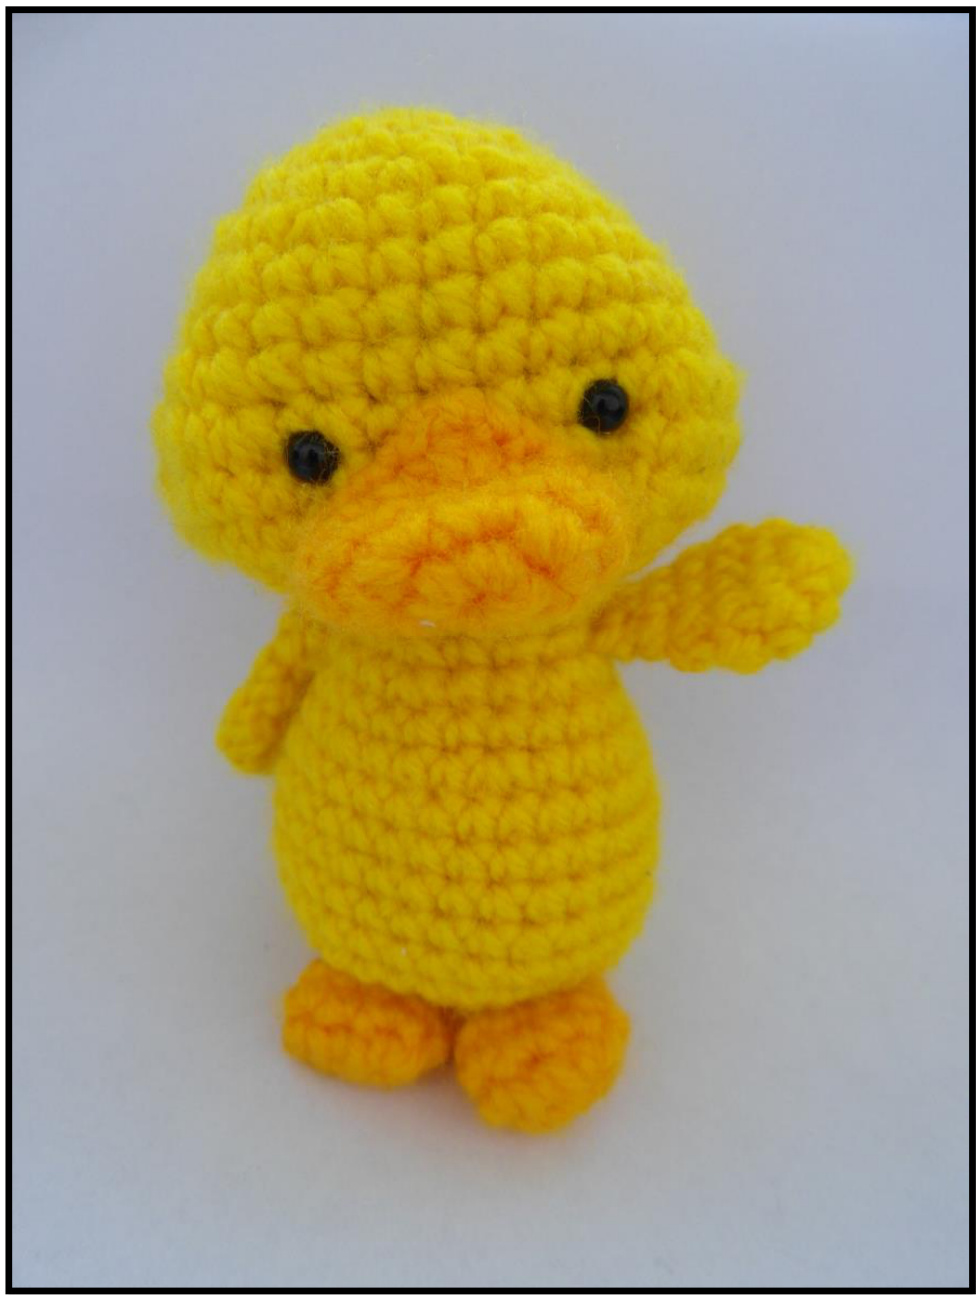
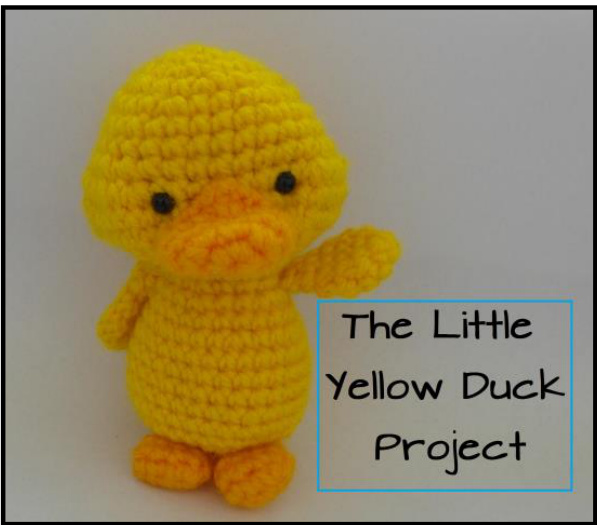
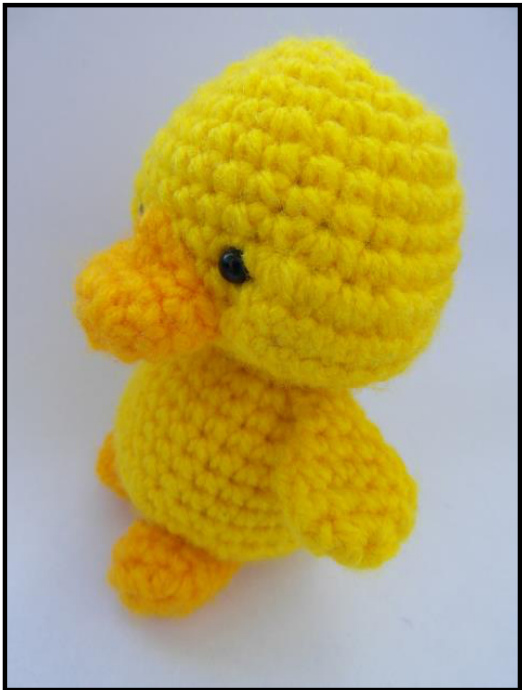
This yellow duckling is a duck on a mission! Once completed, he can't wait but to leave the house and spread the word about something really important! Intrigued? Visit www.thelittleyellowduckproject.org for more details and start making your own duck right away! Or just use the pattern to make some cute gifts for family and friends. He's quick to make and sure to bring smile to anyone who spots him! The duck is worked top down with head and body being made together and beak, wings and feet sewn on later. It's also worked in continuous rounds so there's no need to join the rounds, but a stitch marker might be helpful.
Finished size (made with DK yarn and 3mm hook): 9cm/ 3.5" At the very end of the file you'll find a printable version of the pattern (it contains no images and is written with one font). You can go there by clicking here. I'll be thrilled if you decide to share a photo of your finished objects made from patterns on my Facebook page or Ravelry group
Materials:
- yarn: DK weight was used for the sample MC: yellow - 32m/35yd CC: orange - 6m/6.5yd Any weight will be ok as long as you use it with an appropriate hook. There are sc3tog decreases that need to be worked really tightly, so if you crochet rather loosely, you may want to choose a smaller hook than you usually use for amigurumi. Of course heavier yarn will create a bigger duck and lighter -- a smaller one. - hook: 3mm used for DK yarn (but I crochet tightly)
List of abbreviations used
ch - chain sc - single crochet hdc - half double crochet inc - increase (2sc in 1 stitch) dec - decrease (2sc worked together) sc3tog - 3 stitches worked together 3in1 - 3sc in one stitch x5/x3 - repeat 5 times/3 times (n) - number of stitches in a round - stuffing - 4,5 mm safety eyes or 2 black beads - sewing needle - scissors - stitch marker (optional)
Important!
If you downloaded this pattern from a website other than Ravelry or my webpage (www.cuteandkaboodle.com), please know that this is an illegal copy and should not be used because its publication violates my copyrights. And makes me really sad, too. Head and body: with MC (yellow), ch2 1. 6sc in the 2nd ch from the hook (6) 2.inc x6 (12) 3. (inc, 1sc) x6 (18) 4. (2sc, inc) x6 (24) 5. 1sc, (inc, 3sc) x5, inc, 2sc (30) 6. - 7. 30sc (30) 8. 8sc, inc x3, 8sc, inc x3, 8sc (36) - the underlined 8sc are in front of the head, you may want to mark it with a stitch marker to know where to attach eyes and beak 9. 8sc, inc, 1sc, inc x2, 1sc, inc, 8sc, inc, 1sc, inc x2, 1sc, inc, 8sc (44) 10. 44sc (44) 11. 8sc, dec, 6sc, dec, 8sc, dec, 6sc, dec, 8sc (40) 12. 8sc, sc3tog, dec, sc3tog, 8sc, sc3tog, dec, sc3tog, 8sc (30) Insert safety eyes between rounds 9 and 10, right next to the cheeks (about 6 sts apart). 13. 1sc, dec, (3sc, dec) x2, 4sc, dec, (3sc, dec) x2, 1sc (24) 14. (dec, 2sc) x6 (18) Stuff the head and continue adding more stuffing as you go. 15. (4sc, dec) x3 (15) 16. 2sc, inc, (4sc, inc) x2, 2sc (18) Sneaky peek 17. (inc, 2sc) x6 (24) at the tail 18. 24sc (24) 19. (3sc, inc) x6 (30) 20. - 22. 30sc (30) 23.3sc, 3in1, 26sc (32) 24. 3sc, inc, [1sc, 1hdc, 1sc] in the next sc, inc, 26sc (36) 25. 36sc (36) 26. 2sc, dec, 1sc, sc3tog, 1sc, dec, (2sc, dec) x3, 3sc, (dec, 2sc) x2, dec (26) Pattern by Justyna Kacprzak www.cuteandkaboodle.com All rights reserved 27. 1sc, dec, sc3tog, (dec, 1sc) x6, dec (16) 28. dec x8 (8) Fasten off, sew the opening closed.
Wing (make 2):
with MC (yellow), ch2 1. 6sc in the 2nd ch from the hook (6) 2. inc x6 (12) 3. 12sc (12) 4. (dec, 4sc) x2 (10) 5. (dec, 3sc) x2 (8) 6. 1sc, sc3tog, 4sc (6) Wings don't require stuffing. Fasten off, leaving a piece of yarn for sewing. Sew the opening closed.
Foot (make 2):
with CC (orange), ch4 1. working on both sides of the ch: 1sc in the 2"d ch from the hook, 1sc, 3in1, 1sc, inc (8) 2. inc, 1sc, inc, 5sc (10) 3.10sc (10) 4. 2sc, sc3tog, 5sc (8) Stuff the foot very lightly, only in the front part. Otherwise, your duck may have trouble standing on its own. You can also add one more round of 8sc, so that the feet cover the bigger part of the bottom and make a more secure base. 5.8sc (8) 6. dec x4 (4) Fasten off, leaving a piece of yarn for sewing. Sew the opening closed.
Beak:
with CC (orange), ch2 1. 6sc in the 2"d ch from the hook (6) 2. inc, 3in1, inc x2, 3in1, inc (14) 3. 14sc (14) 4. 6sc, [1sc, 1hdc] in the next sc, [1hdc, 1sc] in the next sc, 6sc (16) Beak doesn't require stuffing. Fasten off, leaving a piece of yarn for sewing. Flatten the beak - the hdc should be at the top (to be sewn between the eyes).
Assembling:
If you haven't used safety eyes, sew the beads as eyes between rounds 9 and 10, right next to the cheeks (about 6 sts apart). Then, sew the beak - its lower part should be positioned between rounds 11 and 12 of the head.
Pattern by Justyna Kacprzak www.cuteandkaboodle.com All rights reserved The upper part's “peak” should be right between the eyes. Next, sew the wings on both sides of the body (right under the head - approx. at round 16). Finally add feet at the bottom. And you're done! Pattern by Justyna Kacprzak www.cuteandkaboodle.com If you have any questions check the FAQ section on my website or contact me at kacprzak justyna@wp.pl. I'd love to get some feedback and help you out, if I can! \*\*\* Please respect the copyright on this pattern and do not resell or publish this pattern anywhere. The pattern is for personal use only. As a courtesy to the designer, please request permission before selling any final products from this pattern. \*\*\* Would you like to try some more patterns? Visit www.cuteandkaboodle.com/patterns to find something for yourself in the collection of over 1o0 free and paid patterns!
Head and body: with MC (yellow), ch2 1. 6sc in the 2nd ch from the hook (6) 2. inc x6 (12) 3.(inc, 1sc) x6 (18) 4. (2sc, inc) x6 (24) 5. 1sc, (inc, 3sc) x5, inc, 2sc (30) 6. -7. 30sc (30) 8. 8sc, inc x3, 8sc, inc x3, 8sc (36) - the underlined 8sc are in front of the head, you may want to mark it with a stitch marker to know where to attach eyes and beak 9. 8sc, inc, 1sc, inc x2, 1sc, inc, 8sc, inc, 1sc, inc x2, 1sc, inc, 8sc (44) 10. 44sc (44) 11. 8sc, dec, 6sc, dec, 8sc, dec, 6sc, dec, 8sc (40) 12. 8sc, sc3tog, dec, sc3tog, 8sc, sc3tog, dec, sc3tog, 8sc (30) Insert safety eyes between rounds 9 and 10, right next to the cheeks (about 6 sts apart). 13. 1sc, dec, (3sc, dec) x2, 4sc, dec, (3sc, dec) x2, 1sc (24) 14. (dec, 2sc) x6 (18) Stuff the head and continue adding more stuffing as you go. 15. (4sc, dec) x3 (15) 16. 2sc, inc, (4sc, inc) x2, 2sc (18) 17. (inc, 2sc) x6 (24) 18. 24sc (24) 19. (3sc,inc) x6 (30) 20. - 22.30sc (30) 23. 3sc, 3in1, 26sc (32) 24. 3sc, inc, [1sc, lhdc, 1sc] in the next sc, inc, 26sc (36) 25. 36sc (36) 26. 2sc, dec, 1sc, sc3tog, 1sc, dec, (2sc, dec) x3, 3sc, (dec, 2sc) x2, dec (26) 27. 1sc, dec, sc3tog, (dec, 1sc) x6, dec (16) 28. dec x8 (8) Fasten off, sew the opening closed.
Wing (make 2):
with MC (yellow), ch2 1. 6sc in the 2nd ch from the hook (6) 2. inc x6 (12) 3. 12sc (12) 4. (dec, 4sc) x2 (10) 5. (dec, 3sc) x2 (8) 6. 1sc, sc3tog, 4sc (6) Wings don't require stuffing. Fasten off, leaving a piece of yarn for sewing. Sew the opening closed.
Foot (make 2):
with CC (orange), ch4 1. working on both sides of the ch: 1sc in the 2"d ch from the hook, 1sc, 3in1, 1sc, inc (8) 2. inc, 1sc, inc, 5sc (10) 3. 10sc (10) 4. 2sc, sc3tog, 5sc (8) Stuff the foot very lightly, only in the front part. Otherwise, your duck may have trouble standing on its own. You can also add one more round of 8sc, so that the feet cover the bigger part of the bottom and make a more secure base. 5. 8sc (8) 6. dec x4 (4) Fasten off, leaving a piece of yarn for sewing. Sew the opening closed.
Beak:
with CC (orange), ch2 1. 6sc in the 2"d ch from the hook (6) 2. inc, 3in1, inc x2, 3in1, inc (14) 3. 14sc (14) 4. 6sc, [1sc, 1hdc] in the next sc, [1hdc, 1sc] in the next sc, 6sc (16) Beak doesn't require syuffing. Fasten off, leaving a piece of yarn for sewing. Flatten the beak - the hdc should be at the top (to be sewn between the eyes).
Assembling:
If you haven't used safety eyes, sew the beads as eyes between rounds 9 and 10, right next to the cheeks (about 6 sts apart). Then, sew the beak - its lower part should be positioned between rounds 11 and 12 of the head. The upper part's “peak' should be right between the eyes. Next, sew the wings on both sides of the body (right under the head - approx. at round 16). Finally add feet at the bottom. And you're done!
: Important!
: If you downloaded this pattern from a website other than Ravelry or my webpage ; (www.cuteandkaboodle.com), please know that this is an illegal copy and should not be used, : because its publication violates my copyrights. And makes me really sad, too. Pattern by Justyna Kacprzak www.cuteandkaboodle.com All rights reserved


