LITTLE TAM
MADuNaier MAD Cap Fancies
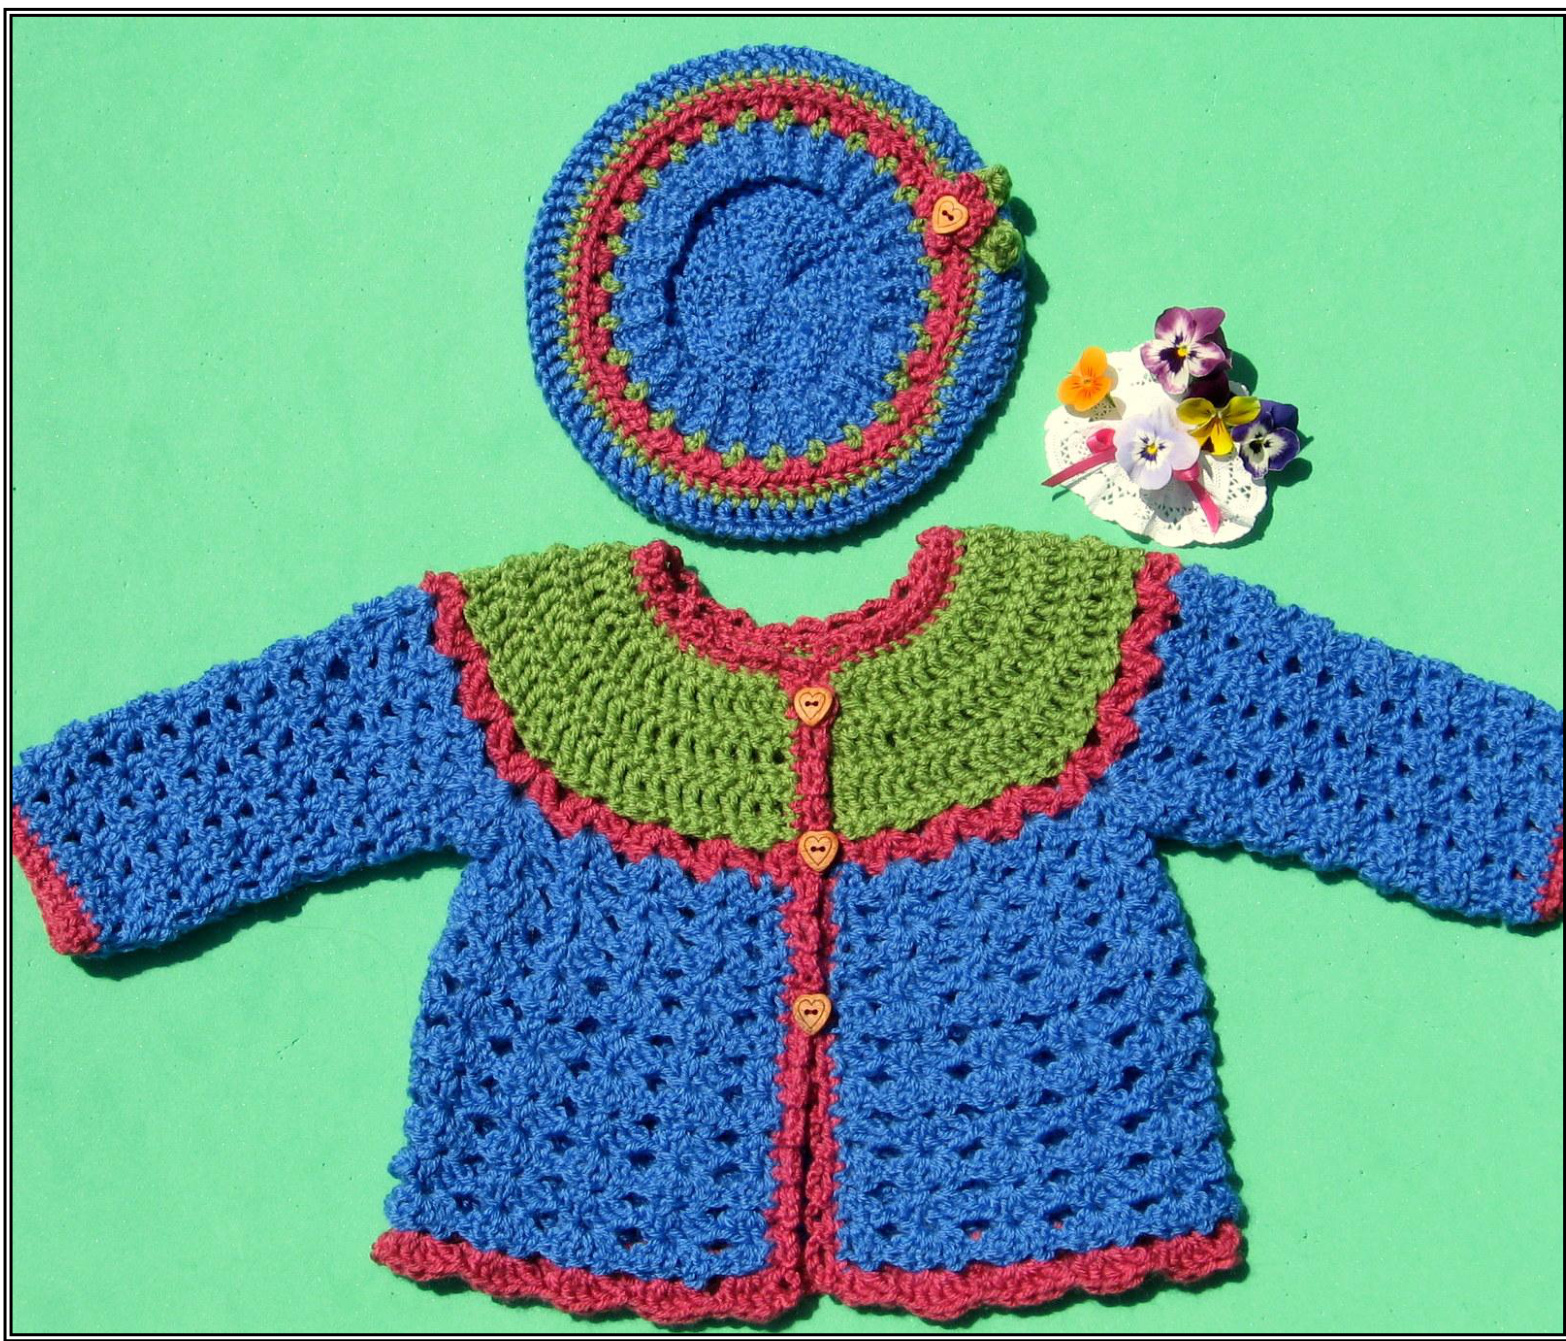
(Shown with "Patty Cake Cardi" - another free pattern from Michele DuNaier & MAD Cap Fancies - available for download through Ravelry & the Knit Picks website.)
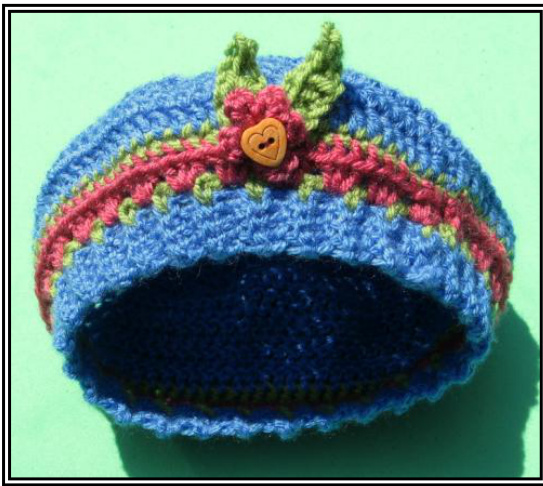
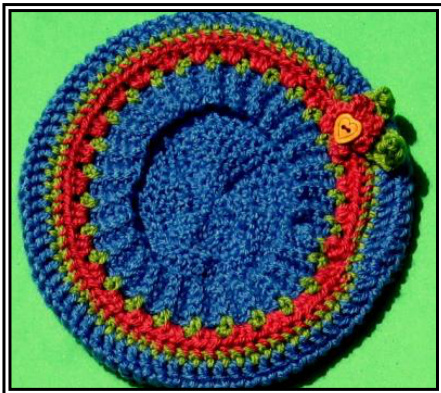
LITTLE TAM
MADuNaier MAD Cap Fancies Materials: Crochet hook in size H (5mm). Small wooden button, stitch markers. Gauge: 17 dc = 4" using H hook Yarn: DK weight yarn Abbreviations: st = stitch, ch = chain st, rep = repeat, sl st = slip stitch, rnd = round, sk = skip, sc = single crochet, dc = double crochet, tch = turning ch at start of prev row, PM = place marker, yO = yarn over, ch-sp = chain space, dc dec = dc decrease = yO, insert hook into first st, yO and pull up a loop, YO and pull through 2 loops, YO, insert hook into second st, YO and pull up a loop, yO and pull through 2 loops, YO and pull through all 3 loops on hook (you have decreased a stitch).
BRIM BAND
Row 1: Leaving a 9" tail, with Color 3, ch6. Sc in 2nd ch from hook and in next 3 ch. (5 sc) Row 2: Ch1, turn. Working in BACK LOOP ONLY,sc in 2nd ch from hook and in next 4 ch. (5 sc) Rep Row 2 until band is 2 rows longer than desired head circumference when slightly stretched.
BODY
Notice there are ridges every 2 rows - you will be working into each ridge along the sides of the rows. Attach Color 1 to work along the long top edge as follows:
Row 1: Ch1, sc in 1st ridge, \*ch2, sc in next ridge; rep from \* to 2 rows short of other end of Brim Band, leaving the last ridge unworked. (Your stitch count for this row will be half the Brim Band row count minus 2.) Row 2 (RS): Attach Color 2, ch1, turn. (Sl st, ch3, 2dc) into 1st ch2-sp, \*3dc in next ch2-sp; rep from \* across row. Rnd 3: Attach Color 1, ch1, turn. Sc in each dc across round, join with a sl st to 1st sc; the rest of the Tam will be worked in the round, with WS facing. Count your sts after this round. If they are not a multiple of 9, add the required 3 or 6 sts in the next round for force a multiple of 9 sts for the st count. Little Tam - Version 1 - October 8, 2014 - Page 2 of 3 Rnd 4: Ch1, do not turn. Sc in 1st sc and PM in this sc to indicate the start of the round (move the marker up after working in the 1st st of each round from here on). Hdc in next sc, dc in next sc after that and in each sc around, adding 3 or 6 dc evenly spaced, if necessary, to force st count to a multiple of 9. For the rest of the Tam you will be working in spiral rounds: at start of the rows do not ch3, do not turn, just continue working dc. Repeat the last round once more for size 6-9 mo, twice for size 12 mo, three times for size 18 months and four times more for size 24 months, then proceed to CROWNDECREASING.
CROWN DECREASING
Rnd 1: \*Dc in next 7 dc, dc dec over next 2 dc; rep from \* around. Rnd 2: \*Dc in next 6 dc, dc dec over next 2 dc; rep from \* around. Rnd 3: \*Dc in next 5 dc; dc dec over next 2 dc; rep from \* around. Rnd 4: \*Dc in next 4 dc; dc dec over next 2 dc; rep from \* around. Rnd 5: \*Dc in next 3 dc; dc dec over next 2 dc; rep from \* around. Rnd 6: \*Dc in next 2 dc; dc dec over next 2 dc; rep from \* around. Rnd 7: \*Dc in next dc; dc dec over next 2 dc; rep from \* around. Rnd 8: \*Dc dec over next 2 dc; rep from \* around. Cut yarn, leaving an 8" tail. Using a yarn needle, weave through all sts in last round, pull tight; repeat. Sew the Brim Band closed, overlapping to desired fit. Flower: Using Color 2, ch2. Working in 2nd ch from hook: [sl st, ch2, dc, ch2]5 times, sl st. Cut yarn. Leaf (make 2): Using Color 1, ch9, sl st in 2nd ch from hook, sc in next ch, hdc in next ch, dc in next ch, hdc in next ch, sc in next ch, sl st in next ch. Sew the 2 leaves over Tam Body Rnds 2-3 area at start of round, then sew flower on top of leaves, and button on top of flower.
FINISHING
Weave in ends. Put a small dessert plate into Little Tam (centered at crown), spray with water and let dry into a flat, round shape. Copyright MADuNaier 2014 - Make them to wear, give, or sell, but please don't sell or distribute my pattern withoutmypermission! Little Tam - Version 1 - October 8, 2014 - Page 3 of 3


