
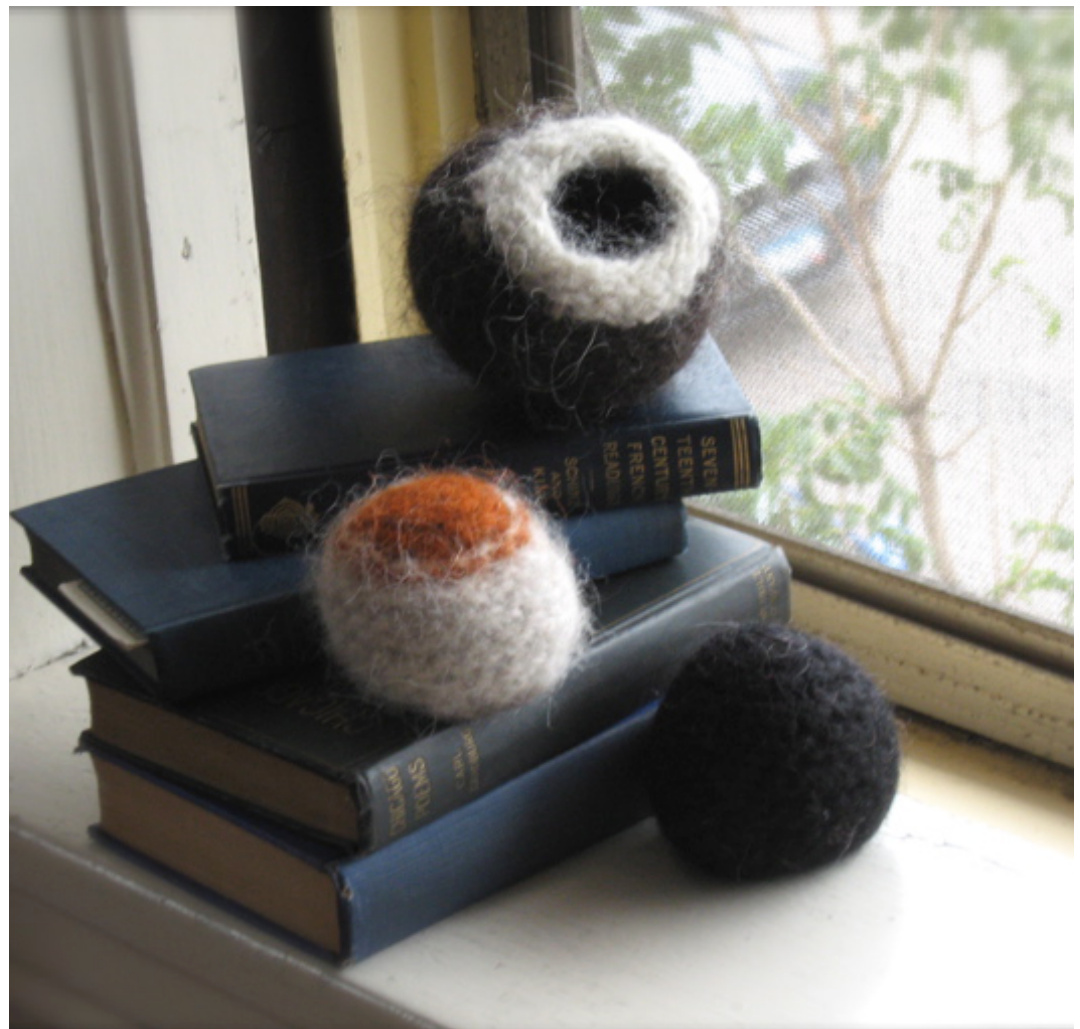
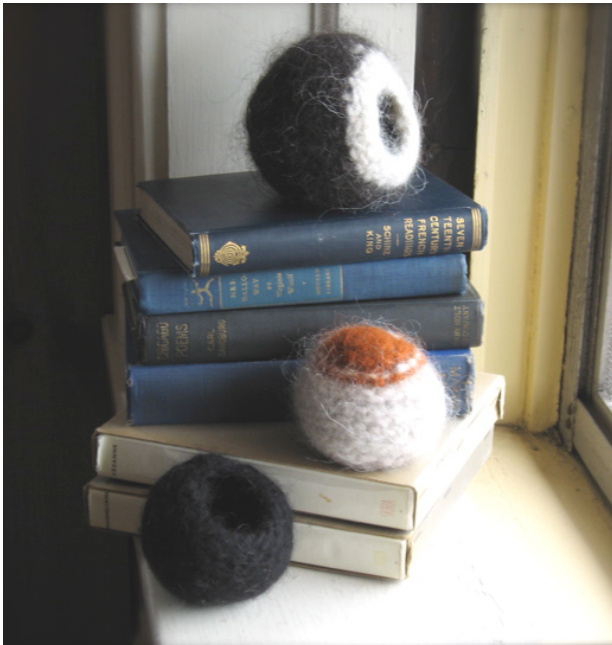
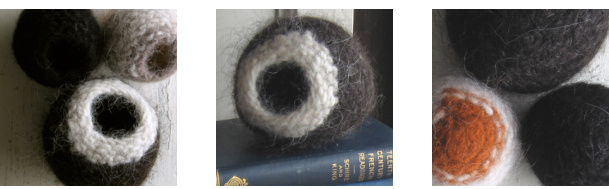
These pods are at home in any room. Pile onto bookshelves or hide treasures inside.
Small Pod
CO 16 sts. Divide on 4 dpns. You now have 4 sts / dpn. Join needles and begin knitting in the round. Round 1: P Round 2: Increase 1 st at beginning of each needle, K to end of each needle Round 3: P across Round 4: Increase 1 st at beginning of each needle, K to end of each needle (total 24 sts) Round 5: P Round 6: K Round 7: P Round 8: K Round 9: P Round 10: Decrease 1 st at beginning of each needle, K to end of each needle Round 11: P Round 12: Decrease 1 st at beginning of each needle, K to end of each needle Round 13: P Round 14: Decrease 1 st at beginning of each needle, K to end of each needle Round 15: P Round 16: K2tog across Round Round 17: P 3 sts / inch in St st on US size 11 needles. 4 sts / 3.5 cm on 8 mm needles. Yarn · Lopi · Pick any colors · 12 yards or 1 meters (per small) · 26 yards or 24 meters (per large) · Needles · One set of five double pointed needles US size 11 / 8 mm · tapestry needle · Felting Supplies · fine mesh nylon bag or zippered pillowcase · washing machine · plastic shopping bags
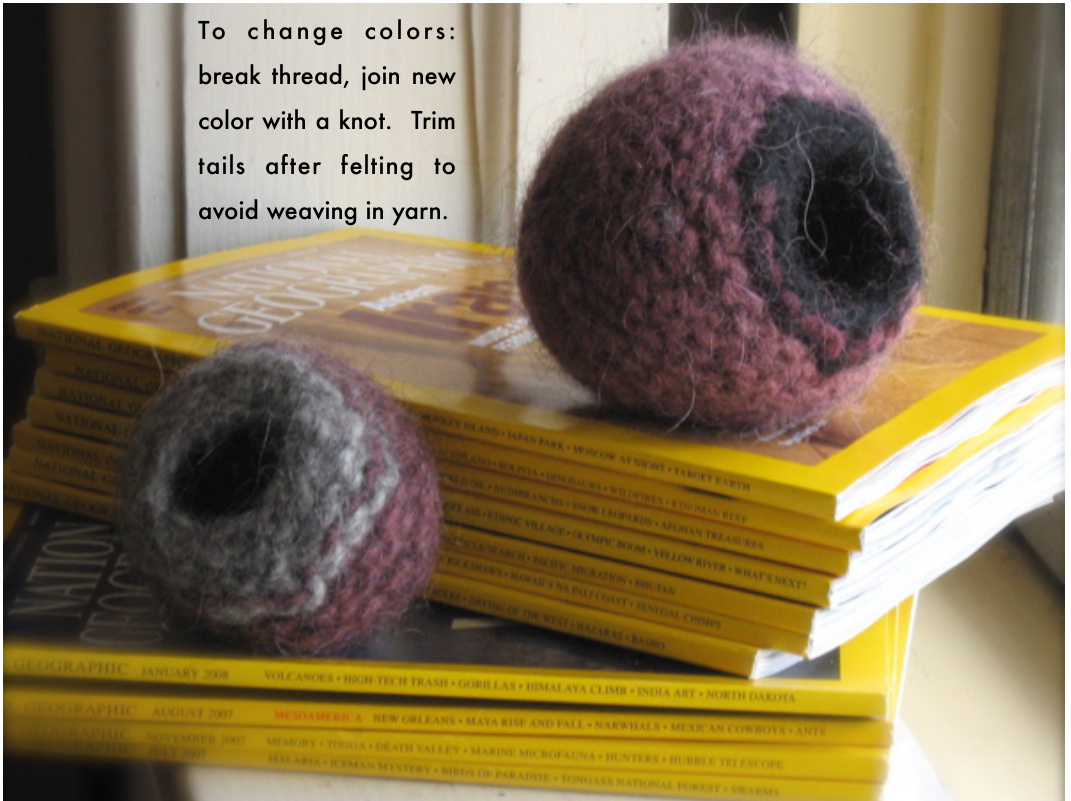
Break yarn leaving a tail. Using a needle, thread the tail back through the stitches. Pull stitches together firmly, tie off.
Large Pod
CO 20 sts. Divide on 4 dpns. You now have 5 sts / dpn. Join needles and begin knitting in the round. Round 1: P Round 2: Increase 1 st at beginning of each needle, K to end of each needle Round 3: P Round 4: Increase 1 st at beginning of each needle, K to end of each needle Round 5: P Round 6: Increase 1 st at beginning of each needle, K to end of each needle (total 32 sts) Round 7: P Round 8: K Round 9: P Round 10: K Round 11: P Round 12: K Kound 13:P Round 14: K Round 15: P Round 16: Decrease 1 st at beginning of each needle, K to end of each needle Round 17: P Round 18: Decrease 1 st at beginning of each needle, K to end of each needle Round 19: P Round 20: Decrease 2 sts at beginning of each needle, K to end of each needle Round 21: P Round 22: K2tog across Round (8 sts total) Break yarn leaving a tail. Using a needle, thread the tail back through the stitches. Pull stitches together firmly, tie off.
Felting
While there are many methods in felting, I like to throw these pods right in with the laundry. This practice yields unpredictable results,
Abbreviations
BO bind off co cast on dec decrease dpn double pointed needle Kknit K2tog knit together Ppurl st stitch sts stitches St st stockinette

A Note on
White Wool
Due to the process that wool goes through to become snowy white, it doesn't felt as easily. Not to say it can't be done. If your heart is set on white wool, beware that it will take more time and energy to felt.
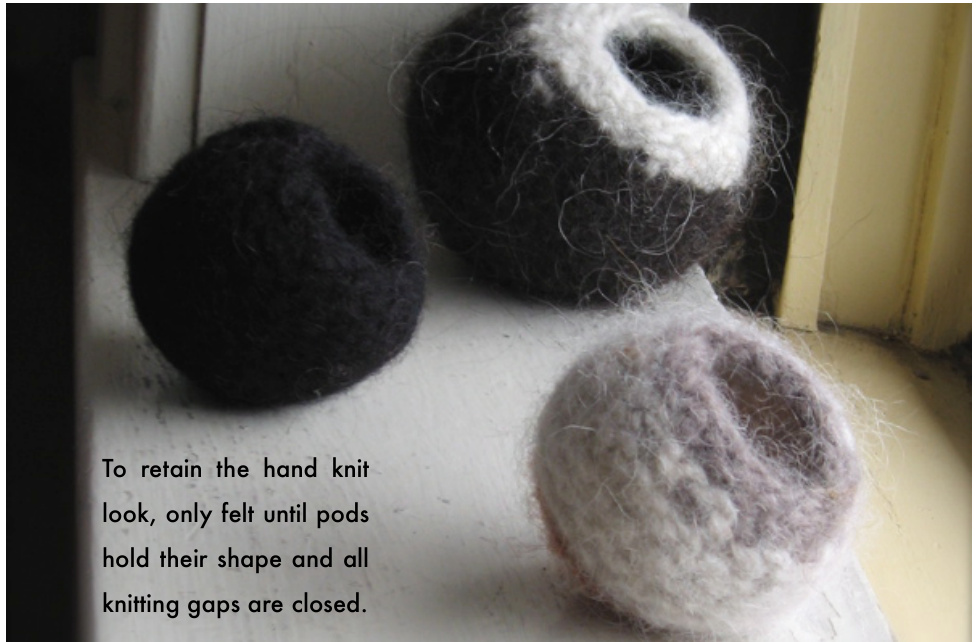
which is just fine for pods as exact size isn't important. If you do a lot of felting, an accumulation of loose wool fibers can clog and potentially ruin your washing machine. A mesh bag or zippered pillowcase bag can prevent this. Heat and friction are what causes the fibers of your wool to felt. I usually use the "normal" and "warm" settings on my washing machine. If you opt for the "hot" setting, be aware that colors may bleed, especially if you are using red. When in doubt, place your knit bowl in your sink prior to felting and rinse with boiling water until it comes out clear. Of course you can run your felt solo, but I prefer to get a bit of laundry done at the same time.
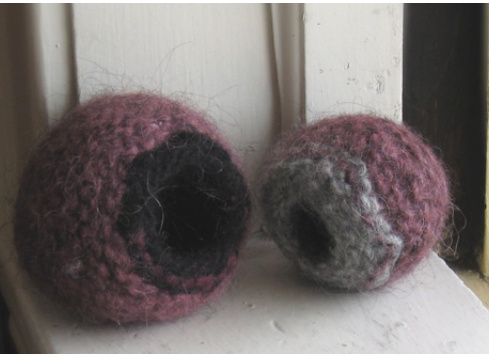
Shaping
Once you are satisfied with the quality of your felt, you are now ready to mold it to the right shape. Although each pod is a little different, I always use the same molds when using this pattern: plastic shopping bags. One or two bags are stuffed in until the shape is filled out. Mold with your hands and place opening side down. Remove the bags when the wool is completely dry.

Garter Stitch
I have found that garter can create firmer felt. It is much more economical and simpler than buying extra bulky yarn or knitting with two skeins together. see · www.koniar.net email · Rachel@Koniar.net buy · SecretSnowBird.Etsy.com


