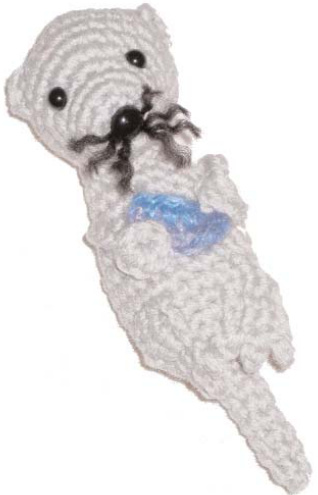
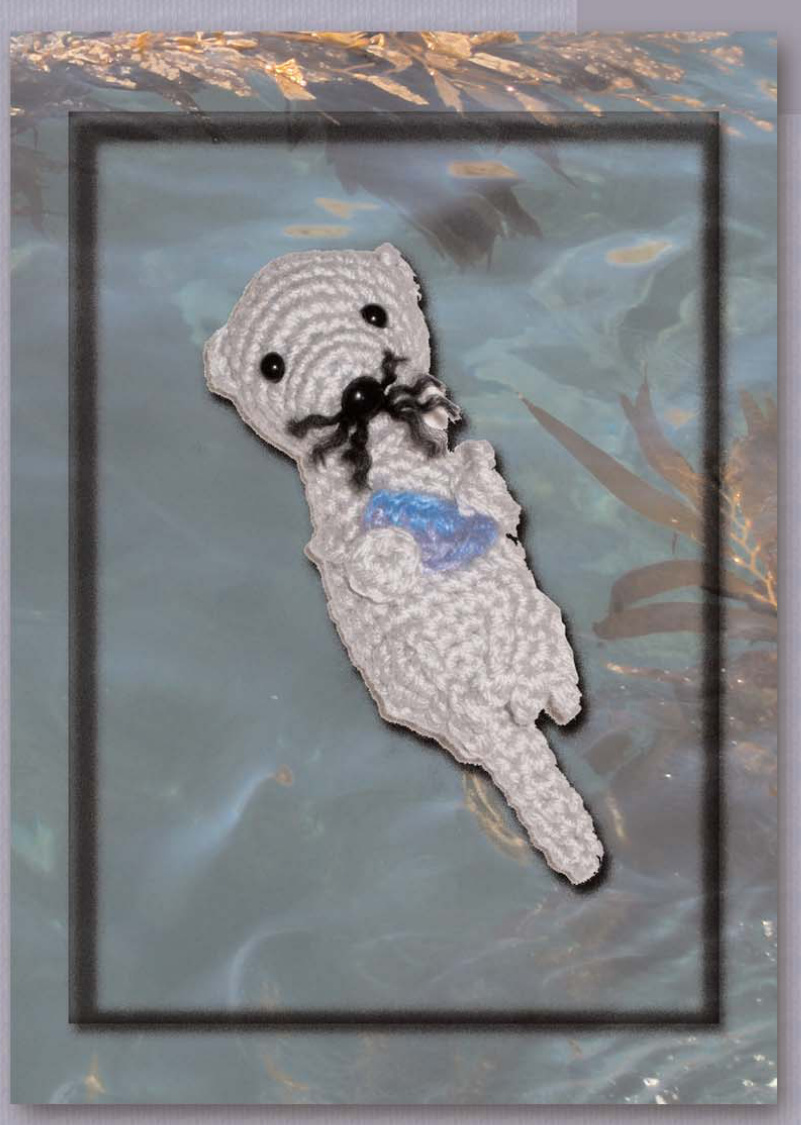
ollie +he Sea Ofter
Designsby Lori Hansen
Lori Hansen 2009 http:/lonpinsneedles.blogspot.com
I absolutely LOVE Sea otters. They're my faorite animal and in April of 2009, the
Amigurumi Doll Lovers group on Raelry had an "lnder the Sea" challenge that prompted me to Create this little cutie. I hope you have as much fun making him as I did! Abbreviations used in this pattern: $\mathsf{s c=}$ single crochet dc $=$ double crochet hdc $=$ half-double crochet st $=$ stitch sl st $=$ slip stitch $\mathsf{y o}=$ yarnover $\mathsf{B L O=}$ back loops only $\mathsf{F L O=}$ front loops only inc $=$ increase (2 sc in one stitch) dec $=$ decrease(Work 2 stitches together into one sc) MC $=$ magic circle (or chain 2, work in second chain from hook) NOTE: The number in paranthesis after each line of pattern is the total number of stitches you should have in at the end of each round.
Ollie the Sea Otter
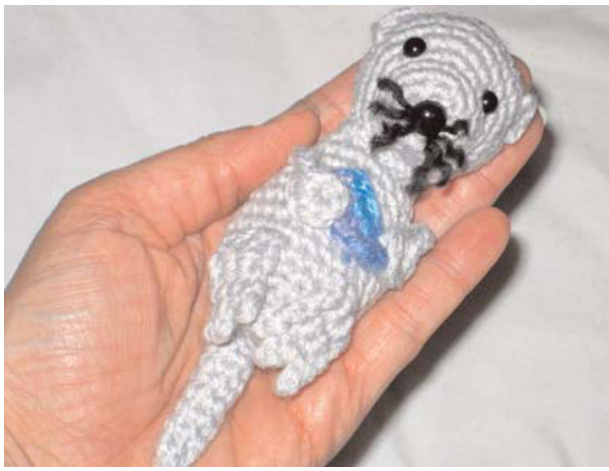
[Finished dimensions: Approximately 1.5" wide x 6" tall (including tail), depending on your yarn
Materials
E hook (3.5mm) Small amounts of worsted weight yarn (model was constructed with Red Heart Classic yarns) 6mm&9mmSafetyEyes Polyfil/Stuffing Yarn needle
Head
Work 5 sc in MC 1. Inc in each st around (10) 2. (inc in next st, 1 sc in next) around (15) Wrap length of black yarn around shaft of 9mm safety eye/nose &insert in center of MC 3. Sc around (15) 4. In FLO (sc in next 2 sts, inc in next around (20) 5. In both loops, (sc in next 3 sts, inc) around (25) 6. (sc in next 4 sts, inc) around (30) 7-8. Sc around (30) 9. (sc in next 3 sts, dec over next 2) around (24)
Place 6mm safety eyes
10. (sc in next 2 sts, dec) around (18) 11. (sc in next st, dec) around (12); Stuff 12. Dec around (6); fasten off, weave tail through remaining sts & pull closed tightly. Weave ends in. Trim whiskers to approx. 1" & separate strands. Trim again to desired length.
Ears (Make 2)
Ch 3, fasten off. Sew onto sides of the head in a crescent shape. Weave ends in.
Work 6 sc in MC
1. Inc in each st around (12) 2. (sc in next st, inc) around (18) 3. Sc around (18) 4. (sc in next 2 sts, inc) around (24) j-8. Sc around (24) 9. (sc in next 4 sts, dec) around (20) 10. Sc around (20) 11. (sc in next 3 sts, dec) around (16) 12. Sc around (16) 13. Sl st in next 8 sts, sc, hdc, 4 dc, hdc, sc (16) 14. Sl st in next 9 sts, sc, 4 hdc, sc, sl st (16) Fasten off, leaving tail for sewing. Stuff; sew head onto body & weave ends in.
Tail
Leaving a long tail for sewing, ch 6; form ring & join with sc in 5th ch from hook. -7. Sc around (6) 8. Dec around (3); fasten off. Sew tail onto body & weave ends in.
Hind Feet (Make 2)
Ch 4; sc in 2nd ch from hook & across (3) 1-3. Ch 1 turn, sc across (3) 4. $^{\star}\mathsf{C h}\,2$ , sl st in 2nd ch from hook & next 2 sts\* repeat between \* one time; ch 2, sl st in 2nd ch from hook & next st; fasten off
Front Legs/Feet (Make 2)
Work 8 sc in MC; sl st in 1st st & ch 6; fasten off.
Abalone
(You will be working on both sides of a foundation chain) Ch 5; sc in 2nd ch from hook & next 2 sts; 3 sc in next st; sc in back loop of next 2 sts, sc in same st as first 2 scs, join with sl st. Fasten off, leaving a long tail for sewing.
Assembly
Sew hind feet on slight angles to overlap toes a bit. Sew abalone shell to tummy. Sew "arms" to sides of body. Sew "hands" on top of abalone to make Ollie hold his meal. Weave all ends in.