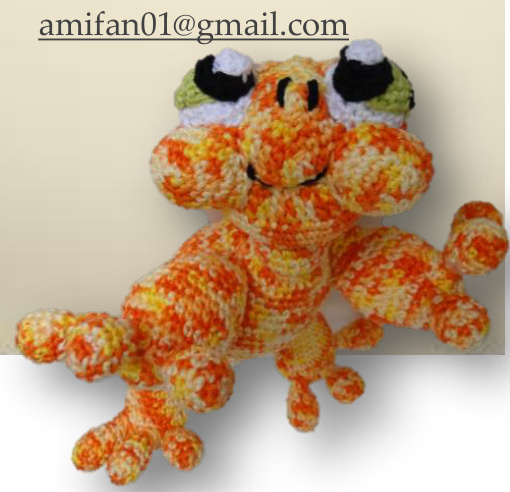
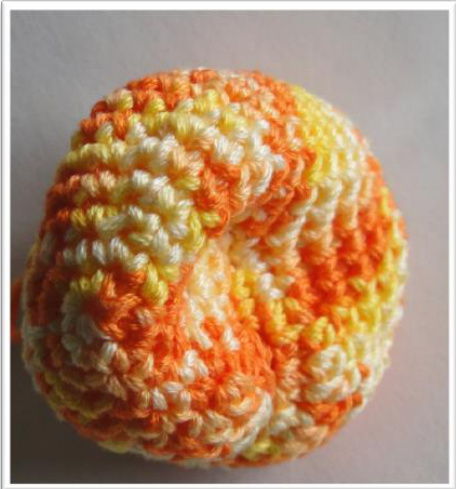
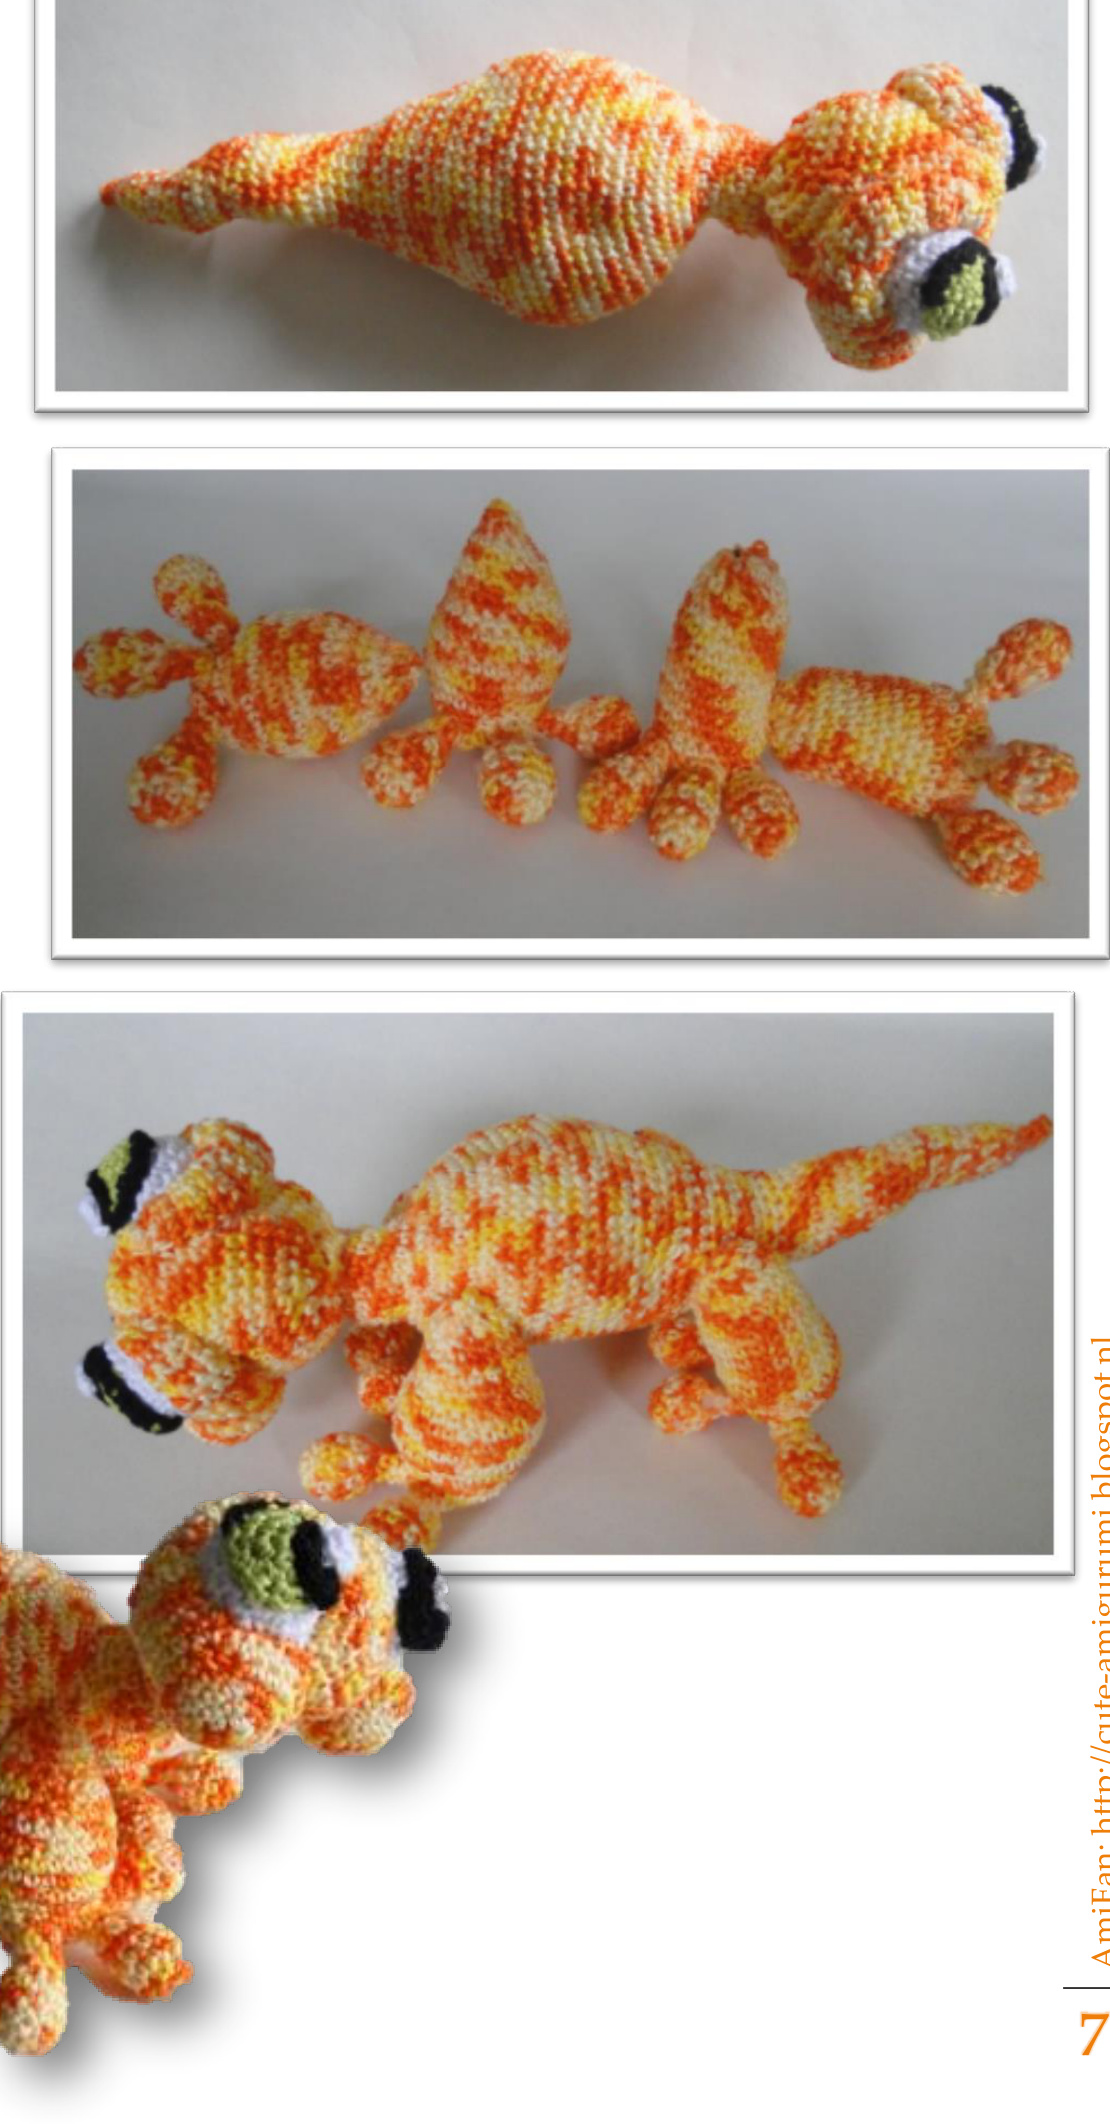
Sacha,the salamander
Dutch
Materials
2 balls of coton - same Fiber fill color Crochet hook 2,0 Left over off white Sewing needle Left over off black Left over of Green
Pattern
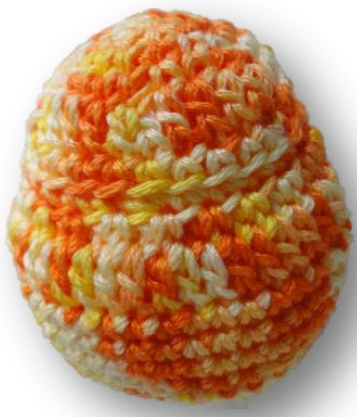
The pattern is written out and is supported with pictures Head Row 1. 6sc in magic ring. Row2. \*2sc in st\* repeat 6x 2sts tog = decrease by making 2 stiches together. (12) Row 3. \*2sc in st, sc\* repeat 6x (18) Row 4. \*2sc in st, 2sc\* repeat 6x (24) Row 5. \*2sc in st, 3sc\* repeat 6x (30) Row 6. \*2sc in st, 4 steken\* repeat 6x. (36) Row 7. Chain of 2, 12 times double crochet, 24sc (36) Row 8. 36 sc Row 9. \*2sts tog, 4sc\* repeat 6x - attention. First 12 st in front loop off the stich.
Row109. \*2sc in st\* repeat 10x, 20sc (40) Row 11. Chain of 2, 19 times double crochet, 20 sc (40)
Copyright
You are allowed to link to this pattern. Please do not copy or sell this pattern. Off course you can sell your finished items (based on this pattern) but please honor me as the designer. This pattern and other ones can be found at raverly where my name is AmifanDutch and AmiFan Designs. You can also find me on my blog: cuteamigurumi.blogspot.nl If you have any questions or feedback regarding the pattern, please feel free to contact me by email:
Row 12-14. 40sc. Row 15. \* 2sts tog, 6sc\* repeat 5x (35) Row 16. 35sc. Row 17. \* 2sts tog, 5sc\* repeat 5x (30) Row 18. \*2sts tog, 4sc\* repeat 5x (25) Row 19. \*2sts tog, 3sc\* repeat 5x (20) Row 20. \*2sts tog, 2sc\* repeat 5x (15) Fill up, not to tight! Row 21. \*2sts tog, sc\* repeat 5x (10) Row 22. \*2sts tog\* repeat 5x (5) End off
Shaping the head
Shape the head gives the animal more character. Use thread and sewing needle. The photos illustrate the steps. It is difficult to explain. But by pulling the thread through the head in and out you can shape the head. So please follow the photos.
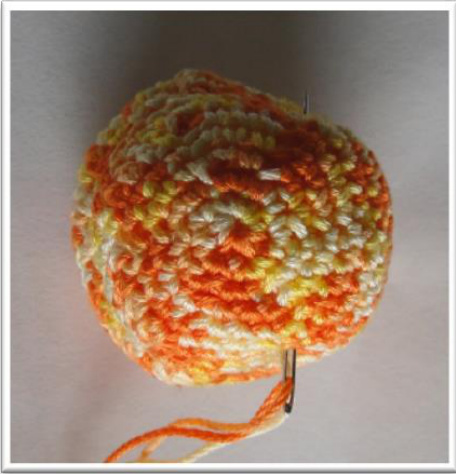
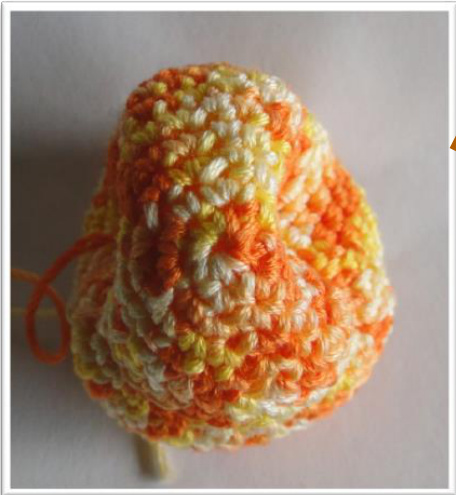
This is the right shape. You can also make a little mouth. Pull your thread in and out in row 8. See photos

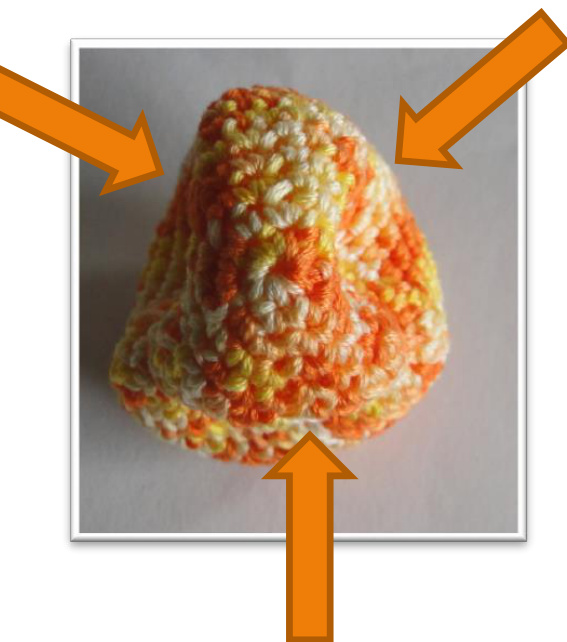
Now you have shaped three spots. You design yourself how far you shape them. The upper two are for the eyeballs. The other one is the mouth.
Eyes
Start with white R1. 5sc in magic ring. R2. \*2sc in st\* repeat 5x (10) R3. \*2sc in st, sc\* repeat 5x (15) R4. \*2v in st, 2sc\* repeat 5x (20) R5-7.20sc R8. \*2sts tog, 2sc\* repeat 5x (15) R9. \*2sts tog, sc\* repeat 5x (10) Fill up. R10. \*2sts tog\* repeat 5x (5) End off
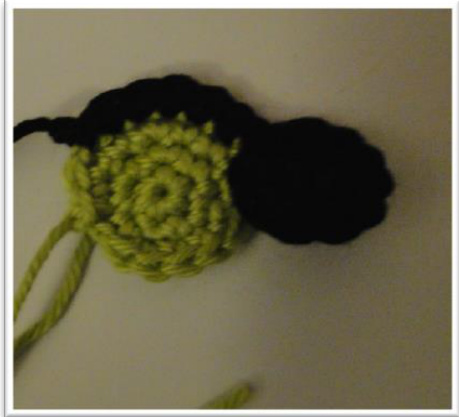
Green circle
R1. 5sc in magic ring. R2. \*2sc in st\* repeat 5x (10) R3. \*2sc in st, sc\* repeat 5x (15) End off.
Black circle
R1. 5sc in magic ring. R2. \*2sc in st\* repeat 5x (10) Leave a thread for sewing. Do not end off. White circle R1. 5v in magic ring, slip stich and end off.
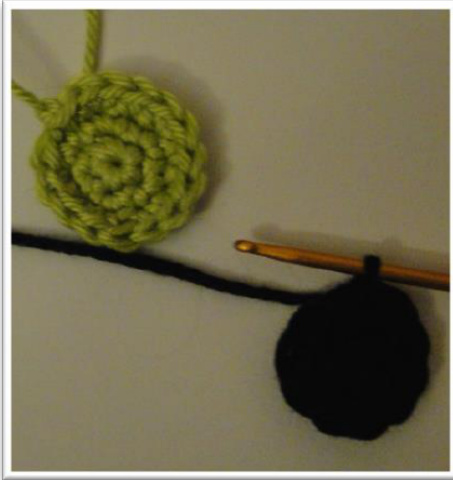
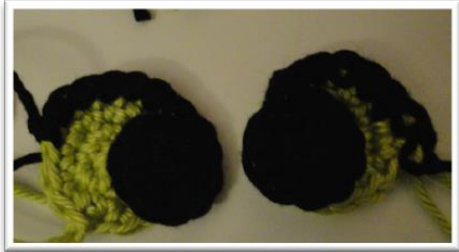
Put together eyes.
Start with black and put it on green.
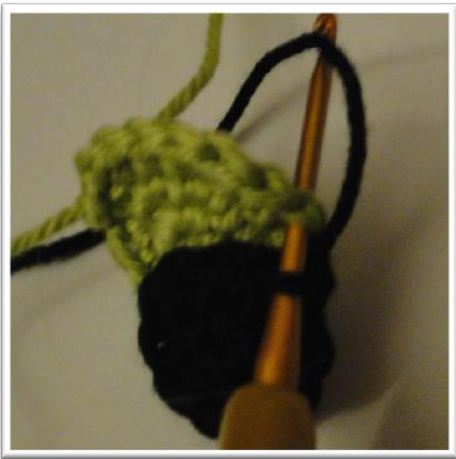
Crochet 2sc tog black and green. Crochet 5 sc with black thread over green circle. Slip stich and end off.
Repeat this for the other eye.
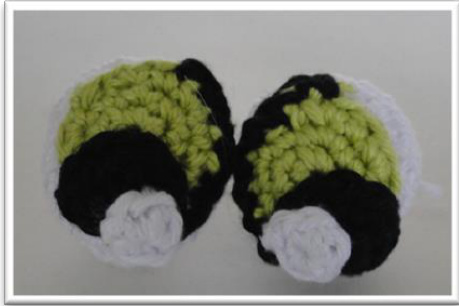
Sew the green on the white circles. And at the end put on the white spots on the black part. Attention! Sew them equal. Otherwise he looks cross-eyed.
Eyes on the head. If you have shaped the head, you can put the eyes on the head.
Sew the on equal. Otherwise he looks cross-eyed.
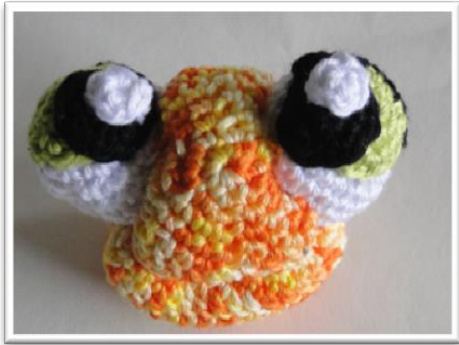
On this photo you can see the shaped mouth.
Eyebrow and cheeks
Crochet them in body color. R1. 5v in magic ring. R2. \*2sc in st\* repeat 5x (10) R3. \*2sc in st, sc\* repeat 5x (15) R4. \*2sc in st, 2sc\* repeat 5x (20) R5. \*2sc in st, 3sc\* repeat 5x (25) R6. \*2sts tog, 3sc\* repeat 5x (20) Attention. Crochet in rows from here. So use 1 chain to turn! R7 - 17. 7sc en 1 ch. (7)
R18. Crochet the first st tog With the 7e stich with 1 sc. You have a round again! Attention. Left and right are different! One time you crochet 7 sc and after that 1 chain to turn. For the other side you crochet 1 chain, turn and after that 7 sc. R19-20. 7sc R 21. 2sts tog, 5sc (6) R 22. 2sts tog, 4sc (5) R 23. 2sts tog, 3sc (4) R 24. 2sts tog, 2sc (3) end off.
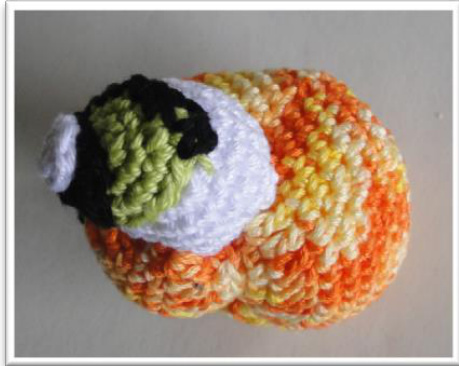
Sew on eye brow and cheeks.
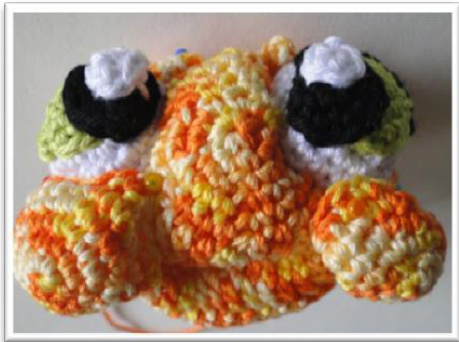
I use pins to shape the head.
The points are the eye brows and must be above the eyes. The cheeks must end under the eyes. Sew them on.
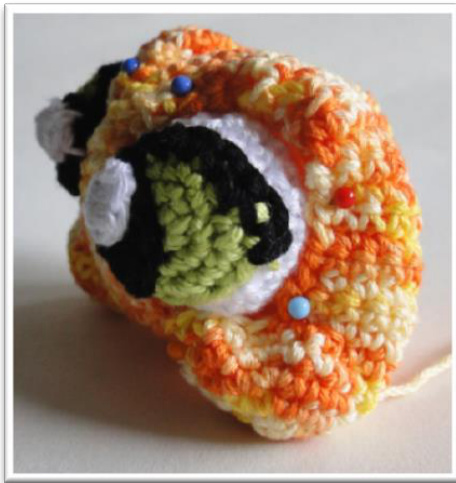
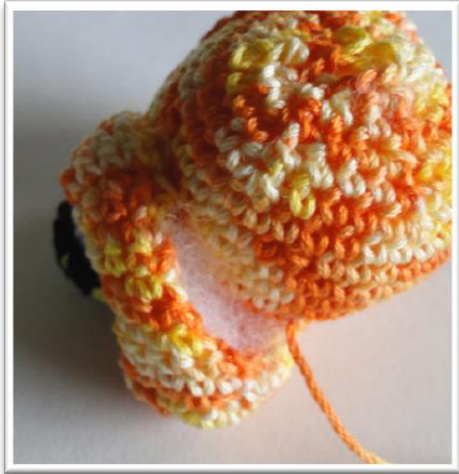
Photo from the underside.
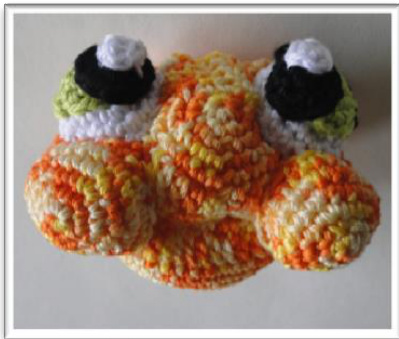
Fill the cheeks up light... so you shape them.
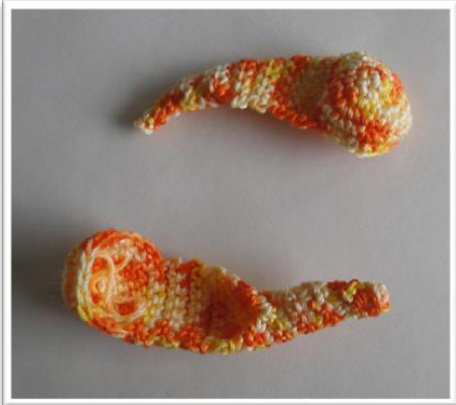
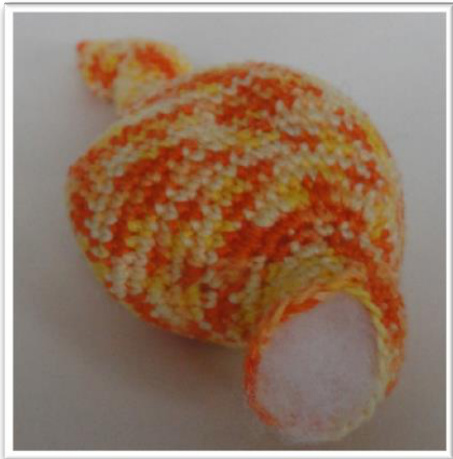
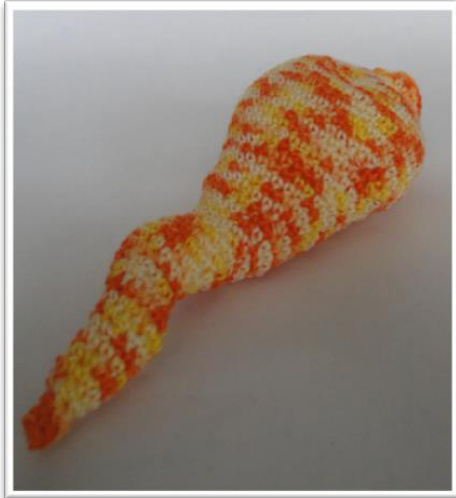
Body and tail
These are one whole. Je start bij de nek. Deze staat iets scheef omhoog, wat een grappig effect heeft, als je het hoofd erop zet.

R1. 21 losse, zet met een halve scaste vast in le losse waardoor je een ring krijgt. (20) R2-3. 20sc. R4. \*2sts tog,sc\* repeat 5x, 5sc, \*2sc in st\* repeat 5x (20) R5. 5sc, \*2sts tog,sc\* repeat 5x, \*2sc in st\* repeat 5x (20) R6. \*2sc in st\* repeat 20x (40) R7-10. 40sc. R11. \*2sc in st, sc\* repeat 5x, 10sc, \*2sc in st, sc\* repeat 5x, 10sc (50) R12 - 20. 50sc. R21. 20sc, \*2sts tog, 2sc\* repeat 2x, 2sts tog, 10sc, \*2sts tog, 2sc\* repeat 2x, 2sts tog (44) R22. 44sC R23. 20sc, 2sts tog, sc, 2sts tog, 14sc, 2sts tog, sc, 2sts tog (40) R24. 40sc R25. \*6sc, 2sts tog\* repeat 5x (35) R26.35sC R27. \*5sc, 2sts tog\* repeat 5x (30) R28-31. 30sc R32. \*4sc, 2sts tog\* repeat 5x (25) R33. \*3sc, 2sts tog\* repeat 5x (20) R34-36. 20sc Start filling up. From here is the tail. R37. \*2sts tog, sc\* repeat 3x, 4sc, \*2sc in st, sc\* repeat 3x, 1sc (20) R38. 20sc. R39. \*2sts tog, sc\* repeat 3x, 4sc, \*2sc in st, sc\* repeat 3x, 1sc (20) R40. 20sc. R41. \*2sts tog, sc\* repeat 3x, 4sc, \*2sc in st, sc\* repeat 3x, 1sc (20) R42. 20sc. R43. \*2sc, 2sts tog\* repeat 5x (15) R44.15sc R45. \*2sts tog, sc\* repeat 5x, \*2sc in st\* repeat 5x (15) R46. 15sc R47. \*2sts tog, sc\* repeat 5x, \*2sc in st\* repeat 5x (15) R48. 15sc R49. \*sc, 2sts tog\* repeat 5x (10) R50-52.10sc fill up R53. \*2sts tog\* repeat 5x (5) R54.5sc. End off
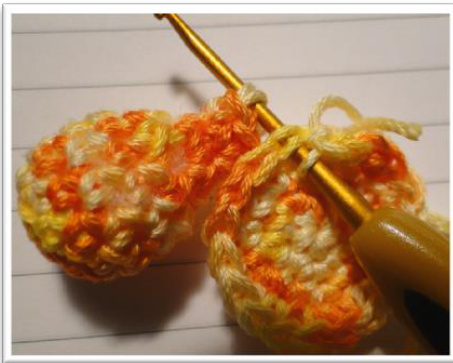
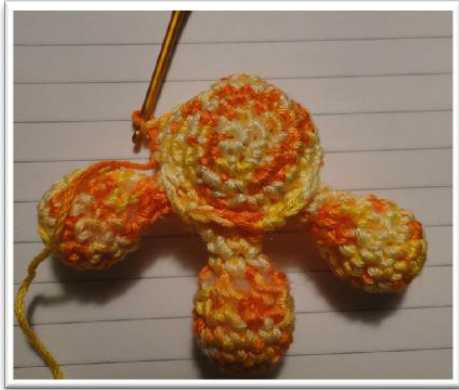
Toes and feeth
Start making toes. Three at each feeth.
Toes (12x)
R1. 5sc in magic cirkel (5) R2. \*2sc in st\* repeat 5x (10) R3-5.10sc R6. \*2sts tog\* repeat 5x (5) R7.5sc Fill them if you think it needs it.
Feeth
R1. 5sc in magic cirkel (5) R2. \*2sc in st\* repeat 5x (10) R3. \*2sc in st,sc\* repeat 5x (15) R4. \*2sc in st,2sc\* repeat 5x (20) Make toes on the feeth The photos will help you through these steps. Attention. Nice side . Make sure you get the right side of your foot under.
R1. Crochet 2sc through toe number 1 and the feeth together, crochet 1sc on feeth, crochte 2sc on toe number 2 and feeth together, crochet 1 sC on only feeth, crochet 2sc on toe number 3 and feeth together, 12 sc on only feeth. (20) R2. Sc in each st. Attention maximum 2 sc on every toe (26)
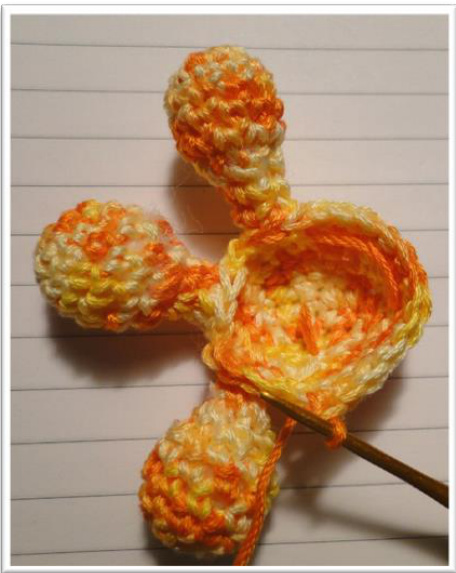
R3. \*2sc, 2sts tog\* repeat 4x, 8sc (20)
Figuur 1 onderkant voet
Front leg (2x)
Go on with row 3 of feeth. R4. \*2sc in st, 3sc\* repeat 5x (25) R5. \*2sc in st, 4sc\* repeat 5x (30) R5-7.30sc R8. \*2sts tog, 3sc\* repeat 5x (25) R9.25sc R10. \*2sts tog, 2sc\* repeat 5x (20) R11.20sc R12. \*2sts tog, sc\* repeat 5x (15) R13-14. 15sc R16. \*2sts tog\* repeat 5x (5) Fill up and end off.
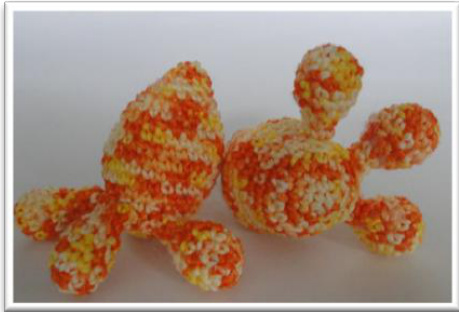
Back leg (2x)
Go on with row 3 of feeth. R4-15. 20sc R16. \*2sts tog, 2sc\* repeat 5x (15) R17.15sc R18. \*2sts tog, sc\* repeat 5x (10) R19.10sc fill up R20. \*2sts tog\* repeat 5x (5) end off.
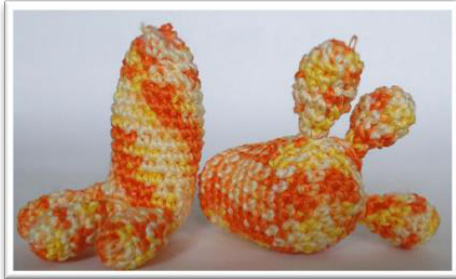
Put together
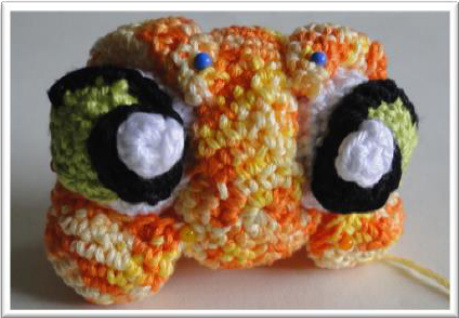
We are now going to sew the body, head and legs together. Collect your parts. Sew the head to the body. Choose a nice stand of your head.
Put the front legs (thick) for to the body, just next to the neck. The hind legs at the tail. And ready is your salamander.


