Materials:
100g fingering weight yarn 2.25mm dpns or circulars (depending on your preferred method of construction) Stitch marker Gauge: 8st x11 rows on 2.5mm needles in stockinette

f you have any problems with the pattern do not hesitate to contact me and I will see what I can do to help you. Like wise if you should find any errors in the pattern please let me know so that I can correct them JANINELECRAS EMAIL:JANINE@CWGSY.NET RAVELRY: GUERNSEYGAL BLOG: HTTP://GUERNSEYGAL.TYPEPAD.COM/ KNITTING_ON_AN_ISLAND/
Revenge of the Mummy
Cuff:
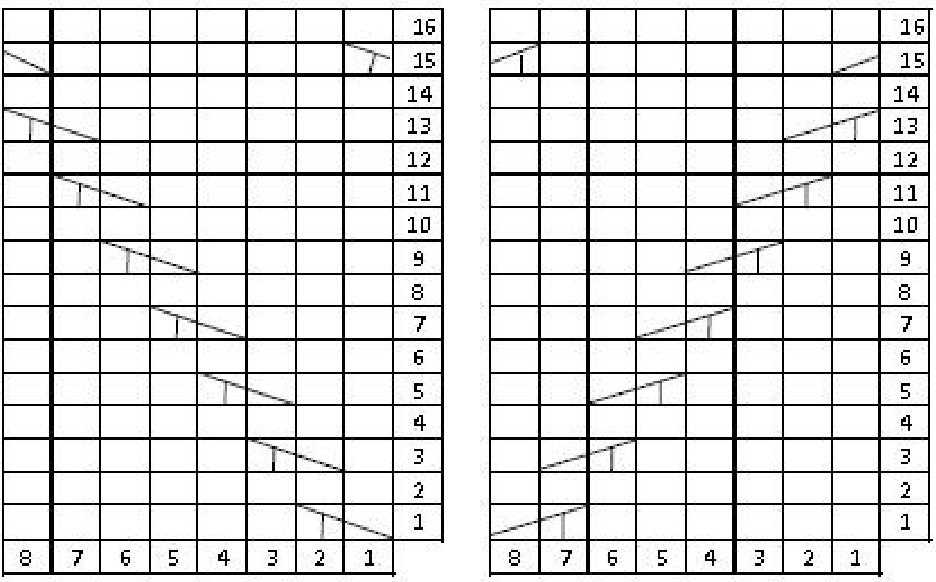
In main colour, cast on 72 st loosely on 2.5mm dpns. I usually cast on using a cable cast on while holding two needles in my left hand. This gives me the required looseness while stil keeping a neat edge. Divide these stitches equally between 4 dpn's (18 st per needle) or you can use two circulars or magic loop if it is your preferred method. Place a stitch marker to mark the beginning of the round. Work 12 rows of $_{2\times2}$ rib Start the twisted stitch pattern in chart starting from the bottom right of the chart and always working from right to left. This pattern will also be repeated 9 times around the work. Work the rest of the chart and continue in this pattern until the work measures $8"$ $\cdot20\,{\mathsf{c m}}\,,$ from the beginning.
Work the heel flap:
Knit 18 st then turn your work purl 36 st. Place the remaining 36 st on stitch holders or waste yarn and continue on the 36 stitches that have just been Row 1: Slip 1, k1 across the 36 stitches Row 2: Sl 1 purl 35 Row 1: K 23 stitches across the heel, ssk, turn work.
Repeat these two rows 16 more times. Turn the Heel: Row 3: Sl 1, knit to within 1 stitch of the gap, ssk, turn work. Row 2: Sl 1 P 10, P2tog, turn work. Row 4: Sl 1, purl to within 1 stitch of the gap P2tog,turn work Repeat rows 3 and 4 until all the heel stitches have been worked ending the last repeat with just an ssk and a p2tog. There are 12 heel stitches left.
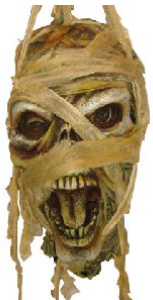
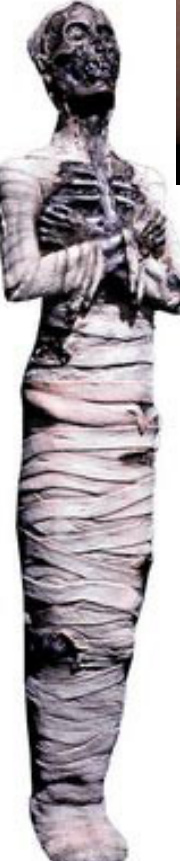
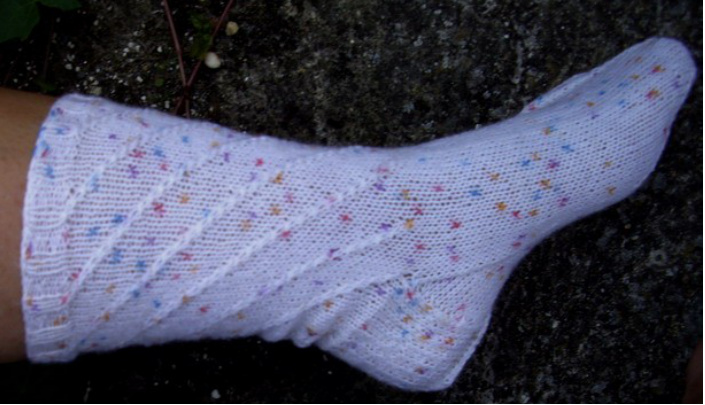
These socks were designed to mimic the bandages wrapped around a mummy. To be authentic I suppose they should be a dirty white, but if you fancy a mummy in brightly coloured variegated wrapping why not! It's your mummy after al!. If you were a real mummy both feet would be bound together (which would make walking rather difficult) in case you would prefer to have each foot bound in a different direction I have included charts that spiral in both directions.
Heel Gussets:
Knit across the 12 stitches and then pick up 17 stitches down the side of the heel flap. Knit across the 36 stitches of the top of the sock and then pick up a further 17 stitches up the other side of the heel flap. Organise the stitches from the heel and the gusset so that you have 23 stitches on each of 2dpn's while keeping the 36 stitches from the top of the sock on another 2dpn's (18 on each). Round 1: work to within 3 stitches of the 1st needle of the round (containing 23 stitches), K2tog, K1. Work the two instep needles, K1, ssk, at the beginning of the $4^{\mathrm{th}}$ needle work to the end Round 2: knit the entire round. Repeat these two rounds until there are only 16 stitches left on the two gusset needles (68 stitches in all)
This decrease is necessary because the travelling stitch pattern on the cuff draws the knitting in and if you were to keep the same number stitches the foot would be rather baggy. Once the decreases have been completed continue to work the rounds in stocking stitch until the foot measures 2 inches less than your desired finished length.
Shaping the Toe:
Re arrange the stitches so that there are 17 stitches on each needle by slipping 1 stitch from needle 2 onto needle 1 and 1 stitch from needle 3 to needle 4.

Round 1: Knit to within 3 stitches of needle 1 K2tog, K1, K1 ssk at the beginning of needle 2, knit to the end of the needle. Repeat over needles 3 and 4. Round 2: Knit the entire round without decreases. Repeat these two rounds until you have 5 stitches left on each needle (20 stitches in all) Kitchener the remaining stitches to close the toe. Repeat the instructions above to knit a second sock, using the second part of the chart if you wish the second sock to spiral in the opposite direction. C2B: slip next stitch onto a cable needle and hold it to the back of the work. Knit the next stitch from the left hand needle then knit the stitch held on the cable needle. C2F: slip next stitch onto a cable needle and hold it at the front of the work. Knit the next stitch from the left hand needle then knit the stitch held on the cable needle. Block socks and sew in any ends.


