Celo Scarf
A lengthwise knit scarf with dropped stitches and a bit of a curve. My house rests in the shadow of Celo Knob, the northern most peak of the Black Mountain Range in Western North Carolina. Even on the warmest days of winter there is often frost on top reminding me to take a scarf!
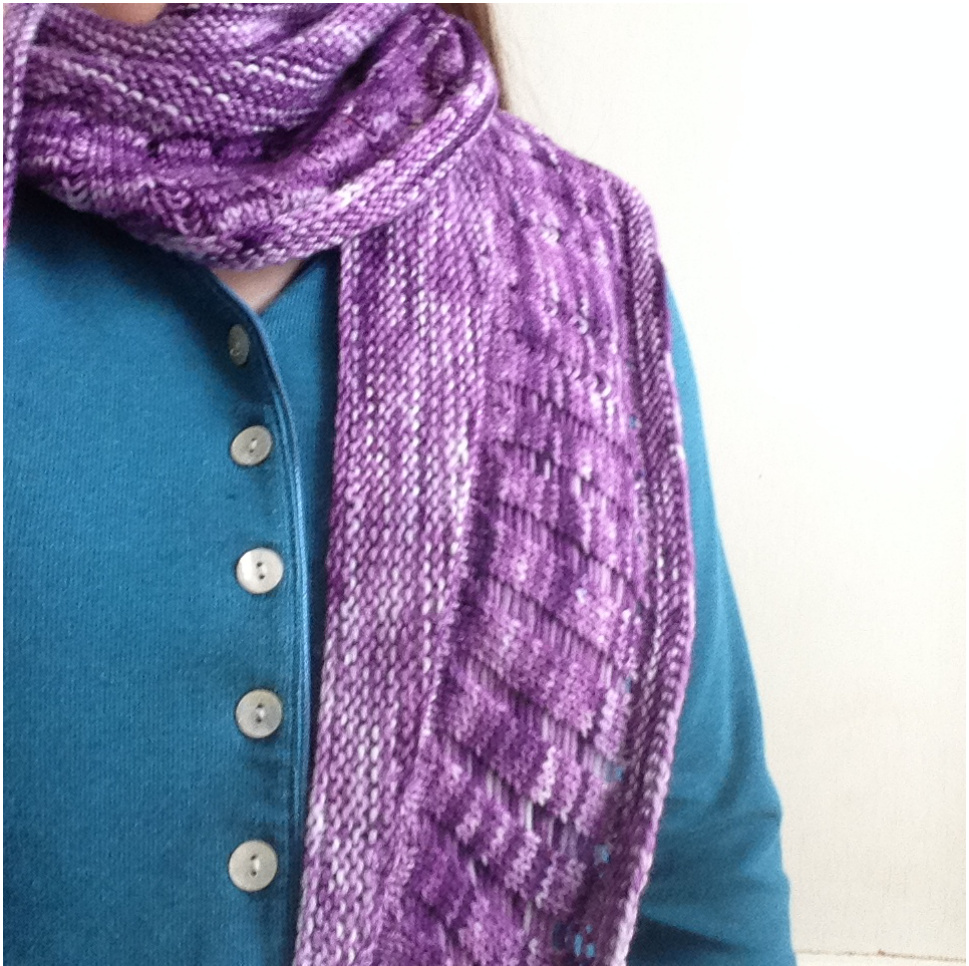
Approximate size:
72" long and 8" at widest point
Materials:
One skein fingering weight yarn 450 yds Size 5 circular needles 32" or longer 2 Stitch Markers (optional)
Gauge:
18 stitches over 4" in garter stitch after blocking Cast on 359 stitches loosely. I used the Long Tail Cast on, but be sure to leave plenty of room between the stitches. Knit 7 rows garter. Next row: K 5, \*K 3, K 2 tog, YO, Repeat from \* until 9 stitches remain, K 9. Row A: K 5, P to last 5, K 5. (like a stitch marker separating the first and last 5 stitches from the body to help me remember to keep the edges in garter) Row B: Knit across Repeat Rows A and B until your scarf measures 3 inches ending with an A row. Next Row: K 5, \* K 4, drop next stitch, allow it to ladder down to the YO, then pick up the top ladder from back to front and knit into the front, twisting the ladder, Repeat from \* until 9 stitches remain, K 9. (Check to be sure you are dropping the stitch that corresponds with the YO at the bottom.) Repeat Row A one more time, increasing one stitch along the way for a total of 360. Short RowShaping: K 185 stitches, turn. (See note below for details short rows) Slip 1, K 9, turn. Slip 1, K to one stitch before last turn gap, K 2 tog, K4, turn. Repeat the last row until all the stitches havebeen worked. If you have yarn left over you might want to continue in garter until your yarn or energy run out. Bind off loosely. (I recommend Jeny's Surprisingly Stretchy Bind Off) Note on Short Rows: After turning your work, move your yarn to the back to prepare to knit, then slip the first stitch purlwise without twisting it. There will be a gap left where you have turned. On the next row the K 2 tog will take one stitch from each side of the gap, closing it up.


