GHOSTIECAKE
An amigurumi pattern by Annette M. Russell of Soft Like Kittens http://www.softlikekittens.com
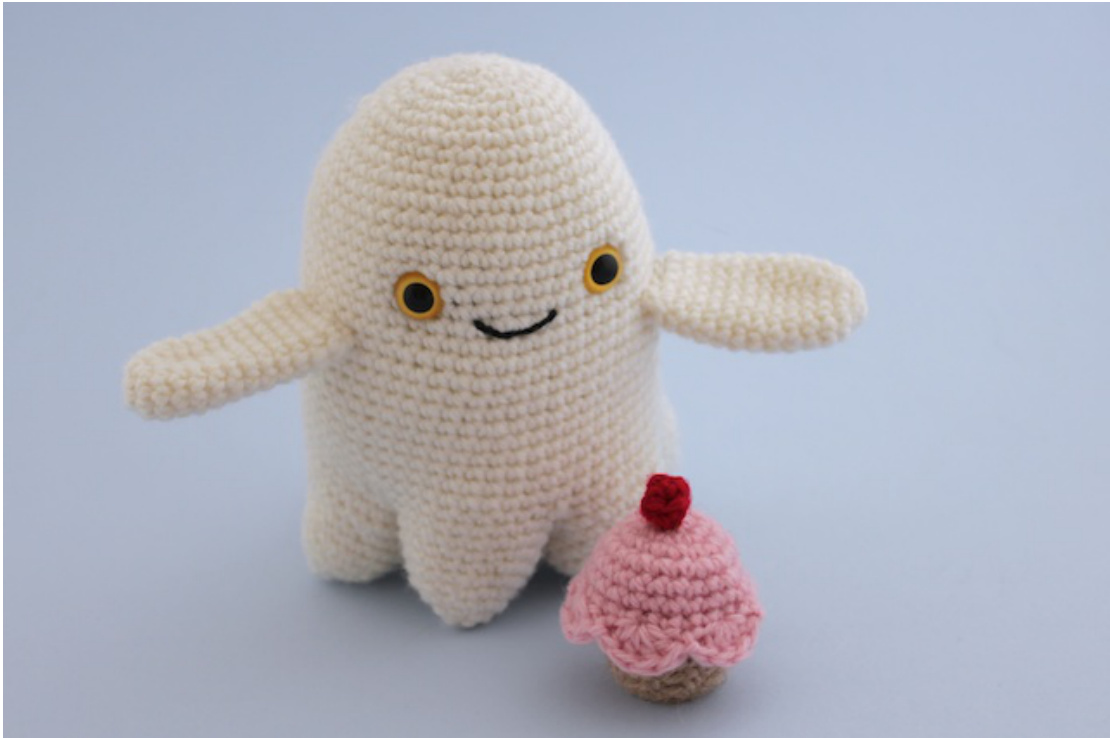
Finished size: 16cm (6.5") tall, and rather plump!
STITCHESANDTECHNIQUES
This pattern is written at "advanced beginner" level, and assumes knowledge of the following amigurumi stitches: · magic ring · chain stitch (ch) · slip stitch (slst) · single crochet (sc) · single crochet increase (sc 2) Work two sc stitches into the same stitch. · single crochet invisible decrease (scdec) Insert the hook through the front loop of one stitch, then the front loop of the next stitch. Yarn over, draw through two loops on the hook. Yarn over again, draw through two remaining loops on the hook. · double crochet (dc) It is written using American terminology. For British crocheters, sc = your double crochet, hdc = your half-treble crochet, and dc = your treble crochet.
MATERIALS AND TOOLS
· Main colour worsted weight yarn, 140m / 153yd for ghost body, shown in white · Contrast colour 1 (CC1) worsted weight yarn, 10m / 11yd for cupcake base, shown in tan Contrast colour 2 (CC2) worsted weight yarn, 10m / 11yd for cupcake icing, shown in pink Contrast colour 3 (CC3) worsted weight yarn, scrap for cupcake cherry, shown in red · 4.0mm/US6 crochet hook (or size to achieve firm fabric without holes) · Embroidery needles to suit your yarn, perle cotton and mending thread · 2 crochet stitch markers or safety pins · DMC perle cotton, shade #310 black · Transparent mending thread (optional) · Pair of 12mm plastic safety eyes ·Stuffing This pattern can also be made using a DK weight yarn and a 3.5mm hook.
ARMS (make 2)
Use main colour yarn. Work in a spiral, do not join rounds. You may find it useful to use a stitch marker to keep track of the start of each round. The arms are made as tubes which are then sewn on flat. Round 1: sc 6 into magic ring [6 st] Round 2: sc 2 in each stitch [12 st] Round 3: \*sc 2, sc in next five stitches\* repeat 2 times [14 st] Rounds 4-12: sc in each stitch [14 st] Finish off.
BODY
Use main colour yarn. Work in a spiral, do not join rounds. Round 1: sc 6 into magic ring [6 st] Round 2: sc 2 in each stitch [12 st] Round 3: \*sc 1, sc 2 in next stitch\* repeat 6 times [18 st] Round 4: \*sc 2, sc 1in next 2 stitches\* repeat 6 times [24 st] Round 5: \*sc 1 in next 2 stitches, sc 2 in next stitch, sc 1 in next stitch\* repeat 6 times [30 st] Round 6: \*sc 2, sc 1 in next 4 stitches\* repeat 6 times [36 st] Round 7: sc in each stitch [36 st] Round 8: \*sc 2, sc 1 in next 8 stitches\* repeat 4 times [40 st] Round 9: sc in each stitch [40 st] Round 10: \*sc 1 in next 3 stitches, sc 2, sc 1 in next 6 stitches\* repeat 4 times [44 st] Round 11: \*sc 1in next 7 stitches, sc 2, sc 1 in next 3 stitches\* repeat 4 times [48 st] Round 12: \*sc 2, sc 1 in next 11 stitches\* repeat 4 times [52 st] Rounds 13-17: sc in each stitch [52 st] Round 18: \*sc 2, sc 1in next 12 stitches\* repeat 4 times [56 st] Rounds 19-23: sc in each stitch [56 st] Round 24: \*sc 2, sc 1 in next 13 stitches\* repeat 4 times [60 st] Rounds 25-29: sc in each stitch [60 st] Do not break yarn.
ASSEMBLE THEBODY
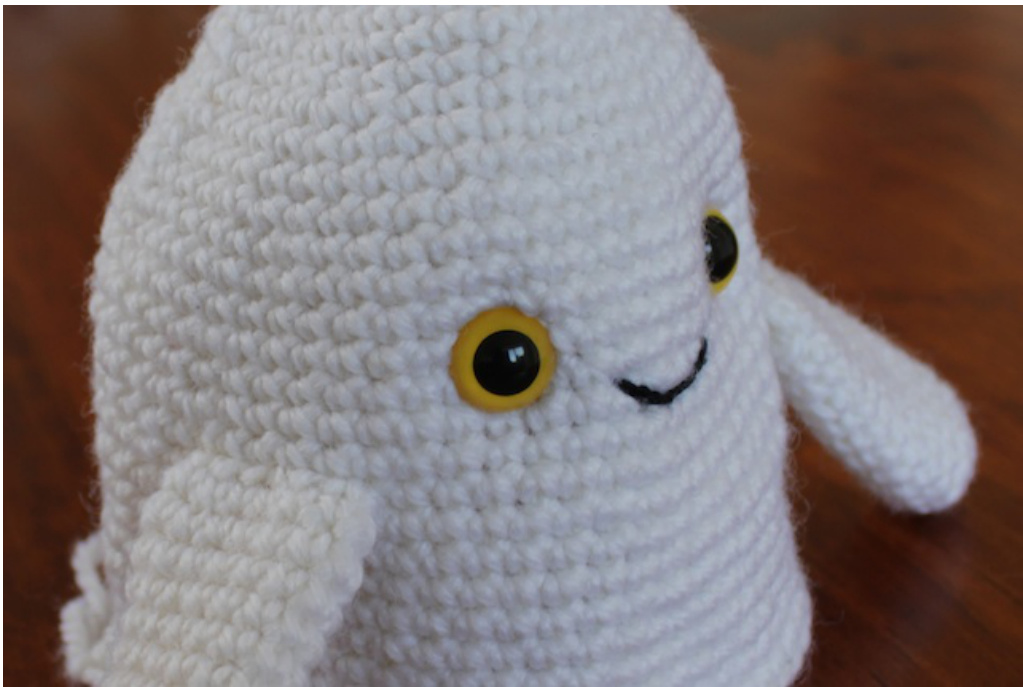
The body must be assembled before the lower body-bumps are crocheted so you have access to the inside of the ghost. The body-bump position is fixed because they are crocheted following directly on from the body stitches. If you are concerned about how the face will line up with the bumps, count 25 stitches around from your last body stitch - this willbe the center of one of the bumps. Now you can position your features accordingly. In the example photographed I did not count these stitches, so the bumps are not aligned with the face. It is personal preference whether this concerns you or not! Embroider the mouth four stitches wide and one stitch high, positioned 16 rows from the top of the ghost. (I like to use couching, but you may prefer slip stitch, chain stitch, or another embroidery technique.) Then add the safety eyes, positioned so the bottom of the eye is level with the top of the mouth, and there are two stitches space between the mouth and inner edge of the eye:
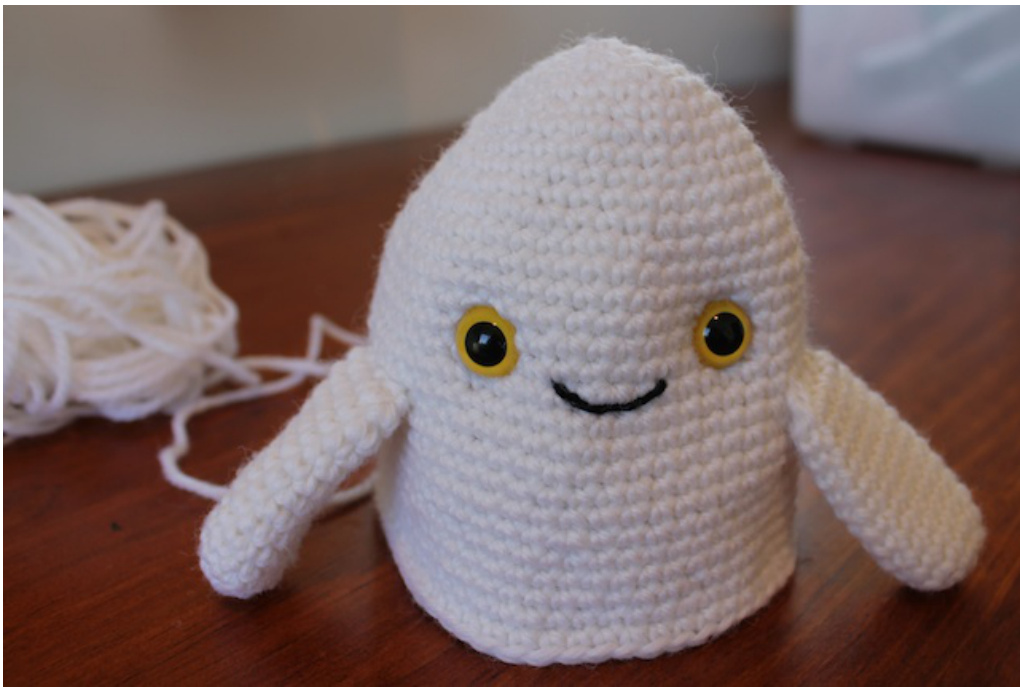
Flatten the arms (which are not stuffed) and sew them to the body, laying the upper edge horizontally 18 rows from the top of the ghost, with two stitches space between the arm and the outer edge of the eye:
LOWER BODY-BUMPS
Six cone shaped bumps are created on the bottom of the body. Use main colour yarn, following directly on from body for the first bump. New yarn will be joined for the other bumps. Work each bump in a spiral, do not join rounds.
FIRST BUMP:
Mark the last stitch of the body with a stitch marker or safety pin (referred to as M2). Count back nine stitches and mark with another marker (referred to as M1). This shows the first and last of the ten body stitches the bump will attach to:
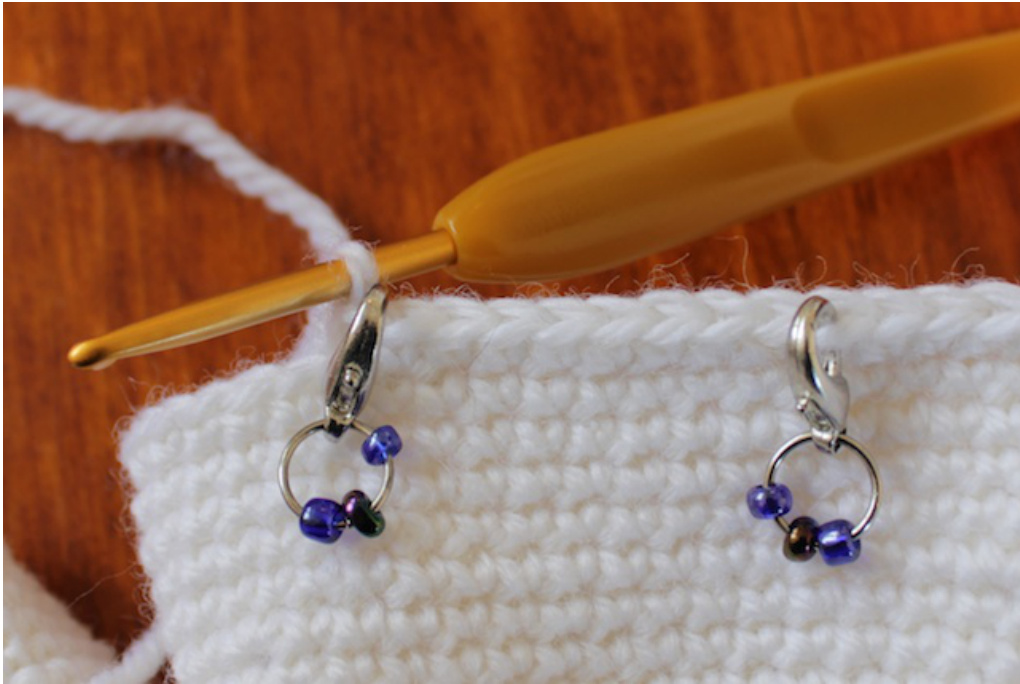
Markers M1 and M2 in place. Round 1: chain 18 stitches [28 st, including the 10 marked as above] Round 2: sc in each stitch starting with M1, continuing across the body to M2, then across the chained stitches [28 st] Round 3: sc in each stitch [28 st] Round 4: \*scdec, sc 1 in next 2 stitches\* repeat 7 times [21 st] Round 5-6: sc in each stitch [21 st] Round 7: \*scdec, sc 1 in next stitch\* repeat 7 times [14 st] Round 8: sc in each stitch [14 st] Round 9: scdec 7 times [7 st]
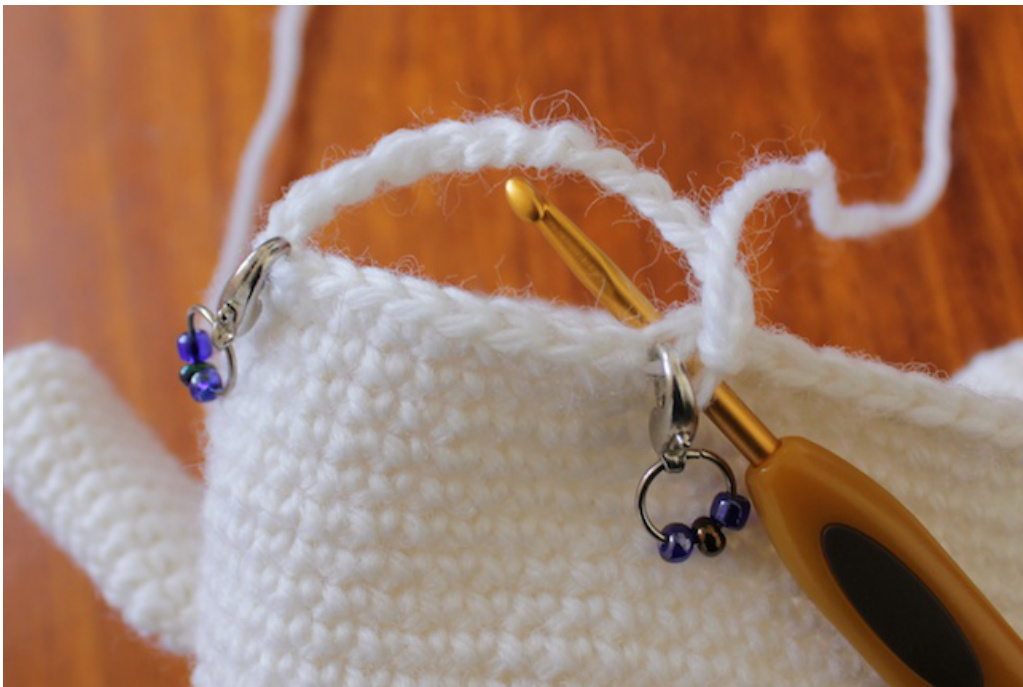
After round 1, about to make the first stitch of round 2 at marker M1. Break yarn leaving a 10cm/4" tail, yarn over, and draw through loop on the hook. Thread the tail through each of the last 7 stitches in turn, and pull to close. Weave in thelooseend.
SECONDTHROUGHFIFTHBUMPS:
Remove marker M2 and place it again one stitch to the right of M1 on the body piece. Remove marker M1, count back nine stitches from M2, and place M1 again. This shows the ten body stitches the bump will attach to. Join new yarn at M1. Round 1: sc in each stitch from M1 to M2, then in the first 9 stitches of the previous bump, then chain 9 stitches [28 st] Round 2: sc in each stitch starting with M1 [28 st] Round 3: sc in each stitch [28 st] Round 4: \*scdec, sc 1 in next 2 stitches\* repeat 7 times [21 st] Round 5-6: sc in each stitch [21 st] Round 7: \*scdec, sc 1 in next stitch\* repeat 7 times [14 st] Round 8: sc in each stitch [14 st] Round 9: scdec 7 times [7 st] Break yarn leaving a 10cm/4" tail, yarn over, and draw through loop on the hook. Thread the tail through each of the last 7 stitches in turn, and pull to close. Weave in thelooseend.
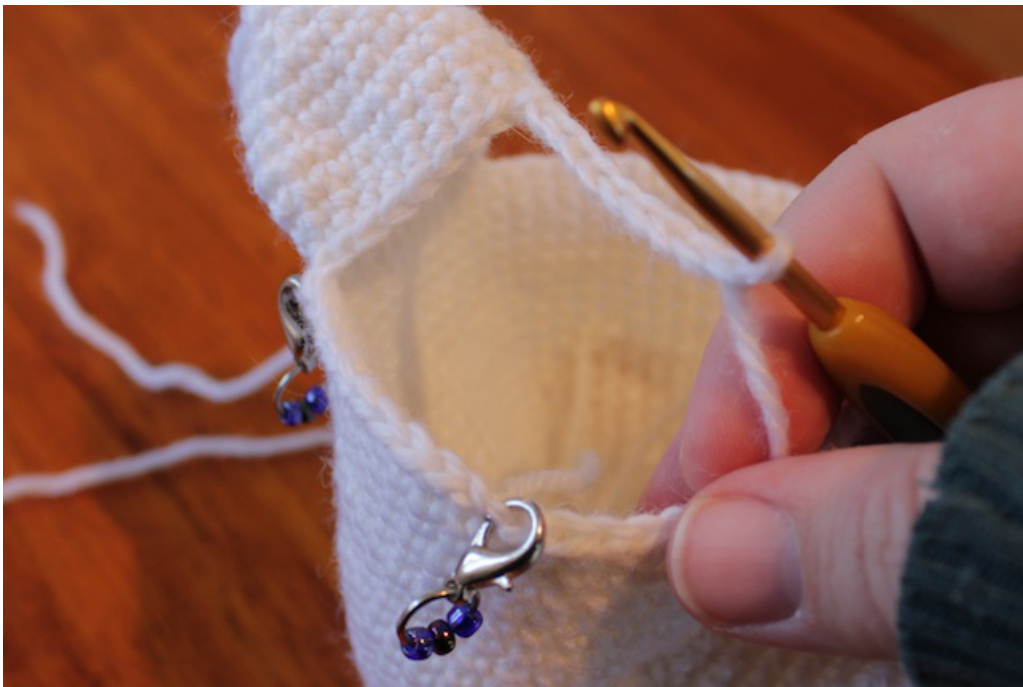
The second bump after round 1, note new positions of markers M1 and M2.
SIXTH BUMP:
Remove marker M2 and place it again one stitch to the right of M1 on the body piece. Remove marker M1, count back nine stitches from M2, and place M1 again. This shows the ten body stitches the bump will attach to - which will be the last ten stitches of the body before the first bump. Join new yarn at M1. Round 1: sc in each stitch from M1 to M2, then in the first 9 stitches of the fifth bump, then in the 9 free stitches of the first bump [28 st] Round 2: sc in each stitch starting with M1 [28 st] Round 3: sc in each stitch [28 st] Pause at this point to stuff your ghost. Make sure you work stuffing into the five bumps already worked - these need to be packed firmly so they won't collapse under the weight of the ghost. Crocheting from this point on will be awkward. Hang in there, only a tiny bit to go! Round 4: \*scdec, sc 1in next 2 stitches\* repeat 7 times [21 st] Round 5-6: sc in each stitch [21 st] Round 7: \*scdec, sc 1 in next stitch\* repeat 7 times [14 st] Round 8: sc in each stitch [14 st] ause again and add any additional stuffing necessary into the final bump. Break yarn leaving a 10cm/4" tail, yarn over, and draw through loop on the hook. Thread the tail through each of the last 7 stitches in turn, and pull to close. Weave in thelooseend. You will probably find you have a small round hole in the middle of the bumps. Thread a piece of yarn on your needle and run it through the stitches at the edge of the hole, pulling to close and secure:
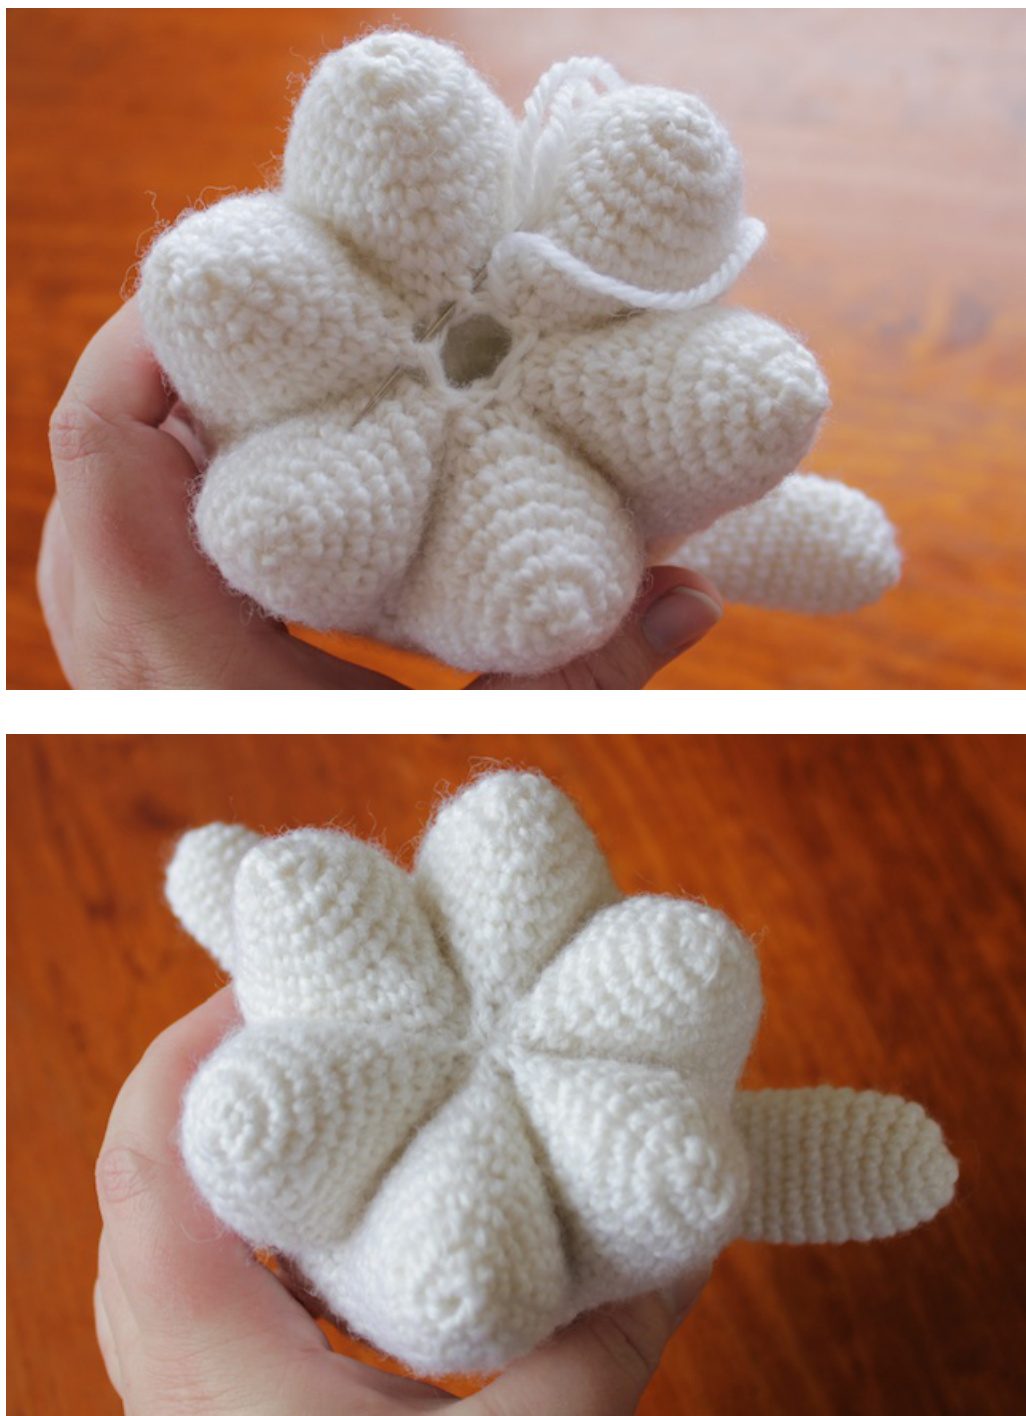
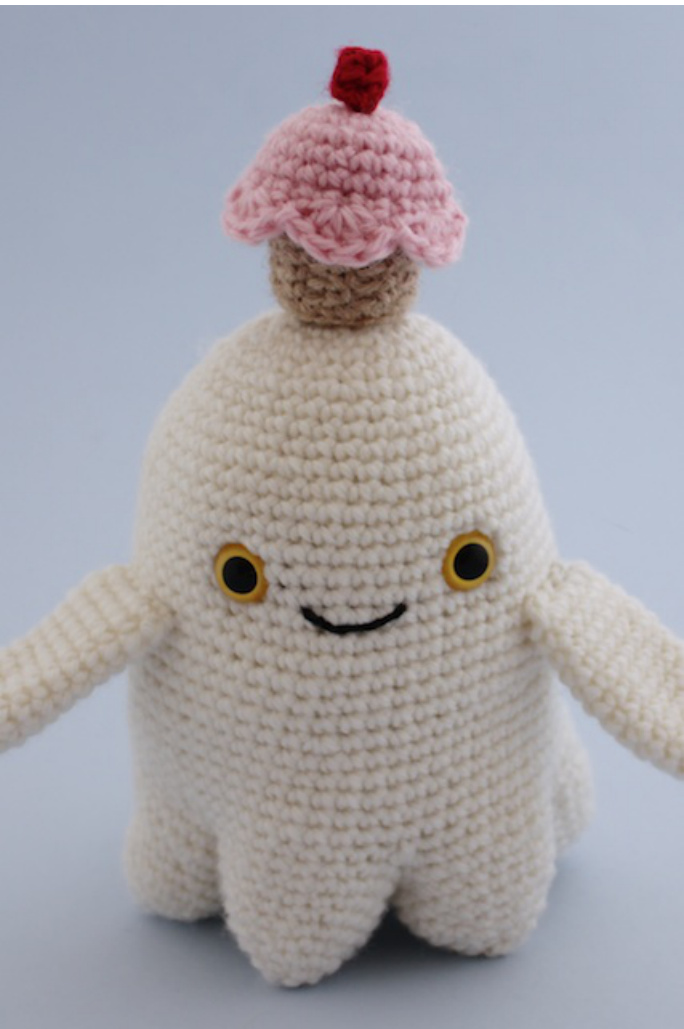
The ghost is finished!
CUPCAKE BASE
Use CC1 yarn. Work in a spiral, do not join rounds. Round 1: sc 6 into magic ring [6 st] Round 2: sc 2 in each stitch [12 st] Round 3: \*sc 1, sc 2 in next stitch\* repeat 6 times [18 st] Round 4: sc into the back loop of each stitch [18 st] Rounds 5-8: \*sc 1, sc into the back loop of next stitch\* repeat 9 times [18 st] Round 9: \*sc 2, sc 1in next two stitches\* repeat 6 times [24 st] Finish off.
CUPCAKE TOP
Use CC2 yarn. Work in a spiral, do not join rounds. Round 1: sc 6 into magic ring [6 st] Round 2: sc 2 in each stitch [12 st] Round 3: \*sc 1, sc 2 in next stitch\* repeat 6 times [18 st] Round 4: \*sc 2, sc 1in next two stitches\* repeat 6 times [24 st] Rounds 5-6: sc in each stitch [24 st] Round 7: sc into the front loop of each stitch [24 st] Make slip stitches in the next two stitches before starting round 8. Round 8: \*skip one stitch, 4 dc in next stitch, skip one stitch, slip stitch in next stitch\* repeat 6 times [6 scallops] Finish off.
CHERRY
Use CC3 yarn. Work in a spiral, do not join rounds. Finish off, using the yarn tail to draw in the bottom of the cherry and make a round ball.
CUPCAKE ASSEMBLY
Sew the cherry to the very centre of the cupcake top. Begin to stitch the top round of the cupcake base to the back loops of round 7 inside the cupcake top. When you have sewn three quarters of the way around, stop and stuff the cupcake. Make it plump but not too firmly packed - the lighter it is, the easier it will be to. pose on the ghost's arms. Finish sewing and weave in any remaining loose ends. Now, have fun posing your ghostiecake!
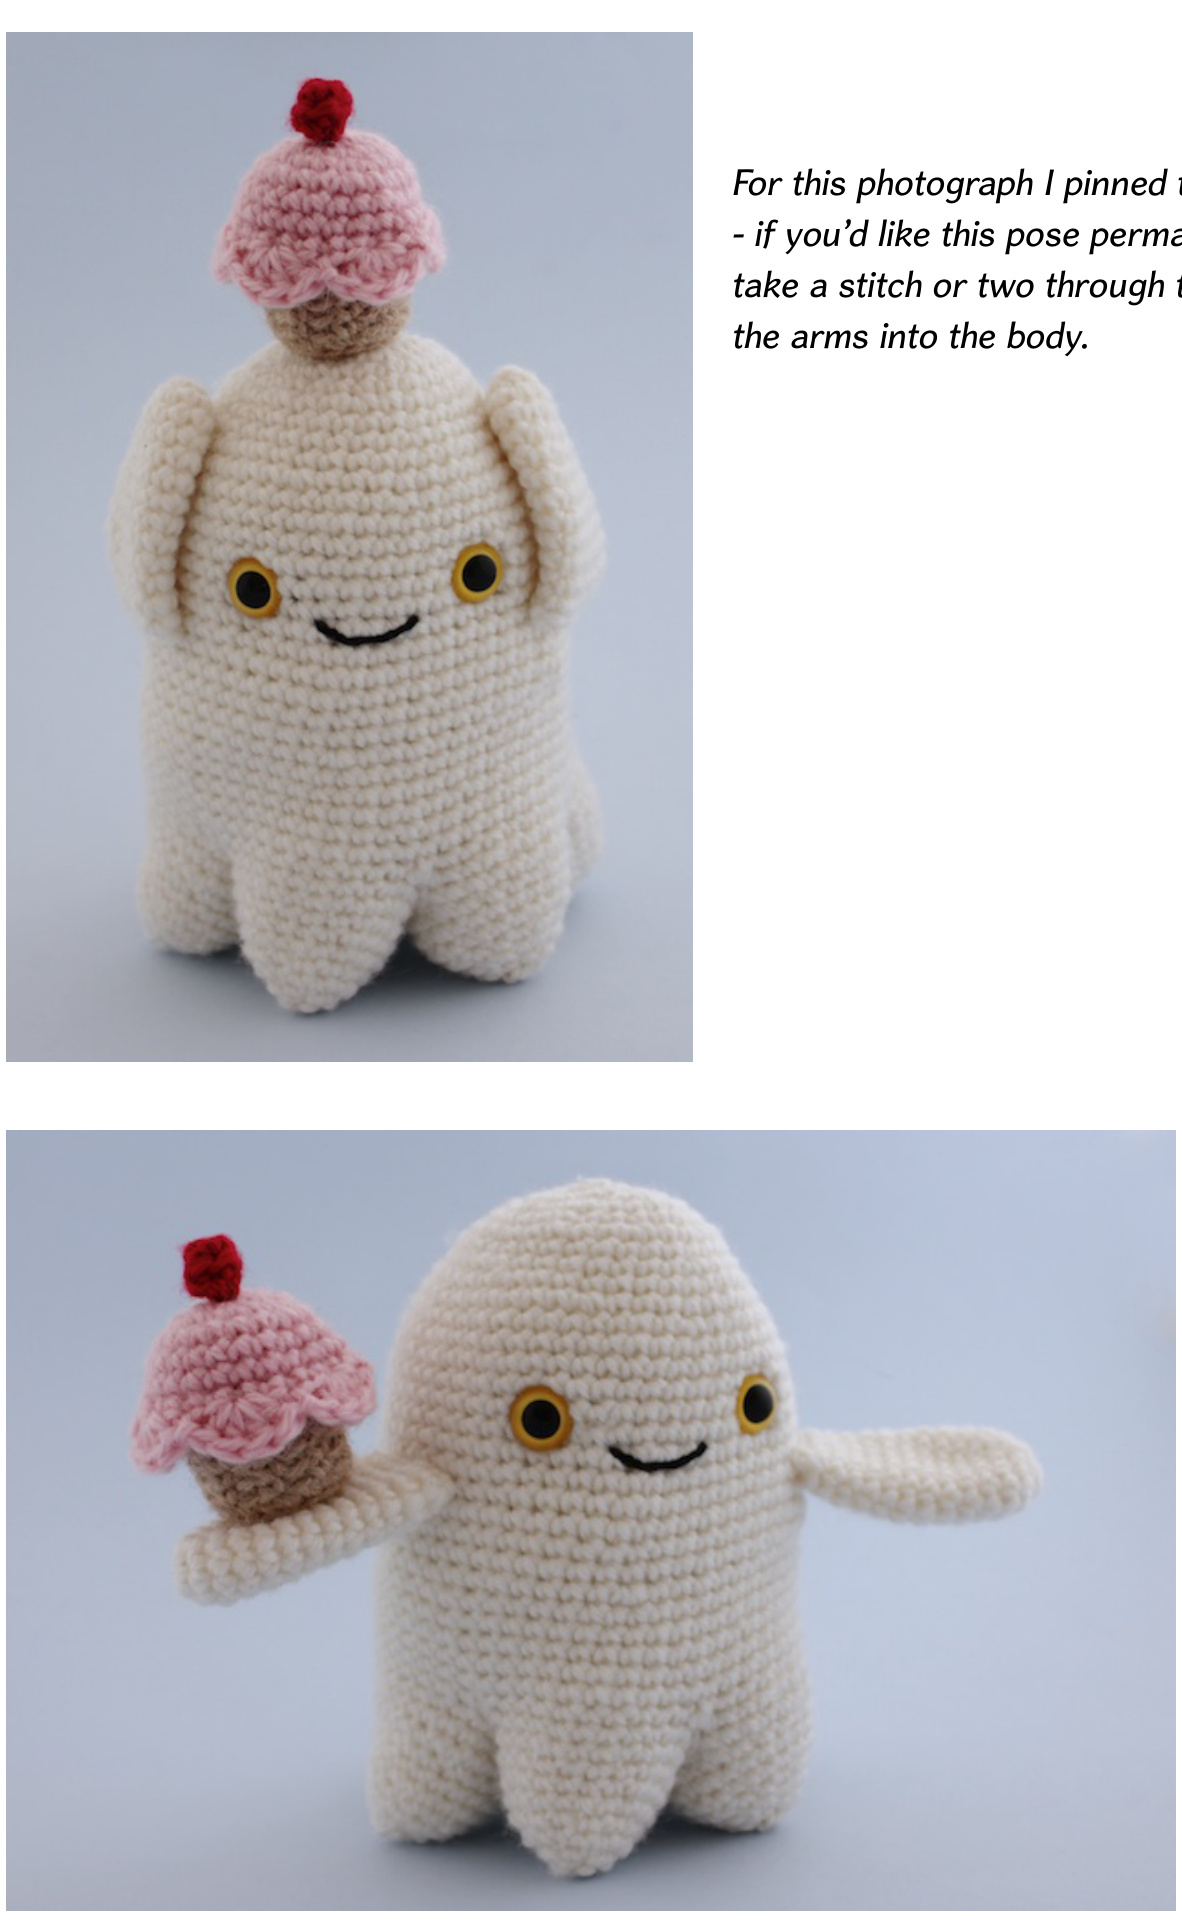
With care, you should be able to make the cupcake balance on the ghost's arm. If the arm won't stay up try sewing it a little more tightly to the body.
COPYRIGHTINFORMATION
This pattern is sold for the use of one individual, the purchaser. You are welcome to make digital back-ups or printed copies for your own use, but may not distribute the pattern to anyone else. When your ghost is admired, please direct the interested person to http://www.softlikekittens.com! Ghostiecakes created from this pattern may be sold as at they are handmade (not mass produced), have a tag attached giving pattern credit to Annette M. Russell, and also link to http://www.softlikekittens.com in the item description if sold online.


