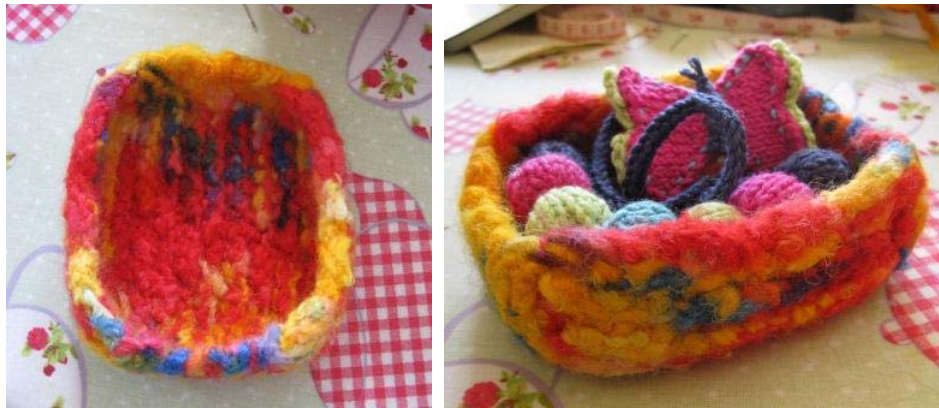
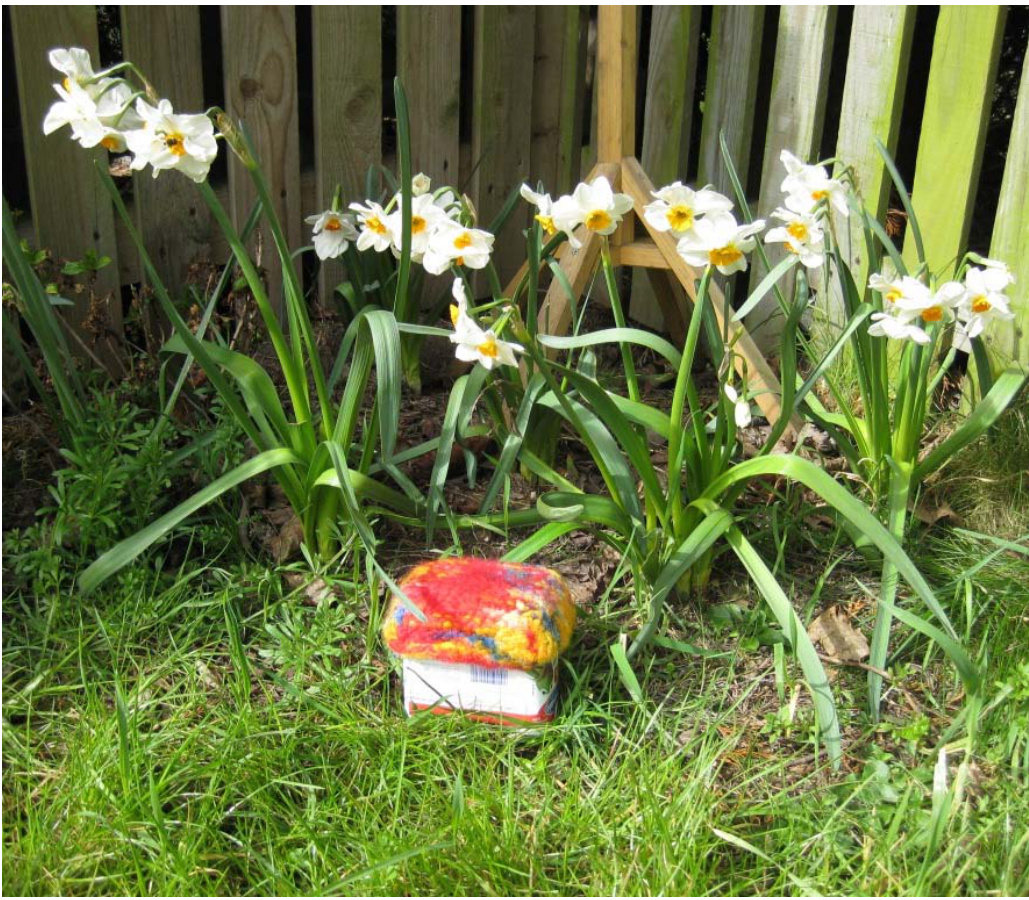
Point 5 hand felted Trinket Box
Part 1 - Knitting Instructions
Yarn: Colinette Point 5 (about 1/4 hank) Needles: 8 mm Cast on 12 sts, knit 8 rows, cast on 4 sts at the start of next row, k to end, cast on 4 sts at start of next row, k to end, knit 16 rows, cast off 4 sts at start of next row k to end, cast off 4 sts at start of next row k to end, knit 8 rows, bind off. You get a bobbly uneven kind of cross shape
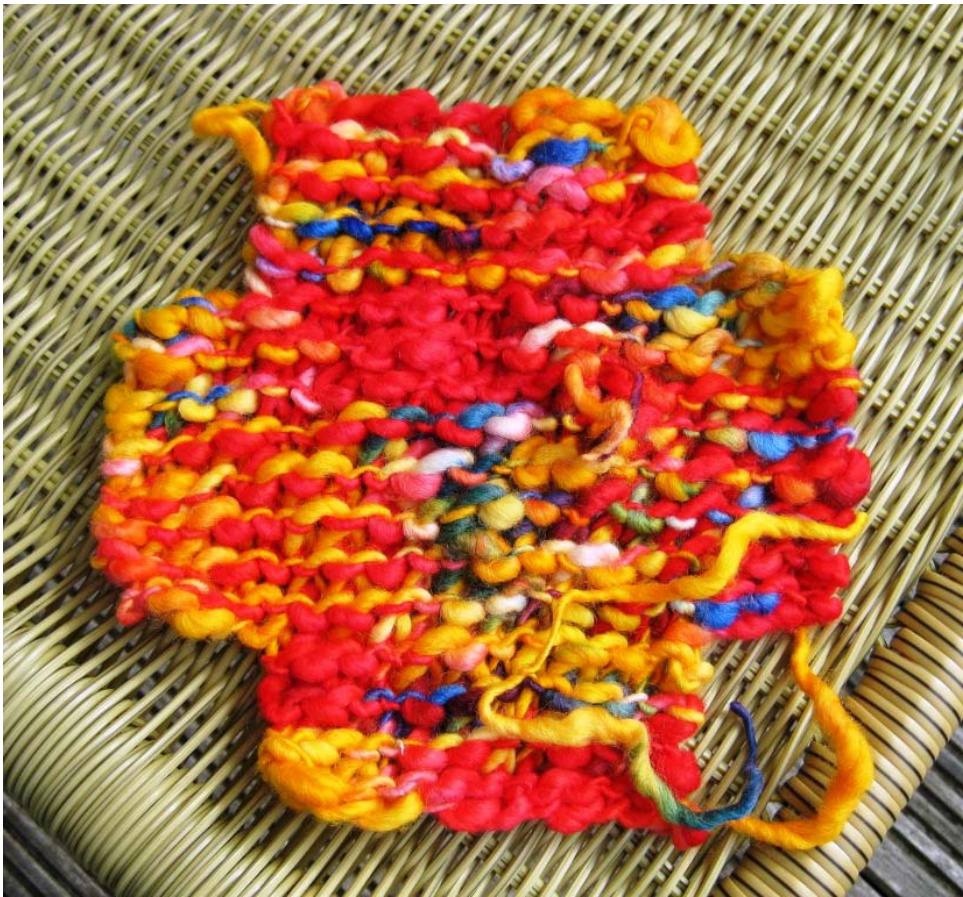
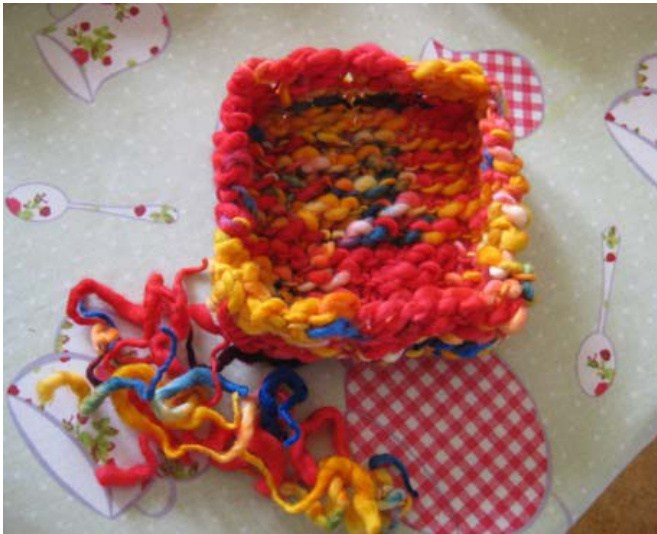
Sew the short sides together with the same yarn. Best to do this with a crochet hook. Weave in the ends and snip off. EllenKapusniak2012 For my hand-knitted gift shop, more knitting patterns and knitting blog please visit: www.knittipoliti.com Now it's a floppy box
Part 2 - Felting Instructions
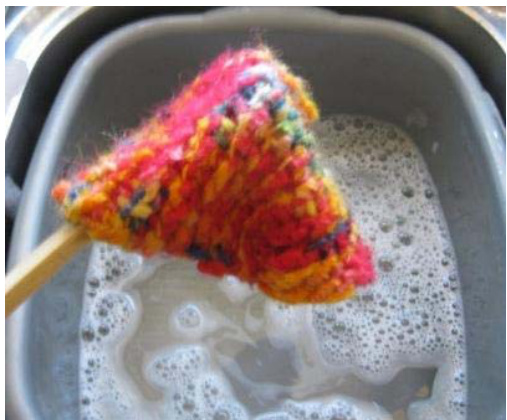
You need: hot water from the kettle, dishwashing detergent, wooden spoon. Add a little detergent to hot water, put your box in and agitate for while with the wooden spoon to felt. Don't pour the water straight from the kettle, let it cool a bit first or your colours will run a lot. when the water gets cool enough for your hands, dive in and do a bit of hand rubbing and squeezing to help things along. Finish up by rinsing in cold water to shock the fabric and squidging the water out either with your hands or between towels (do not wring!).
EllenKapusniak2012 For my hand-knitted gift shop, more knitting patterns and knitting blog please visit: www.knittipoliti.com Leave to dry thoroughly, formed over something to help shape it, I used the bottom of a plastic milk carton
Part 3 - Finishing and stiffening instructions
Run a doubled-up sewing thread inside the felt around the edge to stabilise it better and strengthen the rim.

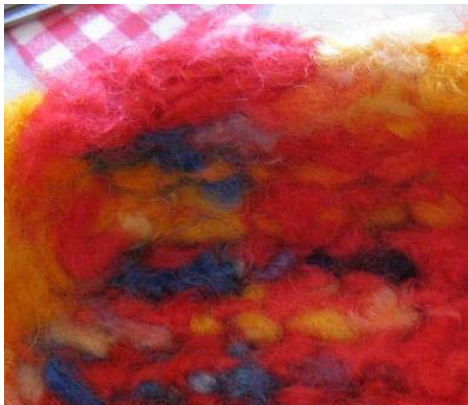
Just make sure the needle enters and exits the felt from right inside it and not on the surface as you stitch along. When putting the needle into the felt on a new stitch put it as close as possible to where your EllenKapusniak2012 For my hand-knitted gift shop, more knitting patterns and knitting blog please visit: www.knittipoliti.com needle last exited. Tighten up when you've gone all the way around. Thread the ends into the felt, pull up and snip off as close as possible to the felt. The thread will disappear inside so it won't be seen. Next, treat the felted box with a stiffening agent - please don't be scared of this, it works! If you're worried, do a spot test on a less visible area first to check. Use some wood glue (the white PVA kind) you really don't need to buy expensive fabric treatments. Make sure it specifies that it dries clear that's all. Mix up a solution of about 1 part glue to 2 parts water. You get a milky sticky mixture. Brush this all over your box.
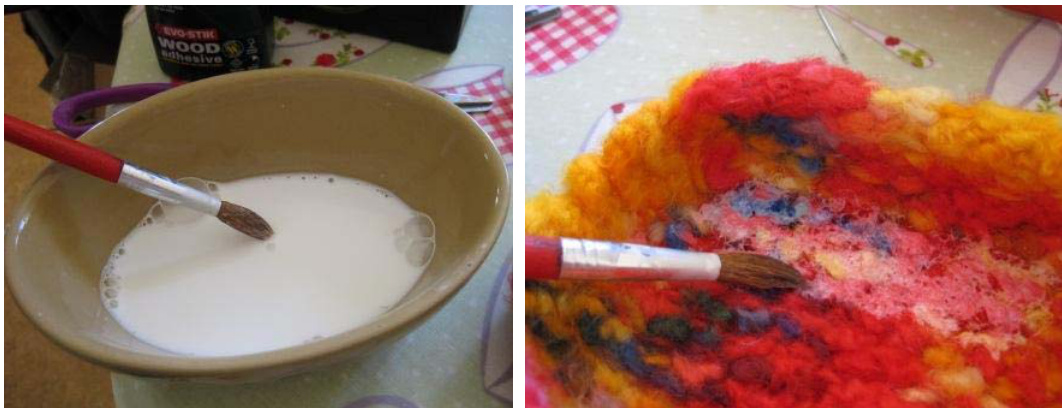
It soaks right down into the fibres and dries clear as shown below don'tworry!
Make sure you use a good quality paintbrush, you don't want one that will shed all its bristles into your felt! If you want your box really very stiff with little flexibility then use a solution of equal parts water and glue. EllenKapusniak2012 For my hand-knitted gift shop, more knitting patterns and knitting blog please visit: www.knittipoliti.com Leave over your mould again until completely dry. Your box is all firmed up and ready to be filled!