Mr. RainboW by xKnittiPoliti
Yarn/notions
Yarn
Scrap amounts of DK weight yarn in red, orange, yellow, green, blue, dark blue, purple and white.
Needles
3 mm (US size 2). Tapestry needle for sewing up. 4 mm crochet hook (size G) (optional).
Gauge
26 sts and 32 rows to 10 x 10 cm (4 x 4 inches)
Notions
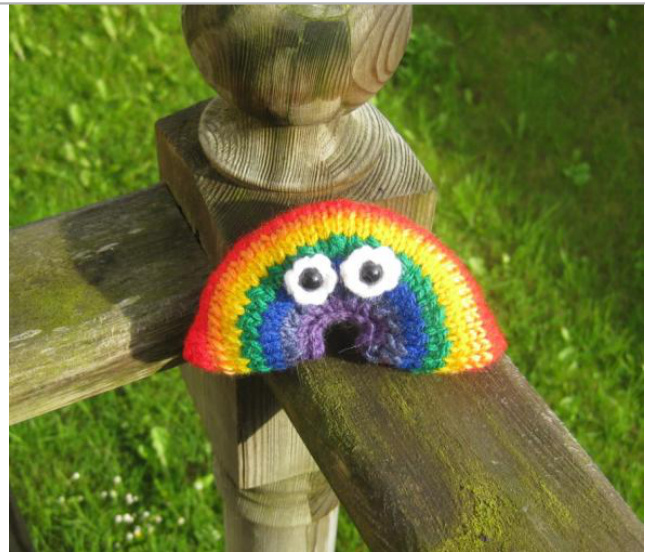
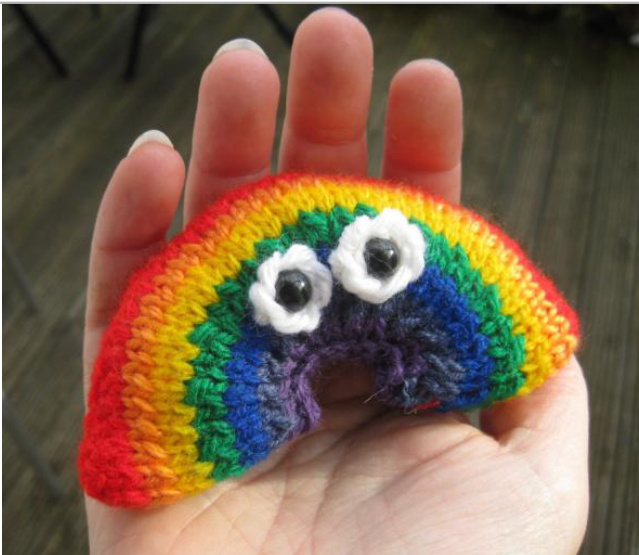
Small black toy safety eyes (optional, you can use buttons, googly eyes, felt etc. to make the eyes) Polyester toy filling for stuffing Size: 10 cm (4 inches) wide, 6 cm (2 1/4 inches tall). Mr. Rainbow is a little softie rainbow with cute crochet eyes (optional). Designed to brighten up your day! The pattern is worked flat in two pieces and seamed to assemble. Mr. Rainbow is approximately 10cm wide and 6cm high

Abbreviations
k: knit p: purl k2tog: knit 2 together p2tog: purl 2 together dc: double crochet (UK) (single US) bind off: cast off (UK)
Instructions

Tip for Success: Mr. Rainbow needs a firm cast on and bind off to help maintain the shape. I use the cable cast on, and a regular basic chain (stitch over stitch) bind off.
Body (make 2)
Using 3 mm needles, cast on 39 sts in red. Row 1: knit to end. Row 2: purl to end. Change to orange Row 3: knit to end. Row 4: purl to end. Change to yellow Row 5: knit to end. Row 6: purl to end. Change to green Row 7: knit to end. Row 8: \*p1, p2tog, repeat form \* to end of row. (26 sts) Change to blue Row 9: knit to end. Row 1o: purl to end. Change to dark blue Row 11: knit to end. Row 12: purl to end. Change to purple Row 13: k2tog to end of row. (13 sts) Row 14: purl to end. Bind off in knit, and weave in or secure ends. Eyes Using a 4mm crochet hook and white yarn, chain 3, slip stitch into the chain farthest from the hook to make a ring, then make 6 dc (US sc) all into the farthest ring, fasten off. Position the crochet rings on one half of the right side of the rainbow where you want the eyes to go, put the black safety eyes through the holes in the rings and through the knitting and fasten them at the wrong side. Alternatively, attach the kind of eyes you have selected now. Copyright @ Ellen Kapusniak 2012 For pattern support email: ellen@knittipoliti.com
Making up
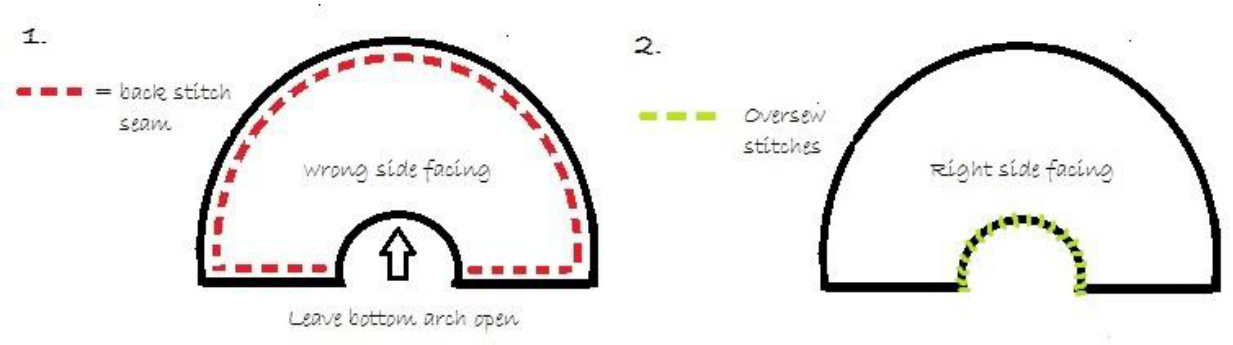
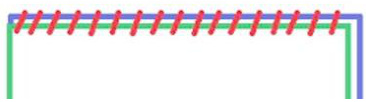
1. With right sides facing each other and wrong sides facing outwards, sew up the two halves of the rainbow at the top of the arch (the red part) and at the feet of the arch, where shown below, using a back stitch seam. Leave the small arch at the bottom (the purple part) open. 2. Turn right side out. Stuff with toy filling, then sew up the bottom arch with an oversew stitch, using purple yarn.
Sewing Techniques Used
Back Stitch
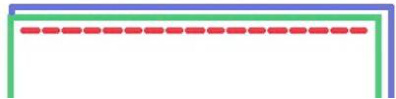
With work together and wrong sides facing outwards, insert needle through both layers from from front to back and pull through (start point). Make a small stitch, inserting needle from back to front and pull through. Reinsert the needle at the start point, from front to back and pull through. Continue making stitches in this way working into the start point of each stitch.
Oversew
With work together and right sides facing outwards, insert needle from back to front (start point). Pull through and bring yarn over the top of the two pieces. Insert needle from front to back, a small distance from the start point. Continue making stitches in this way.


