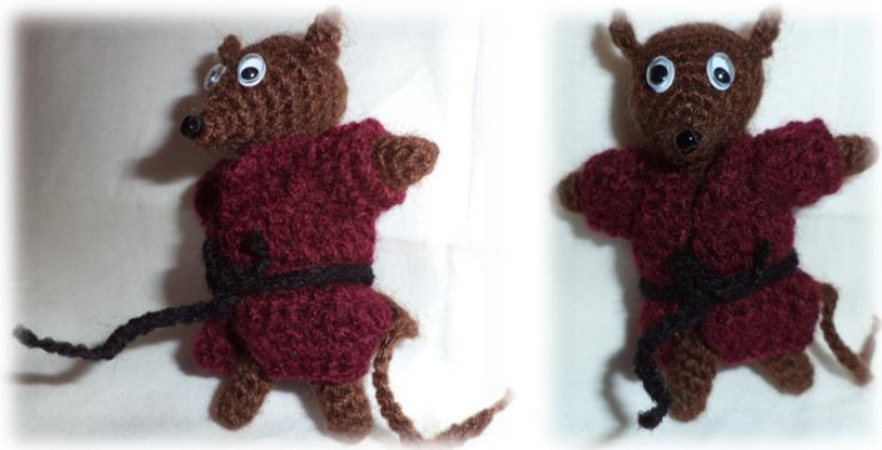
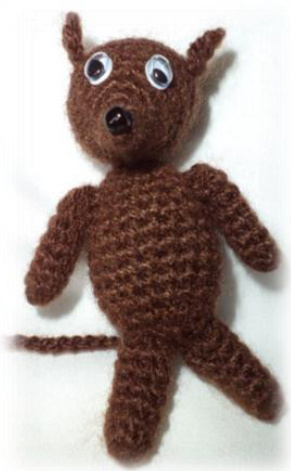
AMIGURUMI SPLINTER
After making the set of mutant turtles I wanted to make Splinter too, about the same size as the turtles. So here's the result.
if there's a mistake or something that doesn't quite work let me know so I can fix it
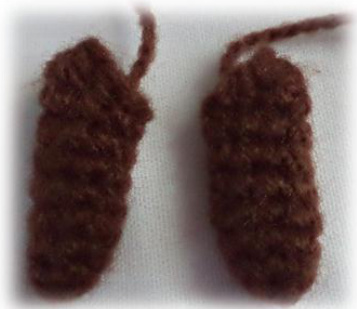
LEGS
(make 2) 1: st 4 in magic ring (4) 2: st 2 in each around (8) 3-7: st in each (8) Finish. Leave tail for sewing
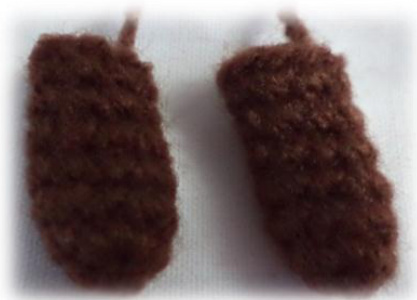
ARMS
(make 2, I used a smaller hook to make them slightly smaller than the legs) 1: st 4 in magic ring (4) 2: st 2 in each (8) 3-7: st in each (8) 8: hdc, dc, dc, hdc, st, sl st, finish. Leave tail for sewing
BODY
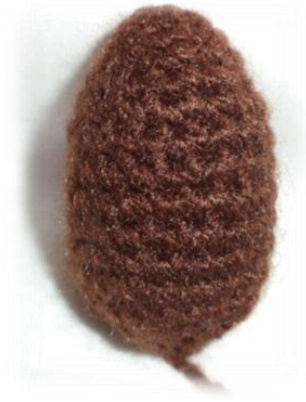
1: st 5 in magic ring (5) 2: st 2 in each (10) 3: st around (10) 4: (St in next, st 2 in next) around (15) 5: St around (15) 6: (St in next 2, st 2 in next) around (20) 7-13: st around (20) 14: (st in next 2, dec over next 2) around (15) 15: (St in next, dec over next 2) around (10). Stuff. 16: (Dec over next 2) around (5). Sl st, finish
EARS
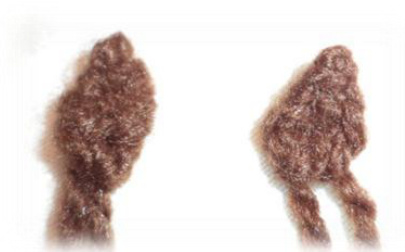
1: ch 3 2: dc in first st (2nd from hook) Thread the tail from the tip of the ear to the bottom to sew to the head
HEAD
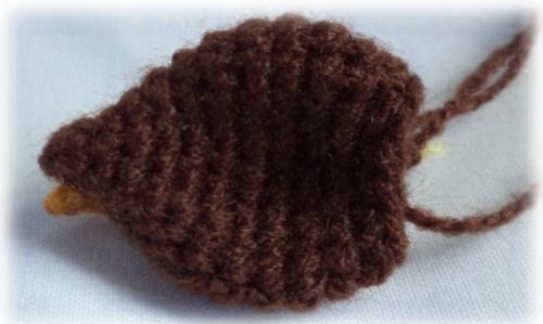
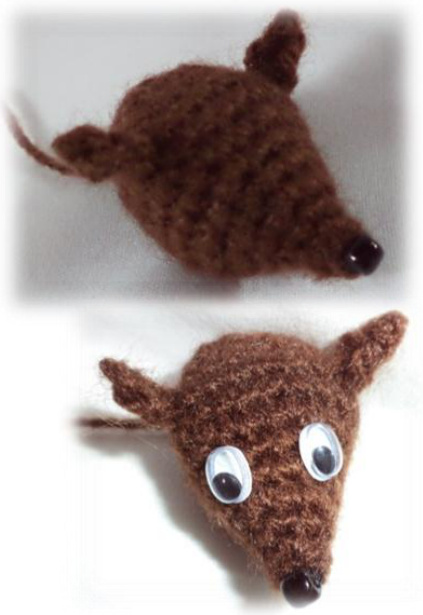
1: st 3 in magic ring (3) 2: st 2 in first st, st in next, st 2 in next (5) 3: st 2 in first st, (st in next, st 2 in next) around (8) 4: (st in next, st 2 in next) around (12) 5: st in each around (12) 6: (st in next st, st 2 in next) around (18) 7: (st in next 2 st, 2 st in next) around (24) 8-9: st in each around (24) 10: (st in next 2 st, dec over next 2) around (18) 11: (st in next 4 st, dec over next 2) around (15) 12: (st in next 3 st, dec over next 2) around (12). Attach ears, nose and eyes 13: (st in next 2 st, dec over next 2) around (9). Stuff 14: st in first, (dec over next 2) around (5). Sl st, finish. Leave tail for sewing Pin all the parts together to make sure everything is in place before sewing. Chain enough stitches to make the tail as long as you want, then attach it to the body.
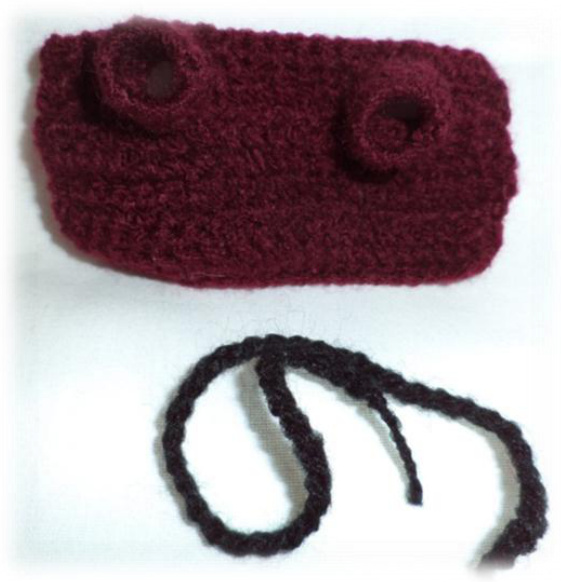
1: ch 21 2: st in 2nd st from hook and in next 19 st (20) 3: ch 2, turn, dc in next 20 st (20 dc) 4: ch 2, turn, dc in next 20 st (20 dc) 5: ch 2, turn, dc in next 20 st (20 dc) 6: ch 2, turn, dc in next 3 st, ch3 3, skip next 3 st, dc in next 7 st, ch 3, skip next 3 st, dc in last 4 st 7: ch 1, turn, st in next 20 You now have a vest. You can leave it like that, or add the sleeves. To make the sleeves: 1: ch 9 and join with sl st to form a ring (9) 2: st 9 in the ring, join with sl st 3: ch 2, dc in next 9 st, join with sl st. Finish Stitch the sleeves to the vest
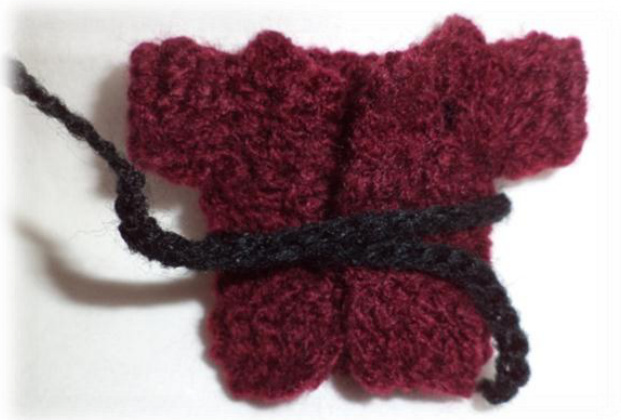
To make the belt simply chain some stitches to make it the length youwant.


