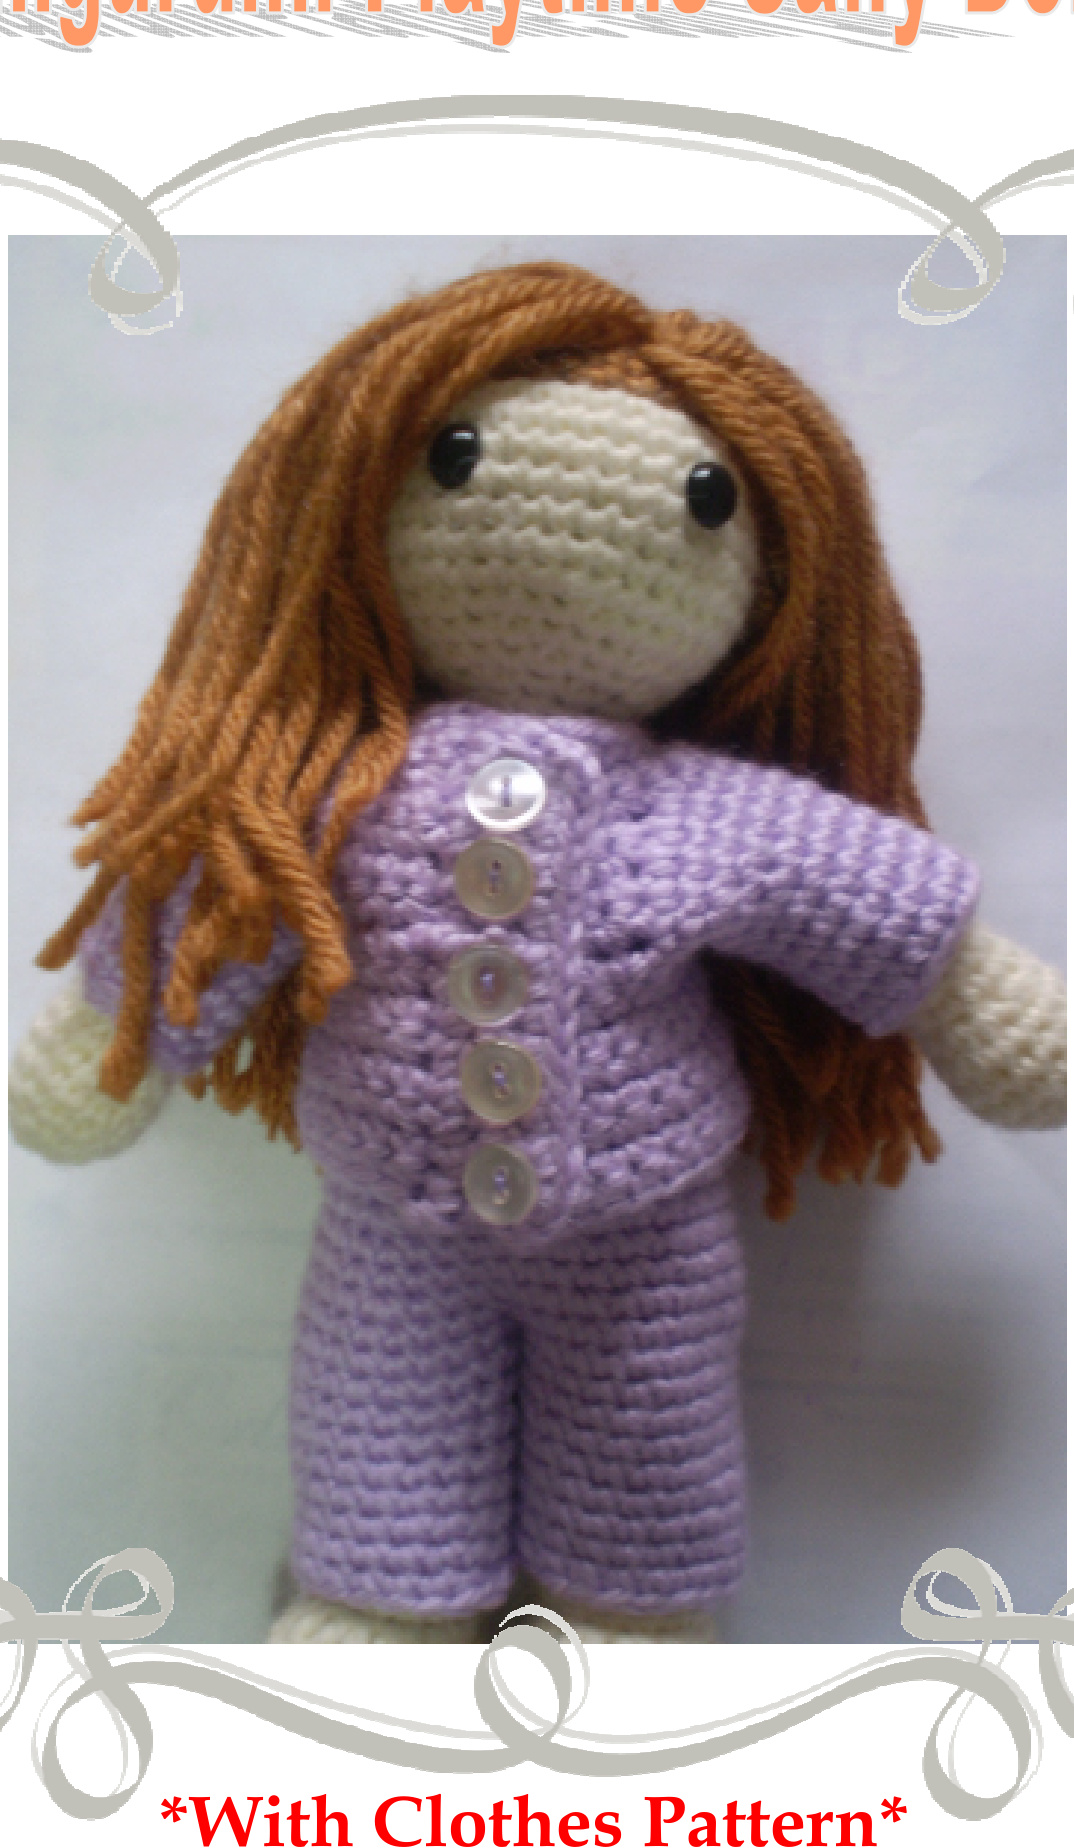
Amigurumi Playtime Sally Doll
This pattern is created by Chassity Oquendo, If you have any problems with this pattern please email me at chassityoquendo@aol.com, For more patterns visit 7polkadots.etsy.com This pattern is for noncommercial use only. Please DO NOT sell my pattern in any way shape or form, but you ARE more than welcome to sell any finished product you have made!!!ThankYou!
Materials Needed:
My doll is made of worsted weight yarn and Caron's Simply Soft. But you can use any yarn you choose. crochet hook size F and E (doll stands about 8 inches high) polyester fiberfill 2 -9mm safety eyes Yarn needle for sewing on arms and hair Note: You can make your doll in all one skin tone color. The hair on this doll is made in a separate wig piece and sewn onto the head. If you choose to, you can follow the same directions of the hair without the wig piece and place hair directly into the head of your doll. Do this at the same time when you place the eyes in.
Head:
With the skin tone color and an F hook, work in the round not joining every round, use a stitch marker to mark rows. Rnd 1: make a magic loop and sc 6 in the loop (6 sts) Rnd 2: sc twice in each sc around (12 sts) Rnd 3: (sc 1, sc twice in next st) around (18 sts) Rnd 4: (sc 2, sc twice in next st) around (24 sts) Rnd 5: (sc 3, sc twice in next st) around (30 sts) Rnd 6: (sc 4, sc twice in next st) around (36 sts) Rnd 7-12: sc around Rnd 13: (sc 4, sc2tog) around (30 sts) This pattern is created by Chassity Oquendo, If you have any problems with this pattern please email me at chassityoquendo@aol.com, For more patterns visit 7polkadots.etsy.com Rnd 14: (sc 3, sc2tog) around (24 sts) Rnd 15: (sc 2, sc2tog) around (18 sts) Rnd 16: (sc, sc2tog) around (12 sts) Place in safety eyes between rows 9 and 8, or wherever you like. Rnd 17: sc around Rnd 18: (sc 2, sc twice in next st) around (16 sts) Rnd 19: sc around Rnd 20: (sc 3, sc twice in next st) around (20 sts) Rnd 2l: sc around Rnd 22: (sc 4, sc twice in next st) around (24 sts) Rnd 23: sc around Rnd 24: (sc 5, sc twice in next st) around (28 sts) Rnd 25-36: sc around (at the end of rnd 36 sc in next st, this will be the new end of therow) Legs: (work left and right leg the same) Rnd 37: sc in next 14 sts, sk the rest of the rnd (14 sts) Rnd 38-49: begin sc in rnd just created and around Rnd 50: sc ending in any stitch in the heal area, leave any remaining sts unworked, mark this as the new beginning of the next row Front of leg and mark with a stitch marker or piece of contrasting yarn Rnd 51: sc in ea st until 2 before the st marker you placed, 2 dc in ea of the next 4 sts, sc the rest of the row (18 sts) This pattern is created by Chassity Oquendo, If you have any problems with this pattern please email me at chassityoquendo@aol.com, For more patterns visit 7polkadots.etsy.com Note: These 4 dc should be at the center front of the foot. Rnd 52: sc in ea st until one before the dc increases, 2 sc in ea of the next 10 sts, sc the rest of the row (23 sts) Rnd 53-54: sc around Rnd 55: sc ending in any st in the toe area, leave any remaining sts unworked. Note: Begin stuffing the leg until mostly full. Find center back of the foot and mark with a stitch marker. The remaining rnds will be worked continuously so no stitch marker is needed. Rnd 56: sc in ea st until 4 before the st marker you placed, (sc2tog) 4 times over the next 8 sts, sc in next 6 sts, (sc2tog) 5 times over the next 10 sts Rnd 57: sc in next 2 sts, (sc2tog) 4 times over the next 8 sts, sc in next 2 sts, (sc2tog) 3 times over the next 6 sts Fasten Off leaving a long tail. Finish stuffing leg firmly. Use the yarn needle to sew the hole shut.Weave in ends. To work the next leg sl st into the first unworked st at front of body and sc across. Continue to work the leg pattern from Rnd 38.
Arms:
(Make 2) Start with skin tone color and an E hook, work in the round not joining every round, use a stitch marker to mark rows. Rnd 1: make a magic loop and sc 5 in the loop (5 sts) Rnd 2: sc twice in each sc around (10 sts) Rnd 3: (sc, sc twice in next st) around (15 sts). Rnd 4-6: sc around This pattern is created by Chassity Oquendo, If you have any problems with this pattern please email me at chassityoquendo@aol.com, For more patterns visit 7polkadots.etsy.com Rnd 7: (sc, sc2tog) around (10 sts) Rnd 8-18: sc around Rnd 19: (sc2tog) around (5 sts) Fasten Off leaving a long tail. Stuff arms. Use the yarn needle to sew the hole shut.Sew arms to body.
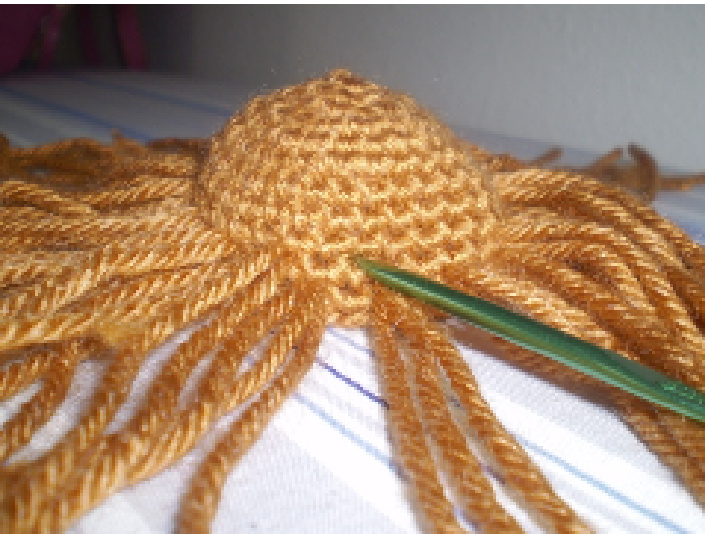
Hair Wig:
With any color for hair. Repeat Rnds 1-12 of the doll for the wig, fitting the wig to the head as you go. For the Hair, cut several strands of yarn 6" in length. Knot 3 strand together at a time to ensure that your hair won't pull through the work. Pull ONE strand of that cluster a st at a time in the wig. This way there aren't as many knots underneath. So that's one strand in each st in the wig. For any remaining sts needing a strand that doesn't have enough stitches by it for a 3-cluster, you can knot 2 strand together or knot the end of one strand. Be sure to knot it well so it doesn't pull through the stitch.
Sew the wig to the doll as tightly as possible. ALLDONE!ENJOYYOURPLAYTIMEDOLL! This pattern is created by Chassity Oquendo, If you have any problems with this pattern please email me at chassityoquendo@aol.com, For more patterns visit 7polkadots.etsy.com
Clothes Patterns
Top: Starting at neckhole. Ch 21 Row l: sc in second st from hook and ea st across (20 sts) Row 2: turn, ch 1, sc in next 4 sts, 2sc in ea of next 2 sts, sc in next 8 sts, 2sc in next 2 sts, sc in next 4 (24 sts)
Left Front
Row 3: turn, ch 1, sc in next 4, sk any unworked sts (4 sts) Row 4-7: turn, ch 1, sc across, ending in RS (right side) row, Fasten Off (4 sts) Back Row 3: beginning next to left front in unworked sts of row 2, sk 4 sc, sl st in next sc, ch 1, sc in the same st and in next 8 sts, sk unworked sts (8 sts) Row 4-5: turn, ch 1, sc across, ending in RS row (8 sts) Row 6: turn, ch 1, 2sc in first sc, sc in next 6, 2sc in last sc (10 sts) Row 7: turn, ch 1, 2sc in first sc, sc in next 8, 2sc in last sc (12 sts)
Right Front
Row 3: beginning next to back in unworked sts of row 2, sk 4 sc, sl st in next sc, ch 1, sc in the same st and in next 4 (4 sts) Row 4-7: turn, ch 1, sc across, ending in RS (right side) row (4 sts) 'ou should now have three sections of work with a 4 sc sp between ea Start next row on a Ws row in the top of the right front. This pattern is created by Chassity Oquendo, If you have any problems with this pattern please email me at chassityoquendo@aol.com, For more patterns visit 7polkadots.etsy.com Row 8: sl st into first sc of row 7 of right front, ch 1, sc in same st and next 3 sts, ch 6, sc in next 12 sts of back, ch 6, sc in next 4 sts of left front (20 sc, 12 chs) Row 9: turn, ch 1, sc in ea sc and ch across (32 sts) Row 10-15: turn, ch 1, sc across Fasten Off. Use the yarn needle to weave in ends. Turn work upside down for correct placement.
Sleeve:
Attach yarn with sl st to bottom of armhole in the ch 6, in 4th ch from right. Work in continuous round, not joining each round. Use a stitch marker to mark rows. Rnd 1: ch 1, sc in next 3 chs, sc 6 up the side of the armhole, sc 4 in the top four sts, sc 6 down the opposite side, sc in last 3 chs (22 sts) Rnd 2-3: sc around Rnd 4: sc, (sc2tog) 2 times over next 4 sts, sc in next 11 sts, (sc2tog) 2 times over next 4 sts, sc in last st (17 sts) Rnd 5-10: sc around Fasten Off. Use yarn needle to weave in ends. You can work less rows between rnds 5-10 tomake ashortersleeve.
Button Front Closure:
Using small buttons that are about 1/4 in. Once the jacket is finished, looking at the front of the jacket:
Right Side
Row 1: sl st to the bottom corner of jacket, ch 1, sc 15 times up the side Fasten Off
Left Side
This pattern is created by Chassity Oquendo, If you have any problems with this pattern please email me at chassityoquendo@aol.com, For more patterns visit 7polkadots.etsy.com Row l: sl st to the bottom corner of other side, ch 1, sc 15 times up the side Row 2: turn, ch 1, (sc in first st, ch 2, sk 2 sts) across so you'll have 5 little slit openings Row 3: turn, ch 1, sc in ea sc and ch across, fasten off (15 sts) Sew buttons to the side without the button holes!!! Pants: Ch 30, sl st to first ch Rnd 1: ch 1, sc in same st and ea st around, join with sl st to first sc (30 sts) (do not turn after ea rnd), sc in same st and ea st around, join (30 sts Rnd 6: ch 1, ( sc in next 5 sts, 2sc in next st) around, join (35 sts) Rnd 7-8: ch 1, sc in same st and ea st around, join Rnd 9: ch 1, ( sc in next 6 sts, 2sc in next st) around, join (40 sts) Rnd 10: ch 1, sc in same st and ea st around, join Legs: Do not join after every round, work continuously. Use a stitch marker to mark ea rnd. Rnd 1: sk next 20 sts, sc in next 20 sts (20 sts) Rnd 2-10: sc around Fasten Off. Use yarn needle to weave in end.
Opposite Leg:
Rnd 2-10: sc around This pattern is created by Chassity Oquendo, If you have any problems with this pattern please email me at chassityoquendo@aol.com, For more patterns visit 7polkadots.etsy.com Fasten Off. Use yarn needle to weave in end. ALLDONE!ENJOY!


