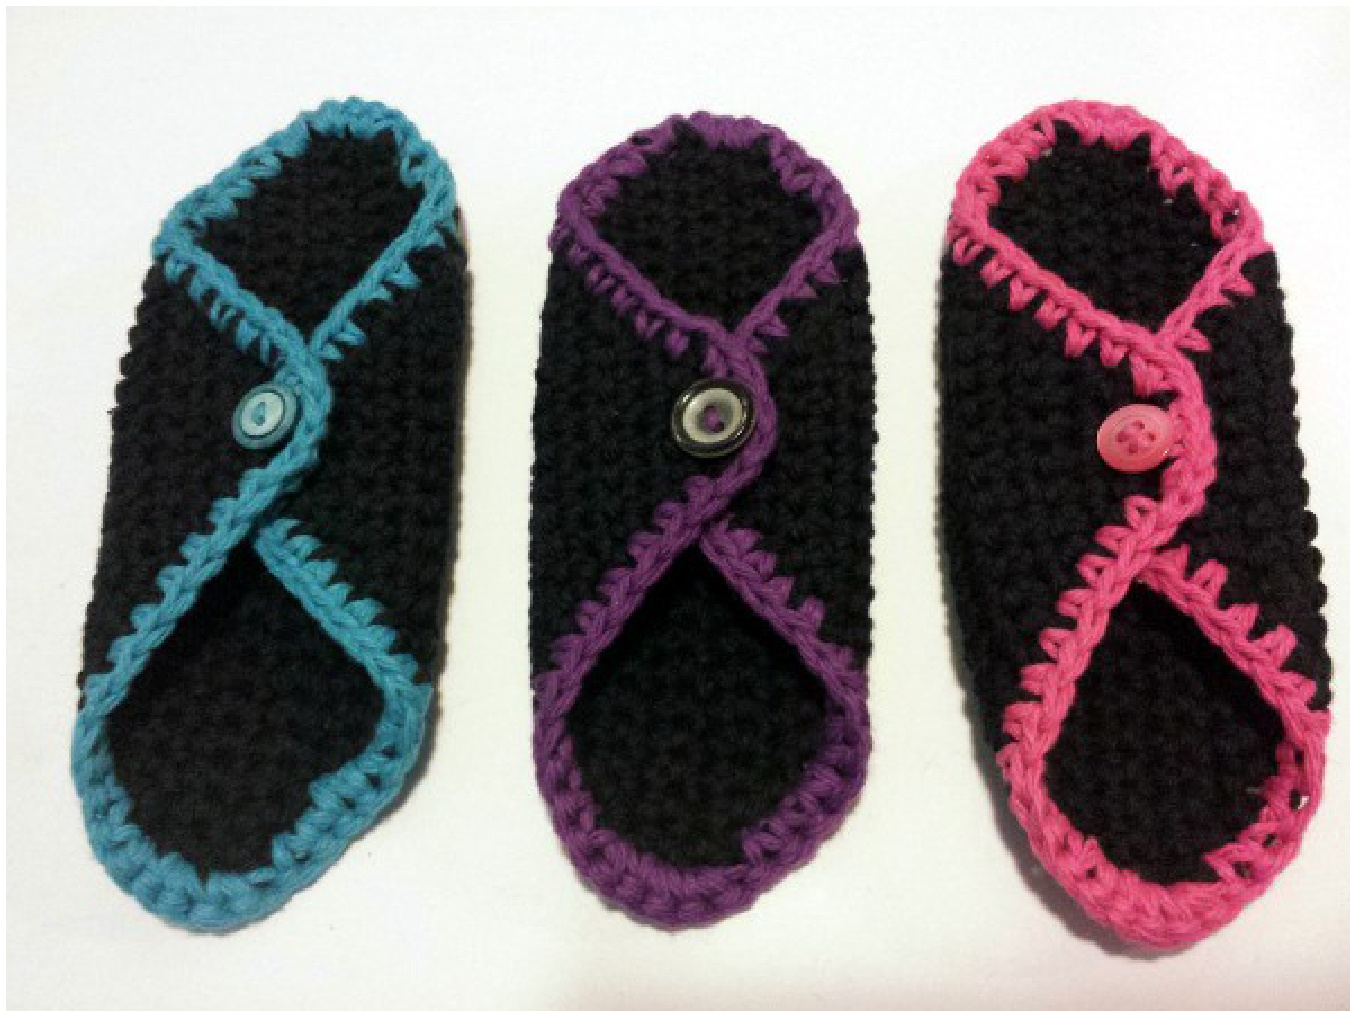
Pattern: Small Feminine Menstrual Maxi Pad Pantiliner
an original pattern by Stace Clement a.k.a. zonal on Etsy & Ravelry
This original pattern design in US crochet terms may not be distributed or sold as your own, but feel free to sell a finished pad made from this pattern!
level: beginner
skills: know how to ch (chain), sl st (slip stitch), sc (single crochet), sc dec (sc decrease = insert hook, yarn over, pull back through leaving two loops on hook, insert hook into next st, yarn over, pull back through leaving three loops on hook, yarn over, pull through all three loops; 1 sc dec made)
hook: F/3.75mm
yarn: Lily Sugar 'n Cream 1oo% cotton in 2 colors (ideally black & a contrast color) additional materials: 0ne 1/2" to 5/8" (13-16 mm) wide button per pad size: pad laid flat measures \~6" (15 cm) long x \~5 1/4" (13 cm) wide at wings gauge: 4" square = sc 18 sts wide by 21 rows tall The '' before each row is so you can check off each completed row as you go. row 1: with black or other dark main color, ch 4, sc in 2nd ch from hook & in each of last 2 chs; 3 sc made. row 2: ch 1 & turn, sc 2 in 1st st, ch 1 & skip 1 st (creates buttonhole), sc 2 in last st; make sure your button fits snug through this buttonhole; 5 sts made. row 3: ch 1 & turn, sc 2 in 1st st, sc 1, sc 1 into ch-1 buttonhole space, sc 1, sc 2 in last st; 7 sts made. row 4: ch 1 & turn, sc 2 in 1st st, sc 1 in each st across, sc 2 in last st; 9 sts made. row 5: ch 1 & turn, sc 2 in 1st st, sc 1 in each st across, sc 2 in last st; 11 sts made. row 6: ch 1 & turn, sc 2 in 1"t st, sc 1 in each st across, sc 2 in last st; 13 sts made. row 7: ch 1 & turn, sc 2 in 1st st, sc 1 in each st across, sc 2 in last st; 15 sts made. row 8: ch 1 & turn, sc 2 in 1"t st, sc 1 in each st across, sc 2 in last st; 17 sts made. row 9: ch 1 & turn, sc 2 in 1st st, sc 1 in each st across, sc 2 in last st; 19 sts made. row 10: ch 1 & turn, sc 2 in 1" st, sc 1 in each st across, sc 2 in last st; 21 sts made. row 11: ch 1 & turn, sc 2 in 1"t st, sc 1 in each st across, sc 2 in last st; 23 sts made. row 12: ch 1 & turn, sc 2 in 1st st, sc 1 in each st across, sc 2 in last st; 25 sts made. row 13: ch 1 & turn, sc 1 in each st across; 25 sts made. row 14: ch 1 & turn, sc 1 in each st across; 25 sts made. row 15: ch 1 & turn, sc dec 1 to join 1st 2 sts together; sc dec (sc decrease) = insert hook, yarn over, pull back through leaving two loops on hook, insert hook into next st, yarn over, pull back through leaving three loops on hook, yarn over, pullthrough all three loops; sc 1 in each st across, sc dec 1 to join last 2 sts together; 23 sts made. row 16: ch 1 & turn, sc dec 1 to join 1s 2 sts together, sc 1 in each st across, sc dec 1 to join last 2 sts together; 21 sts made. row 17: ch 1 & turn, sc dec 1 to join 1st 2 sts together, sc 1 in each st across, sc dec 1 to join last 2 sts together; 19 sts made. row 18: ch 1 & turn, sc dec 1 to join 1st 2 sts together, sc 1 in each st across, sc dec 1 to join last 2 sts together; 17 sts made. row 19: ch 1 & turn, sc dec 1 to join 1st 2 sts together, sc 1 in each st across, sc dec 1 to join last 2 sts together; 15 sts made. row 20: ch 1 & turn, sc dec 1 to join 1st 2 sts together, sc 1 in each st across, sc dec 1 to join last 2 sts together; 13 sts made. row 21: ch 1 & turn, sc dec 1 to join 1st 2 sts together, sc 1 in each st across, sc dec 1 to join last 2 sts together; 11 sts made. row 22: ch 1 & turn, sc dec 1 to join 1st 2 sts together, sc 1 in each st across, sc dec 1 to join last 2 sts together; 9 sts made. row 23: ch 1 & turn, sc dec 1 to join 1st 2 sts together, sc 1 in each st across, sc dec 1 to join last 2 sts together; 7 sts made. row 24: ch 1 & turn, sc dec 1 to join 1st 2 sts together, sc 1 in each st across, sc dec 1 to join last 2 sts together; 5 sts made. row 25: ch 1 & turn, sc dec 1 to join 1st 2 sts together, sc 1 in center st, sc dec 1 to join last 2 sts together; 3 sts made. Tie off: cut yarn leaving a \~4" tail, yarn over & pull tail all the way through, & pulltight.
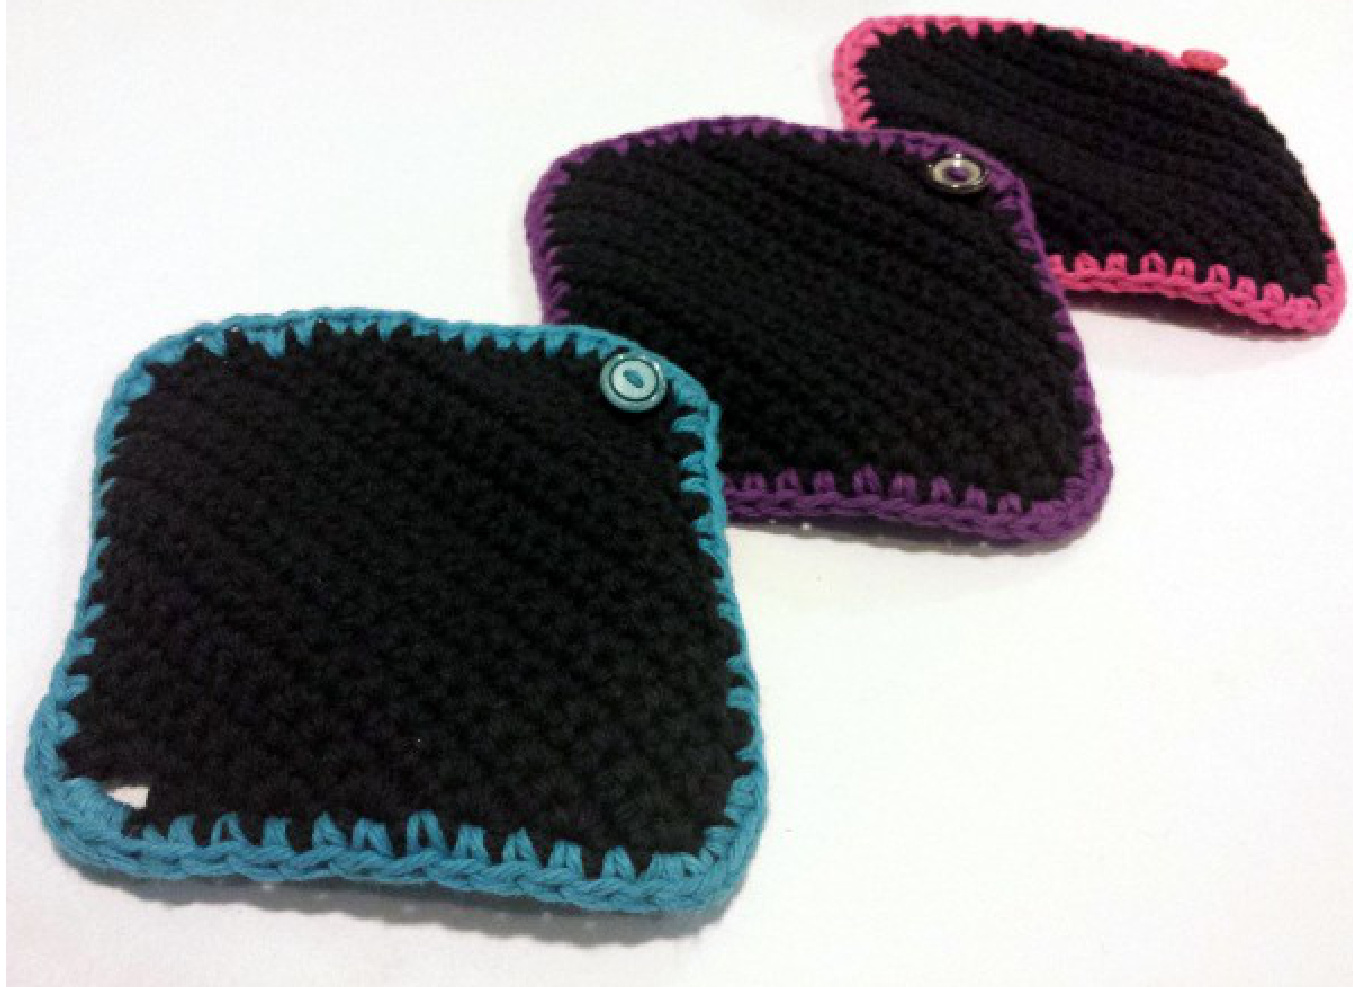
trim With contrasting color yarn for outer trim, attach at tie off spot, ch 1, & sc 1 in each outer edge space all the way around; when you reach each of the four "corners", choose the 3 corner-most stitches & Sc 2 in each of those; when you reach the buttonhole, optionally stitch into the buttonhole itself so it is easier to locate (& make sure the button still fits snug through hole);
button
Locate the 2nd-to-last row (row 24), the row with 5 stitches. Locate the center stitch of this row-the center stitch is #3 of the 5. With your hook, lead the tail up through the space right next to the center stitch, place the button on the yarn, then feed the tail back down through the space on the other side of the same center stitch. On the back side, tie a firm knot, & hide tails in backside loops. Enjoy!
\~ The end \~
If you can post a Project Page with photos to Ravelry, please do— thanks kindly! <3


