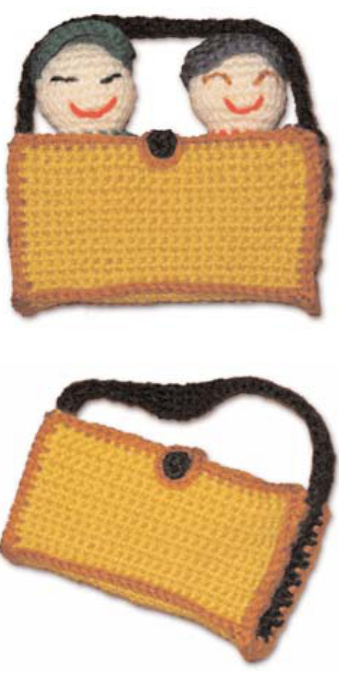
Amigarami Budies With Buddie Bag
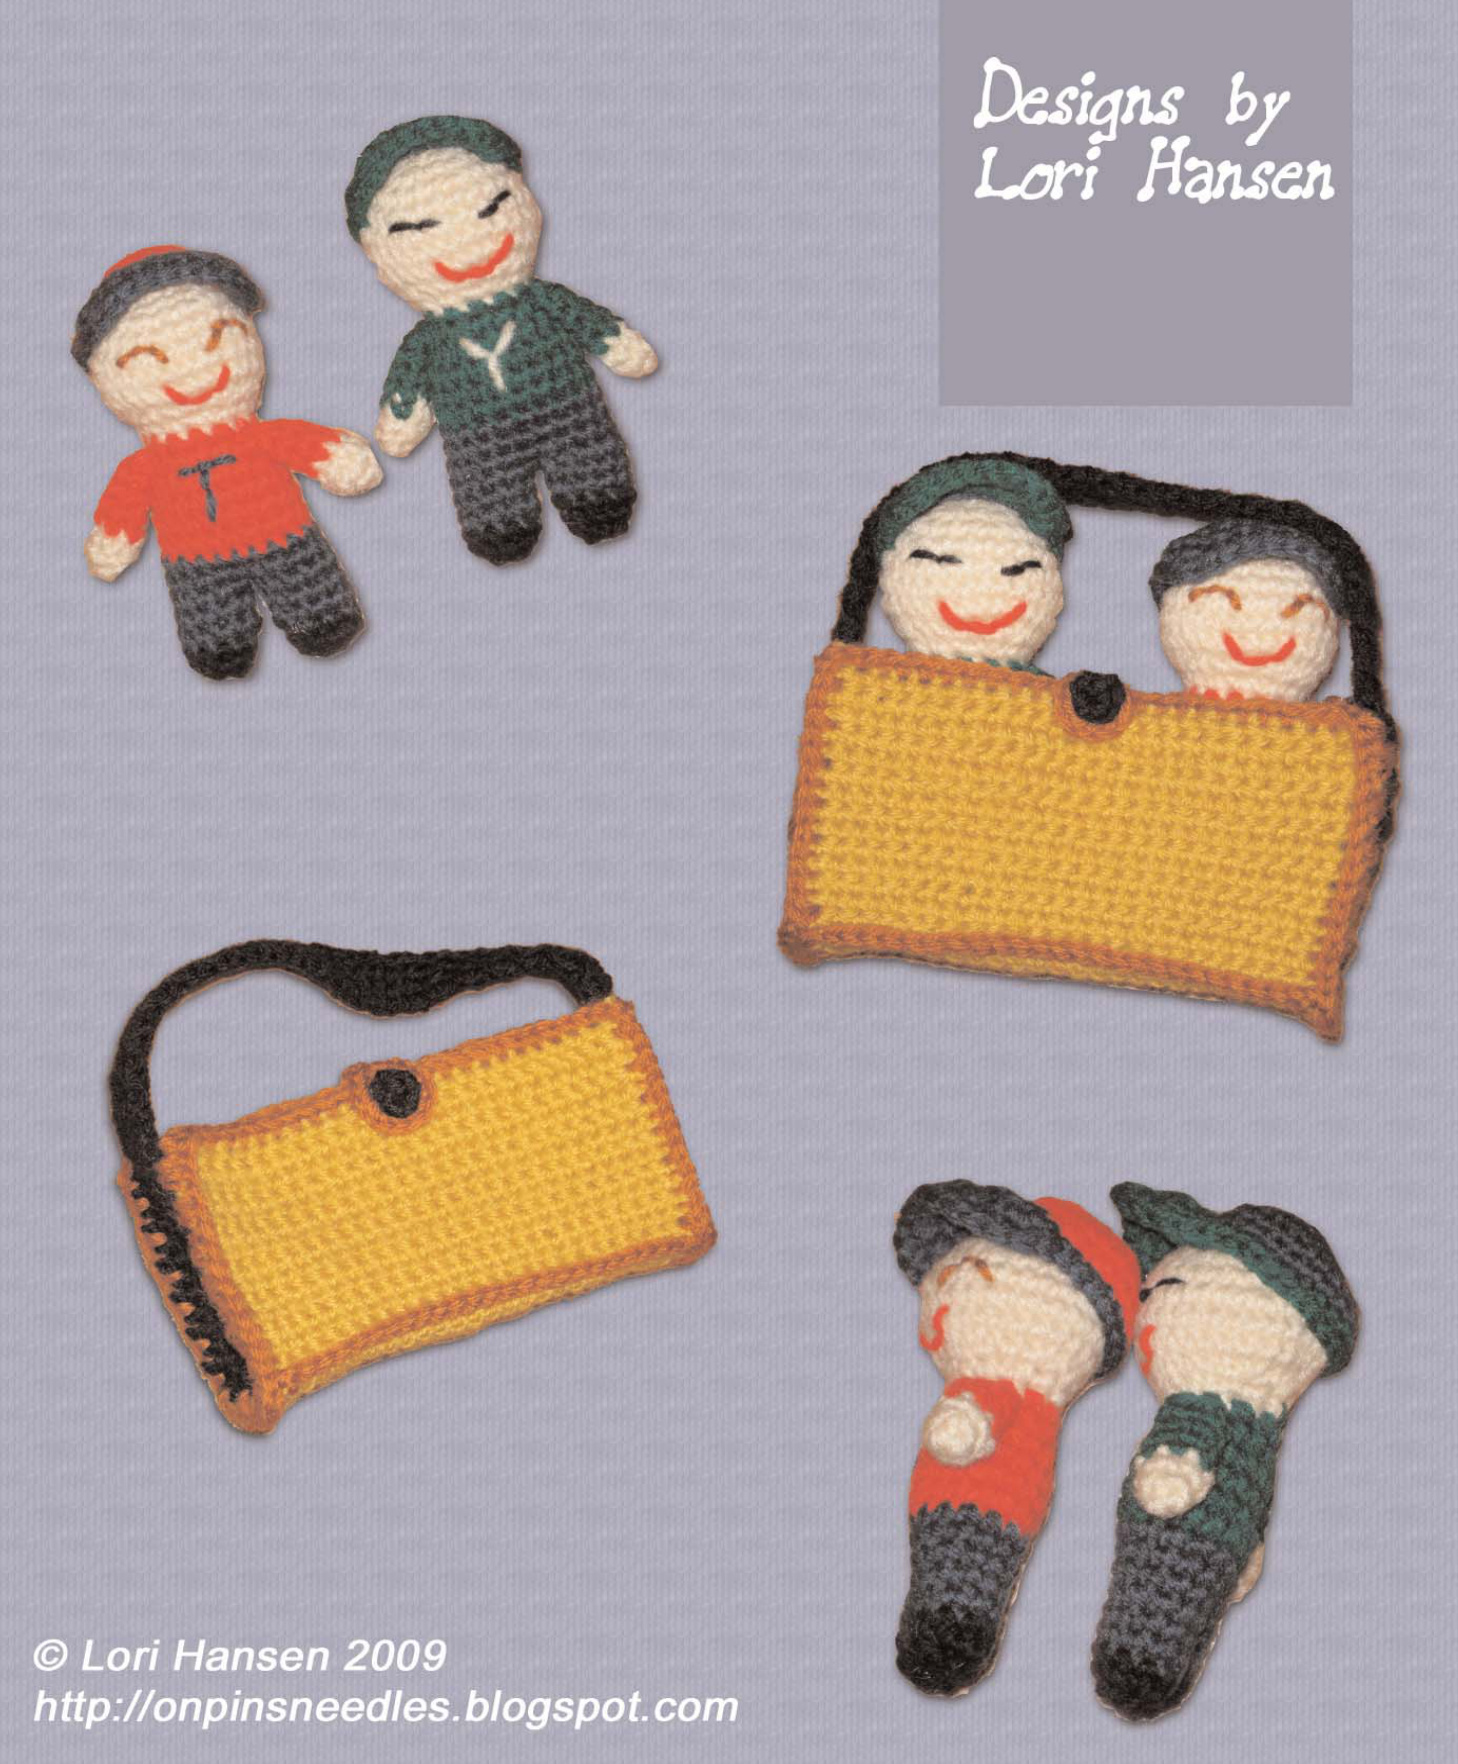
These padterns were Created for my youngeSt son's preschool best-friend, Yuki. Yuki and my Son were inseparable at School and greeted each other every morning with enthusiastic Shouts and big hugs. Yuki returned to his home Country of Japan, and I thought theSe little dolls would be a nice reminder of their friendship. Abbreviations used in these patterns: $\mathsf{s c=}$ single crochet dc $=$ doublecrochet hdc $=$ half-double crochet st $=$ stitch sl st $=$ slip stitch yo $=$ yarnover $\mathsf{B L O=}$ back loops only $\mathsf{F L O=}$ front loops only inc $=$ increase dec $=$ decrease ${\sf M C}=$ magic circle (or chain 2, work in second chain from hook)
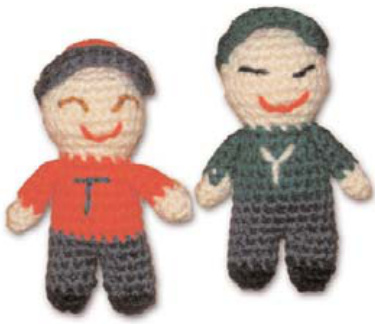
Buddies
Finished dimensions: Approximately 3" wide $\times\,4.75"$ tall using specified materials
Materials
Ehook Small amounts of worsted weight yarn for face & hands, shirt & hat, pants and shoes Polyfil Yarn needle
Head
Using flesh color, work 6 sc in MC 1. Inc in each st around (12) 6-7. Sc around (30) 2. (inc, 1 sc) around (18) 8. 3 dec (2 sc, 3 dec) around (18) 3. (2 sc, inc) around (24) 9. (sc, dec) around (12) 4. (7 sc, inc) around (27) 5. (8 sc, inc) around (30) Stuff; join shirt color
Body - Shirt
1. Sc around (12) 4-6. Sc around (20) 2. (2 sc, inc) around (16) 3. (3 sc, inc) around (20) Stuff; join pants color
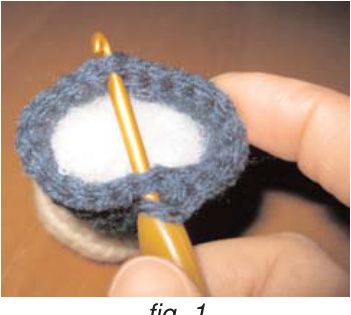
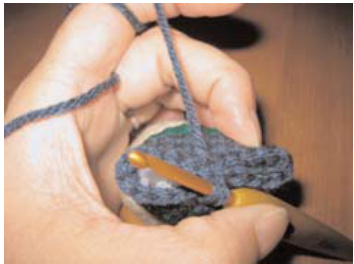
Body - Pants
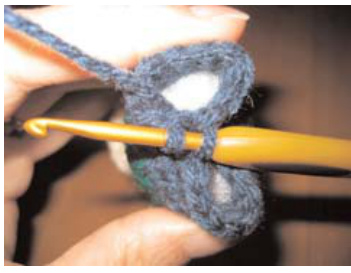
1-2. Sc around (20) 3. Sc in last worked st, 9 sc, inc, 10 sc (22) 4. Insert hook in next st and through 11th stitch around (fig 1); yo, draw loop through both thicknesses (fig 2), complete sc [legs created]
Left Leg
1-3. Sc around (10) (fig 3) Stuff; join shoe color 4. Sc around (10) 5. (dec, 2 sc) around (7) Stuff; Fasten off with sl st leaving a 12" tail; weave tail through remaining sts & pull toe closed tightly. Secure; weave in ends.
Right Leg
Attach pants color on inside thigh. Repeat Left Leg instructions.
Arms (Make 2)
Using flesh color, work 3 sc in MC 1. Inc in each st around (6) 2. Sc around (6); Join shirt color 3-6. Sc around; fasten off with sl st leaving a tail for sewing. Fold arms flat and sew to body near color change between flesh and shirt.
Cap
Work 8 sc in MC 1. Inc in each st around (16) 2. (inc, 3 sc) around (20) 3. (inc, 3 sc) around (25); fasten off; Attach brim in FLO of next sc; ch 3 4. in FLO, dc in same st, hdc, 3 sc, hdc, 2 dc in same st (9), ch 1 turn 5. dec, 5 sc, dec, ch 1 turn (7) 6. dec, 3 sc, dec, ch 1 turn (5); fasten off with sl st Attach brim color near corner of brim; sc around working 2 sc in corner sts of brim. Fasten off; weave ends in and sew to top of buddy's head.
Finishing
Embroider facial features and initial on shirt front, if desired.
Buddie Bag Finished Dimensions: Approximately 5.5" wide x 3" high (not including carry handle) using materials listed.
Materials:
F hook Small amounts of worsted weight yarn Yarn needle
Front, Bottom and Back
Ch 26 1. Sc in 2nd ch from hook & across (25), ch 1 turn 2-14. Sc across, ch 1 turn 15. In FLO, sc across, ch 1 turn (this is the "seam" between front and bottom) 16-20. Through both loops, sc across, ch 1 turn 21. Repeat row 15 (this is the "seam" between the botom and back) 22-33. Repeat rows 16-20 34. Sc across; fasten off
Sides and Handle
Ch 6 1. Sc in 2nd ch from hook & across (5), ch 1 turn 2-12. Sc across, ch 1 turn 13. Sl st, 3 sc, sl st, ch 1 turn 14. Sl st, 3 sc, ch 1 turn 15. 3 sc, ch 1 turn 16-54. Sc across (3), ch 1 turn 55. Ch 1, sc in 2nd ch from hook & across (4), ch 2 turn 56. Sc in 2nd ch from hook & across (5), ch 1 turn 57-67. Sc across, ch 1 turn 68. Sc across; fasten off
Assembly
Working through both thicknesses, attach yarn in top corner of side & front panels. Single crochet pieces together, working 4 sc in each corner to turn; fasten off. Attach yarn along bottn front in the remaining free loops from "seam." Sc across; fasten off. Repeat for back side. To make the "button", ch 2, sc 4 in 2nd ch from hook; sc in each sc around; fasten off, leaving a 12" tail for sewing. Attach button at 13th sc on front panel. To make the button loop, attach yarn in the 13th sc along back panel (opposite the button); ch 15, fasten off with a sl st in the same sc as joining. Weave all ends in.


