Little Felted Bowls
A great project for leftover partial skeins of feltable yarn. Have fun mixing and matching up to five colors. Easy project to throw in a bag and bring along to appointments or the park. Perfect for holding little items like paper clips or stitch markers. Inspired by Yumiko Alexander's pattern for the "Crayons" bag available at: http://www.ravelry.com/patterns/library/crayons-2
Materials
Small amounts of worsted weight feltable yarn in up to five colors. All photographed samples were made using various colors of Cascade 220. US size 10.5 needles or needles to get approximate gauge. A tighter knitter may want to try a larger needle size. Exact gauge is not crucial, but the squares should be roughly 3 inches on each side prior to felting.
Pattern
Hold yarn doubled when knitting. Leave long enough tails at cast on and bind off so that some ends can be used for seaming. Cast on 10 stitches. Work stockinette stitch for 10 rows: Row 1 and all odd rows: K10 Row 2 and all even rows: P10 Bind off after row 10.
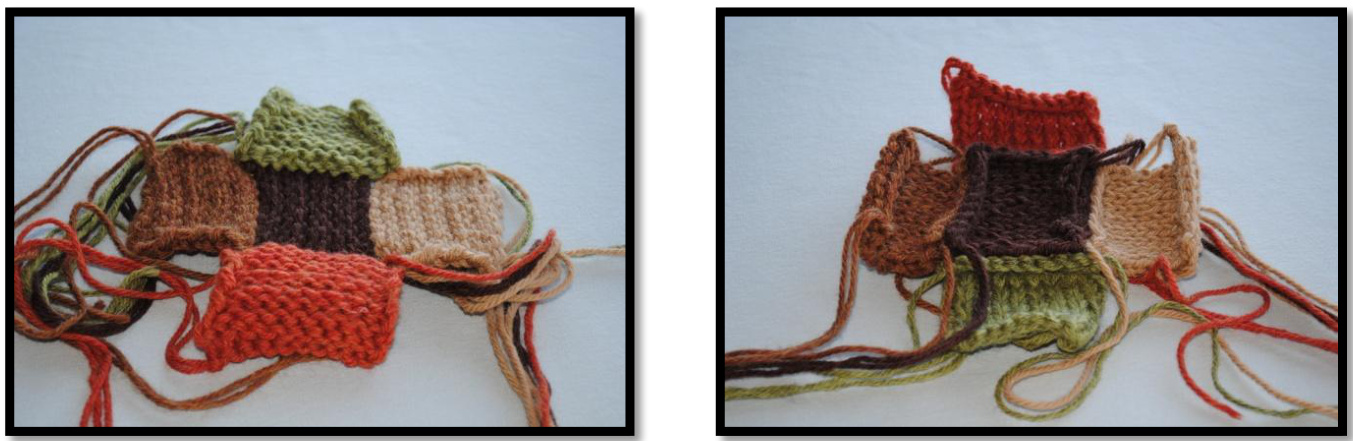
Repeat four more times for a total of five squares. Read this entire paragraph before seaming: Use a single strand of yarn for seaming. When connecting the sides of the bowl to the base, use a strand of yarn in the color of the side piece so that the base color is less likely to show through the seaming on the front of the bowl. When connecting two sides, use a strand of yarn from the lighter color of the two sides. Work all seams using mattress stitch with the reverse stockinette side facing so that ridges show up on the stockinette side. Work seams one full row of stitches in from the edge so that ridges are uniform. The stockinette side will be the outside of the bowl, and the ridges will show up along the edges of the squares before and after felting. Connect the sides of the bowl to the base first. After allof the sides are connected to the base, connect the sides to each other in order to form a cube-shaped bowl. Once all the seams are sewn, pull gently on the bowl until all the sides and seams look uniform. Stitch up the top corners so that they are squared off well before felting. Take a look at the seams before felting. If a color is showing through noticeably into another color on the seam, cover these places with duplicate stitch to hide the color. The felting process will help hide this extra stitching. Once the bowl is in the desired shape, weave in any remaining ends and trim. Pictures of both sides of bowl after seaming sides to the bottom:
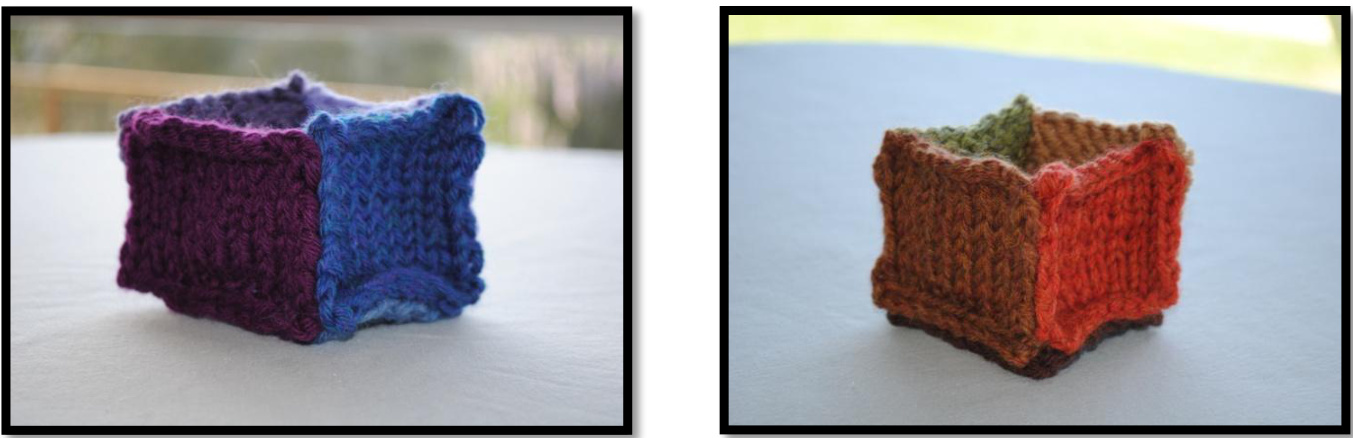
Pictures of two bowls prior to felting:
Felting
Wash one or more bowls in a washing machine using hot water with a litle bit of soap. Add other items such as old towels to increase agitation. Putting projects in a zippered pillowcase before putting them in the machine will protect them. Check the washer frequently to gauge how quickly the felting process is going. Different machines and yarns will felt at different rates. Continue the washing process until you have achieved the desired level of felting. If you have a front-loading washer, it may take more than one cycle to complete the process.
Shaping
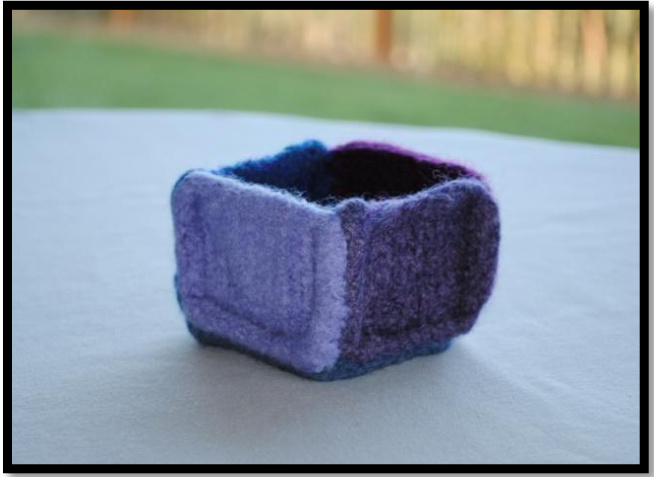
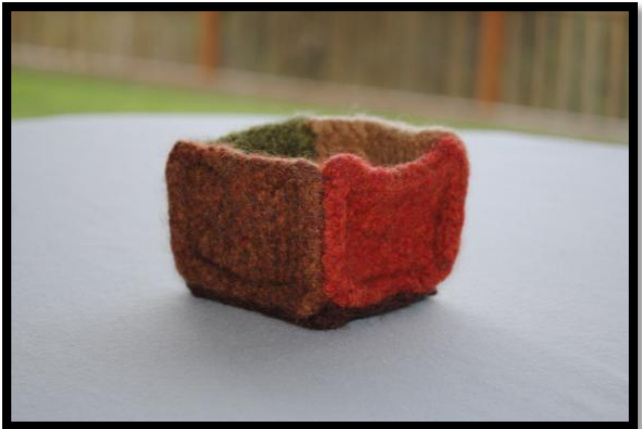
Once your bowl has achieved the desired level of felting, remove it from the washer. Rinse any excess soap with cool water until the soap is removed. You can pull the bowls over a block wrapped in plastic and stretch them until they are in your desired shape. Alow them to dry fully over the form. It can take one or more days for a bowl to dry completely. Once dry, fill them up with your favorite small objects. Picture of bowl drying upside-down on block wrapped in plastic:


