LariCaaht Scarf
A simple lariat-style scarf in luxurious cashmere

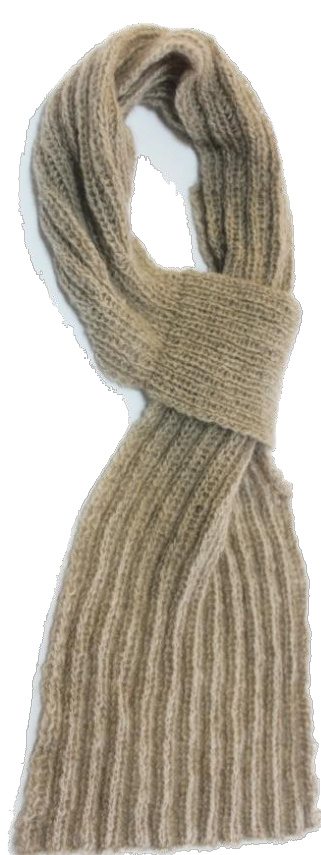
Finished Measurements: 36" length x 9" width Gauge: The gauge can vary slightly with nice results, but sample shows 22 stitches x 22 rows = 4" in k2p2 ribbing on size US 7 needles. Yarn: 1 ball "Aaah" by Jade Sapphire Exotic Fibers - 100% cashmere, 258yds/50g ball; color #03. "Aaah" is a CYCA #3 weight yarn. Needles: US 5 (3.75mm) and US 7 (4.5mm) needles. Adjust needle sizes as necessary if your gauge varies greatly from the suggested gauge. Additional materials: tapestry needle, lock-ring stitch marker.
Stitches
k1p1 ribbing (odd number of stitches) Row 1 (RS): [k1, p1] repeat to the last stitch, k1. Row 2 (Ws): [p1, k1] repeat to the last stitch, p1. Repeat these 2 rows for k1p1 ribbing. k2p2 ribbing (multiple of 4 + 2 stitches) Row 1 (RS): [k2, p2] repeat to the last 2 stitches, k2. Row 2 (WS): [p2, k2] repeat to the last 2 stitches, p2. Repeat these 2 rows for k2p2 ribbing.
Snstuclions
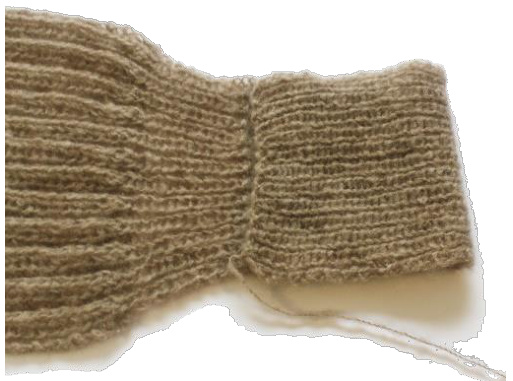
Using smaller needles, cast on 25 stitches. Work in k1p1 ribbing for 8", ending after completing a WS row. Next row (RS): knit. Change to Us 7 needle and, beginning with a WS row, work in k1p1 ribbing until piece measures 2" from the knit row, ending after completing a WS row. Piece measures 10" total. Next row (RS): [k1, m1, p1] repeat to the last stitch, m1, k1. 38 stitches. Next row (WS): [p2, m1, k1] repeat to the last 2 stitches, p2. 50 stitches. Place a lock-ring stitch marker in the fabric beneath the knitting needle. Beginning with a RS row, work in k2p2 ribbing until piece measures 30" from the lock-ring stitch marker. Piece measures 40" total. Bind off in rib pattern.
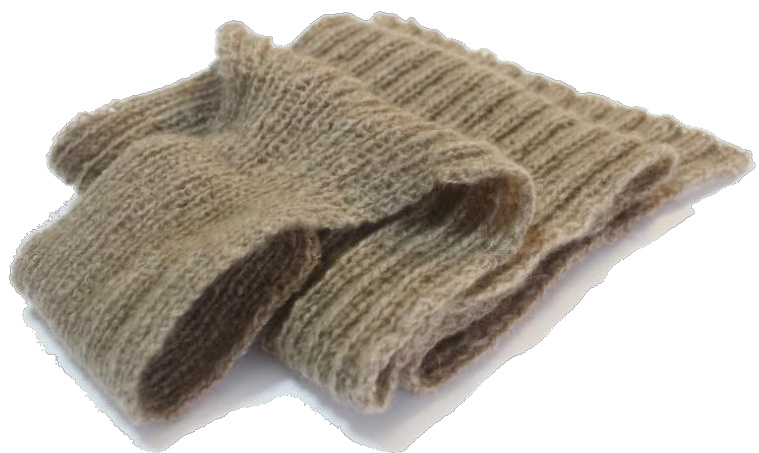
Ginishing
Fold the 8" k1p1 ribbing piece in half on the Ws (see photo on the right), aligning the cast on edge with the knit row worked before changing needle sizes. Seam the cast on edge to the garter stitch row to create a loop for the bottom of the scarf. Weave in tails. Blocking is not recommended for this scarf.
Cbbrevialions
k - knit; m1 - increase one stitch by lifting the horizontal bar laying between the needles onto the left hand needle from back to front. Knit this stitch through the front to twist it closed; p - purl; Rs - right side (the front) of the work; Ws - wrong side of the work


