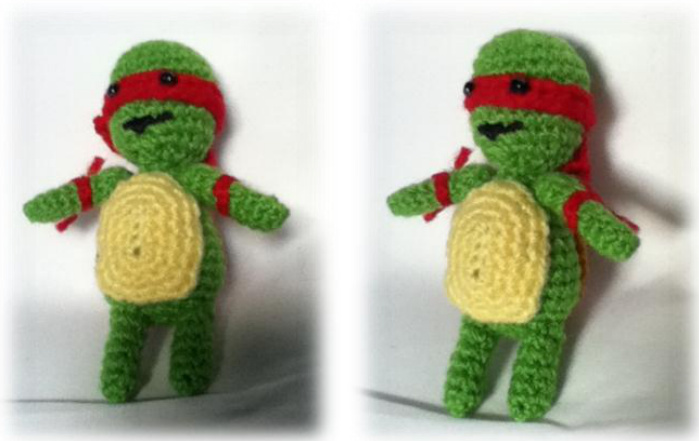
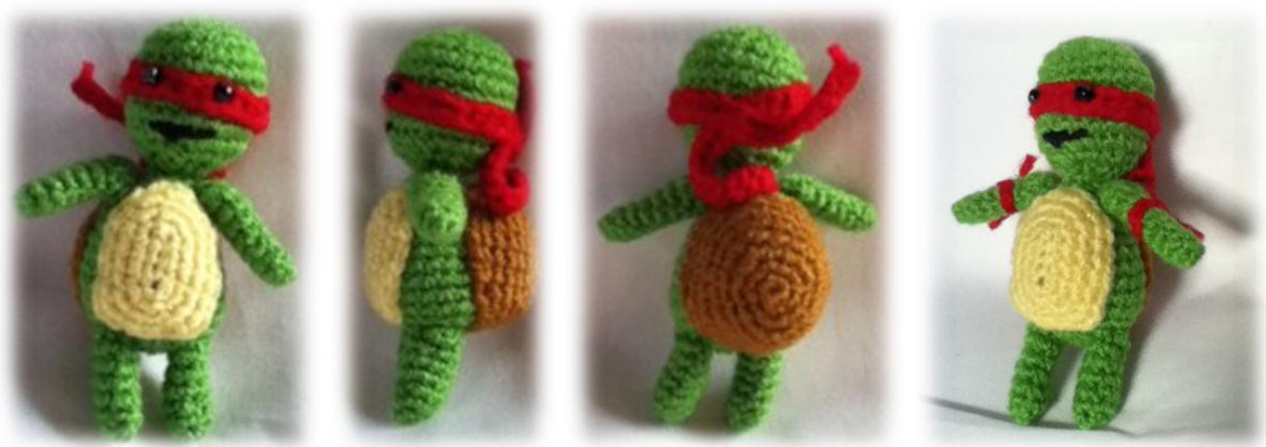
AMIGURUMI TEENAGE MUTANT NINJA TURTLES
I wanted to make some tiny mutant ninja turtles. I found these really cool ones on Crafster: Teenage Mutant Ninia Turtles amigurumis for my daughter, but they were too large for what I wanted, so I made up my own. This is what I got. I had fun making these little ones, so I'm posting a small tutorial on how I made them. I work everything in the round, and I use a magic ring to start almost everything. If you don't know how to make a magic ring, here is a great tutorial from PlanetJune.
I've tested this pattern a few times, but if there's a mistake or something that doesn't quite work let me know so I can fix it.
BELLY PLATE
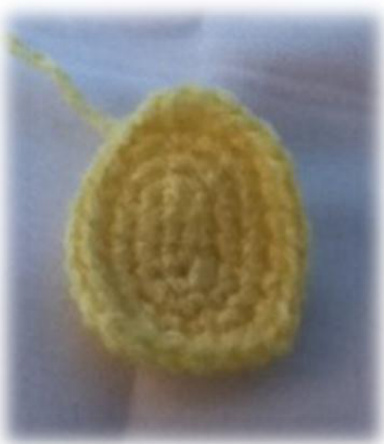
1: ch 5 2: st in 2nd from hook, st in next 2, st 3 in next. Continue on the other side of the ch, st in next 2, st 2 in next (10) 3: st 2 in first, st in next 2, st 2 in next 3, st in next 2, st 2 in next 2 (16) 4: st 2 in first, st in next 4, st 2 in next, st in next 2, st 2 in next, st in next 4, st 2 in next, st in next 2 (20) 5: st 2 in first, st in next 6, st 3 in next, st in next 3, st 3 in next, st in next 7, st 3 in next, sl st, finish. Leave tail for sewing (27)
SHELL
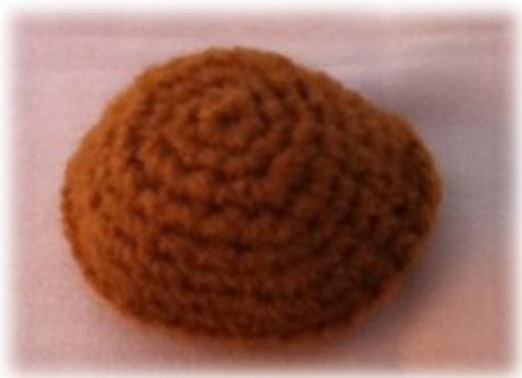
1: st 5 in magic ring (5) 2: st 2 in each around (10) 3: st in first, st 3 in next, st in next 2, st 3 in next, st in next 2, st 3 in next, st in next 2 (16) 4: st in first 2, st 2 in next, st in next 4, st 2 in next, st in next 4, st 2 in next, st in next 3 (19) 5: st in each around (19) 6: st 3 in first, st in next 7, st 3 in next, st in next 5, st 3 in next, st in next 4 (25) 7: st in each around (25) 8: st 2 in first, st in next 5, st 2 in next, st in next 5, st 2 in next, st in next 7, st 2 in next, st in next 4. Sl st, finish. Leave tail for sewing. (29)
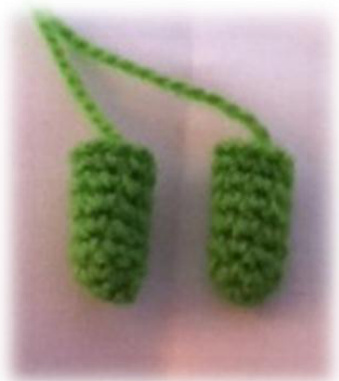
LEGS
(make 2) 1: st 4 in magic ring (4) 2: st 2 in each around (8) 3-7: st in each (8) Finish. Leave tail for sewing
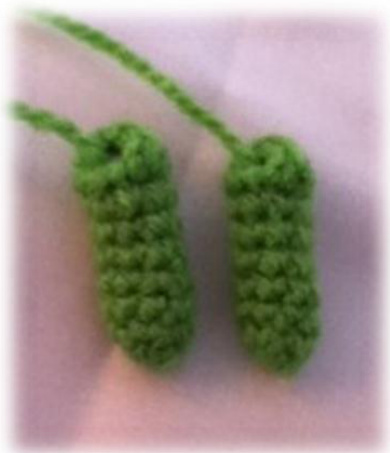
ARMS
(make 2, I used a smaller hook to make them slightly smaller than the legs) 1: st 4 in magic ring (4) 2: st 2 in each (8) 3-7: st in each (8) 8: hdc, dc, dc, hdc, st, sl st, finish. Leave tail for sewing
BODY
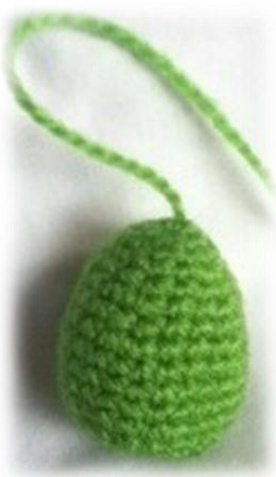
1: st 5 in magic ring (5) 2: st 2 in each (10) 3: st around (10) 4: (St in next, st 2 in next) around (15) 5: St around (15) 6: (St in next 2, st 2 in next) around (20) 7: St around (20) 8: (St in next 3, st 2 in next) around (25) 9-12: st around (25) 13: (st in next 3, dec over next 2) around (20) 14: (st in next 2, dec over next 2) around (15) 15: (St in next, dec over next 2) around (10) Stuff. 16: (Dec over next 2) around (5). Sl st, finish
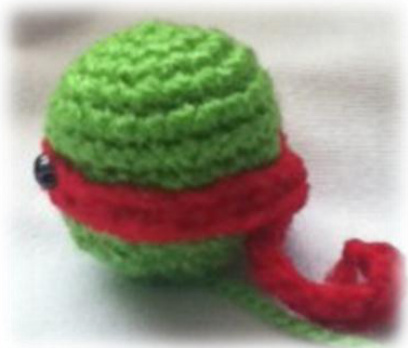
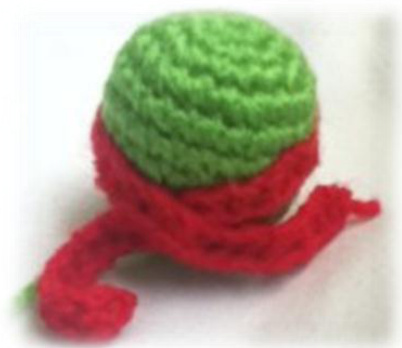
MASK
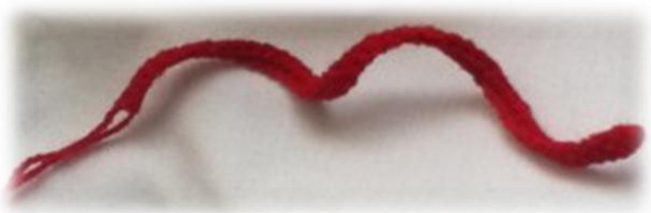
1: ch 46 (you can make it longer if you want) 2: st in 2nd st from hook and in next 44. sl st, finish (45)
HEAD
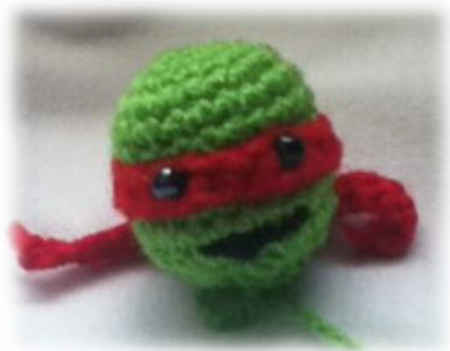
1: st 6 in magic ring (6) 2: St 2 in each (12) 3: (St in next, st 2 in next) around (18) 4: (St in next 2, st 2 in next) around(24) 5-9: st around (24) 10: (St in next 2, dec over next 2) around (18) 11: (St in next, dec over next 2) around (12) Attach mask and eyes, embroider mouth, stuff. 12: (dec over next 2) around (6). Sl st, finish. Leave tail for sewing
Pin all the parts together to make sure everything is in place before sewing. I added armbands by doing some slip stitches around the arms once everything was sewn together