SLAINTE TEE by boknits
SLAINTE TEE
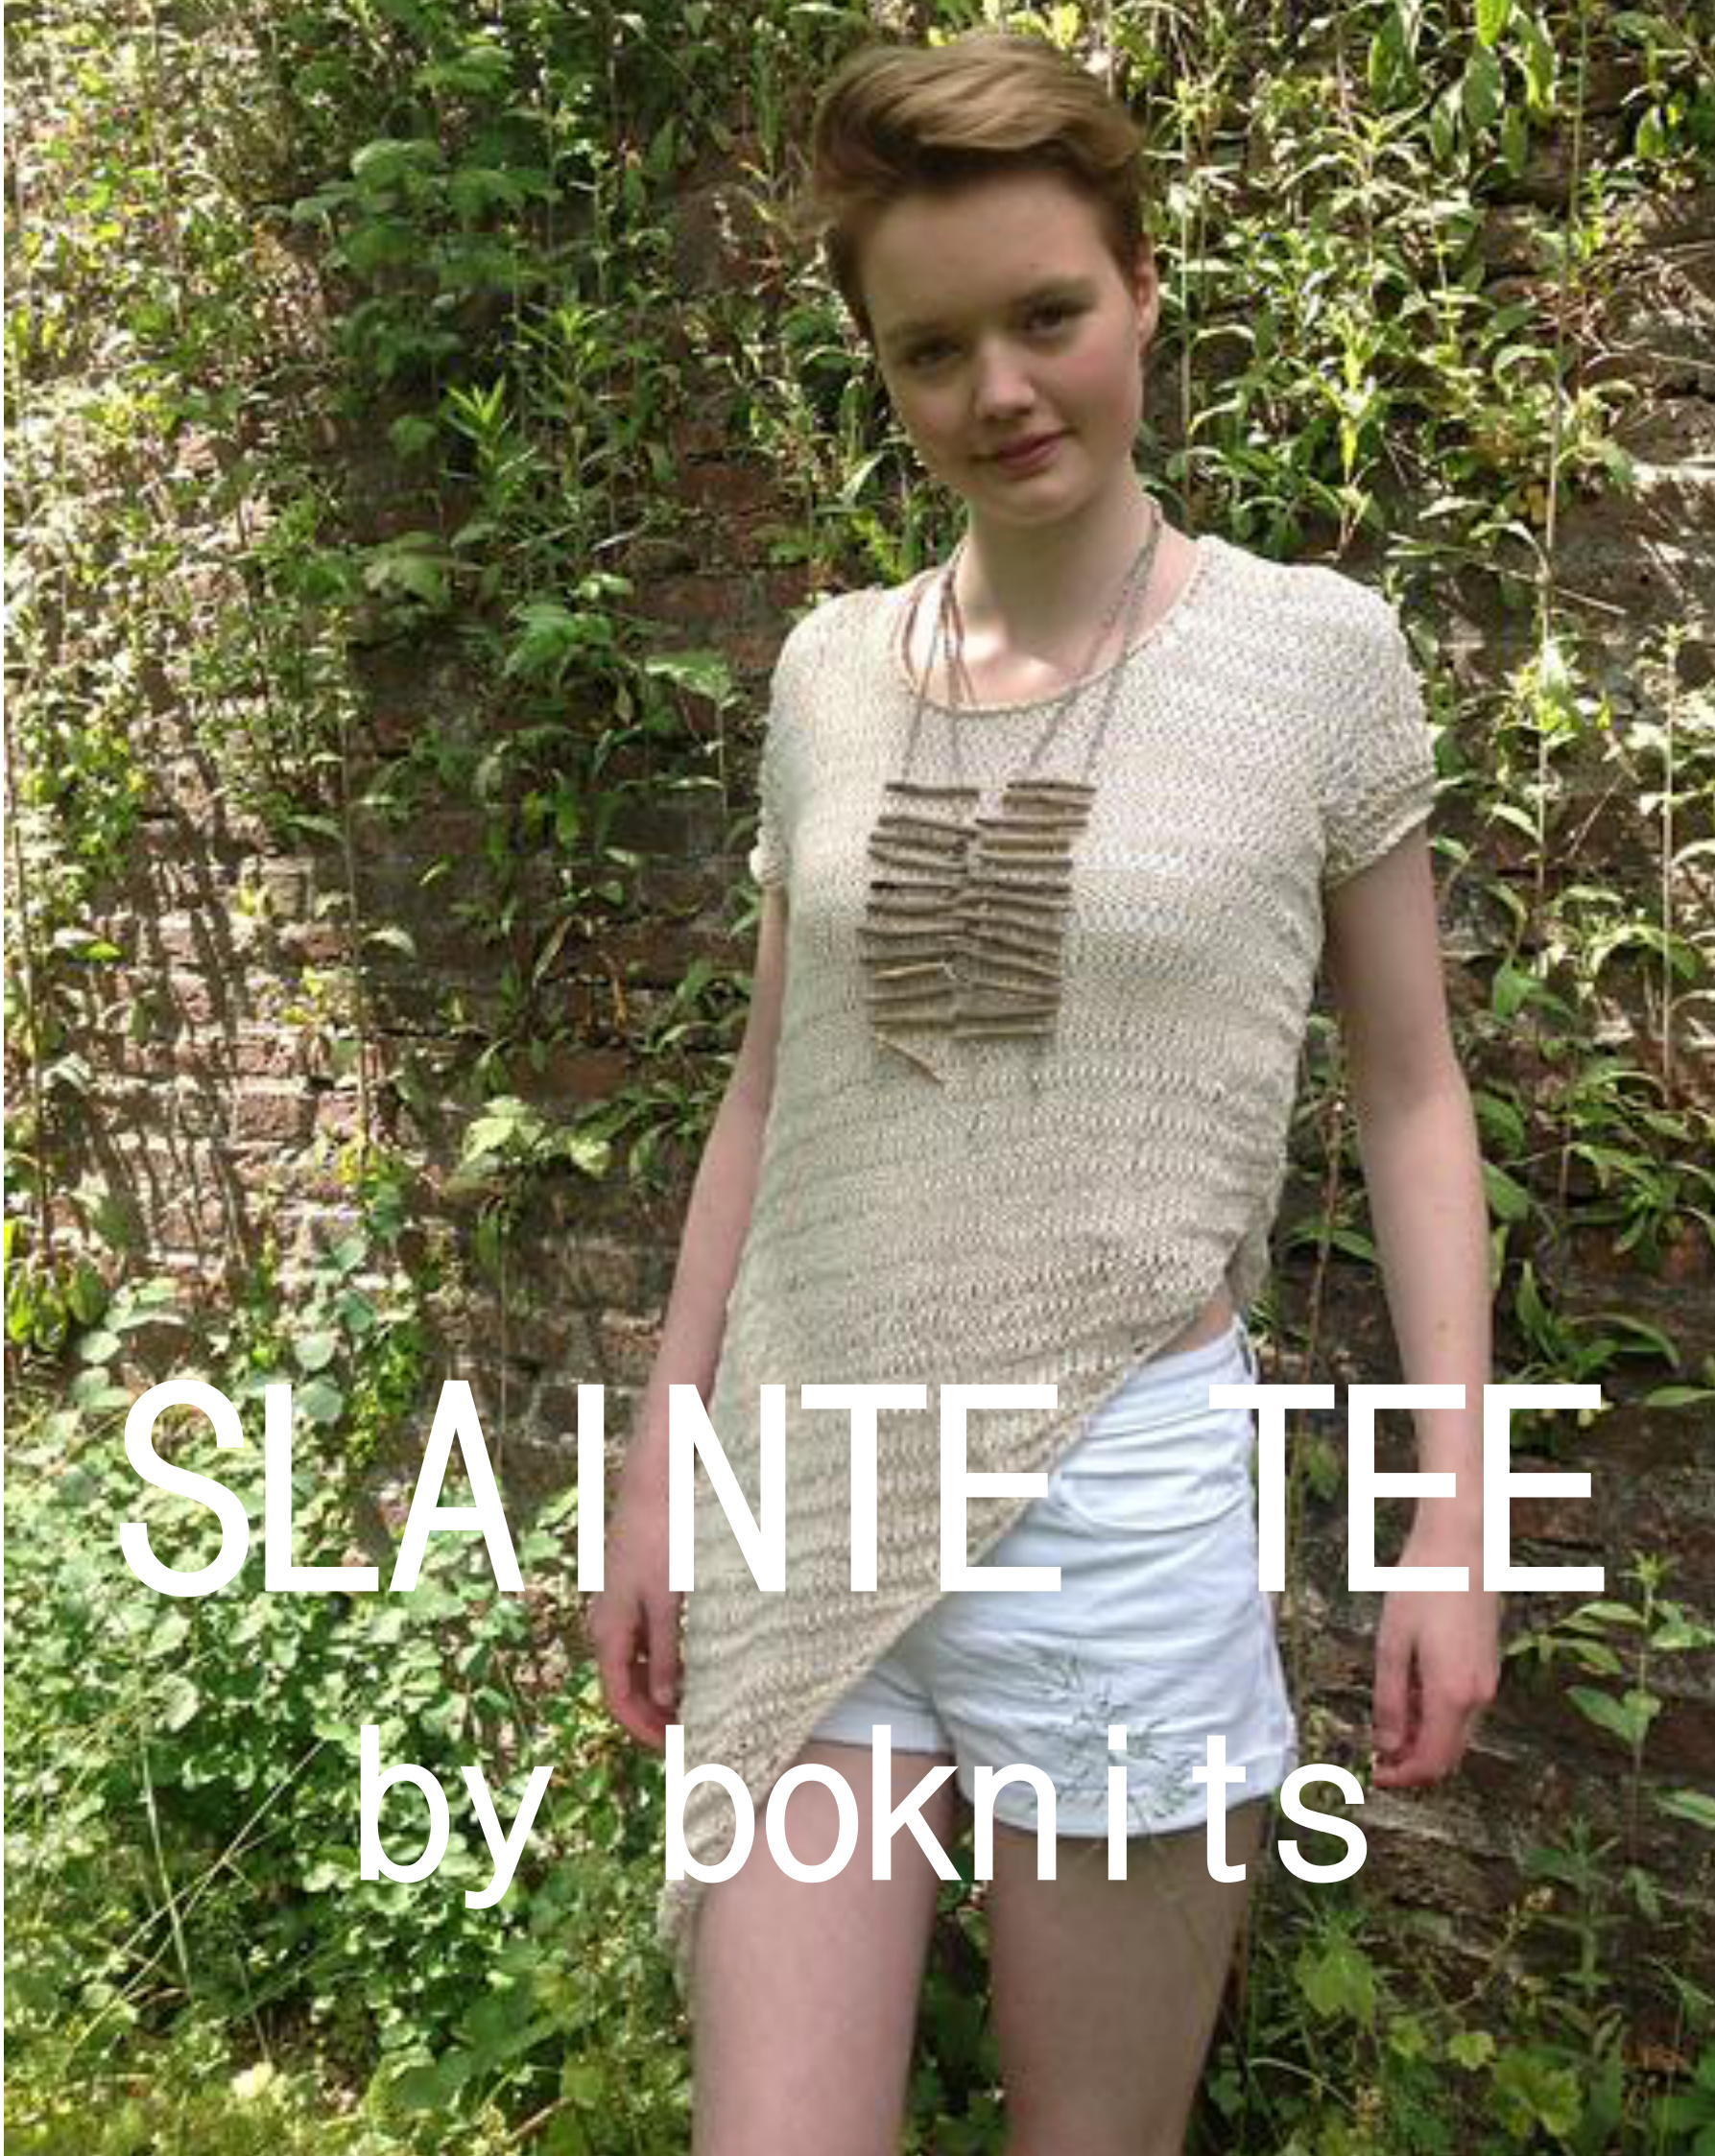
By boknits Slainte is the asymmetrical sweater you've been dreaming of. The slightly A-line body tapers into a sleek, elegant point on one side. Guaranteed to spruce up your jeans, your shorts, your summer skirts... The fabric has an irregular stripe pattern of elongated stitches. Super easy with lots of effect. It's knit in the round, contiguous, bottom-up. The sleeves are knit separate and combined with the body at the start of the arm opening. The neckband is picked up and knit. You can slant the bottom sharply, like in the short-sleeve example, or more shallowly, like in the long-sleeved example. It has a round neck and a choice of long or short sleeves.
design features:
stockinette, stripes dropped stitches contiguous sleeves/shoulders bottom-up
sizes:
XS (S, M, L, XL,2X) 72/76(80/86, 91/96, 102/106, 111/116,121/126) cm 28/30(32/34, 36/38, 40/42, 44/46,48/50)" bust circumference. finished measurements armpit(laid flat): 80( 90, 100, 110,120,130)cm, 32(36,40,44,48,52) 5cm/2" pos ease finished length mid-back: M: 65 cm sample garment: model is 1.80m/5'11", size S, and is wearing an M. yarn: Spring by Lana Grossa, Sport / 5 ply,58% Rayon, 27% Nylon, 15% Cashmere,(164 yards / 50 grams), 600(650,705,750,800,900) yards/4(5,5,5,5,6,7)balls in beige Alternatives: most sport/dk yarns will work, but light weight is important! gauge: 13st/18 rounds at 10cm/4" in pattern in the round.
needles:
4 mm/size 6 US, 32" circular needles; I used Addi Turbos. notions: 4 stitch markers yarn needle scrap yarn @boknits design. This pattern is for unlimited personal use. Do not distribute or sell this pattern, or sell a garment you produced with this pattern. For questions, contact bnbalder@hotmail.com
SLAINTE TEE by boknits
BODY:
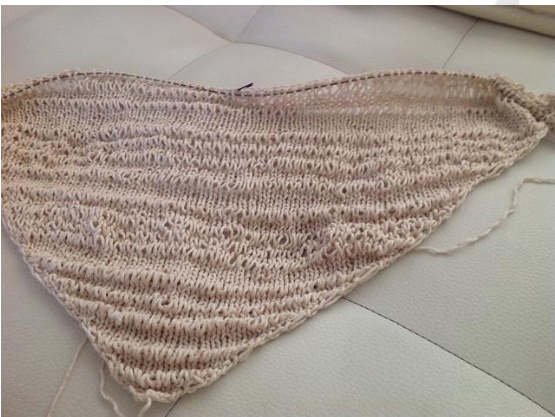
swatch first to see if you get st. gauge, and if necessary go up or down a needle size. Make a large swatch: the elongated stitch influences the swatching, and every yarn reacts differently. My advice is to swatch the slant as well since your row gauge determines how steep your slant is. If your row gauge is larger than the pattern's, you might have to do more increases than written to get the same slant. Slant: I'm doing a provisional CO for the body, from the straight part up, and adding the slanted part later. This is because decreases generally look neater than increases, and to make sure the sweater hits you at the exact right point. But if you want, you can start at the point of the slant and increase your way up. Your choice! starting from lowest point: CO 2 st. Turn work, purl 2. First increase: \*kfb,M1,k1\* Increase round: \*k/p1,M1, work to 1 st before end, M1,k/p1\*. For shallow slant, work increase row every row. For steep slant, work increase row every 3 out of 4 rows. Continue increasing for steep or shallow slant until you reach the CO amount for your size ( seebelow). starting at hip: With 4 mm needles and MC, provisionally CO (for example via this method http://techknitting.blogspot.nl/2006/12/provisional-casting-on.html) for back: 60(66, 72, 80,86,94), PM, 60(66, 72, 80,86,94),PM. Connect in the round, being careful not to twist. Total 120( 132, 144, 160, 172,188) st. Continue in stripe pattern until armhole. Suggested CO. to-armhole lengths: 31(33,35,36,37,39)cm/12(13,14,14,15,16)". Lengthen or shorten here if you are taller or shorter than average. at the same time: At 2(3,5,5,7,7) cm/1(1,2,2,3,3)" from start of combined body, decrease around the side markers as follows: decrease round: \*knit 1, k2tog, knit to 3 stitches before marker, ssk, k1 \* repeat once. (decreases are supposed to lean towards the seam) Repeat decrease round 2 more times, every 4cm/1.75". Resulting total: 108(120,132, 148, 160,176), each front/back 54(60,66,74,80,88). armhole: Start armhole at side markers when side seam is 31(33,35, 36,37,39)cm/13(13,14,14,15,16)". (Adjust to your own length). At 3(4,4,5,5,6) st before side marker, BO 6(8,8,10,10,12)st. Repeat around other side marker. Resulting st on front/back each 48(52,58,64,70,76). Adding sleeve round: At back left armpit,\*pm, provisionally CO 38(40,42,44,48,52) st., pm; patt across front sts of body to armhole.\* Repeat\*\* once more, ending. before back sleeve marker. start body-sleeve shaping: This is like but not identical to the top-down contiguous sleeve and shoulder, only the other way around. We will now decrease along the sleeve/body seam, and it will look like a set-in, sewn sleeve. Only decrease around the markers. Body and sleeve aredecreased at different rates.
SLAINTE TEE by boknits
Decrease round armhole/sleeve cap as in table written out:
row 1:\*SM(sleeve), k2tog,k2tog, K to 4 st before M, ssk, ssk SM (front or back),k2tog, k2togK to 4st before M, ssk, ssk\* repeat once more that round. (4 sleeve st decreased each sleeve, 8 body st decreased ( 2 per front and back) row 2-8:\*SM(sleeve), k2tog, , K to 2 st before M, ssk, SM(front or back),k2tog, K to 2st before M, ssk, \* repeat once more that round. (4 sleeve st decreased, 4 body st decreased ( 2 per front and back) from round 10 on:\*SM(sleeve), k2tog, K to 2 st before M, ssk, SM\*,repeat\* 1 more time at next sleeve. (4 sleeve st. decreased, 2 per sleeve.) chart explanation: The table below is made to look like your sweater lying flat with the sleeve in the middle, upside down. You work decreases around the markers like indicated in the table. One half of the body and sleeve shaping is shown below; knit the right half of back, sleeve and front in mirror image. (NOTE: Read on for the neck shaping which takes place during the armhole shaping, at 5cm/2" from start of armhole.) Yoke and shoulder chart(decreases lean towards the seam)
| front decreasesright | xl | 2X | sleevexs | sleevedecreases | xl | back decreases left | S | m | xl | ||||||||||||
| row | XS s | m 26 | 29 | 32 | 35 | 38|start with | s 38 40 | m 42 | 44 | 48 | 2X 52 | start with | XS 24 | 26 | 29 | 32 | 35 | ||||
| 1 | 24 22 | 27 | 30 | 33 | 36decr 2 | decr2 | 34 | 36 | 38 | 40 | 44 | 48 decr2decr2 | 22 | 24 | 27 | 30 | 33 | 38 36 | |||
| 2 | 21 | 24 23 | 26 | 29 | 32 | 34|decr 1 | decr2 | 30 | 32 | 34 | 36 | k2 | 44|decr 2decr 1 | 21 | 23 | 26 | 29 | 32 | 34 | ||
| 3 | 20 | 22 | 25 | 28 | 31 | 33decr 1 | decr1 | 28 | 30 | 32 | 34 | 38 | 42decr1 | decr 1 | 20 | 22 | 25 | 28 | 31 | 33 | |
| 4 | 21 | 24 | 27 | 32decr 1 | decr1 | 26 | 28 30 | 32 | 36 | 40|decr 1decr 1 | 21 | 24 | 27 | 30 | |||||||
| 5 | 23 | 26 | 29 | 31decr 1 | decr1 | 24 26 | k9 | p1 | 34 | 38decr 1decr 1 | 23 | 26 | 29 | 32 | |||||||
| 9 | 25 | 28 | 30decr 1 | decr1 | 22 24 | Row 41- mc | 28 | 32 | 36decr 1decr 1 | 31 | |||||||||||
| 7 | 24 | 27 | 29decr 1 | decr1 | 20 22 | k1 | 26 | p1 | 34decr 1 | 25 | 28 | 30 | |||||||||
| 8 | k2 | 28decr 1 | decr 1 | 18 20 | 22 | 24 | 28 | 32decr1 | decr 1 | 24 | 27 | 29 | |||||||||
| 6 | 25 | 27decr 1 | decr 1 | 26 | 28 | ||||||||||||||||
| 10 | decr1 | purl the mc stitches & wyif slip the cc stitches until last 7 stitches 18 | purl the cc stitches, wyif slip the mc stitches until last 7 stitches | 26 | 30decr1 | decr1 | 25 | 27 | |||||||||||||
| 16 mark the row numbers! | decr1 | 14 | 16 | 18 | 20 | 24 | 28decr1 | ||||||||||||||
| 18 mark the row numbers! | decr1 | 12 | 14 | 16 | 18 | decr1 | |||||||||||||||
| 24 mark the row numbers! | decr1 | 10 | 12 | 14 | 16 | 22 | 26|decr 1 | ||||||||||||||
| 26 mark the row numbers! | decr | 1 8 | 10 | 12 | 14 | 20 | 24decr 1 | ||||||||||||||
| 28 | decr 1 | 6 8 | 10 | 12 | 18 | 22|decr 1 | |||||||||||||||
| 29 | decr 1 | 4 6 | 8 | 10 | 16 | 20|decr 1 | |||||||||||||||
| 30 | decr1 | 2 4 | 6 | 8 | 14 | 18decr 1 | |||||||||||||||
| 31 | decr1 | 2 | 4 | 6 | 12 | 16|decr 1 12|decr1 10|decr 1 8decr 1 6|decr 1 4|decr 1 2|decr 1 odecr 1 | |||||||||||||||
| 32 33 34 35 36 37 38 39 | decr1 decr1 decr 1 decr 1 decr1 decr1 decr1 decr1 | 2 | 4 2 | 10 14|decr 1 8 6 4 2 o | |||||||||||||||||
NB: only the worked rounds are shown in the table. Take note of the omitted rounds as shown in the round count on the left!
SLAINTE TEE by boknits
neck shaping front: During the sleeve shaping, at 5cm/2" from start of armhole, BO front stitches according to front neck chart(round1).The chart is shown for half the front st; work each side of the shoulder at the beginning of your round (we're working back and forth now). You will then have to execute some decreases from the purl side, for help see this tutorial(http://techknitting.blogspot.nl/2009/10/purl-decreases-p2tog-p2tbl-ssp.html). Shoulder shaping and neck shaping together will result in no front st being left.
| 1/2front neck | XS | S | M | XL | 2X | |
| Start with | 20 | 21 | 23 | 24 | 25 | 27 |
| BO | 9- | -6 | -7 | -7 | -8 | 6- |
| -3 | -3 | -3 | -3 | -3 | -3 | |
| -1 | -2 | -2 | -2 | -2 | -2 | |
| -1 | -1 | -1 | -1 | -1 | -1 | |
| -1 | ||||||
| Total BO | 11 | 12 | 13 | 13 | 14 | 16 |
| Rem shoulder | 9 | 9 | 10 | 11 | 11 | 11 |
shoulder shaping: 3-needle BO: At the end of the sleeve shaping, sleeve count is 2 st. Move 1 sleeve marker between these two, discard the other. Start at one front, knit to M. Fold the needle ends together: The needles point to the shoulder, the RS of the garment is inside. We will do a staggered 3-needle bind off. With a second needle, put the needle tip through one stitch of the back shoulder, one of the front, knit, repeat, BO this stitch in a normal BO. Repeat 3 times, 4 st bound off. Put the remaining st back on the right needle. Now knit out the rest of the front st with the original needle until the other shoulder M; repeat 3-needle BO. Work one row without decreasing, knitting the put-back-st together with the next st (right shoulder)/previous st(left shoulder). Pull the stitches tightly as you do this, or you may get a gap. Work these (decrease and normal) rows until you have no more front st left. Rest remaining back neck st. Sleeves continued: Pick up the 38(40,42,44,48,52)st from the provisional C0 . CO with loop method 3(4,4,5,5,6) st at each end, resulting total: 44(48,50,54,58,64)st and knit downwards, copying the body's striping. Short sleeve: At 3 cm/1" from the start, BO loosely. Long sleeve: After 5cm/2" from thearmpit, start decreasing 2 stitches around the side marker, (or from the side seam) in pattern, every 3 cm/2.2", 10(11,11,12,12,13) times until you have 24(,26,28,30,34, 38) st 0r desired width. Continue until sleeve is 50 cm/20" or desired underarm length minus 2cm/1". Work in reverse stockinette for 4 rounds. BO loosely.
SLAINTE TEE by boknits
Slanted hem downwards
Pick up the st from the provisional CO. Choose which side you want the slant to fall. Don't connect with the other side there, knit the slanted hem back and forth. For a shallow slant: work decrease row every row For a steep slant: work decrease row 3 out of 4 Decrease row: k/p1, k2tog, work to 3 st before end of row, ssk,k/p1. Continue until you have 2 st left. BO.
FINISHING
Hems: If your hems looks neat enough, you can leave it the way it is ( though it might curl). Otherwise, pick up st from slanted front and back (2 st for every 3 rows)and work 4 rows in reverse stockinette. BO loosely. pick up neck edge: Pick up about stitches around the front neck and back neck, one stitch per stitch column, bridging the gap in the more vertical bits with 2 st per 3 rows. Knit 4 rows reverse stockinette. BO. Here's where you can control your neck opening: BO loosely if it's just right, BO more tightly if you find the neck too wide. final touches: Sew armhole seams. Weave in loose ends. Soak, block if you wish and enjoy! STRIPE PATTERN(shown from right side; that means purling on even rows while knitting back and forth, knitting while working in the round)
The stripe consists of irregular elongated stitch sequences. One elongated stitch sequence starts with: one wrapped stitch row, one knit into the wrapped stitch row, x rows of stockinette. The pattern is created by using different counts of stockinette rows (0,1,2,4, 0r 6). One 6-row repeat has 2 rows for the elongated stitch, 4 rows stockinette, etc. Row 1: \*wrap needle twice, knit\* (video) Row 2: \*knit once in the double wrapped stitch.\* An elongated st forms below. The 66 row repeat: 6,4,6,4,4,6,4,2,2,4,6,4,3,3,8 or in chart form: (see right) Alternative: Knit row 1 with a very large needle, think 10mm/US15 Especially with inelastic yarns this might make the knitting of row 2 easier.
SLAINTE TEE by boknits
SCHEMATIC
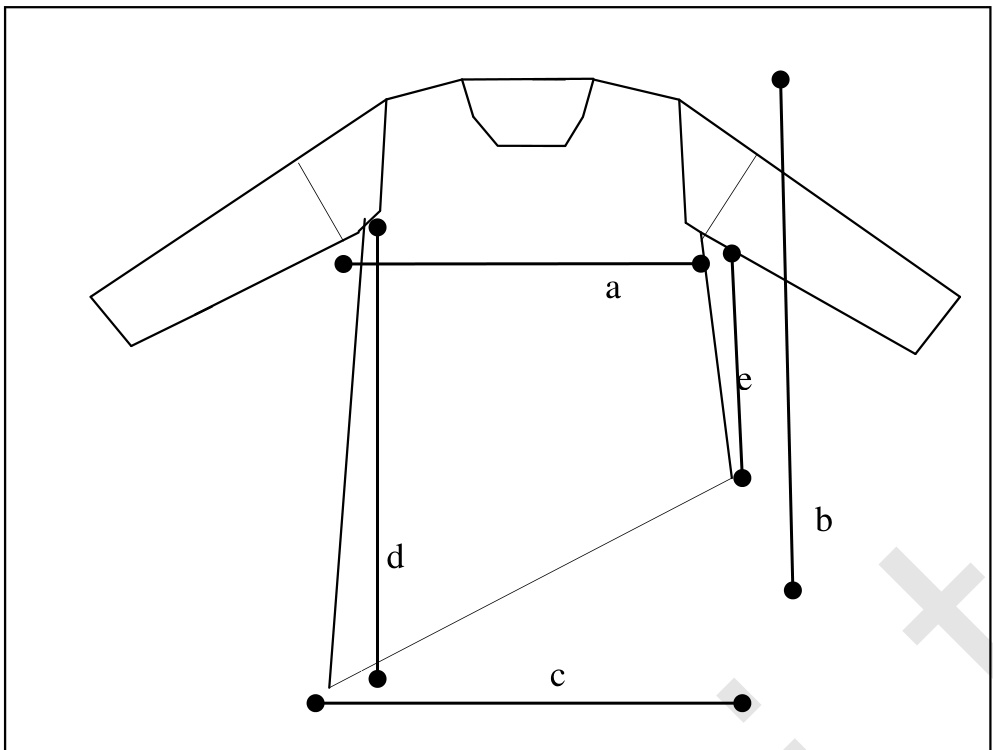
| cm/inches | XS S | M L | XL | 2X |
| a | 40/16 45/18 | 50/20 55/22 | 60/24 | 65/26 |
| b | 61/24 63/25 | 65/ 26 67/27 | 69/27 | 70/28 |
| 45/18 50/20 | 55/22 60/24 | 65/26 | 70/28 | |
| d | 61/24 63/25 | 65/ 26 67/27 | 69/27 | 70/28 |
| e | 30/12 33/13 | 35/14 35/14 | 37/15 | 40/16 |
ABBREVIATIONS
BO bind off, co cast on K knit, P purl k2tog knitting 2 stitches together ssk slip one, k2tog through back loop PM place marker. SM slip marker RS right side, or outside of garment. WSwrong side, or inside of garment MCmain color. CCcontrast color W&T wrap and turn or here (http://www.youtube.com/watch?v=G4GxFvi4KD0&list=PLA80BD1E53983CE9B&index=24 or here (http://techknitting.blogspot.nl/search?q=short+rounds) @boknits design. This pattern is for unlimited personal use. Do not distribute or sell this pattern, or sell a garment you produced with this pattern. For questions, contact bnbalder@hotmail.com 7


