Nami Amigurumi Pattern
by Clare Heesh https://www.etsy.com/shop/53Stitches
Materials
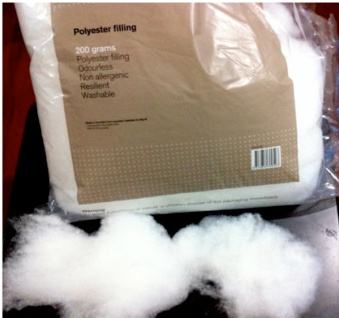
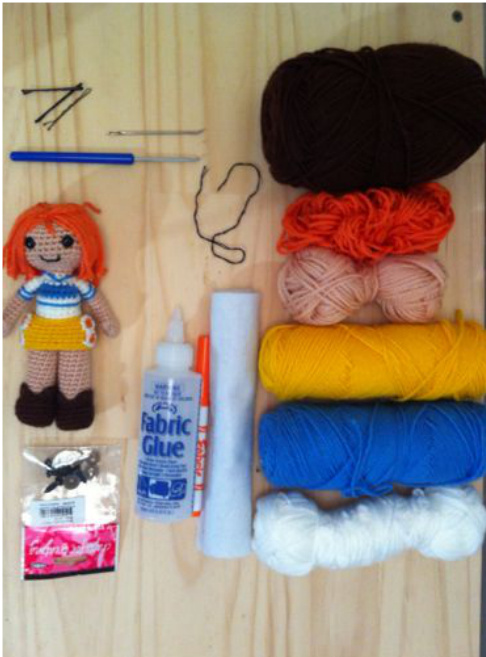
Orange yarn Beige yarn White yarn Blue yarn Yellow yarn Brown yarn Black thread Orange fabric marker 3.00mm crochet hook Polyester filling 2 x 7.5mm safety eyes Fabric glue
Techniques and Abbreviations
ch = chain st = stitch/stitches sl st = slip stitch sc = Single Crochet MR = Magic Ring inc = Increase, sc 2 in the same stitch dec = Invisible Decrease 4sc popcorn = Popcorn Stitch with 4 sc worked into it. BLO = Back Loop Only FLO = Front Loop Only [ sc, inc Jx 2 = repeat 2 times => sc, inc, sc, inc
There should be a file available for download with this one that details all of the stitches that I use and other references. If not, it is available for download here: http://53stitches.tumblr.com/post/ 54077987849/amigurumi-technique-reference My patterns are worked in continuous rounds, I recommend using a marker to mark the start of each round. I like to use a bobby pin, since it's easily removed and doesn't fall out or leave fluff as much as a stray piece of yarn does. To finish off each body part, I do a slip stitch for the last stitch of the round, then chain 1 and pull the tail into the next stitch to neaten it off.
BODY PARTS
HEAD Beige
1. (in Beige) MR 6 (6) 2. [ inc ]x 6 (12) 3. [inc, sc ]x 6 (18) 4. sc, inc, [ sc 2, inc Jx 5, sc (24) 5. [inc, sc 3 ]x 6 (30) 6. sc 2, inc, [ sc 4, inc ]x 5, sc 2 (36) 7-12. SC 36 (36) 13. sc 2, dec, [ sc 4, dec ]x 5, sc 2 (30) 14. [ dec, sc 3 Jx 6 (24) 15. sc, dec, [ sc 2, dec ]x 5, sc (18)
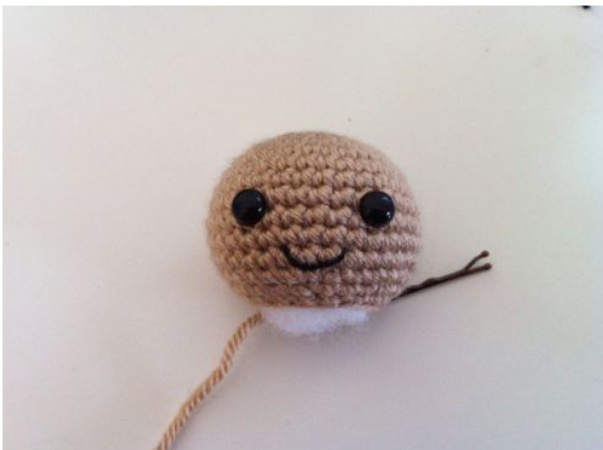
Insert safety eyes between rows 9 and 10, with approximately 4 stitches between them. Leave tail for sewing, finish off and stuffirmly. Stitch on the mouth using a few threads of black embroidery or cross-stitch thread. Yarn works as well but leaves the mouth a bit thick. Make the hair. You want about 7 or 8 bunches of 4 or 5 pieces of yarn, depending on how big your head turned out. The length of the yarn should be about twice as long as you want the hair to be. An easy way to do this quickly is to get a piece of cardboard and wrap it around the yarn, then cut it straight at any point and all the strands will be the same length.
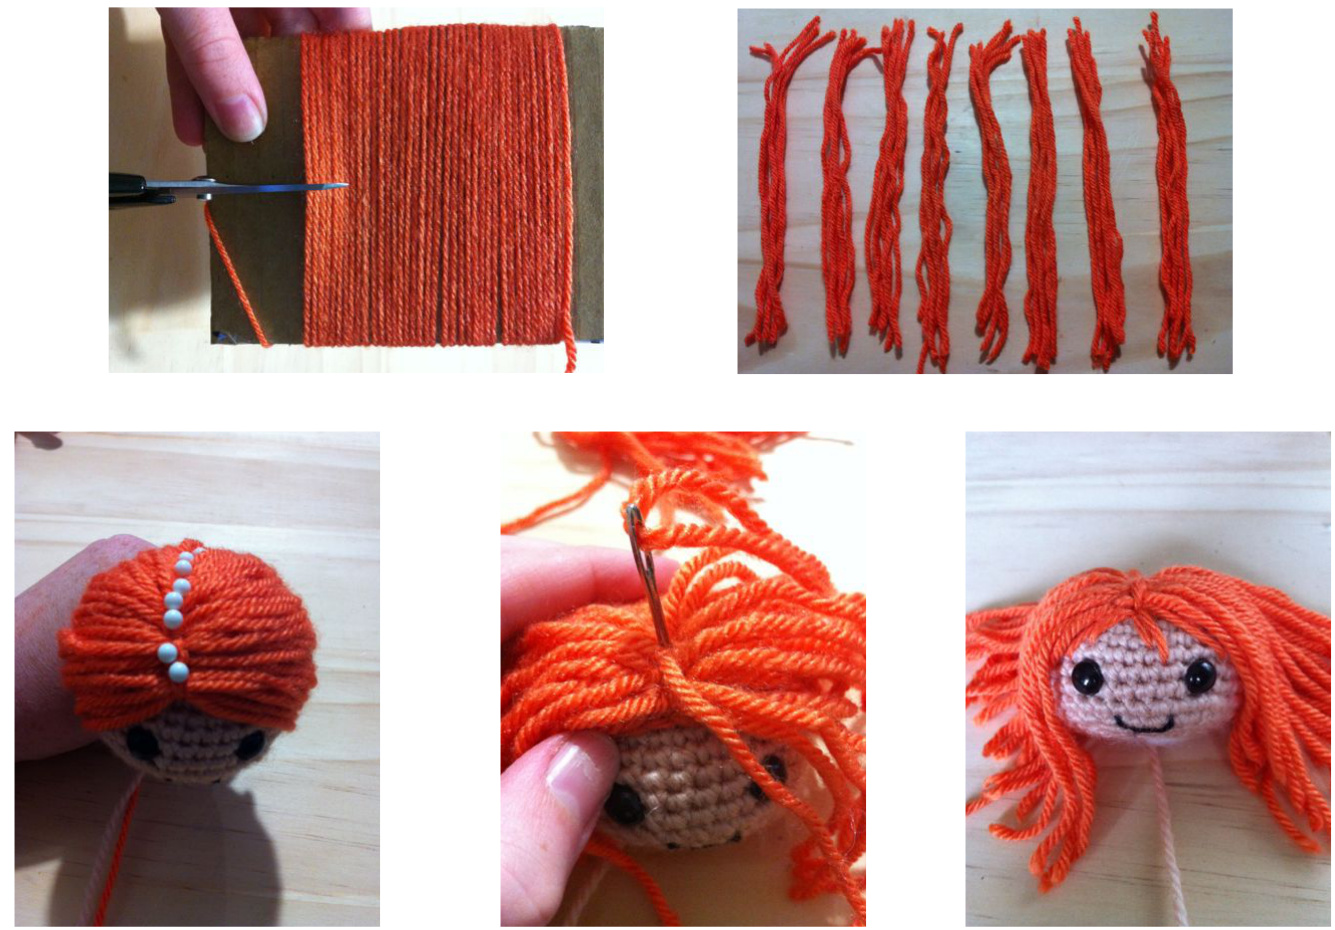
Pin the bunches in place on the head to get an idea of placement. Then secure them by embroidering them onto the head tightly. I suggest trimming the hair after it's been attached to the body to have a better idea of how it will sit. Stitch a few pieces of her fringe. Using a reference picture helps to get character accuracy. Nami Amigurumi
ARM (make 2) Beige & White
1. (in Beige) MR 6 (6) 2. [ inc, sc 2 ]x 2 (8) 3-4. sc 8 (8) 5. sc 3, 4sc popcorn, sc 4 (8) (on the second arm, row 5 is: 8. sc 4, 4sc popcorn, sc 3 (12) this gives a right and left arm. It can be easy to lose a stitch here.) 6-11. sc 8 (8) 12-15. (in White) sc 8 (8) No need for stuffing, leave tail for sewing and finish off

Then take a piece of blue yarn and stitch on the two stripes. I pull the needle from the inside of the arm to the outside at the row between the flesh colour and the white, then go back into the same hole, letting the blue yarn wrap around the arm. The second stripe is one row above this. The popcorn stitch in the arm is the thumb, if you prefer straight arms, simply replace uicpupuul ouell wiul aou.
LEG (make 2) Beige
1. (in Beige) MR 5 (5) 2. [ inc ]x 5 (10) 3-13. sC 10 (10) 14. [inc, sc 4 ]x 2 (12)
Finish off, no tail is necessary as they are not sewn onto anything.
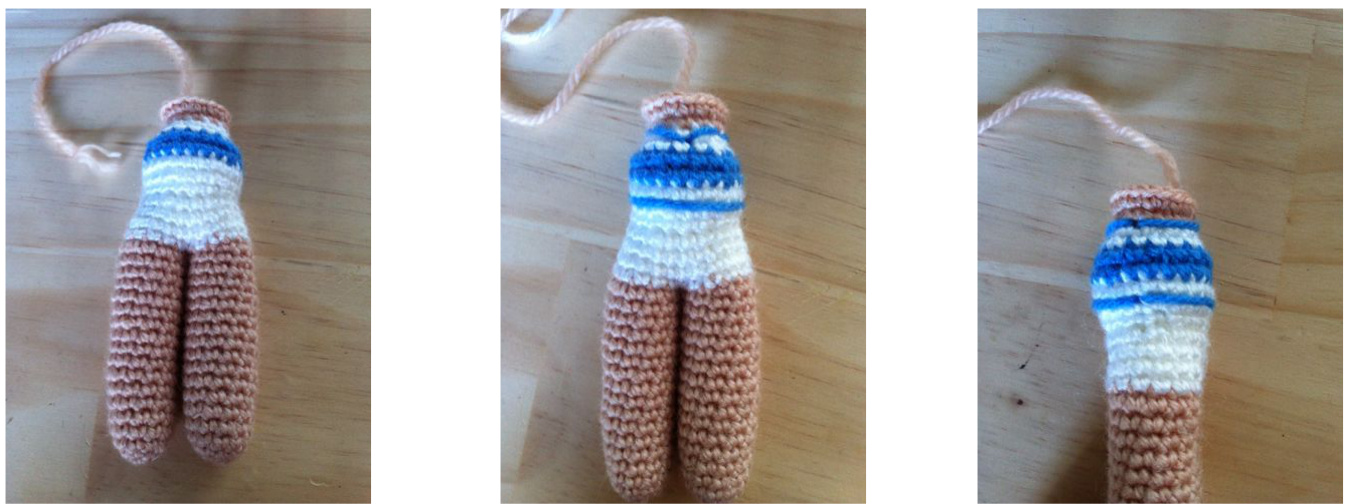
BODY
White, Blue & Beige
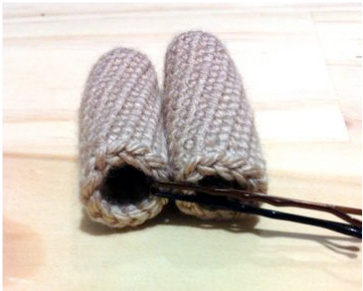
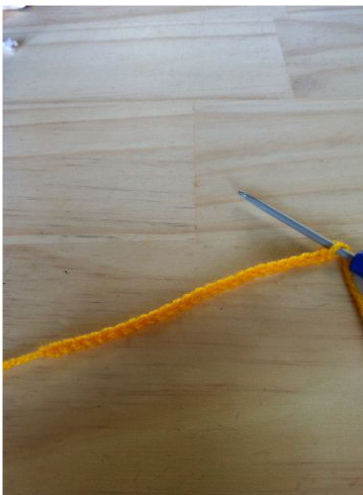
Take the two legs and position them so that the feet are pointing correctly, I like to place two bobby pins in the stitches where the legs will join to make it easier to manage. Make a slip knot, insert hook in the stitch you are going to begin the round with, make sure to begin the round at the back of the doll so that the colour changes are kept out of sight. Put the slip knot on the hook, and pull it through. The next stitch will be a regular single crochet and will begin the round.
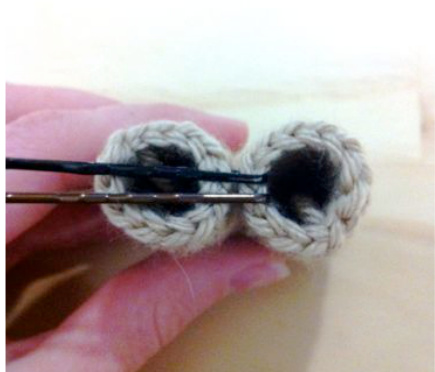
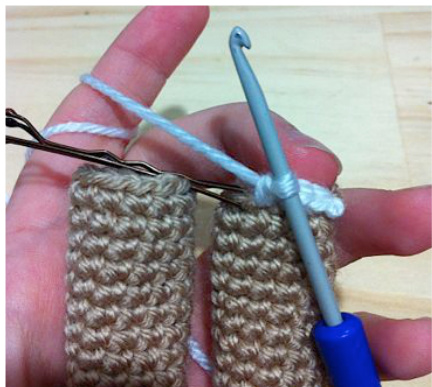
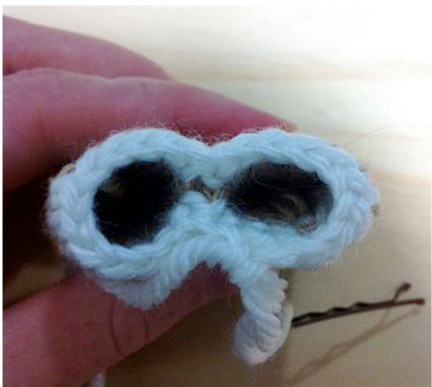
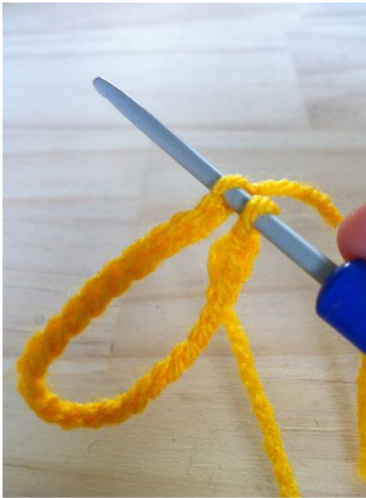
Join with two bobby pins, this is where you'll go from one leg to the other Make one sc in the right leg in the stitch the bobby pin marks. The next sc will be on the left leg, in the stitch the bobby pin marks. Do the same thing when you reach the next bobby pin. This is what it should look like after one round. Nami Amigurumi 1-2. (in White) sc 24 (24) 3. sc 3, dec, [ sc 6, dec Jx 2, sc 3 (21) (at this point stuff the legs) 4. [ dec, sc 5 ]x 3 (18) 5. FLO sC 18 (18) 6. [ inc, sc 2 ]x 6 (24) 7. sC 24 (24) 8. (in Blue) sc 3, dec [ sc 6, dec ]x 2, sc 3 (21) 9. [ dec, sc 5 Jx 3 (18) 10. (in White) sc 2, dec, [ sc 4, dec Jx 2, sc 2 (15) 11. [dec, sc 3 Jx 3 (12) 12. (in Beige) sc 12 (12) 13. [ sc, inc ]x 6 (18) Stuff the legs before beginning the decreases. Make sure she's not stuffed so firmly that she can't still stand.
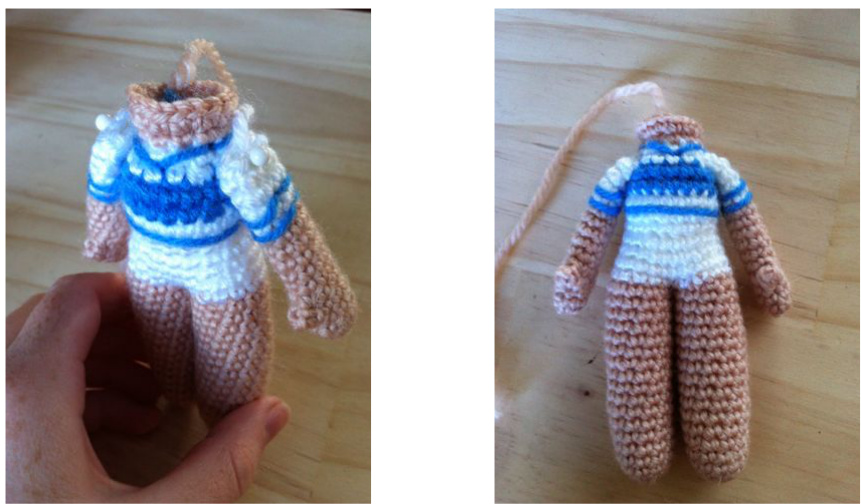
Stuff the rest of the body. Just like you did for the arms, take a piece of the blue yarn and stitch on the stripes. The shirt has one stripe which is one row below the blue crocheted rounds. She also has one at the collar. For this one, I try to make a small "v" shape. Next attach the arms. The arms are attached as a flattened piece. I pin them in place to make sure I know where they're going. Attaching them as a flattened' piece like this makes sure the arms rest against the sides of the body.
Nami Amigurumi
BOOTS (make 2) Brown
1. (in Brown) MR 6 (6) 2. [inc ]x 6 (12) 3. [sc, inc ]x 6 (18) 4. BLO sc 18 (18) 5-7. sc 18 (18) 8. sc 2, dec 6, sc 4 (12) (on the second leg, row 8 is: 8. sc 4, dec 6, sc 2 (12) this gives a right and left foot) 9. sc 6 () 10. ch 1, turn, sc 12 11. ch 1, turn, sc 6
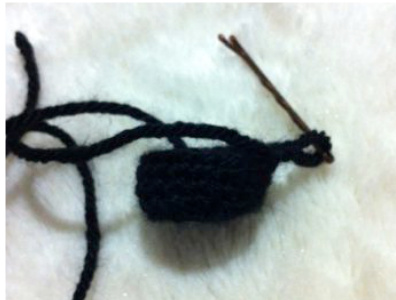
Crocheting one round in the back loop only makes it easier to give the foot shape, as it's easier to make the base flat.
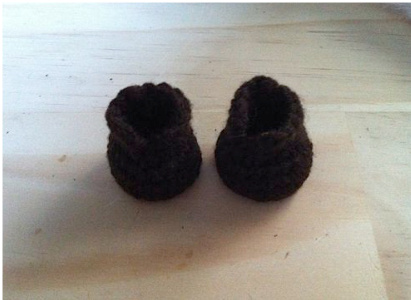
The shoes may be difficult to get on the foot the first time, but they will fit.
SKIRT
Yellow, White & Orange 1. ch 25 (25) 2. (beginning in stitch furthest from hook) sc 24 (24) 3-6. sC 24 (24)
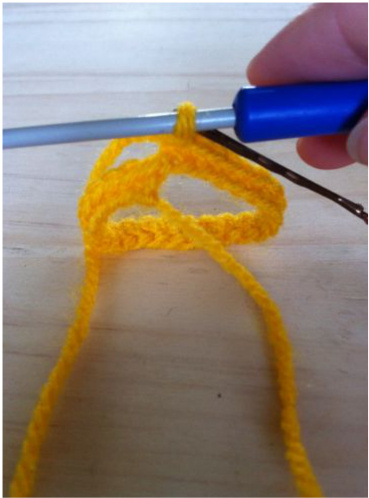
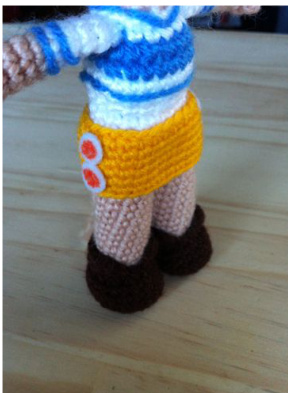
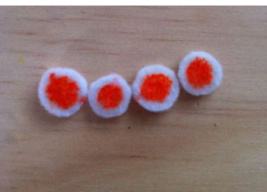
This is the original foundation chain. Insert in the first ch you did, the ch furthest from the hook. Try to make sure the "v"'s are all facing outward. This is what it looks like after row 2. There is a bit of a gap, but you can fix that at the end by weaving the tails back into the work. Cut out four small circles with white felt, and draw smaller circles on them with an orange fabric marker. If you don't have fabric markers, orange felt or paint would work. You could also try attaching them with orangeyarn to give the orange circle. Glue these circles onto the sides of the skirt, two each side. Put the skirt and boots on! All that's left is to attach the head.
Nami Amigurumi There should have been 18 stitches in the last round of the head and the body, so they match up evenly. Simple align the head properly, and whipstitch closed.
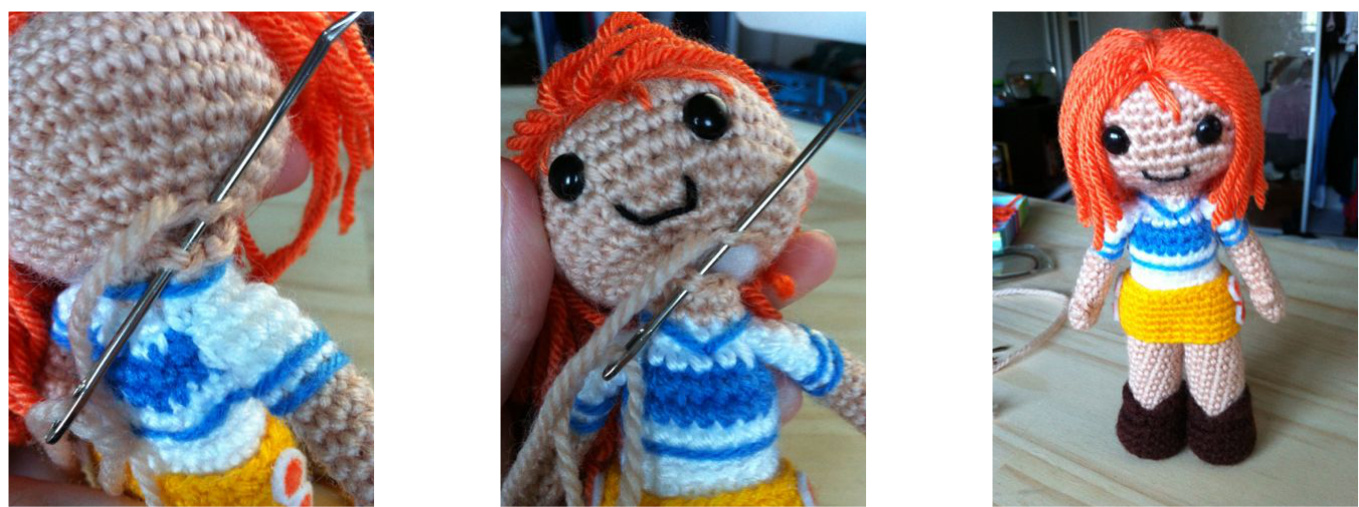
Trim the hair if it needs it. If your dolls hair doesn't sit very well, use glue to secure it in place on the head.
Hope you had fun and if there are any questions or problems don't hesitate to contact me through my etsy shop, http://www.etsy.com/shop/53stitches/ or my tumblr http://53stitches.tumblr.com If you have any suggestions or designs you'd like to see in the future, drop a suggestion in my ask and Ill seewhat I cando! Please don't copy or resell this pattern or the dolls made from it online, but feel free to make as many as you want and distribute them amongst friends or sell them at markets. Thank-you! :)


