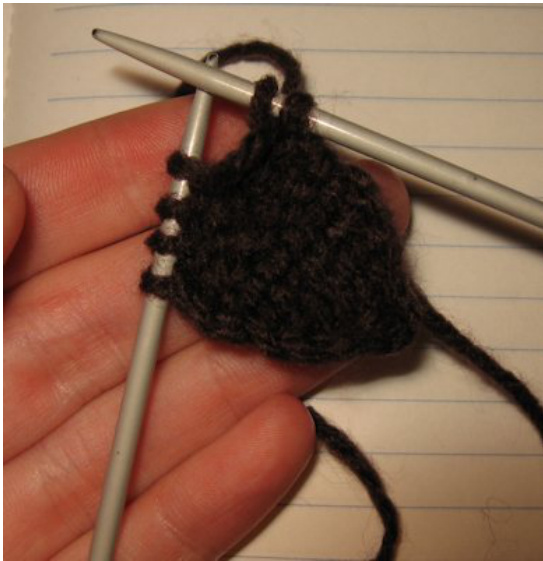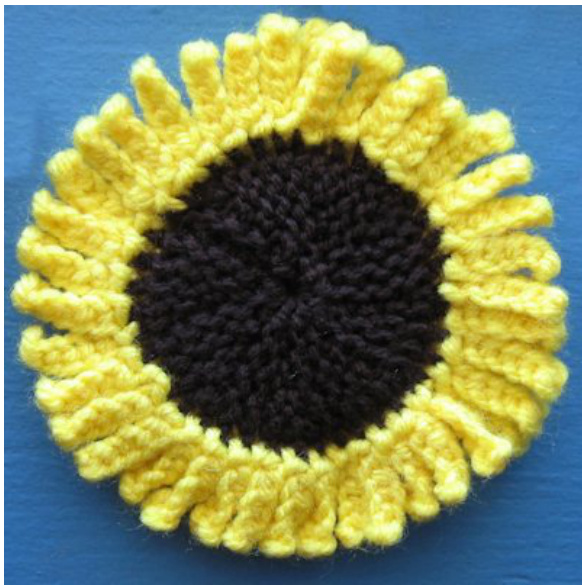
Sunflower tawashi by Marte Fagervik (http://arpelia.blogspot.com) (http://arpelia.etsy.com) Plesedtedii ths pleDt selidefmtiswit i You will need: Straight needles, US 4/3.5mm Darning needle Brown and yellow worsted weight yarn (for a tawashi which is approximately $4^{\ast}$ diameter.) Don't be afraid of substituting yarn and needles, the size isn't terribly important. Just make sure you don't make it super small, unless you want it for decoration instead of practical purposes. Center (make 2): Begin by casting on 6 sts, leaving a tail for seaming. Knit one row. Row 1: Slip 1 purlwise, knit 4, wrap and turn. (If you don't know how to do this, there is an explanation at the bottom of the pattern under "short rows"). Row 2: Knit Row 3: Slip 1 purlwise, knit 3, wrap and turn. Row 4: Knit Row 5: Slip 1 purlwise, knit 2, wrap and turm. Row 6: Knit Row 7: Slip 1 purlwise, knit 1, wrap and turm. Row 8: Knit Row 9: Slip 1 purlwise, knit row while picking up the wraps as you go, kniting each wrap together with corresponding stitch. Row 10: Knit Repeat rows 1-10 seven more times, for 8 repeats total. Bind off, making sure to leave a tail for seaming. Using the yarn tail, seam first and last row together to form a circle.
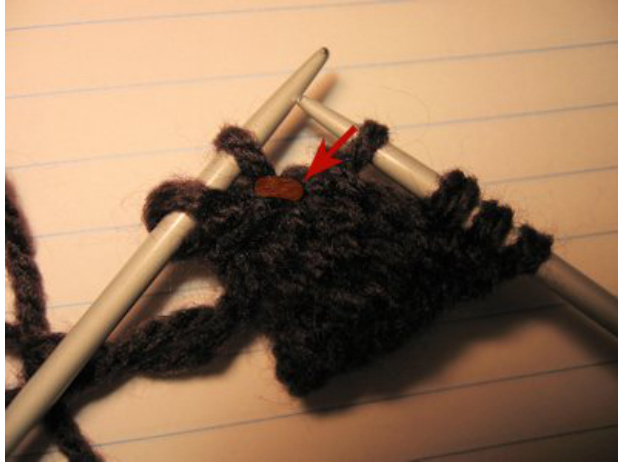
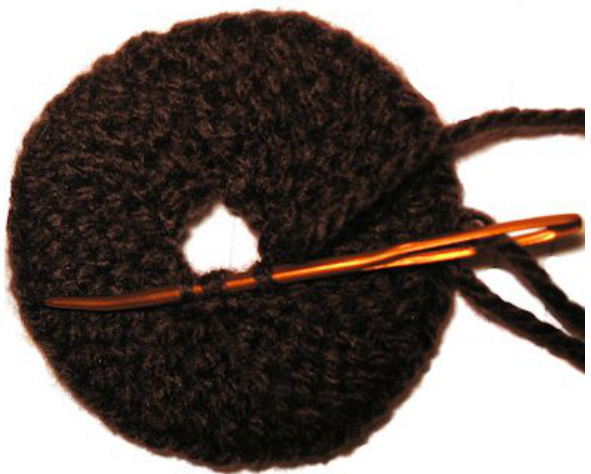
With darning needle and the other yarn tail, weave yarn end through all the bumps around in the middle. Pull tight and fasten well.
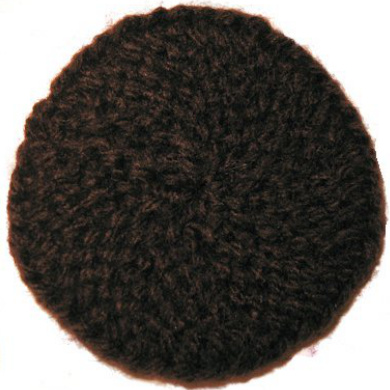
Voila, one circle done! Now make another.
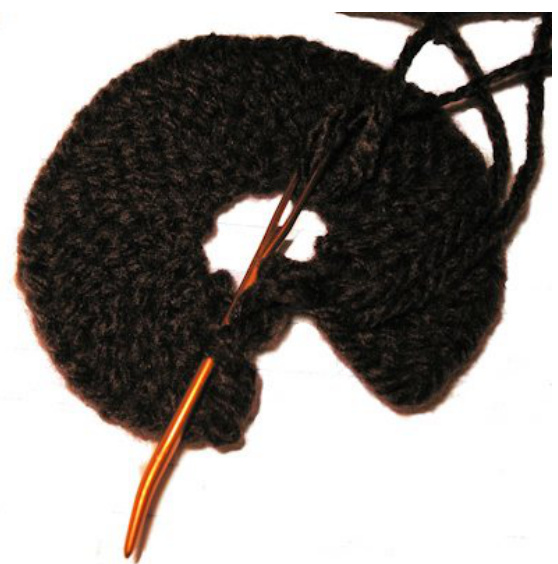
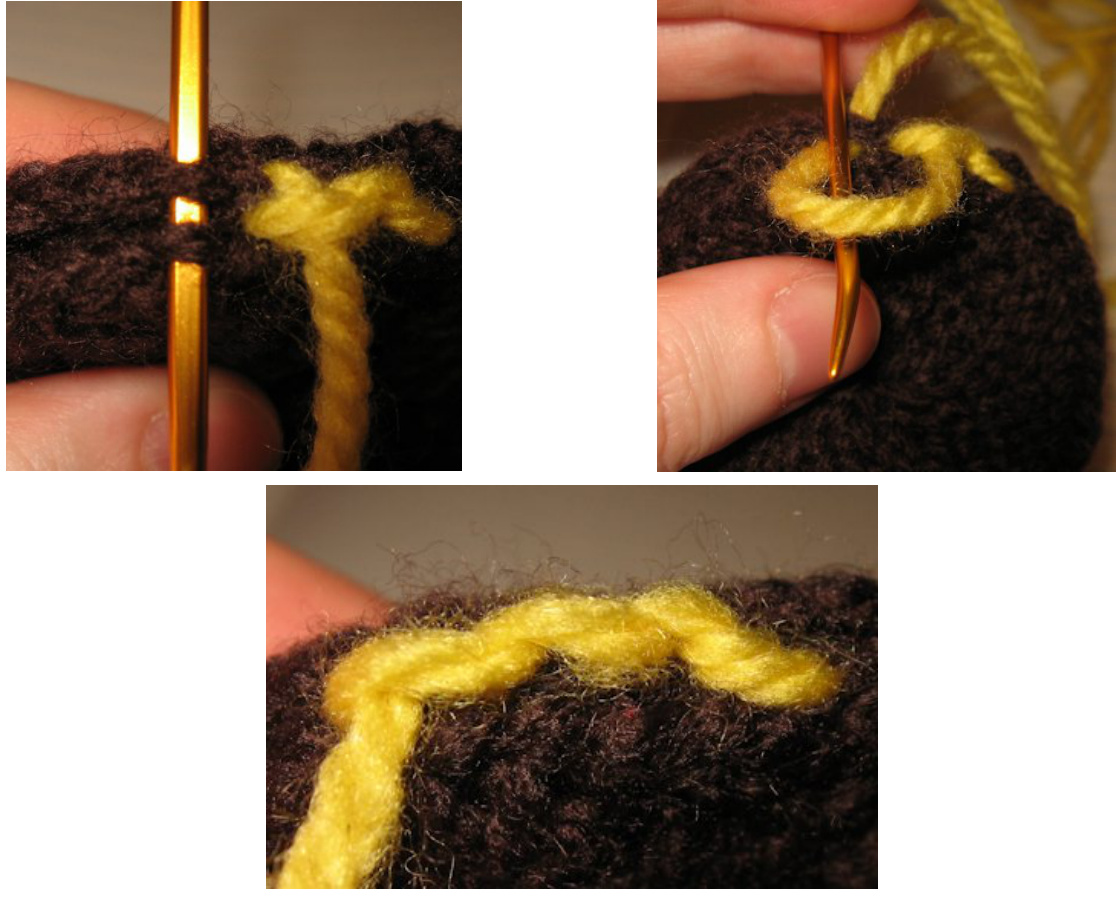
Seam the two circles together with blanket stitch (this covers up the bottom of the wrong side of the petals, so it looks a bit neater.) Use brown or yellow yarn for seaming, whichever you prefer. Sew only through the loops closest to what will become the inside of the flower, look at photos for clarification (you will need the outer loops for the petals).
Petals:
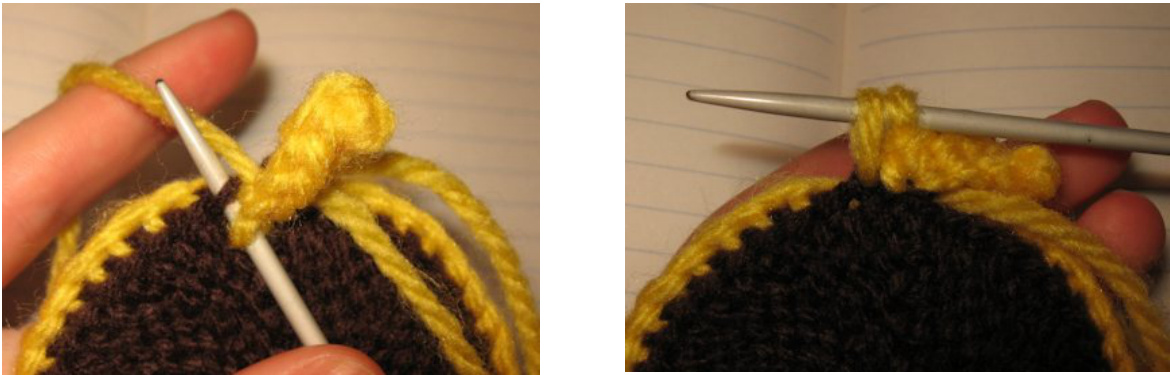
If you're a crocheter as well you can crochet these instead; just chain 6 and slip stitch in each ch, slp stitch in next loop, chain 6, etc.) For the first petal: With yellow yarn, pick up and knit 1 stitch through the loop closest to you. \*Using the knitted cast on, add 5 more stitches so you have 6 in total. Then proceed to bind all stitches off again.
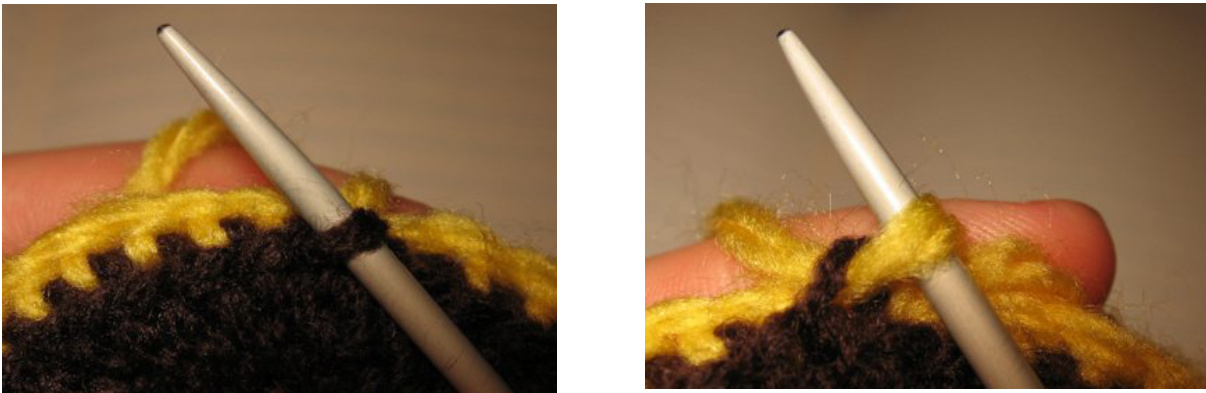
Once you have one stitch left on needle, pick up and knit the next stitch on the brown circle. Bind off 1 more stitch so you only have 1 stitch left before starting the next petal.
Repeat from \*. Work petals this way all the way around the circle. Cut yarn, pull through last stitch and fasten to bottom of the very first petal. That's all there is to it! If you want, you can add another round of petals on the other side,to make the flower reversible. You can even make yet another round of petals attached to the blanket stitch between the two circles, but depending on how thick your yarn is, this might make your flower very fluffy. Please do not copy or redistribute this pattern. For personal use only. Do not sellitems made from this pattern without my permission.
Short rows:
1: When you get to the stitch that needs to be wrapped, keep yarn behind needles.
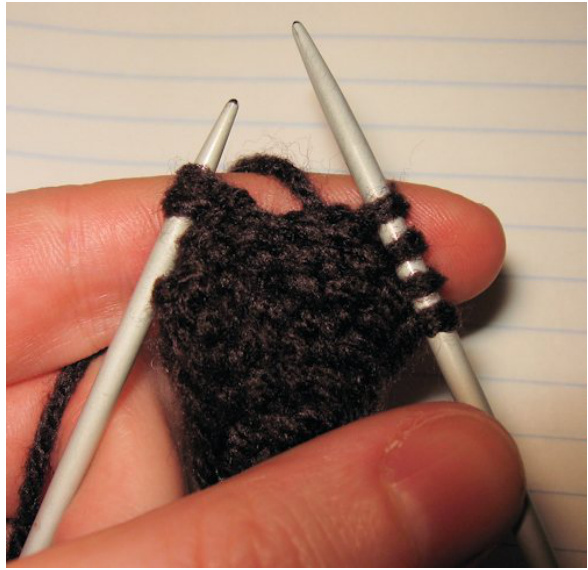
2: Slip stitch from left to right needle, keeping yarn behind.
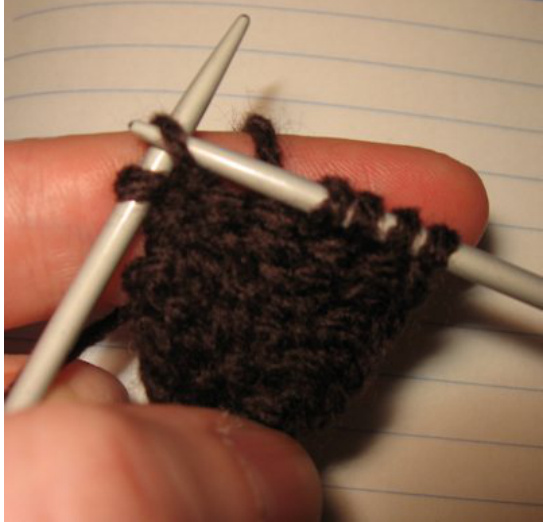
3: Move yarn to the front of work, so it lies between two stitches.
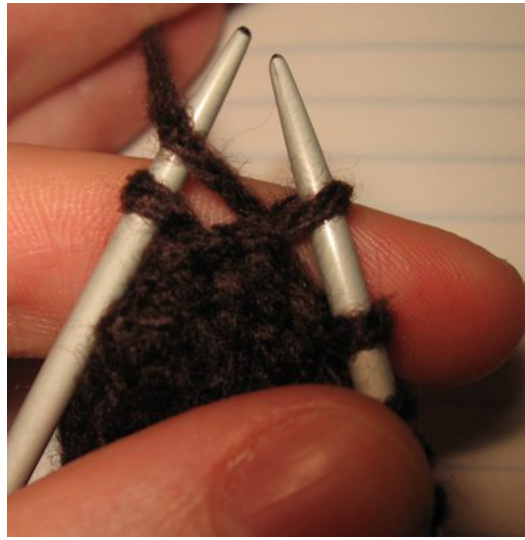
4: Slip stitch from right to left needle. The yarn should now come out between two stitches.
5: Turn work around and knit to end of row.