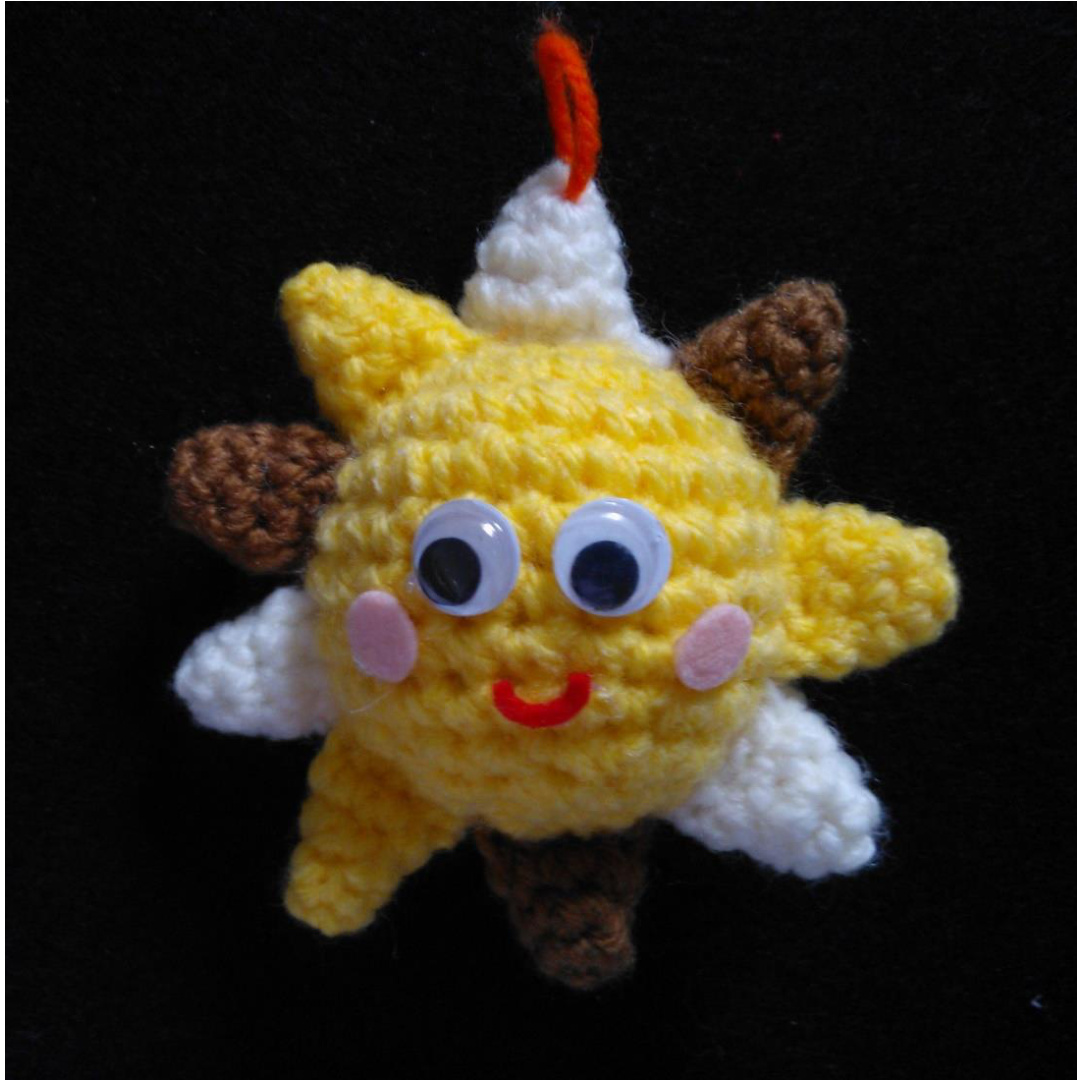
LITTLE SHINY SUN
AMIGURUMICROCHETPATTERN Designed by Erin Huynh - @ 2013 http://www.ErinsAmigurumi.etsy.com
@ Copyright 2013 by Erin Huynh (http://www.ErinsAmigurumi.etsy.com)
OVERVIEW
Level:Beginner Finished size: approx. 4 x 4 in (10 x 10 cm)
NOTE
All parts worked in continuous rounds
MATERIALS
Worsted weight yarn with yellow and your choice for different colors Crochet Hook 3.5 mm (US E hook) Scissors Fiberfill for stuffing One pair of plastic 10 mm eyes Felt fabric Glue
ABBREVIATIONS
ch - chain sc2tog - decrease by working 2 sc together sc - single crochet sl st - slip stitch st - stitch or stitches rnd -round
BODY
Rnd 1: ch 2, 6 sc in 2nd st from the hook (6) Rnd 2: 2 sc in each st around (12) Rnd 3: (sc in next st, 2 sc in next st) x 6 times (18) Rnd 4: (sc in next 2 st, 2 sc in next st) x 6 times (24) Rnd 5 - 10: sc in each st around (24) Rnd 11: (sc in next 2 st, sc2tog) x 6 times (18) Rnd 12: (sc in next st, sc2tog) x 6 times (12) Stuffwithfiberfill Rnd 13: sc2tog x 6 times (6)
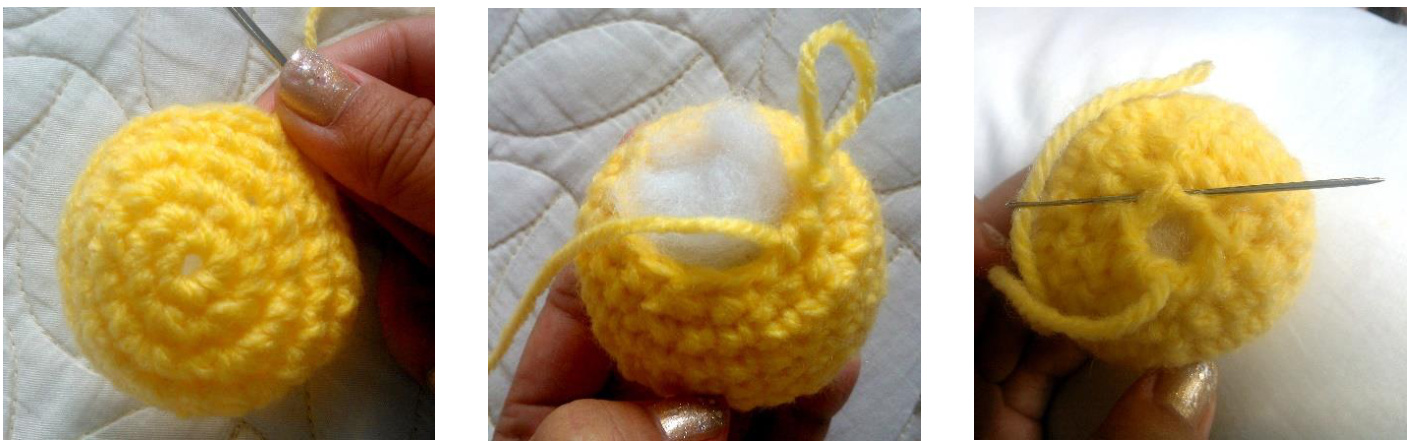
Fasten off and weave in the end.
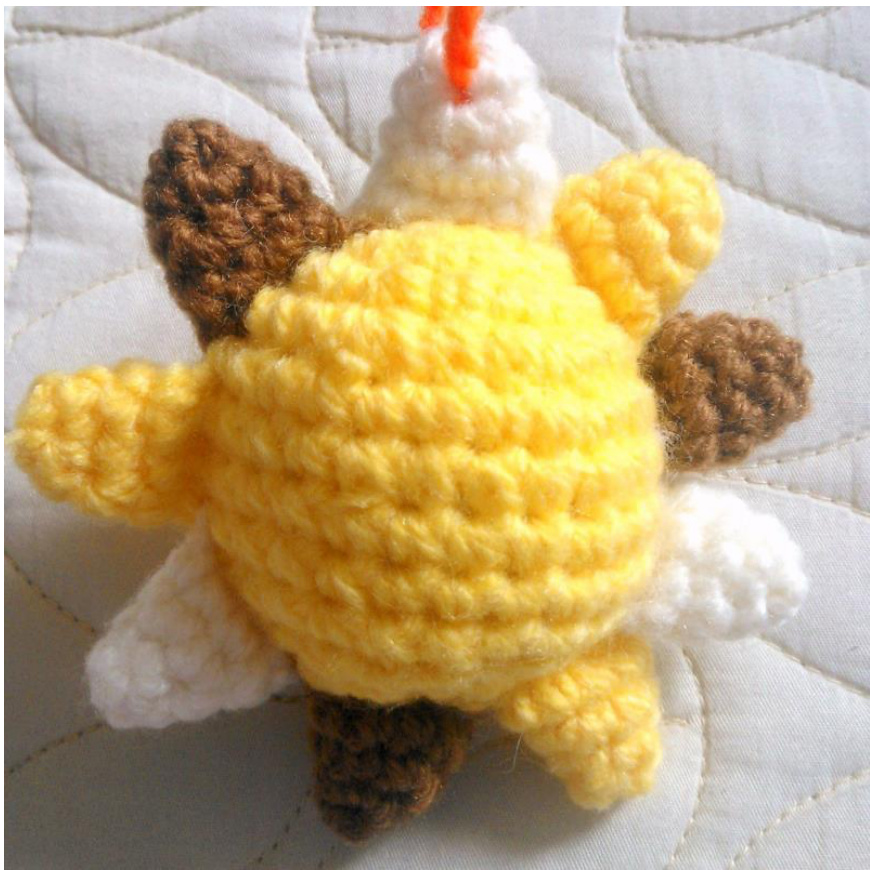
RAYS (make 9 with different colors)

Rnd 1: ch 2, 4 sc in 2nd st from the hook (4) Rnd 2: (sc in next st, 2 sc in next st) x 2 times (6) Rnd 3: (sc in next 2 st, 2 sc in next st) x 2 times (8) Rnd 4: sc in each st around (8) Cut off and leave a long tail for sewing. No need to stuff. Now that we have 9 rays with 3 colors, arrange them alternately color by color. Sew rays to the body and weave the exceed tail in the end. Afterassemble:
FINISHING
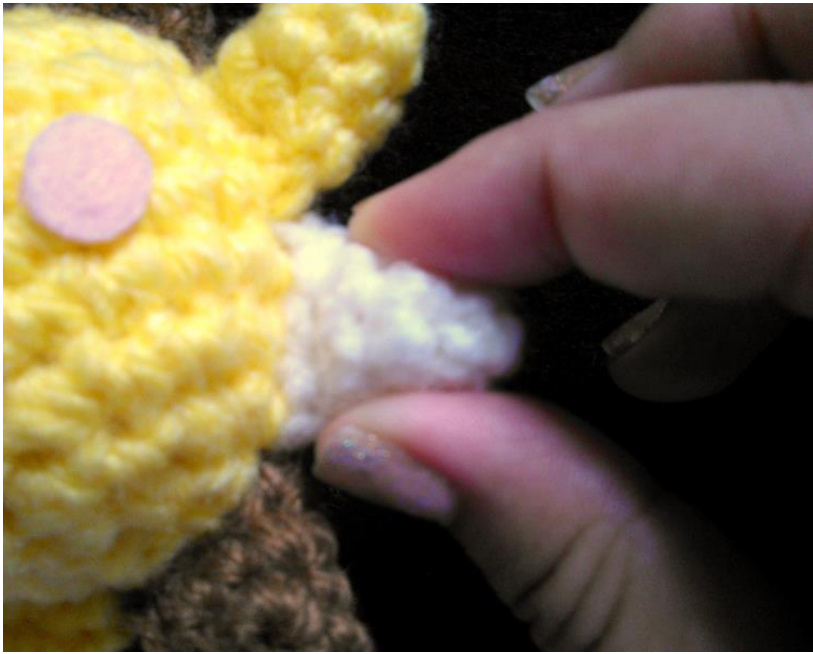
To make happy face: 1. Cut pink felt fabric into 2 circles (or oval shapes) to make cheeks 2. Cut red felt fabric to make smile mouth 3. Use glue gun and glue on eyes, cheeks and mouth ) make the ray sharper, slightly push on 2 sides of it, like this
Copyright Notice: You may use the pattern and products made from it for personal uses only. Rewriting, reselling, copying or distributing the pattern is strictly prohibited. Thank you for your cooperation. Thank you!


