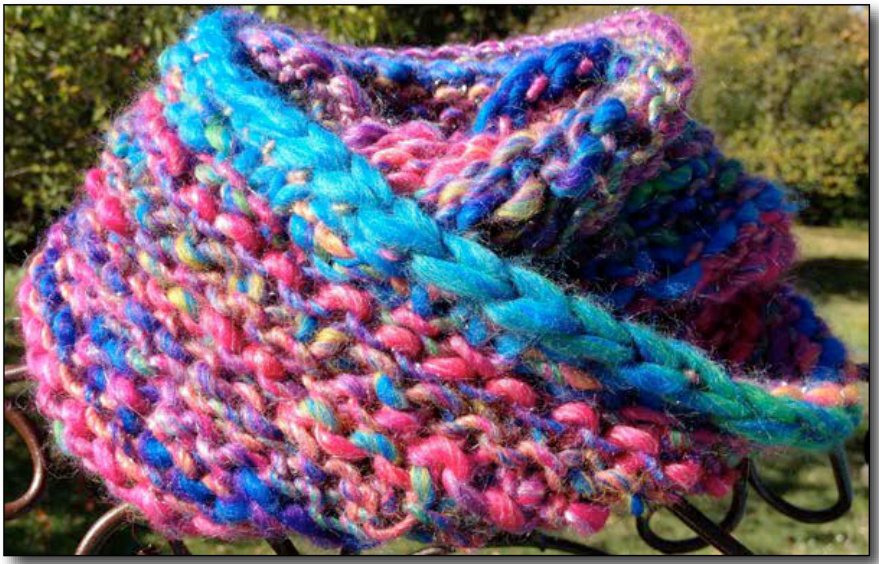
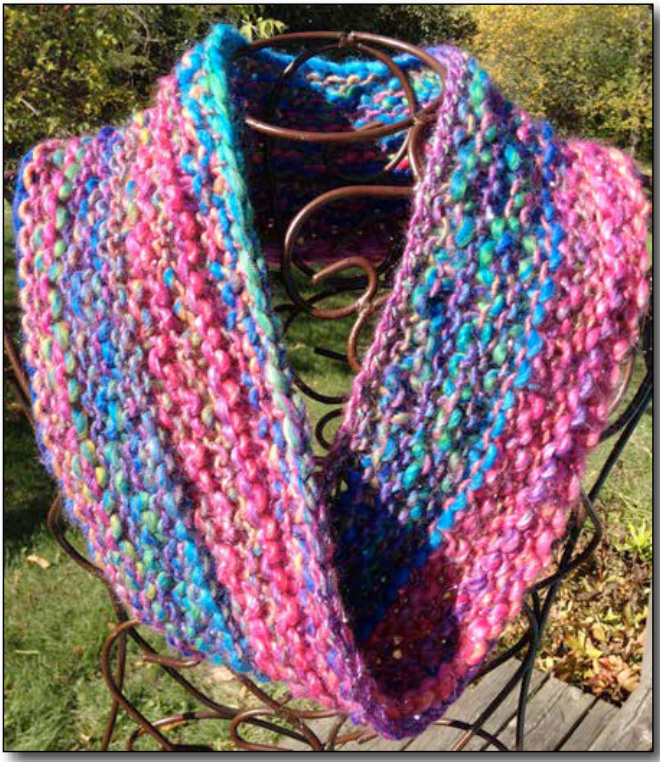
Get-up-and-go Cowl
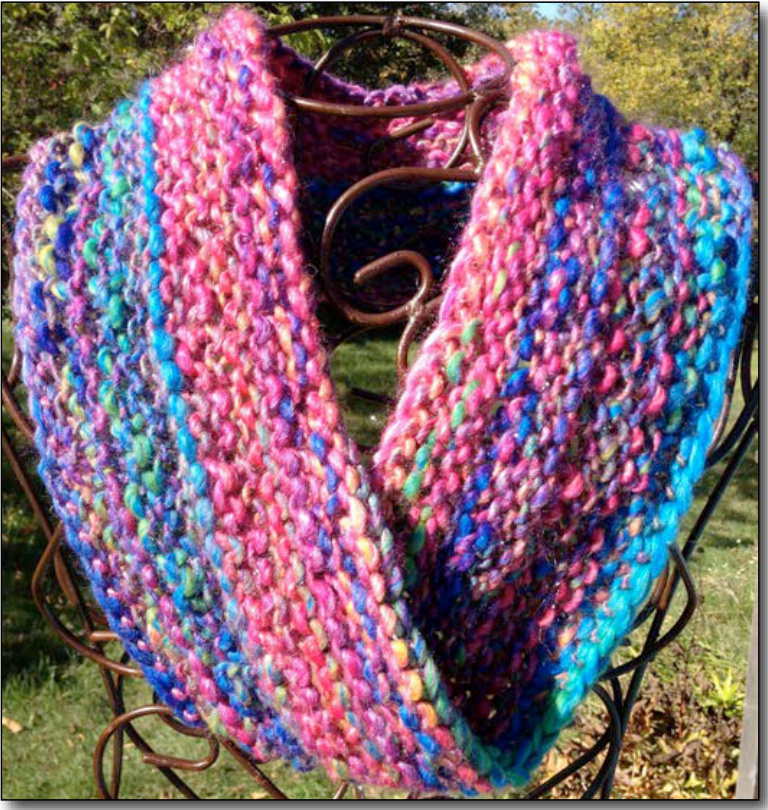
Brio means: Bounce, vigor, dash, drive, energy, gas, get-up-and-go, ginger, go, gusto, life, moxie, oomph, pep, punch, snap, starch, verve, vim, vitality, zing, zip. This lively, sparkly, thick and thin yarn new from Berroco is all of those things! It knits up in a hurry into a lightweight, just-warm-enough, cowl that is 6"wide x 40"in circumference. Gauge is 2 sts./in. Knit this quick, chunky cowl in an evening with just oneball ofBrio. Here are two patterns for you: The first one is a moebius, knit with the special cast on. The second is and infinity cowl, knit in the round with no twist.
Enjoy!
Pattern #1 - Moebius Cowl The Moebius has a 180-degree twist, which is created at the join of the special cast on. Rounds of knitting grow from the center of the work to the outsides.
Directions for the Moebius Cowl
MCO (Moebius Cast On per following instructions) 70 stitches Round 1: Knit all stitches in this round. Round 2: \*P2, K2\*, repeat from \* to the end of the round. Round 3: \*K2, P2\*,repeat from \* to the end of the round. Round 4: \*P2, K2\*, repeat from \* to the end of the round. Round 5: \*K2, P2\*, repeat from \* to the end of the round. Round 6: \*P2, K2\*, repeat from \* to the end of the round. Round 7: Knit all stitches in this round. Round 8: Purl all stitches in this round. Round 9: Knit all stitches in this round. Round 10: \*K2, P2\*, repeat from \* to the end of the round. Round 11: \*P2, K2\*, repeat from \* to the end of the round. Round 12: \*K2, P2\*, repeat from \* to the end of the round. Round 13: Knit all stitches in this round.
Materials:
One ball of Berroco, Brio. 49% Wool/48% Acrylic/3% other (blingy stuff), Color #9447, Riot (pictured) Note: You will need to use shorter length 24"circular size 15 needles to knit the Pattern #2 version cowl. Other Chunky or bulky yarn with the same gauge may be substituted in these patterns. Bind off loosely using the following method to achieve more elasticity:
Moebius Bind Off
es back to the left needle, Knit them together through the back, P1, repeat from
Moebius Cast On Information
There are a number of ways to learn the moebius cast on. Illustrated step-by-step instructions are included in Cat Bordhi's ebooks, A Treasury of Magical Knitting and A Second Treasury of Magical Knitting. Both contain a wealth of information about and patterns for Moebius knitting. (She has graciously given permission to reference her ingenious Moebiuscast-ontechnique.) Here is the link to her U-Tube Moebius cast on video. http://www.youtube.com/watch?v=LVnTda7F2V4 More information is available on her website http://www.catbordhi.com/ These are step-by-step instructions for the moebius cast on: 1. Make a slip knot and slip it to the center of the 47" cable. Hold the knot on your cable with your left hand, allowing the needles to dangle. 2.With your right hand, take the LEFT needle and bring it towards you and up to make the cable into a loop. Allow the other needle to hang down. We won't need it until all the stitches are cast on. 3. Hold the slipknot, needle and looped cable in your right hand. Hold the needle half way to the tapered tip. 4. Tension the working yarn above the cable in your left hand. Think of the cable as a stationary object you will be wrapping the yarn around. You will be holding it in both hands to begin the cast on, which is a wrapping sequence. 5. Point the needle towards you and bring it under the cable, over the working yarn, and back up above the cable. Do a yarn over. 6. Repeat this sequence to cast on the appropriate amount of stitches. Each time you perform this “under the cable, yarn over" sequence, you are generating 2 stitches. Count only the stitches on the top of your needle. 7. Once you have the appropriate number of stitches cast on, spread the stitches around the needle and cables and up onto the other needle, so they form a circle. 8.Position the needles and stitches around them so that you can knit the stitches. This will take some adjusting. 9. Set the work down on a table top and, starting with the left side, position the needle above the cable, follow the path around the cables, making sure they are parallel all the way around until you get near the right needle. 10. At this point the needle should be over the cable or the cable will be over the needle. Either way is ok. This should occur only once and will indicate the 180-degree twist. 11. PLACE MARKER. Knit into the slipknot to join the work. Pull the stitches together at the join to close gaps. Knit into the “triangle" stitches or V's as they come to you. These are very different looking stitches made by the Wrapping we did to cast on. The marker is crucial in moebius knitting. On the first round, it will let you know that you have done the twist correctly as you knit and it travels the path of the stitches onto the looped cable below your needle tips. When you see the marker on the cable below the needles, this is one half of the first round of moebius knitting. Once you see the marker at this point, keep knitting until you can slip the marker from the left to right needle. This will be one complete round of moebius knitting.
Pattern #2 - Infinity Cowl The Infinity Cowl is a knit in the round with no twist. It is knit from edge to edge.
Cast on instructions: Holding BOTH needles together and using the long tail method, cast on 70 stitches. This creates a more relaxed cast on edge. Slip one of the needle tips out and distribute all the stitches around the cable. Join in the round, being careful not to twist, by passing the first stitch over the last stitch. (This prevents a "stair-stepped" join). Place a ring stitch marker between the two stitches to mark the end of the round. Please try these relaxed, cast on and bind off methods, which will prevent the cowl from bowing in the center.
Directions for the Infinity Cowl
Round 1: Knit all stitches in this round. Round 2: \*P2, K2\*, repeat from \* to the end of the round. Round 3: \*K2, P2\*, repeat from \* to the end of the round. Round 4: \*P2, K2\*, repeat from \* to the end of the round. Round 5: \*K2, P2\*, repeat from \* to the end of the round. Round 6: \*P2, K2\*, repeat from \* to the end of the round. Round 7: Knit all stitches in this round. Round 8: Purl all stitches in this round. Round 9: Knit all stitches in this round. Round 10: \*K2, P2\*, repeat from \* to the end of the round. Round 11: \*P2, K2\*, repeat from \* to the end of the round. Round 12: \*K2, P2\*, repeat from \* to the end of the round. Round 13: \*P2, K2\*, repeat from \* to the end ofthe round. Round 14: \*K2, P2\*, repeat from \* to the end of the round. Round 15: Knit all stitches in this round. Round 16: Purl all stitches in this round. Round 17: Knit all stitches in this round. Round 18: \*P2, K2\*, repeat from \* to the end of the round. Round 19: \*K2, P2\*, repeat from \* to the end ofthe round. Round 20: \*P2, K2\*, repeat from \* to the end of the round. Round 21: \*K2, P2\*, repeat from \* to the end of the round. Round 22: \*P2, K2\*, repeat from \* to the end of the round. Round 23: Knit all stitches in this round. Round 24: Purl all stitches in this round. Round 25: Knit all stitches in this round.
Bind off loosely using the following method to achieve more elasticity:
Relaxed Bind Off
P2, \*Slip both stitches back to the left needle, Knit them together through the back, P1, repeat from \*
Blocking
Soak the moebius for fifteen minutes in tepid water with a small amount of non-rinsing wool wash. Squeeze out excess water. Roll it in a towel and blot out the excess water. Arrange on a dry towel. Allow drying flat for time, and then reposition the cowl as it dries completely.

Thank you for your purchase. Please free to contact me with any questions: dianelaugustin@mac.com Designed and knit by Diane L. Augustin Copyright 2013. All Rights Reserved. www.yarnhappybeadhappy.com www.yarnhappybeadhappy.etsy.com http://www.ravelry.com/designers/diane-l-augustin


