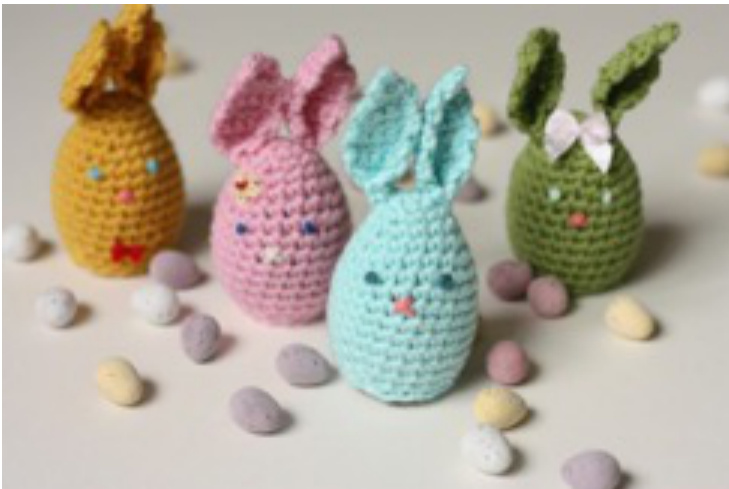
Huggie Bunnies
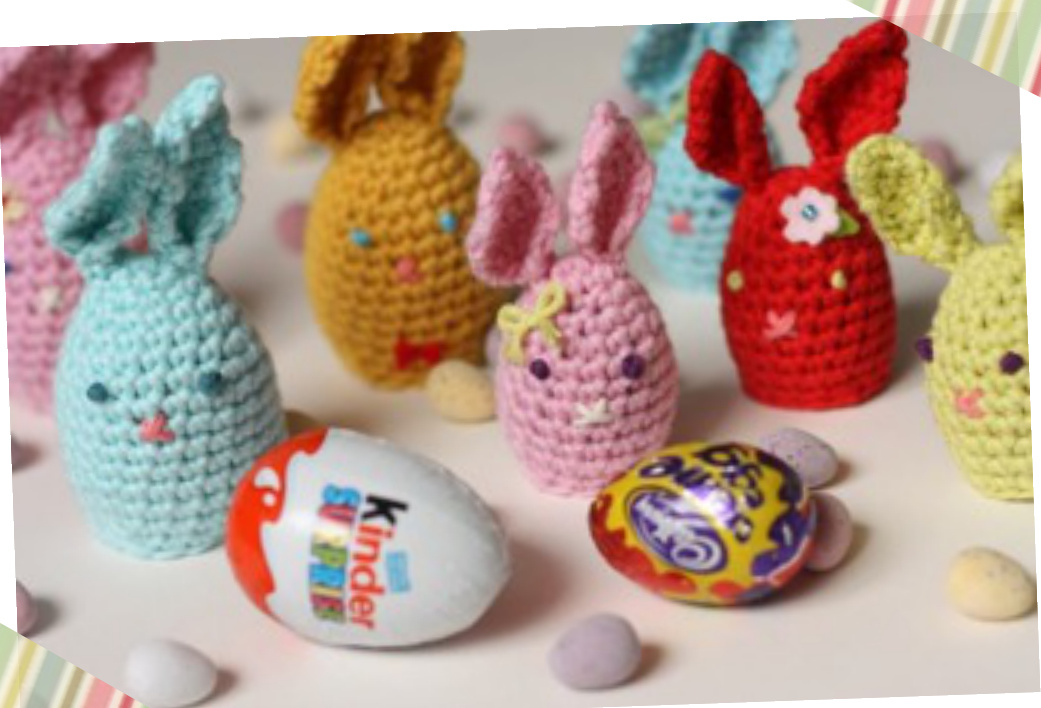
TheSe Cute bunnies will keep all your chocolate easter treats nice and safe. Till you're ready to eat them of course!
Yarn:
Any scraps of worsted or aran yarn. 20 yards per small bunny 25 yards per large bunny Needles/Hook: 4.5mm (G/H USA)
You'll also need:
Stitch maker Yarn needle Contrasting yarn or thread Sweet Easter treats Optional: Embroidery thread, beads, ribbon etc for decoration Tiny pom pom balls for tails
Size:
Small - Cadbury egg or similar Large - Kinder surprise eggs
Gauge:
4 stitches by 5 rows per 2.5cm (I") in treble crochet stitch.
Abbreviations & Translations:
This pattern is written using UK crochet terms. (American terms in brackets) st/s - stitch/s SS - slip stitch sp - space ch - chain dc - double crochet (sc - single crochet) pm - place marker Decreasing stitches: 2dctog - 2 double crochets together (sc - 2 single crochets together) 3dctog - 3 double crochets togethen (sc - 2 single crochets together) See my online 'Stitch Directory' for further details and photo tutorials for any of the above stitches.
Other Notes:
Pattern includes full written directions complete with instructions and photos to help with assembly and stitching faces.
Small Bunny Body
Worked in a spiral: Start with a magic loop and then: Round I: Ich, 6dc in loop. Do not join to beginning of round. (6 stitches) Round 2: 2dc into Ist dc of Round I,pm into Ist dc that you make, I dc, \*2dc in next st, I dc, repeat from \* once more. [You should be back around to marker.] (9 stitches) Round 3: 2dc into Ist dc, pm into Ist dc, 2dc, \*2dc in next st, 2dc, repeat from \* once more. (12 stitches) Round 4: 2dc into Ist dc, pm into Ist dc, 3dc,\*2dc in next st, 3dc, repeat from \* once more (15 stitches) Round 5: 2dc into Ist dc, pm into Ist dc,4dc, \*2dc in next st, 4dc, repeat from \* once more (18 stitches) Round 6: Idc in Ist dc, pm into dc just made, Idc into each stitch around. Round 7-1I: Work'Rpw 6' five more times. Round I2: 2dctog, pm in stitch just made, 3dc, 2dctog, 2dc, 2dctog, 3dc, 2dctog, 2dc,ss into next st. [ss should be made into top of Ist 2dctog](14 stitches) Break Yarn.
SmallBunnyEars
Make two: Worked in rows: Make a slip knot, leaving a long yarn tail for sewing up the ear later, 4ch then: Row I: Make dc into 2nd ch from hook, Idc in each of next 2 chains. (3 stitches) Row 2: Ich, 2dc in Ist dc, Idc in next, 2dc in next. (5 stitches) Row 3: Ich, Idc in each stitch. Row 4: Work row 3 again. Row 5: Ich, 2dctog, Idc, Idctog. (3 stitches) Row 6: As row 3 Row 7: Ich, 3dctog Bind off yarn.
Large Bunny Body
Worked in a spiral: Start with a magic loop and then: Round I-5: As for'Small Bunny Body Round 6: 2dc into Ist dc, pm into Ist dc, 5dc, \*2dc in next st, 5dc, repeat from \* once more (2I stitches) Round 7: 2dc into Ist dc, pm into Ist dc, 6dc, \*2dc in next st, 6dc, repeat from \* once more (24 stitches) Round 8: Idc in Ist dc, pm into dc just made, Idc into each stitch around. Round 9-13: Work'Row 8'five more times. Round 14: 2dctog, pm in stitch just made, 4dc, \*2dctog, 4dc, repeat from \* twice more. (20 stitches) Round 15: 2dctog, pm in stitch just made, 3dc, \*2dctog, 3dc, repeat from \* twice more, ss into next st. [ss should be made into top of Ist 2dctog of the round] (16 stitches) Break Yarn.
Large Bunny Ears
Make two: Worked in rows: Make a slip knot, leaving a long yarn tail for sewing up the ear later, 4ch then: Row I-3: As 'Small Bunny Ears' Row 4-6: Work'Row 3'three more times. Row 7-9: As 'Rows 5-7' of'Small Bunny Ears Bind off yarn.
Assembly
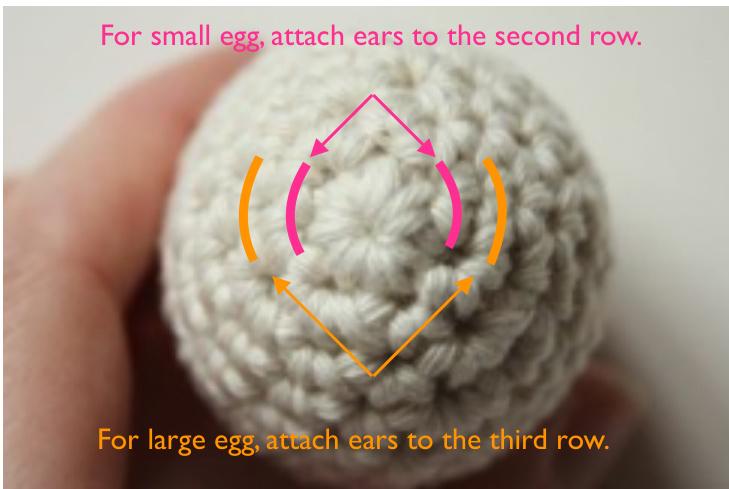
Fold each in ear in half at the bottom and use the yarn tail to stitch together along the starting chain. Stitch the ear to the top of the bunny, using the picture below as a guide to placement.
Repeat for second ear. Gently ease the bunny inside out and weave in all the ends. Turn your bunny the right way around again and stitch or use a glue gun to attach a little fluffy pom pom tail to the back, near the bottom.
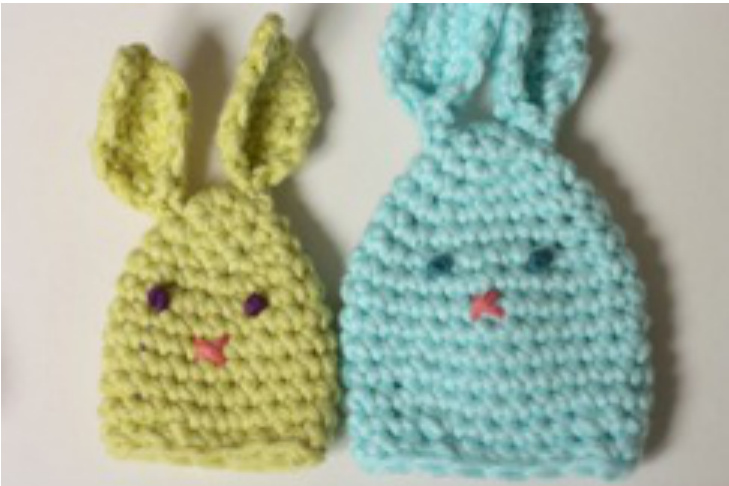
Making Faces
Using contrasting colour threads and using the picture below as a guide, make a small cross stitch for the nose an a colonial knot for each eye. Use the picture below as a guide to the placement of the eyes and nose.
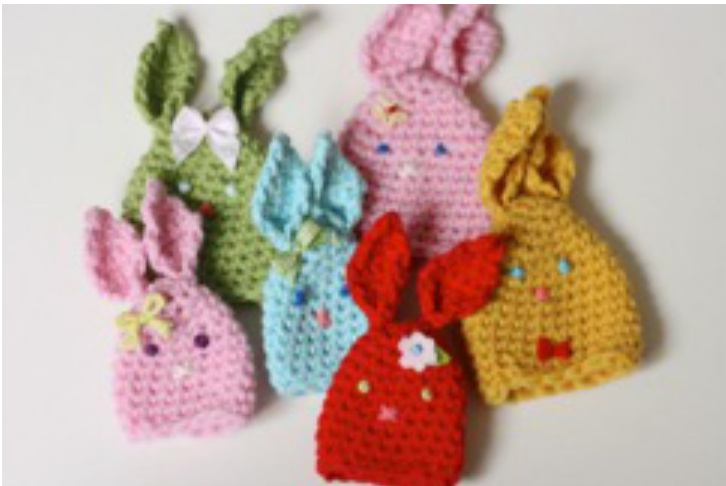
You can then add as much or as little decoration as you wish. Add some little embroidered flowers, a bow tie, some beads or sequins even. When you're happy with how he or she looks, you can pop a nice chocolate treat inside and your Bunnie will hug it safety till it's ready to be eaten!


