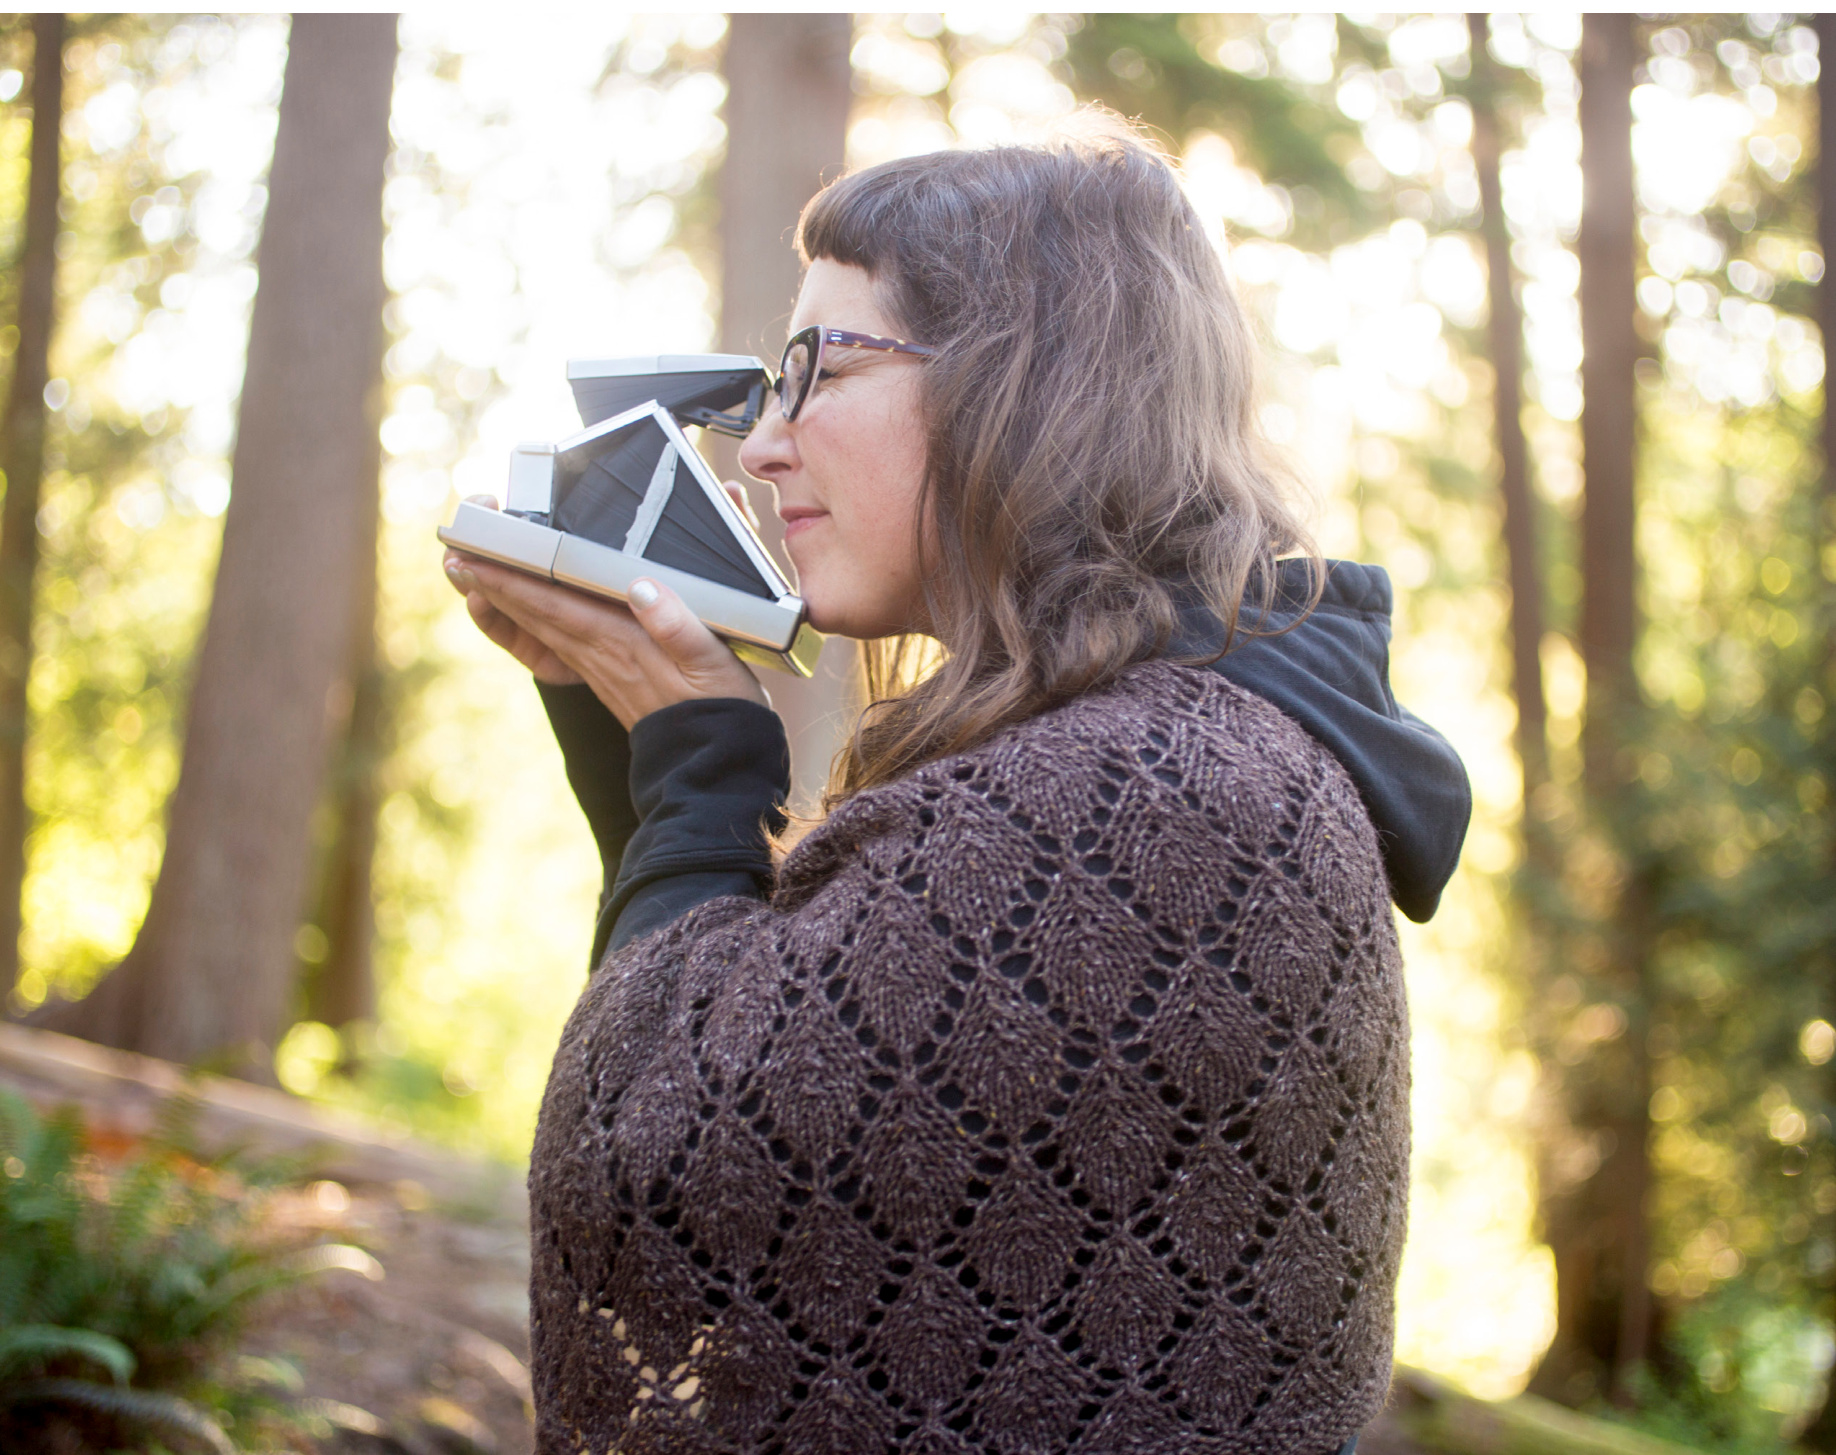
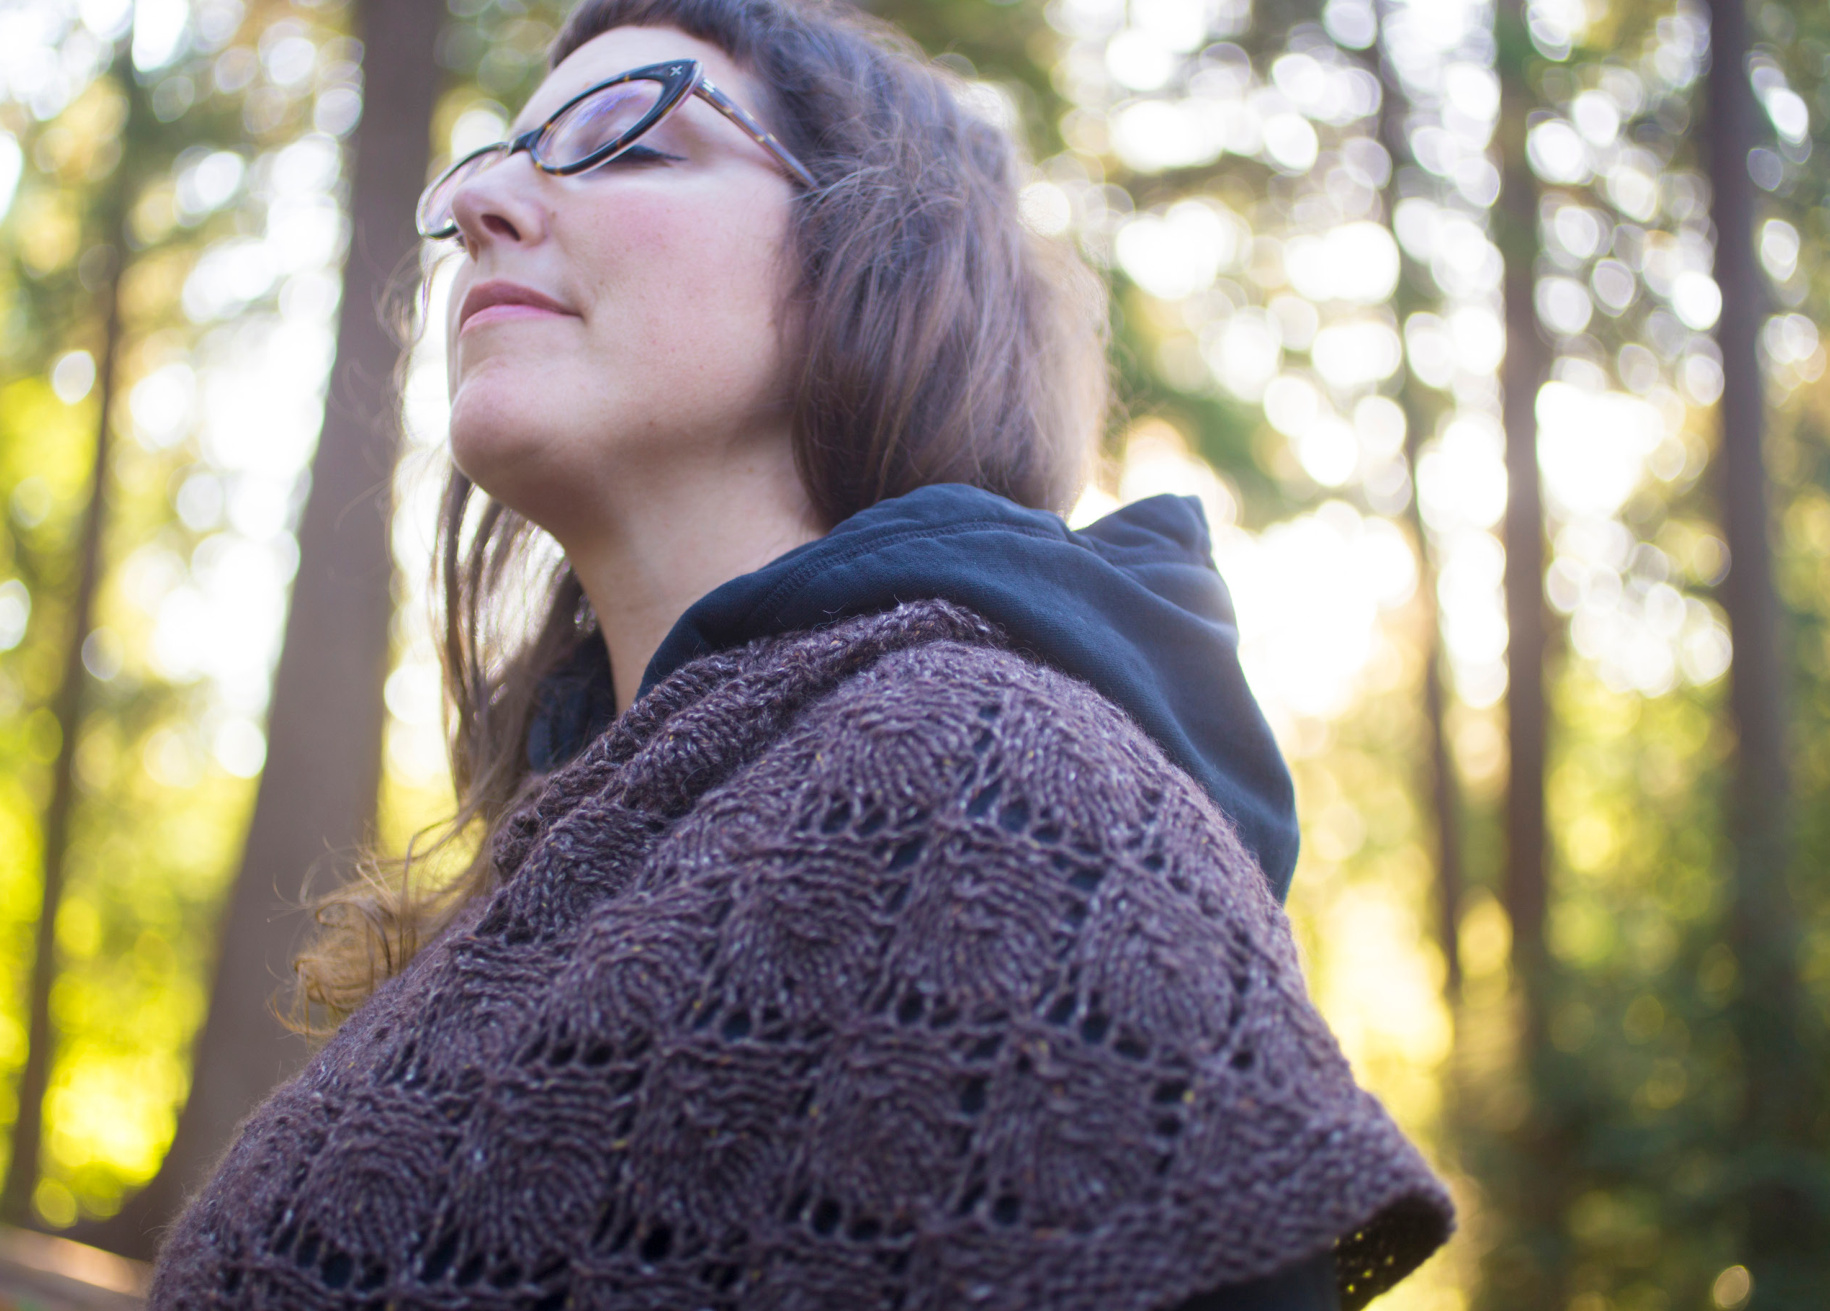
Heartwood

Photos by Vivienne McMaster www.BeYourOwnBeloved.com

Yarn: 4 balls of Grignasco Loden or 440 meters (480 yards) of worsted weight yarn. Needles: 5.5mm needles or whatever it takes to get gauge. Gauge: 11 stitches and 16 rows = 4 inches in In leaf pattern blocked. or: One and a half of the leaf pattern measured along the middle of the leaf pattern in either direction = 4 inches blocked. Size: One size fits most. It is also pretty easily modifyable. Make it deeper by just knitting more repeats of the lace chart. Or add more repeats by adding more stitches in batches of 10! Measurements of garment: 25 inches at the deepest point (from neck to triangle point) 32 inches from shoulder to shoulder (measured flat, seamed up and folded) so that would be approximately 64 inches as an ungrafted rectangle. www.softsweaterknits.com Getting started: Cast on 151 stitches knit 9 rows of garter (knit every stitch for 9 rows). Alright, it's time to start the chart! The black outlined part is meant to be repeated over and over again until the last 10 stitches, then you can follow along with the rest of the chart.

The chart is meant to be read from right to left on every row. Each Right Side row is worked: K5, work relevant row of chart, K5. That leaves a 5 stitch border on either side of the chart. Wrong side rows aren't charted. Every wrong side row goes: K5, purl to last 3 stitches, K5.

Grafting Alright, so you're going to knit that chart Until it measures 20ish inches deep. This is the part where you can make it a deeper poncho, for folks with bigger shoulders, or even if you just want a really deep cape. You'll just keep repeating these charts until you have your desired size of cape. Once you have your desired length, make sure you're on a wS row to start the grafting. To start the grafting you will fold your project in half (with the RS facing you) with both the needles pointing towards your right. The yarn attached to your ball will be on the back needle (the one farthest away from you.
More Grafting
If you aren't super comfortable with grafting I would recommend watching some videos, and maybe practice on something that isn't this project, I'm going to write the instructions out here, but this isn't meant to be a tutorial, more of just instructions for folks who are already familiar with the concept of grafting. If you aren't super comfortable it's worth going online to find some tutorials - or even check out your LYS for classes. Okay, graft time! You'll be grafting in garter and then grafting in stockinette after that! Don't be scared! The first three stitches on both needles need to be qrafted together like this: Put your Darning Needle (known from now on as DN) as if to purl into the first stitch on your front needle and pull the yarn through while keeping the stitch still on the needle, then put your DN as if to purl through your first stitch on your back needle, and pull the yarn through, while keep the stitch on the needle. Then, on your front needle, put your DN through as if to knit and pull that stitch off, then put your DN as if to purl, an pull the yarn through without dropping that stitch Off. Then, on your back needle, put your DN through as if to knit and pull that stitch off, then put your DN as if to purl into the next stitch, and pull your yarn through without dropping that stitch off. Repeat those two steps until all three of the stitches on both the needles are grafted off. Next: Grafting in stockinette. A quick note: it's important that you concentrate on this one, just becuase it's easy to lose count, and it's important to graft the right stitches together or the lace won't line Up. On the front needle, put your DN (remember that means Darning Needle) in as-if-to-knit and pull that stitch off, then put your DN in the stitch behind that as-if-to-purl, and keep that stitch on your needle. On the back needle, put your DN in as-if-to-purl and pull it off, then put your DN as-if-to-knit and pull it off. You're going to repeat those two steps until you have reached the amount of grafting that you desired. The hole you have leftover is for your head (l imagine that you'd know that by now but I thought I would just clarify the construction here in case you missed something along the way). My particular head-hole is about 12 inches accross. You can make yours bigger or smaller depending on how big or small you want it to be. Alright, so you've done your grafting and you have some live stitches on your needle still. If you wanted to, you could just keep on knitting and make yourself a happy little cowl neck for your cape, but if you want it to look like how it does in the photos, then you're just going to be casting that off. 1 Used a bigger needle to make sure my cast off edge wasn't too tight. Then I wove in my ends and wore it! Thanks for knitting this!


