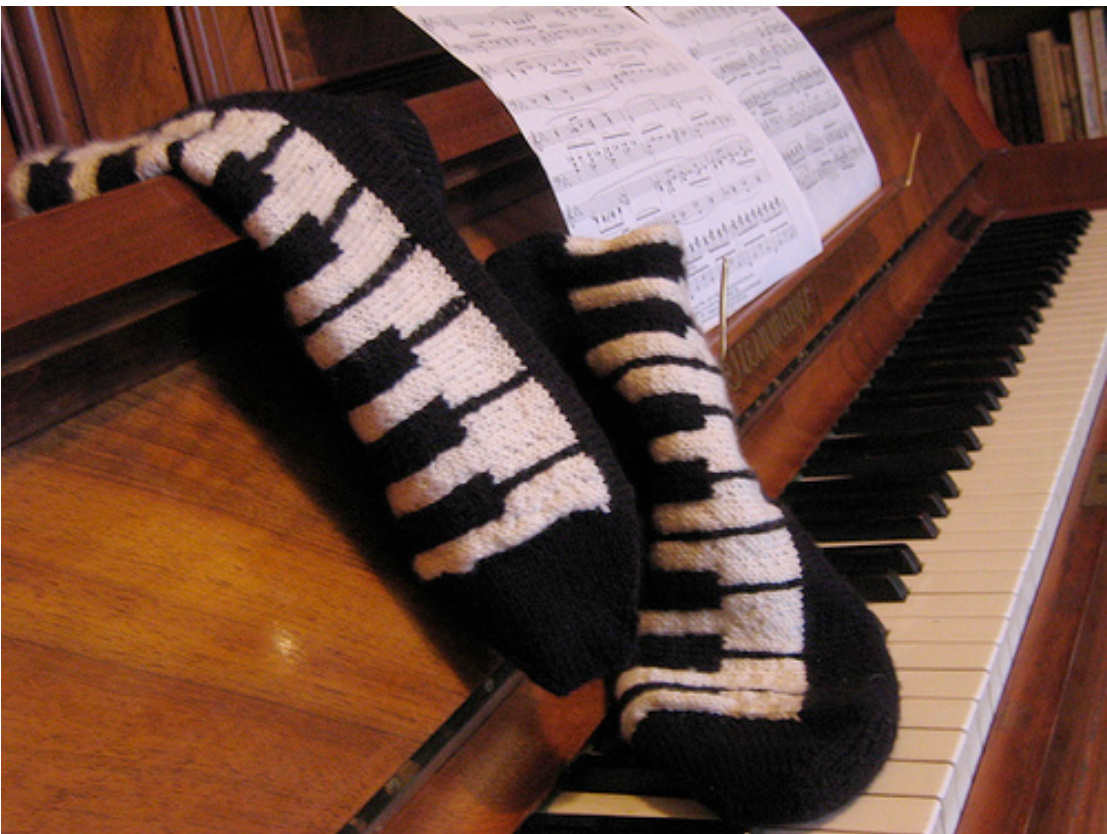
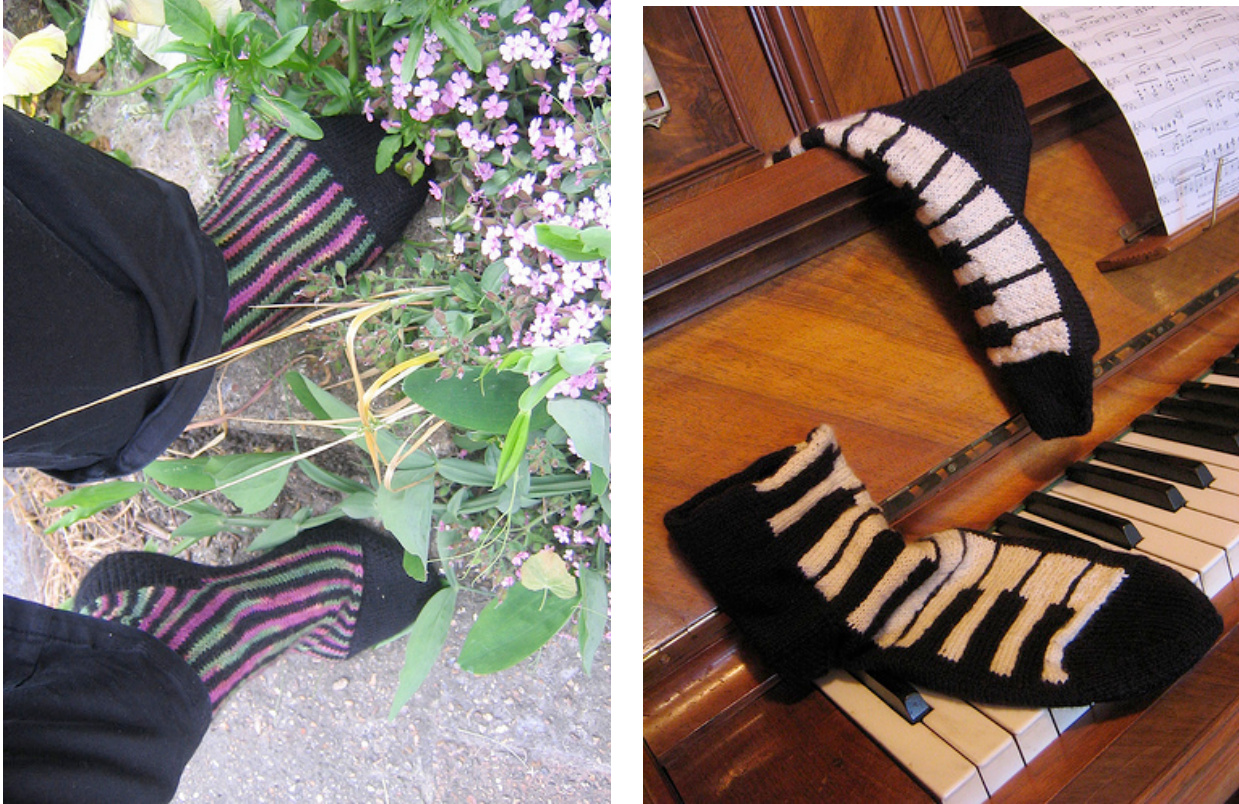
Bakerloo (a sideways sock)
I blame Colleen (the subway knitter). She was the one who pointed out that you loose the chance to kitchener with Wendy's toe-up sock pattern. She was right. Short row heels are so much fun you want to work them all over the place, but kitchener stitch is just magic. The possibility of a sideways knit sock started to buzz about my head. Kitchener and provisional cast on meet to make a seamless tube, with "afterthought" short row heels and toes to finish. I had reservations about fit, but I saw a picture of some sideways socks on Whipup and was convinced such a thing must be possible. Now I've worn and tested them, I can say they fit fine. A little less stretch, maybe, but if anything that makes them less prone to slouch. I'm not advocating an all out move to sideways construction; Wendy's toe-up is still my personal favourite. But it does allow for different design possibilities. They also might help if you're finding variegated yarn is pooling on the horizontal rounds of a standard sock pattern. What follows is a more of a tutorial than a pattern; adaptable for yarn, size of foot and design pattern. I've also provided instructions for toes and heels without short rows because not everyone loves them as much as me.
Materials needed
Needles of a size appropriate to your yarn. If you magic-loop, you can get away with just the one circular needle, else you will need dpns and straights. If you choose short-row toes and heels and leave out the ribbed cuff you can actually do the whole thing on straights. Enough yarn for two socks. Crochet hook of similar size to needles. Waste yarn for provisional cast on (cotton is best if you have it). Two stitch holders (optional). Embroidery needle. Tape measure, calculator, pen and paper. NB: both the photographed socks used an 80cm 2.5mm circ. The stripy socks used: (a) Fyberspates sockyarn in purple/green 425 meters/ 465 yards per 100g skein, $75\%$ wool, 25% Polyamide -I used less than half a skein and (b) Cygnet wool-rich 4ply in black, 205 meters/ 225 yards per 50g ball, $75\%$ wool, 25% polyamid - one ball. The piano socks used Rowan RYC Cashsoft 4ply, 180 meters/ 197 yards per 50g ball, 7% extra fine merino, $33\%$ microfibre, 10% cashmere - two balls black, one ball cream.
Pattern
Do a 10cm/ 4 inch square gage swatch. I suggest washing and drying before taking measurements from it because they need to be very accurate. You will also need to measure the circumference and length of the feet the socks are for.
Iop of sock
This section is knit flat, so dpn users will want to use long straight needles. It makes the section on top of the foot and the front of the ankle. Decide how long you want the sock to be. Bare in mind knitting doesn't stretch as much between rows as it does stitches, which means that you will find the cuff of sideways socks less elastic. This means that if, like me, you have large calves you might want to stop at the top of the ankle. You can always pick up stitches at the top of the sock when you've finished to make a longer stretchy ribbed cuff. Take 5cm/ 2inches away from this measurement (for the toe). If you want a ribbed cuff remember you need to take the length of this away too. Multiply the result by your average stitch gage per cm (or inch if working in imperial). Round the result to the nearest whole number, this how many stitches you need to provisionally cast on. For the piano socks I rounded it up to a neat 80 as it was easy to work the image into this. Provisionally cast on using a crochet chain made from waste yarn. Purl back and continue in st st (or any stitch pattern you are using) until it measures half the circumference of the foot the sock is for. You can work this out by multiplying your row gage per cm/ inch by the circumference of the foot you are knitting for and rounding this up to the nearest even number. For my stripy sock this was 42 rows. End on a Ws row.
Sole and back of sock
This next section splits the piece of knitting into two sections. One for the sole of the sock, the other for the back of the ankle. You can work them both at once but I found it easier to use a stitch holder to do them one at a time. You need to do more maths here. Start with the length of the foot the sock is for, take 10cm/ 4 inches away from this (for toe and heel) and multiply it by your stitch gage per cm (or inch, if working imperial). Round that up to the nearest whole number. My feet are 24cm long, so for my stripy sock with a 26 sts per 10cm gage themathswent asfollows: $24c m-10c m=14c m$ $14\times2.6\mathtt{s t s}=36\mathtt{s t s}$ Knit that number of stitches, and hold on a stitch holder. This section will be the sole of the sock. Now cast off two stitches for the side of the heel. To do this, knit two, pass the first stitch over the second, knit one and pass previous stitch over it. Knit to end of row. Keeping in pattern work the remaining stitches (after the two you cast off) until the piece measures the circumference of the foot you are knitting for, but minus one row. This is because the Kitchener stitch counts as a row. So for my stripy sock this was another 41 rows, overall totalling 83 rows. Break yarn and place these stitches on a stitch holder. Go back to the stitches for the sole you held earlier. Unless you are planning some under the foot design knit in plain st st in one colour. Work until it measures the same as the held section (i.e. circumference of foot).
Joining the tube
Unzip the provisional cast on and put it on the free needle. With right sides both facing out, kitchener the cast on end to the last row of knitting. If you have never done this before, Knitting Help has a great tutorial. You will need to cast off two stitches on the cast on row where you left a gap between the cuff and sole sections. You should now have a tube with a big slash in it half way through. This slash is where you will put the heel. Repeat from start of pattern so you have two identical tubes.
Toes and heels
You now need to multiply your stitch gage by the circumference of the foot you are knitting for. Whether you choose short-row of decreased heels and toes, you will have to evenly pick up this number along the side of the knitting you did for the tubular body. For the both pictured socks this number turned out to be about two-thirds the number of rows I had for the circumference, so I evenly picked up two stitches for every three rows of knitting.
For short row heels/ toes:
Working from one side of the heel to the other, evenly pick up and knit half the number of stitches you need for the circumference of the foot. Purl back and start your short row heel. There are many ways to work short row heels/ toes, this page is a great resource of verities. Work the way you like best and skip to \* if you wish, what follows is just the way I do it. Row 1: Knit to last stitch, move your yarn as if to purl and slip the last stitch from the left needle to the right needle. Turn work. Row 2: Slip the first (unworked) stitch from the left needle to the right needle, and purl to the last stitch. Move the working yarn as if to knit and slip last stitch. Turn. Row 3: Slip the first (unworked) stitch from left needle to the right one, knit to the last stitch before the unworked stitch. Wrap and turn. Row 4: Slip the first stitch and purl across to the stitch before the unworked stitch. Wrap and turn. Repeat rows 3 and 4 until about a third of the total stitches are left unwrapped stitches in the middle of the heel. Row 1: Knit across the unwrapped stitches to the first wrapped stitch. On this, pick up the wrap and knit it together with the wrapped stitch. Wrap the next stitch, so it has two wraps, and turn. Row 2: Slip the first, double-wrapped, stitch and purl across to the first wrapped stitch on the other side. Pick up the wrap and purl it together with the wrapped stitch. Wrap the next stitch and turn. Row 3: Slip the first, double-wrapped, stitch, and knit to the double wrapped stitch on the other side. Pick up both the wraps and knit them together with the wrapped stitch. Wrap the next stitch and turn. Row 4: Slip the first, double-wrapped, stitch, and purl back to the double wrapped stitch. As before, pick up both the wraps and purl them together with the wrapped stitch. Wrap the next stitch and turn. Repeat rows 3 and 4 until all stitches have been unwrapped. Hold these stitches. \* Evenly pick up and knit the other half the stitches on the other side of the heel. Kitchener both sides together. You will have a small hole either side of the heel, sew this up as you are doing this. Repeat process for other heel and both toes.
For decreased heels/ toes:
This is the same as a standard toe for top-down socks and what I used for the toes and heels for the piano socks. Starting from one side of the heel and using dpns or a circular evenly pick up and knit the number of stitches you need for the circumference of the foot around the split in the tube. Place stitch markers at both sides of the heel. Next Round: K all sts. Next Round: K1, ssk, knit to last 3 sts before stitch marker in the middle of the round, k2tog, k1, k1, ssk, k to last 3 sts, k2tog, k1. Repeat until you have about one third of the original number of stitches. Arrange needles so you have the first half the stitches on one needle and the other half on another. Break yarn and kitchener these two halves together. Repeat process for other heel and both toes.
Cuff (optional)
Because the top of the sock is formed from the side of knitting rather than cast on or bind off if curls and stretches differently so you don't actually need the conventional ribbed cuff, but if you want one work as follows. At the top of the sock, using dpns or circular, pick up the same number of stitches you did for heels and toes (i.e. circumference of foot). Work in chosen rib in the round until desired length. Bind off very loosely. I suggest a sewn cast off for stretch. To do this break the yarn, with about three times the sock circumference to spare and thread the end through an embroidery needle. Step one: Pass the needle through the first two stitches on the (knitting) needle as if you were purling but keep them on the needle and pull the yarn right through. Step two: As if to knit bring the yarn through the first stitch and let it drop off the needle. Repeat these two steps all the way round, some great resources on the sewn bind off can be found here.
Acknowledgements
It was first published in Magknits, and I thank Kerrie for her encouragement. Since developing the pattern, I discovered the picture I saw on Whipup was a Fibertrends pattern. Their design is actually different from this one, and keeps a standard knit for the foot - it's definitely worth checking out as an extremely clever way of getting a gusset-type heel from a sideways sock. Other sideways-knit sock patterns are also available, google 'sidewinders'. I used Jessica Trop's chart for the piano keyboard design. This is now offline, but knitters should be able to make their own (please don't ask me for one!). In honour of Collen's subway knitting, these socks were worked almost entirely on public transport, mainly London's Bakerloo line during its centenary year. I even managed to pick up stitches on a bus through Brixton. As I write this up the weekend after the 2008 London Mayoral election, the pattern is dedicated to Ken Livingstone, who has given so much of his life to the improvement of London's transport system. Designer: A life-long Londoner, Alice learnt to knit when she got board of looking out the windows on the bus. She blogs at http://slippedstitch.blogspot.com. Email: alicerosebell@gmail.com. Ravelry username: slippedstitch. Copy-right: Please note this pattern is published under a non-commercial unported license. You can share it (copy, distribute and transmit the wok), you can remix it (adapt away). But you must attribute it to me, and you may not use this work for commercial purposes. This includes selling yarn or classes that include this as 'free', and selling items applying the pattern.


