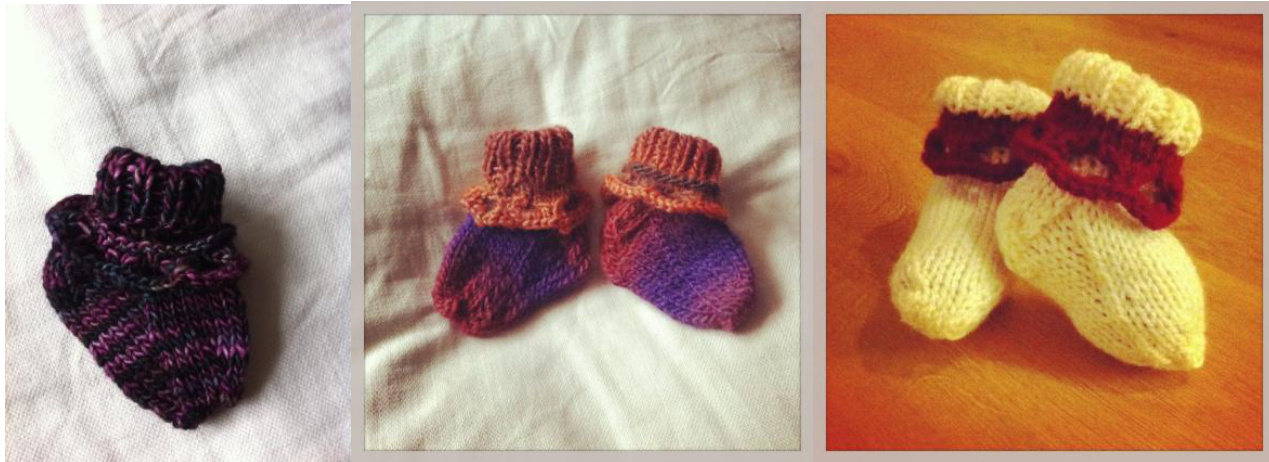
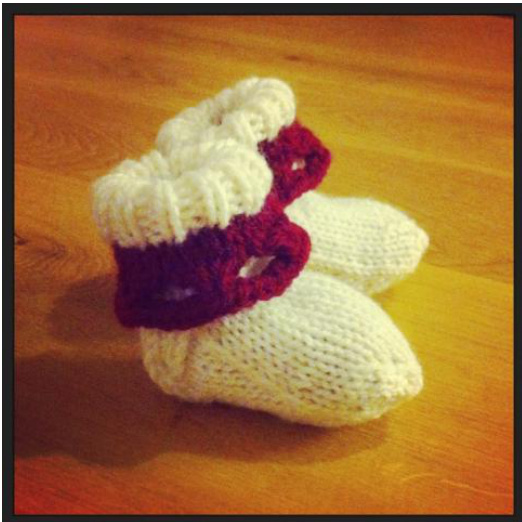
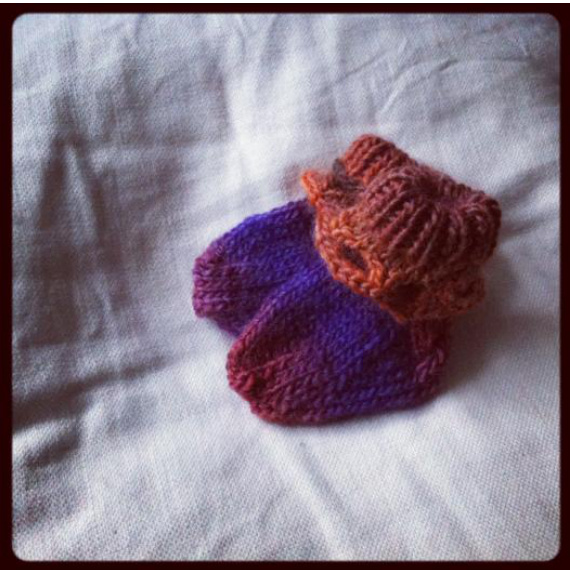
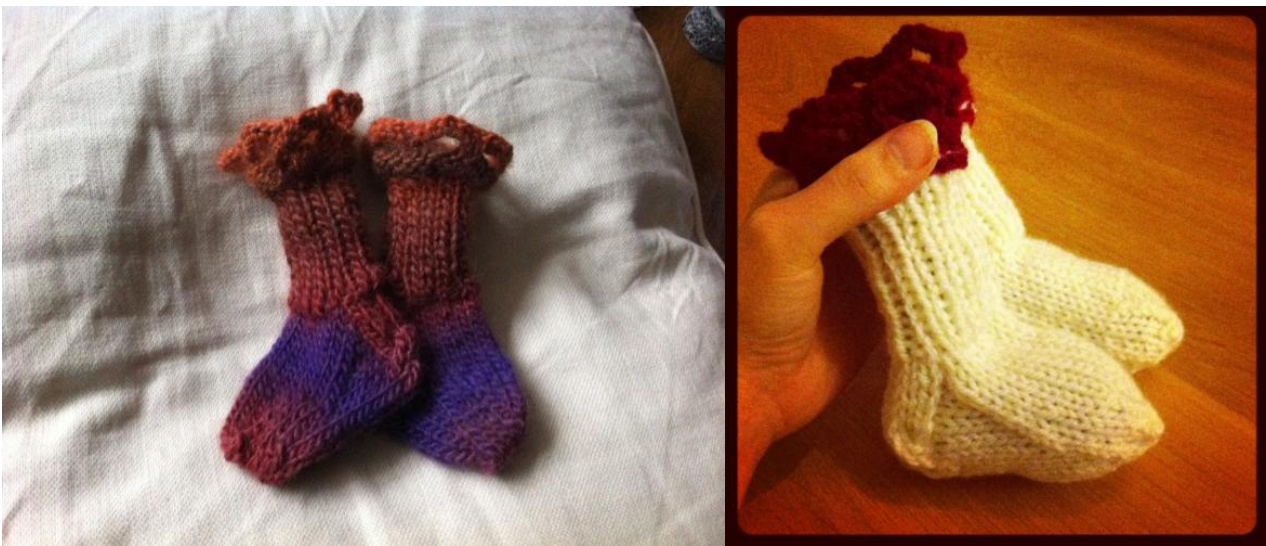
Baby's little lace socks
Needles: 3,5 mm / US 4 double pointed needles (5 needles in total) Yarn: Madelinetosh DK or Scheepjes (Noorse Sokkenwol) Gauge: 5st./7rows for 1"
Abbreviations:
| K= | knit |
| P= | purl |
| Yo = | yarnover |
| S1kpsso = | slip 1 st, knit 1 st, pass slipped st over just knitted stitch |
| PM = | place marker |
| Sm = | slip marker |
| St = | stitches |
| K2tog = | knit two stitches together(decrease one) |
| Ssk = | slip 1, k1, psso (decrease one stitch by slip one, knit one, pass slipped stitch over knitted stitch) |
| 1x1 ribbing = | k1,p1 (knit 1 stitch, purl the next stitch) |
| CC = | contrastcolor |
| MC = | main color |
| * | repeat till end |
If you decide to knit the socks in one color, just ignore the instructions for cc and mc. Cast on 24 stitches Row 1 [WS]: purl all st. (24st.) Row 2[RS] : slip 1 st, knitt till end (24st) Row 3: slip 1 st, purl till end Row 4: \*k2tog, yo, yo, s1kpsso\* Row 5: \*p1, (now in the double yo : k1, p1, k1, p1, k1), p1\* Row 6: bind off
With RS facing using MC pick up 23 st in the cast on edge (from left to right), divide these st on 3 needles (8 on each needle). The following part is knitted in the round, so with ws of lace edging looking outside (as it is folded later) join for knitting in the round, be careful not to twist. Knit 1x1 ribbing for 14 rows [approximately 2" or 5 cm].
Make the heel:
The heel is worked back and forth, whereby 1st stitch always slipped, divide for the heel the stitches, whereby 12 st on needle 1, 6st on needle 2 and 6st on needle 3. Row 1: Knit 12 stitches - then turn - Slip 1 st, purl 11 stitches - then turn - \* sl1, k1\* - then turn - like row 3 slip 1 st, k5, pm, k2, ssk - then turn, 2st remain on left needle - slip 1 st, p2, sm, p2, p2tog - then turn, 2st remain on left needle - Slip 1 st, k2, sm, k2, ssk, - then turn, 1st remain on left needle - Slip 1 st, p2, sm, p2, p2tog -then turn, 1st remain on left needle - Slip 1 st, k2, sm, k2, ssk - then turn - Slip 1 st, p2, sm, p2, p2tog - then turn - Slip 1 st, k2, remove marker, k3 (6st remain) Row 2,4, 6,8, 10 Row 3 [RS]: Row 5, 7, 9: Row 11: Row 12 [WS]: Row 13: Row 14: Row 15: Row 16: Row 17 [RS]: Now pick up 8 stitches along the side of the heel, this will be your needle 1. Then take an empty needle and knit the following 12 st (whereby the other 2 needles are now on one needle), this will be your needle 2. Take another empty needle and pick up 8 stitches along the other side of the heel and knit 3 more st., this will be your needle 3. Slip last3st onto needle 1. You now have 34 stitches in total, whereby 11 st on needle 1, 12 st on needle 2 and 11 st on needle3. Knit one row. [If you want you can place a marker on needle 1, to remember where the round starts and that these needle is needle one]
Shaping for the foot:
1st row - needle 1: k till 3 st from end, k2tog, k1 needle 2: knit all 12 st needle 3: k1, ssk, knit till end 2nd and all even rows: knit all st. 3rd, 5th, 7th, 9th : like 1st 10th,11th,12th row: knit all st. (24 remain) You stitches are distributed as follows: 6 st on needle 1, 12 st on needle 2 and 6 st on needle 3 Start shaping the toe: Here the same method as for the foot shaping is used: 1st row - needle 1: k till 3 st from end, k2tog, k1 needle 2: k1, ssk, kto last 3 st, k2tog, k1 needle 3: k1, ssk, knit till end 2nd ,4th : knit all st. 3rd, 5th : like 1st 6th row: knit 6 st., take 2nd neelde, k6 7th row: k 3 st., take empty needle k6 (this will be back needle for the kitcheners stitch), take empty needle, k last 6st (front needle for kitcheners stitch) Use kitchener stitch to seam (explained below) , weave al ends. Marjolein Loomans The kitcheners stitch creates an invisible seam, if you don't want to use the kitcheners stitch you could also bind-off the last 12 st and seam. Make a second one.
Happy knitting!
Kitcheners stitch to seam toes explained: Cut the yarn, leaving a long tail. You have two needles whereby needle one becomes your front needle and needle 2 becomes your back needle (you should have 6 st on each needle now). At first tp prepare for the kitcheners stitch, you draw the yarn through the 1st st on the front needle as if to purl and leave it on the needle. Then you draw the yarn through the first stitch on the back needle as if to knit and leave it on the needle. This is only done one time. Then repeat steps 1- 4 till all stitches of both needles are seamed. 1. You draw the yarn through the first stitch on the front needle as if to knit and slip it off the needle. 2. Now you draw the yarn through the next stitch on the front needle as if to purl and leave it on theneedle. 3. Then draw the yarn through the first stitch on the back needle as if to purl and slip it off the needle. 4. Finally draw the yarn through the next stitch on the back needle as if to knit and leave it ontheneedle.


